Why Choosing the Right Starlink Roof Mount Matters

Starlink roof mounts are the foundation of a reliable satellite internet setup. The right mount ensures your dish maintains a clear view of the sky, withstands harsh weather, and delivers consistent high-speed connectivity.
Quick Guide: SpaceTek Starlink Mounting Solutions
- SpaceTek Pivot Mount – Heavy-duty vertical alignment for slanted, shingled roofs
- SpaceTek Non-Penetrating Mount – No-drill ballast-weighted solution for gable roofs
- SpaceTek Flashing Mount – Maximum water-tight protection for shingle or metal roofs
- SpaceTek Pipe Adapter – Precision-engineered to attach to existing poles
- SpaceTek Wall Mount – Extended reach for installation near fascia with superior overhang clearance
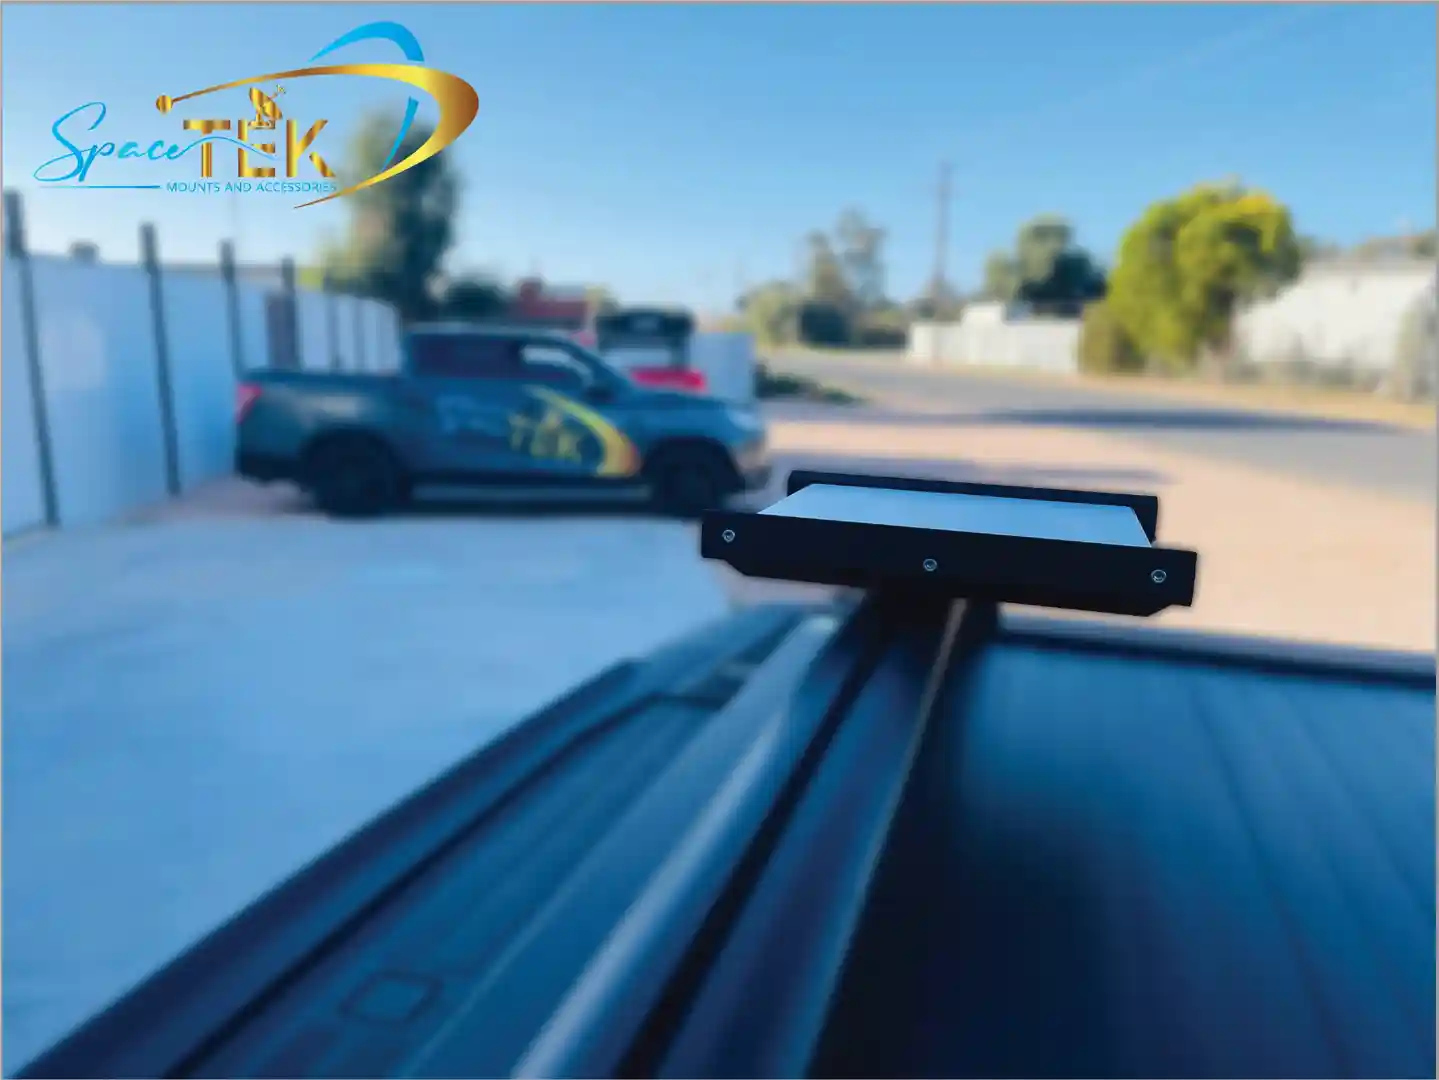
- SpaceTek Roof Rack Mount – Ruggedised for mobile setups on 4WDs and RVs
Choosing the wrong mount can lead to poor signal reception, water damage, or even structural issues during high winds. Australian conditions demand mounts that resist rust, handle extreme temperatures, and accommodate diverse roof types—from corrugated tin to terracotta tile.
Most Starlink kits include a basic kickstand for ground-level testing, but permanent elevated installations require purpose-built mounting hardware. SpaceTek mounts optimise dish positioning for maximum signal strength while protecting your roof from water intrusion and weather damage.
Starlink roof mounts terms made easy:
- Gen 2 vs. Gen 3: What Mount Upgraders Need to Know
- Starlink Gen 3 Accessories
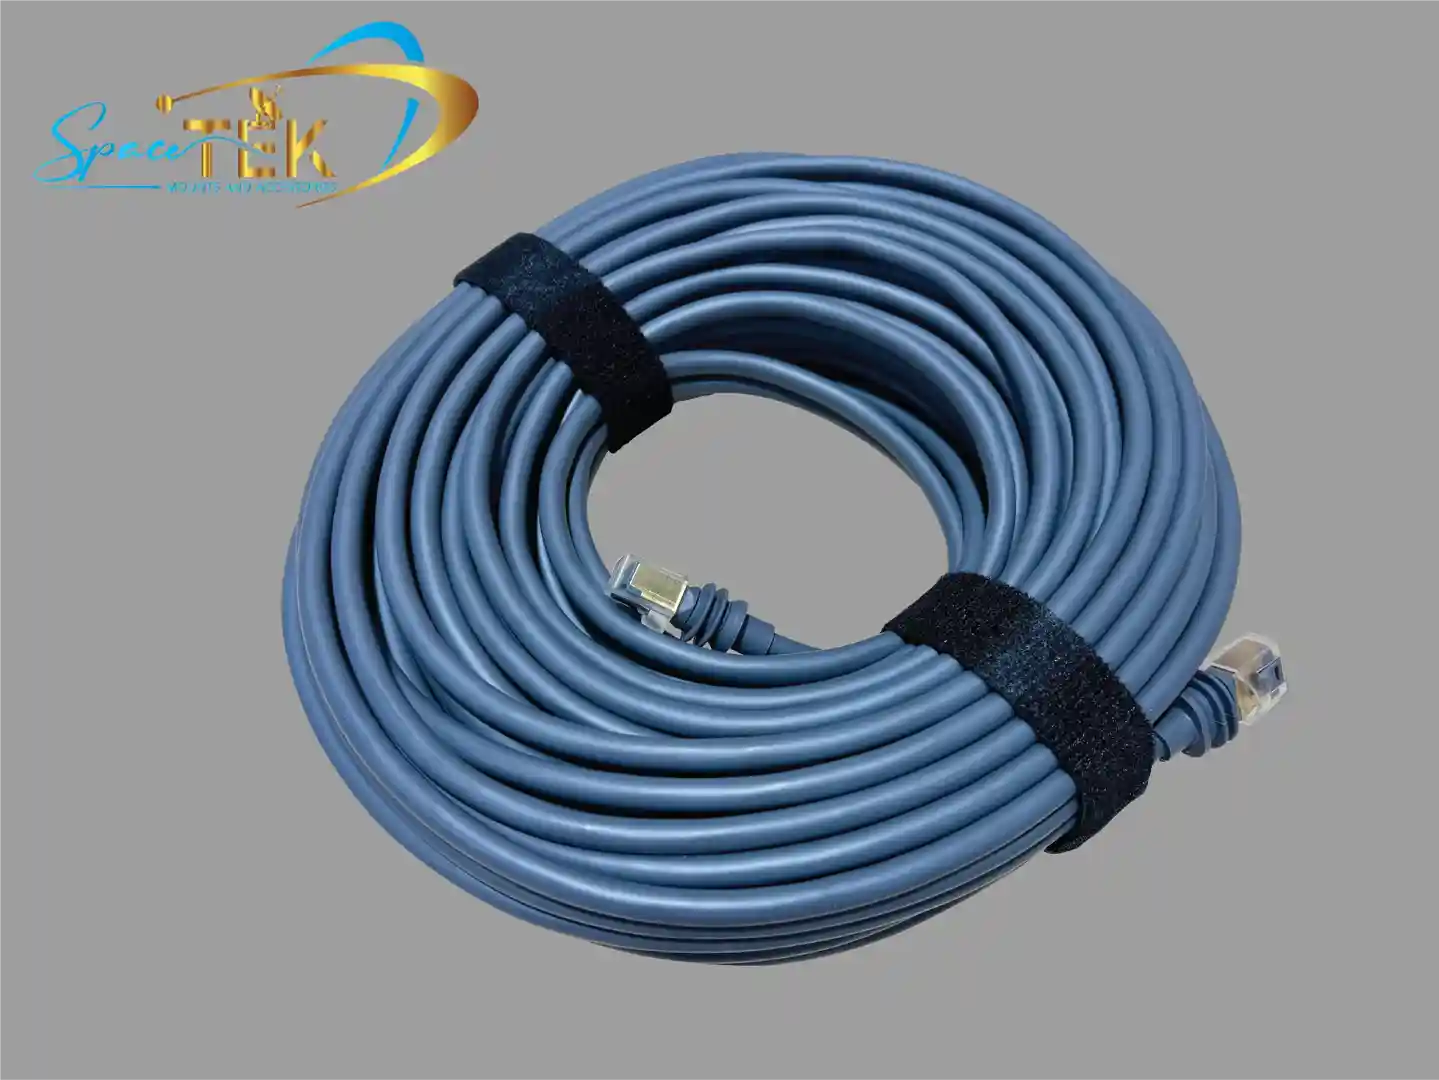
- Waterproof Bulkhead RJ45 Socket Connector
Choosing the Right Starlink Roof Mounts for Your Setup
When we look at the Australian landscape, we see everything from modern tin-roofed homes in the suburbs to classic tile roofs in the city. Selecting the right Starlink roof mounts involves more than just picking a bracket; it’s about matching the hardware to your specific roof material and local weather patterns.
For instance, while many generic mounts are only rated for winds up to 80 kph (50 mph), SpaceTek designs prioritise high-quality materials like heavy-duty aluminium and stainless steel fasteners. These materials ensure your dish doesn't become a frisbee during a summer storm.
Before you buy, you need to consider the slope of your roof. Most SpaceTek ridgeline and pivot mounts are designed for slopes less than 45 degrees. If you have a steeper pitch, you may need specialised brackets to ensure the dish sits level. You can learn more in our Starlink roof mounts: what you need to know before you buy guide.
Permanent Starlink Roof Mounts for Residential Installs
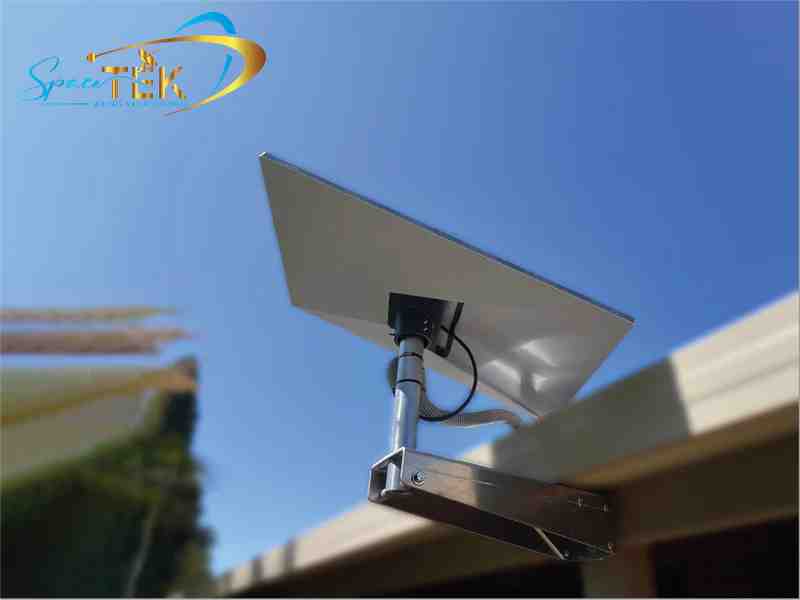
For a permanent home setup, the SpaceTek Pivot Mount and Flashing Mount are the gold standards. The SpaceTek Pivot Mount is designed for slanted roofs, allowing for a vertical installation even on an angle. This is crucial because the dish needs to be able to rotate and tilt freely to find satellites.
If you are installing on a shingled or metal roof, we highly recommend the SpaceTek Flashing Mount. It provides an extra layer of water-tight protection, ensuring that the holes you drill into your roof don't lead to leaks later. When installing these, always ensure you are drilling into structural beams or rafters using lag screws. This provides the "bite" needed to keep the mount secure. For a detailed breakdown of bracket types, check our Starlink roof mount bracket guide.
Non-Penetrating and Specialised Starlink Roof Mounts
We know that not everyone wants to drill holes in their roof—especially if you're renting or have a brand-new build. Non-penetrating solutions like the SpaceTek Ridgeline Mount use ballast weights to stay secure. These are perfect for gable roofs with slopes under 45 degrees.
However, Australian tile roofs present a unique challenge. You can't just screw into a tile without cracking it. Our field tests have shown that SpaceTek's specialised tile roof mounts, which slip under the tiles to attach to the rafters, are the only way to go. We’ve documented the best methods in our guide on how to install a Starlink tile roof mount safely.
Mounting Solutions for Starlink Gen 3 (V4) and Mini
The latest Starlink hardware has changed the game. The Gen 3 (V4) Standard dish and the ultra-portable Starlink Mini require different mounting footprints. The Gen 3 model often uses a 50mm mast support, and we’ve developed SpaceTek aluminium pole adapters that make it easy to transition from older mounts to the new hardware.
The Starlink Mini is particularly versatile. Because it's smaller, it can be mounted on smaller pipes or even flat surfaces using compact SpaceTek adapters. If you've recently upgraded, see our article Raise the roof: a guide to Starlink Gen 3 roof mount kits to see what has changed.
Mobile and RV Roof Mounting Options
For the grey nomads and off-road adventurers, mounting Starlink on a vehicle roof rack is the ultimate way to stay connected. SpaceTek mobility mounts are designed to handle the vibrations of corrugated roads and the wind resistance of highway speeds.

Key features for SpaceTek mobile mounts include:
- 8-degree to 9-degree mounting angles to help shed water and maintain signal during wet weather.
- Stainless steel fasteners to prevent corrosion from salt air.
- Adjustable clamps that fit roof rack bars ranging from 15mm to 44.5mm in thickness.
Whether you're in a caravan or a kitted-out 4WD, our RV roof revolution: a guide to mounting Starlink section has everything you need to hit the road without losing your Netflix stream.
Installation Best Practices and Safety
Safety is paramount when working on a roof. We always suggest that if you aren't comfortable climbing a ladder or using a drill, you should hire a professional. However, if you are a DIY enthusiast, there are a few rules you must follow.
First, never drill blindly. You must avoid electrical wiring and water lines hidden in your ceiling space. Second, always use a high-quality silicone sealant. Apply it inside the pilot holes and over the screw heads to prevent water and bug intrusion. For a complete safety walkthrough, read the ultimate checklist for installing your Starlink mount safely.
Optimising Location and Signal Strength
Before you even touch a drill, you need to find the perfect spot. Your Starlink needs a completely unobstructed view of the sky. Even a single tree branch or a chimney can cause "micro-dropouts" that ruin video calls or gaming sessions.
We recommend using the official Starlink App’s obstruction tool. It uses your phone's camera to scan the sky and tell you if your chosen spot is clear.
Remember to allow for rotation clearance. The dish may need to move to track satellites, so don't mount it too close to walls or overhangs. SpaceTek Wall Mounts, for example, are designed to provide the necessary clearance for various roof overhangs and eaves.
Conclusion and Expert Support
Getting the most out of your satellite internet starts with choosing the right Starlink roof mounts. Whether you need a permanent residential fix, a no-drill ridgeline solution, or a rugged mobile mount for your next Outback adventure, the quality of your hardware matters.
At SpaceTek Australia, we pride ourselves on providing rust-resistant, high-quality mounts that meet Australian standards. Our kits are designed to be user-friendly for the self-installer while offering the structural integrity needed for our unique climate. Don't settle for flimsy imports that will crack under the Australian sun or rust in the coastal salt air.
If you're unsure which mount is right for your home or vehicle, we are here to help. Our team can provide expert advice tailored to your specific setup.
Get in touch for expert advice or explore our full range of Australian-made Starlink mounts.
Leave a comment
This site is protected by hCaptcha and the hCaptcha Privacy Policy and Terms of Service apply.