Why Choosing the Right Starlink Gen 3 Pole Mount Kit Matters

A Starlink Gen 3 pole mount kit from SpaceTek enables secure installation of your Standard dish on poles ranging from 25mm to 63.5mm diameter. Here's what you need to know:
Quick Answer: Essential Components & Compatibility
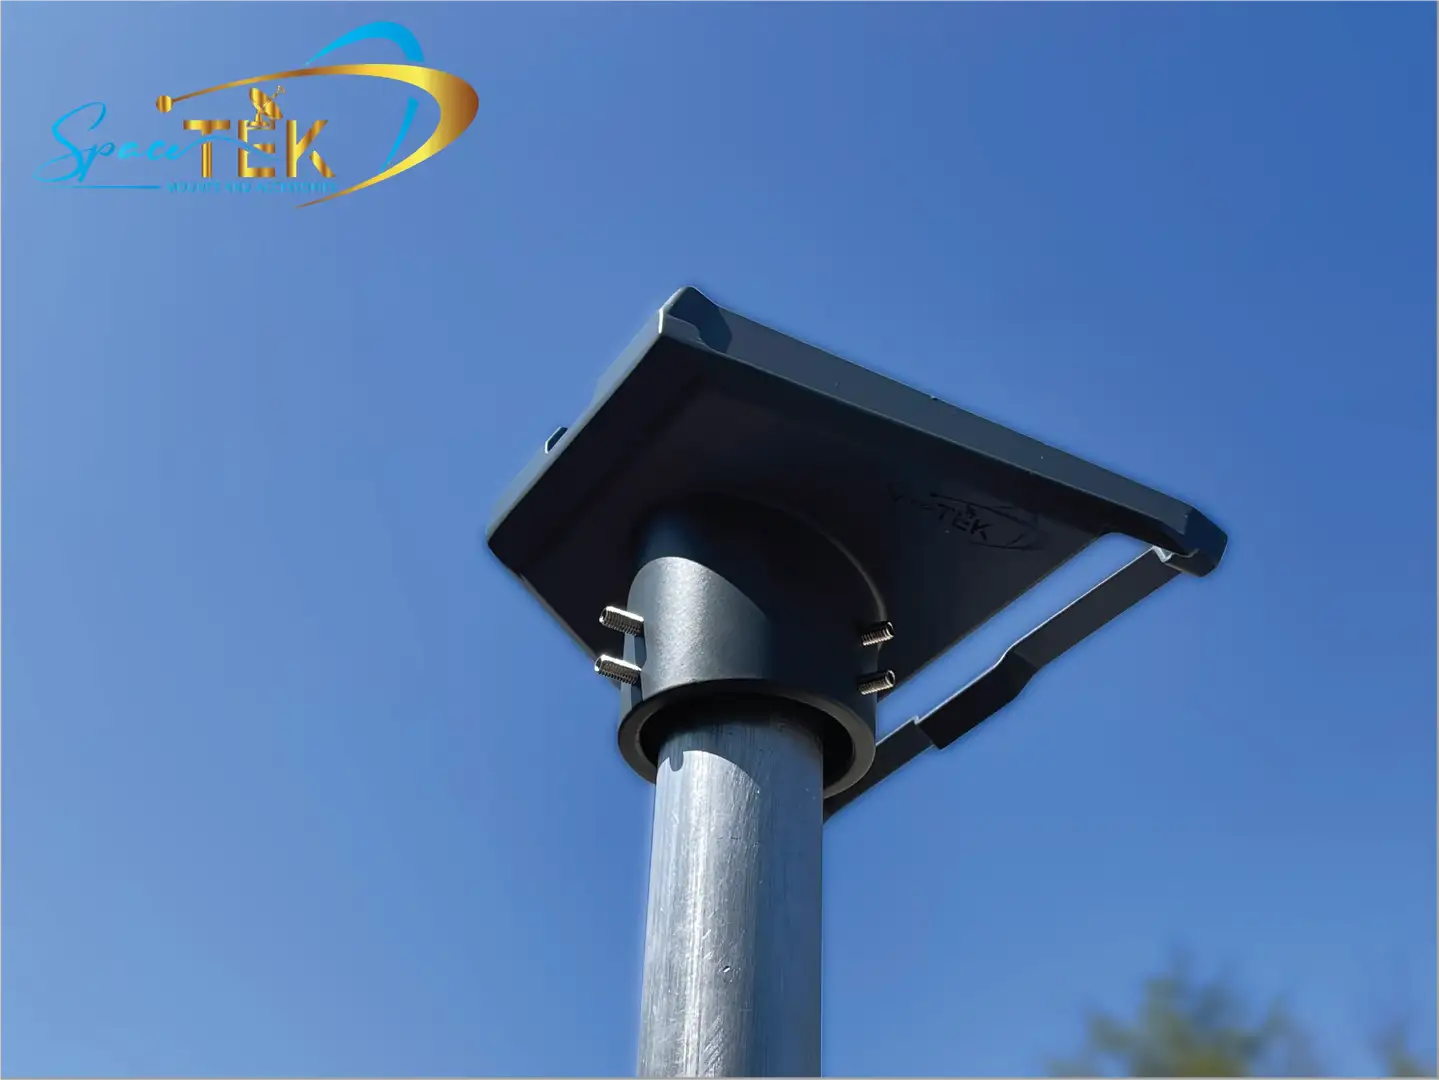
- SpaceTek Precision Adapters: Support poles from 25mm–63.5mm with a deep 70mm socket for superior grip
- Materials: Weather-resistant machined aluminium alloy or stainless steel construction
- Wind Resistance: SpaceTek mounts are engineered for Australian conditions, supporting high wind loads
- Installation: Includes heavy-duty adapter, mounting screws, Allen key, and installation guide
- Load Capacity: Professional-grade mounts support up to 250kg
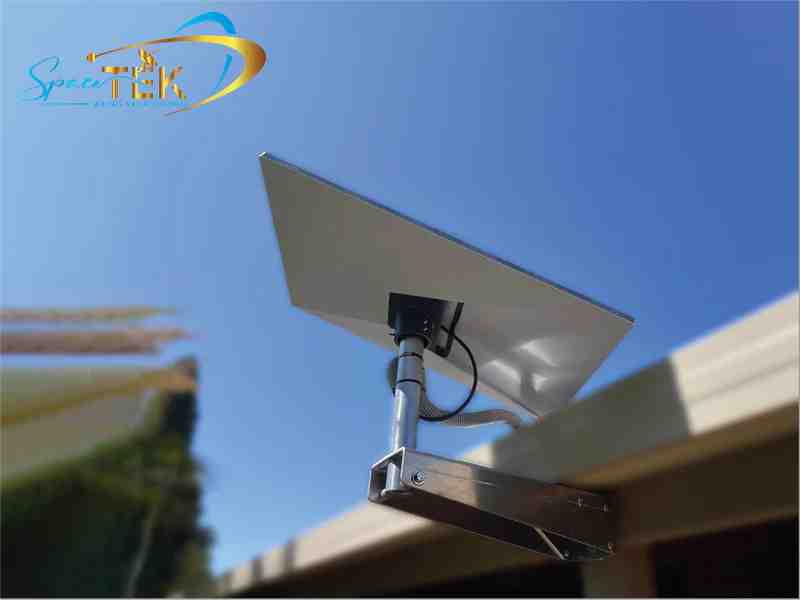
- Compatibility: Designed specifically for Starlink Standard Gen 3 (V3/V4 Kickstand dish)
Getting your Starlink Gen 3 dish mounted securely can make the difference between reliable connectivity and constant dropouts. The shallow design of some generic mounts has been a common frustration point, with many users reporting dishes blown off in wind. That's why choosing a SpaceTek pole mount kit—one built for Australian conditions—is critical.
Whether you're installing on a rural property, mounting to an RV, or setting up on a coastal home, your pole mount needs to handle harsh sun, salty air, and strong winds. The right kit includes a precision-fit SpaceTek adapter, corrosion-resistant hardware, and adjustable positioning to optimise signal reception while avoiding obstructions.
Easy word list:
Choosing the Right Starlink Gen 3 Pole Mount Kit for Your Setup
Selecting a pole mount kit isn't just about finding something that fits; it’s about ensuring your hardware remains stationary during a summer storm. The Gen 3 dish (often referred to as the V4 or Kickstand model) differs significantly from previous versions because it lacks the internal motors found in Gen 2. This means your mount must provide the necessary elevation and angle to clear local obstructions like rooflines or trees.
When browsing options, look for SpaceTek kits that offer a high load capacity. While the dish itself is relatively light at 3.8 lbs (approx. 1.7 kg), wind load can exert massive pressure on the mounting point. A SpaceTek kit with a 250kg (550 lbs) load capacity provides the peace of mind needed for permanent residential installs. Upgrading to Starlink Gen 3 requires an understanding that your old Gen 2 mounts won't work without specific SpaceTek adapters, as the mounting "foot" has been completely redesigned.
Technical Specifications of the SpaceTek Gen 3 Pole Mount Kit
To ensure a "set and forget" installation, we recommend focusing on the materials. Australia’s coastal salt air and intense UV rays can degrade plastic or low-grade steel in months. High-quality pole mount kits utilise powder-coated aluminium alloy or stainless steel.
- Pole Diameter Compatibility: SpaceTek kits support poles between 25mm and 63.5mm. Specialised Gen 3 pole adapters ensure a precision fit for various pipe sizes.
- Weight & Dimensions: A standard kit weighs roughly 1.7kg. The SpaceTek pipe adapter is engineered for maximum surface contact and stability.
- Environmental Tolerance: SpaceTek hardware is rated for extreme temperatures and high wind resistance, ensuring stability where generic mounts fail.
Step-by-Step Installation for Your SpaceTek Pole Mount Kit
Installing your kit is a straightforward process, but precision is key for signal stability.
- Site Survey: Use the Starlink App to check for obstructions. A SpaceTek pole mount is excellent for gaining the extra height needed to clear gutters or chimneys.
- Assemble the Adapter: Attach the SpaceTek adapter to your pole using the included stainless steel screws and Allen key. Ensure the screws are tightened evenly to prevent wobbling.
- Cable Management: Route your Starlink cable through the pole before attaching the dish. This protects the cable from cockatoos and weather.
- Click and Lock: Remove the kickstand from your Gen 3 dish and click the dish into the SpaceTek adapter. You should hear a distinct click, indicating the buckle has engaged.
- Alignment: Since Gen 3 doesn't move itself, you must use the app’s alignment tool to manually rotate the pole until the dish is facing the optimal direction.
For a deeper dive into the nuances of the process, check out our guide on how to install a pole mount.
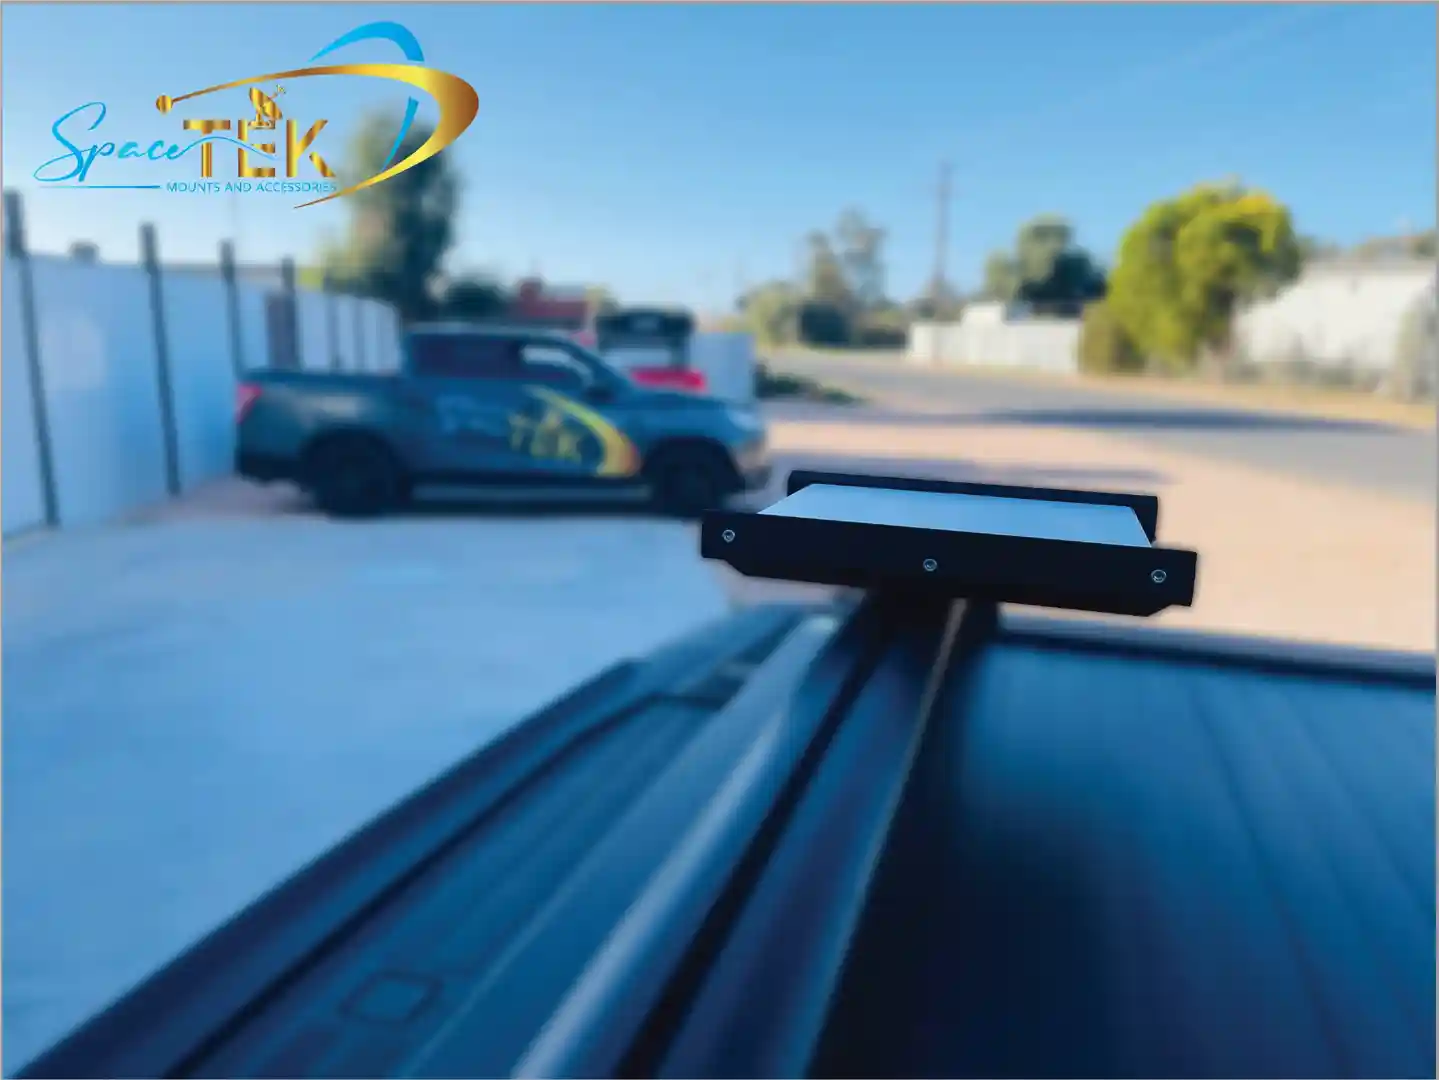
RV and Mobile Mounting Solutions
For the grey nomads and weekend warriors, the pole mount kit needs to be portable. SpaceTek offers solutions for telescoping masts or ladder-mounted poles that are perfect for mobile use.
If you own a large fifth-wheel like a Model G 3500, you might face challenges with ladder height. SpaceTek kits often feature "quick-clip" designs that allow you to deploy the dish in seconds. If you've opted for the smaller hardware for your travels, we have specific mounting options for Starlink Mini that are even more compact.
Why SpaceTek Adapters Outperform Standard Options
One of the most frequent questions we get is why a SpaceTek adapter is necessary. While basic mounts exist, they often have a relatively shallow socket depth.
In high-wind areas—like the Roaring Forties in Tassie or coastal WA—SpaceTek adapters perform better because they feature a deeper 70mm (2 3/4 inch) socket. This provides more surface area for the pole to grip, eliminating the "janky" movement some users report with shallower mounts. Understanding the Gen 3 vs Gen 2 mounts differences is vital, as the Gen 3 requires the secure mechanical lock provided by SpaceTek's precision engineering to compensate for its flat, wind-catching profile.
Alternative Mounting Options for Gen 3
While a pole mount is versatile, SpaceTek provides several ways to get your Gen 3 dish in the air. Depending on your roof type and aesthetic preferences, you might consider:
- SpaceTek Wall Mounts: Ideal for mounting to the side of a house or a fascia board.
- SpaceTek Pivot Mounts: Perfect for sloped tin or shingle roofs where you need to adjust the angle to keep the dish level.
- SpaceTek Tin Roof Mounts: Specifically designed for Australian corrugated iron, often including stay bars for extra stability.
Deciding between roof vs pole mounts usually comes down to how much height you need to clear obstructions. If you have a clear view from the peak of your roof, a SpaceTek wall mount is often cleaner. If you're surrounded by gum trees, a SpaceTek 1.8m pole mount is your best bet.

Choosing the Right Solution with SpaceTek
Investing in a high-quality Starlink pole mount kit is the best way to protect your hardware and ensure your internet speeds stay consistent. At SpaceTek Australia, we've seen how the harsh Australian climate can punish inferior mounts. By choosing rust-resistant aluminium and stainless steel components, you're ensuring your connection remains stable whether you're in the outback or on the coast.
Our custom solutions are built specifically for the unique challenges of the Australian landscape. From telescoping masts for caravans to heavy-duty roof poles for rural homesteads, we prioritise reliability and ease of use. If you're unsure which mount is right for your specific roof type or vehicle, we are here to help.
Contact us for expert advice and let's get your Starlink setup sorted the right way.
Leave a comment
This site is protected by hCaptcha and the hCaptcha Privacy Policy and Terms of Service apply.