Why a Proper Starlink Mount Checklist Matters
A checklist ensures you get your satellite internet up and running safely, securely, and with optimal performance from day one.
Quick Checklist Overview:
- Plan Your Mount - Choose the right mount type for your location.
- Find Clear Sky View - Use the Starlink App to find an obstruction-free zone.
- Gather Tools - Collect your drill, bits, level, sealant, and safety gear.
- Install Safely - Drill pilot holes, apply sealant, and secure the mount properly.
- Connect & Power - Route cables neatly and power up the system.
- Test & Weatherproof - Check alignment and secure all connections against weather.
A rushed or improper installation can lead to damaged equipment, water ingress, or constant connectivity issues. The Starlink dish needs an unobstructed view of the sky—at least 110 degrees of clear space. Trees, buildings, and even your own roof can cause service dropouts.
The good news? With the right preparation and a solid checklist, most installations are straightforward. SpaceTek's mounting solutions are designed specifically for Australian conditions. Our high-quality, rust-resistant kits handle coastal salt air, blazing sun, and rough terrain, working with tin roofs, tile roofs, and everything in between.
Safety is paramount. Working at height and drilling into your property carry risks. This guide walks you through each step with safety front of mind.
As the founder of SpaceTek Australia, I'm Aaron Wroblewski. With over 25 years in satellite communications, I've learned what makes a Starlink mount installation checklist work in real-world Australian conditions, helping thousands get reliable internet through proper mounting and setup.
The Pre-installing Checklist: Planning Your Mount
Before you pick up a drill, proper planning is essential. This is where most successful installations begin—and where problems can be avoided. Getting these decisions right means your Starlink will work brilliantly from the start.
1. Choosing the Right Mount for Your Needs
The mount you choose is the foundation of your setup. Your choice depends on where you're installing (home, caravan) and how you'll use it (stationary, mobile).
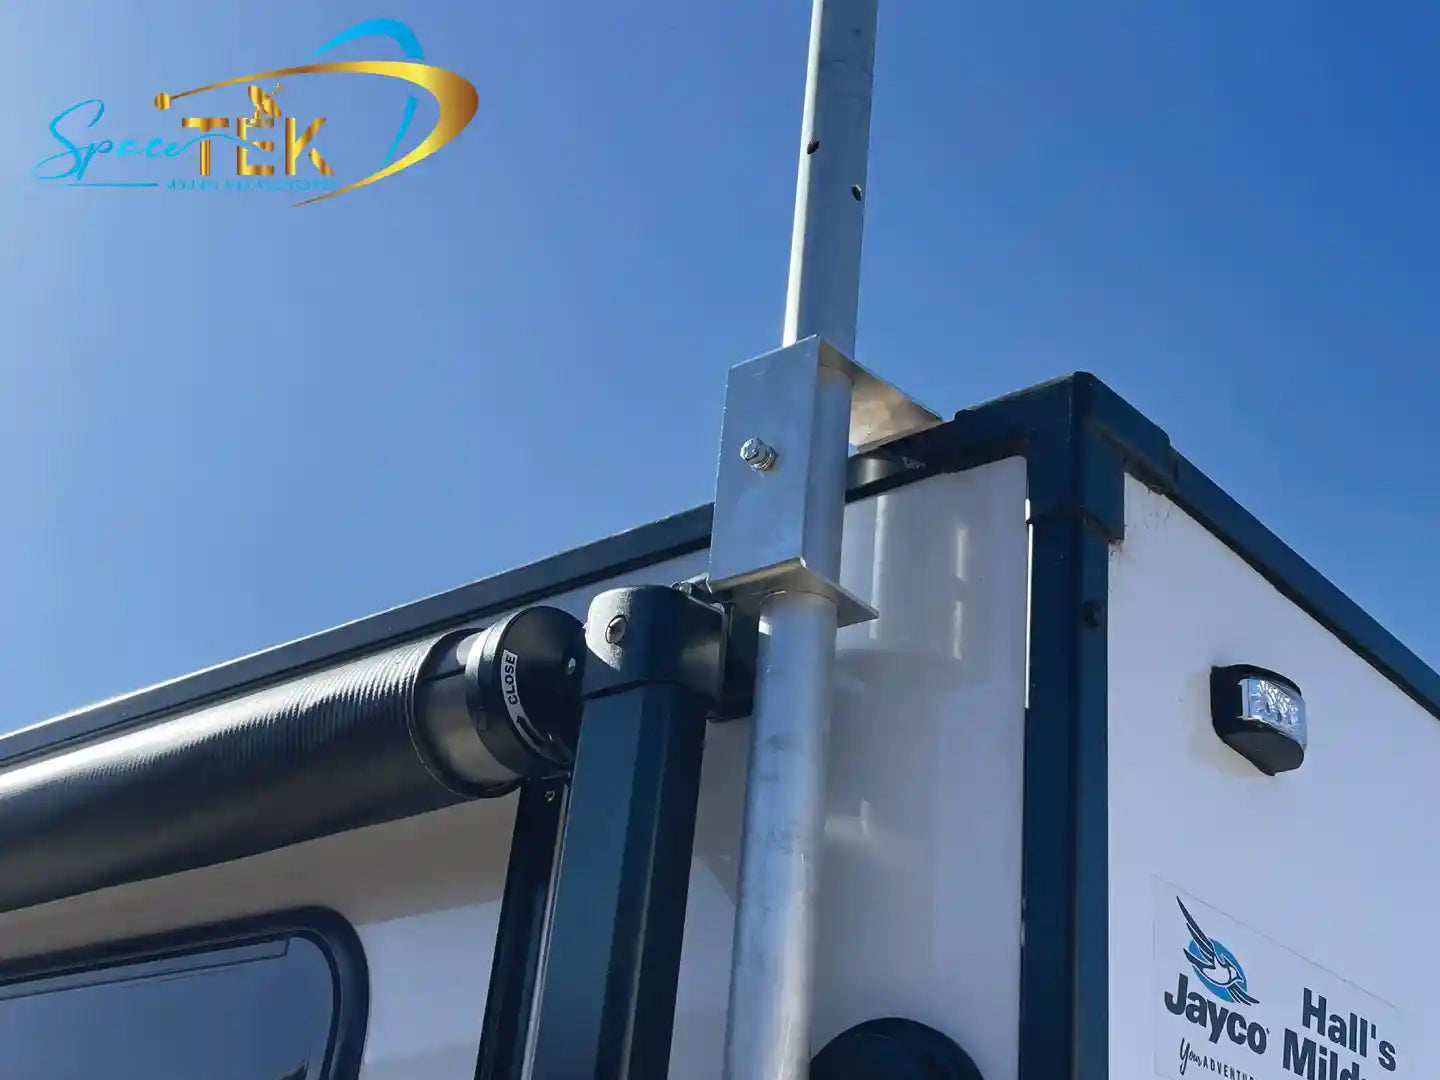
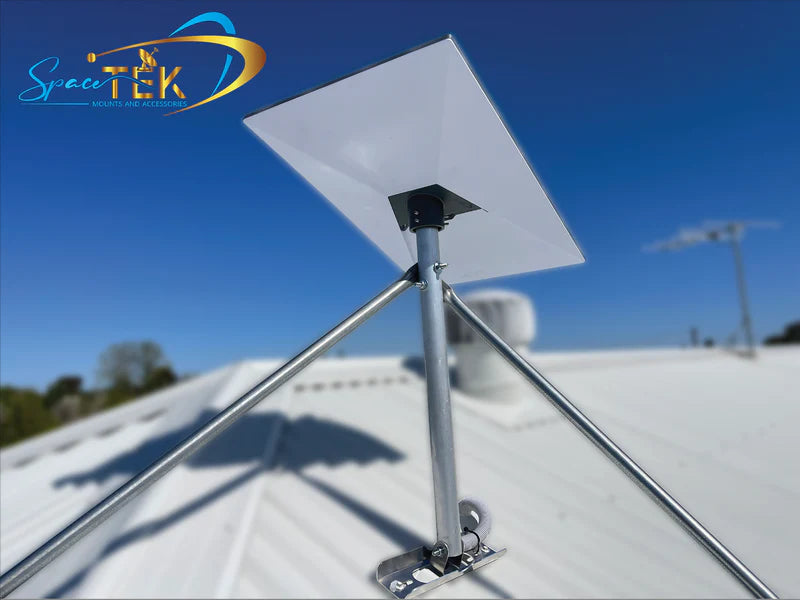
- For permanent home installations, roof mounts offer the best chance at a clear sky view. Wall mounts are great when roof access is tricky, and pole mounts provide flexibility to clear obstructions like trees.
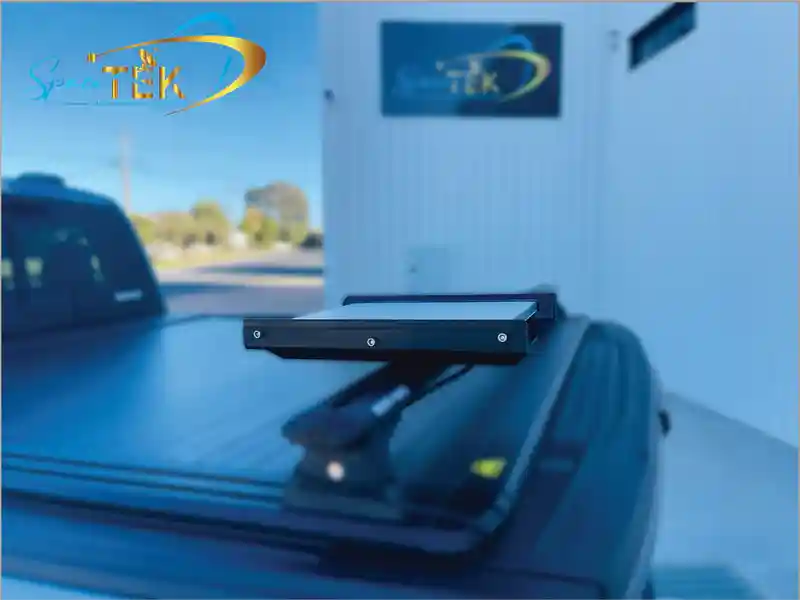
- For mobile setups like caravans and RVs, you need something that is quick to set up but secure. We offer a range of solutions including ladder, hitch, and bumper mounts designed for life on the road.
Different Starlink generations require specific mounting solutions. The Gen 3 (V4) dish, the rectangular Gen 2, and the new Starlink Mini all have unique requirements. We've designed mounts specifically for Australian conditions across all generations.
Browse our collections to find the perfect fit:
- Gen 3 Mounts and Accessories for the latest dish.
- Gen 2 Mounts for rectangular dishes.
- Starlink Mini Mounts for ultra-portable setups.
- Starlink RV & Portability Mounts for when you're on the move.
One final tip: always plan for tethering, especially in high-wind areas. An extra safety line provides peace of mind during severe weather.
2. Finding the Perfect Location with the Starlink App
This step can make or break your internet performance. Your dish needs a clear, unobstructed 110-degree view of the sky to track satellites effectively.
The Starlink app's "Check for Obstructions" tool makes this easy. It uses your phone's camera to scan the sky and highlight any potential blockages. For official guidance on aligning your dish, see Starlink Support’s article on using the Alignment tool: Starlink Alignment Tool.
Walk around your property and use the app to find the clearest spot. Trees grow, so plan for the future. The dish must be mounted within 40 degrees of vertical to avoid a "Motors Stuck" error. For more detailed advice, read our guide on finding the ideal location for installing your Starlink dish.
3. Gathering Your Tools and Materials
Nothing is more frustrating than pausing an installation to find a missing tool. Get everything ready beforehand.
Essential Toolkit:
- Drill or impact driver with appropriate bits
- Socket wrench or hex key set
- Stud finder (crucial for hitting structural beams)
- Level, marker, and measuring tape
- Sturdy ladder
Safety & Weatherproofing:
- Goggles and work gloves
- Quality silicone sealant
- Cable routing kit for wall penetrations
- Cable management clips or ties
The standard Starlink cable is 22.8 metres. Measure the distance from your chosen dish location to where the router will be placed to ensure it's long enough. For detailed hardware information, check out our guide to Starlink mounting hardware. Don't forget about the overlooked step in Starlink mounting: cable management to keep your setup neat and protected.
Your Step-by-Step Installation and Post-Setup Guide
With the planning done, it's time to get your Starlink up and running. Careful work here pays off with reliable, fast internet for years to come.
4. The Core Checklist: A General Guide
First, safety. Working at height with power tools carries risks. If you're not confident, it's smart to call a professional. We can help you find out how to get Starlink installed through local services in Australia.
If you're doing it yourself, always disconnect the Starlink from power before you begin. Ensure your ladder is stable, wear eye protection and gloves, and check for hidden wiring or pipes before drilling.
Here’s the general installation process:
- Prepare the Dish: Remove the kickstand if attached.
- Position the Mount: Place your mount, use a level to ensure it's straight, and mark your drill holes.
- Drill Pilot Holes: Aim for structural beams using your stud finder.
- Seal Everything: This is critical. Apply silicone sealant generously in and around every hole to prevent water ingress.
- Secure the Mount: Use the provided hardware to fix the mount firmly, but don't overtighten.
- Attach the Dish: Plug the cable into the dish before sliding or bolting it onto the secure mount.
- Run the Cable: Route the cable neatly, avoiding sharp bends. Use a proper cable routing kit and sealant for any wall penetrations.
For a detailed walkthrough, see our guide on how to install a Starlink roof mount.

5. Powering Up and Troubleshooting Common Issues
With the dish mounted, connect the Starlink cable to the router, plug the router into an AC outlet, and power it on. For RVs, a dedicated 12V DC power supply is more efficient than running an inverter off your vehicle's battery. Understanding your Starlink DC power requirements is key for mobile reliability.
Open the Starlink App to activate your service and set up your Wi-Fi network. Be patient—it can take 20 minutes or more to boot up, find satellites, and update. Optimal speeds may take up to 12 hours as the system calibrates.
- Common Issues: A red router light means no internet. The "Motors Stuck" alert usually means the dish is blocked or mounted at too steep an angle (it must be within 40 degrees of vertical). If you have no connection, check all cables are fully seated and restart the router.
- For more tips, see our guide on how to boost your Starlink internet.
6. Final Checks and Weatherproofing Your Setup
You're online, but don't stop yet. The final phase of your checklist ensures long-term reliability.
Double-check every cable connection to ensure it's fully latched. Tidy up your cables with clips to prevent damage from wind or snags. Open the app one last time to confirm there are no obstruction warnings and the alignment is good.
Now, let's weatherproof for Australia's harsh climate:
- Wind: Our SpaceTek mounts use high-strength steel, but we always recommend tethering your dish, especially for temporary setups or in high-wind areas.
- Water: Water ingress ruins electronics. Ensure every hole you drilled is thoroughly sealed with high-quality silicone. For a professional-grade cable entry, our Starlink Gen 3 IP68 Waterproof Bulkhead RJ45 Socket Connector is an excellent solution.
- Rust: Coastal salt air and humidity accelerate corrosion. We build our mounts from high-strength, rust-resistant materials specifically to handle these conditions.
This checklist covers everything from planning to weatherproofing. Taking your time and doing it right ensures your Starlink delivers optimal performance and longevity. At SpaceTek Australia, we provide the most secure, rust-resistant, and user-friendly Starlink mounts in Australia, built for our unique environment.
If you have questions or need expert advice on the right mount for your situation, please get in touch with us. We're here to help you stay connected.
Leave a comment
This site is protected by hCaptcha and the hCaptcha Privacy Policy and Terms of Service apply.