Why Getting Your Starlink Mount Right Matters in Australia
The standard Starlink base is fine for ground testing, but it won’t survive long on an Australian roof. Our harsh sun, cyclonic winds, and coastal salt demand purpose-built solutions. Without the right hardware, you risk water damage, signal loss, and a dish that becomes an expensive frisbee in the next storm.
Mounting Starlink on Tile, Tin, and Corrugated Roofs show that each roof type needs a specific approach:
- Tile Roofs: Mount to rafters under the tiles, never drilling through them. This requires careful flashing and sealing. See our guide on how to install starlink on tile roof.
- Tin & Corrugated Roofs: Use sealed, corrosion-resistant brackets. Non-penetrating clamps are ideal for some profiles.
As founder of SpaceTek Australia, I’ve spent 25 years solving remote connectivity challenges. I’ve seen too many mounts fail our unique conditions. That’s why we provide field-proven Starlink roof mounting options that last. This guide walks you through our refined seven-step process for a secure installation on any Australian roof.
The 7-Step Field Test for Mounting Starlink on Tile, Tin, and Corrugated Roofs
Through hundreds of installations, we've refined a seven-step process that works reliably across tile, tin, and corrugated roofs. This mounting methodology ensures your dish stays secure and your connection strong.
Step 1: Pre-Installation Survey
Before touching a ladder, use the Starlink app’s obstruction checker. Scan the sky where you plan to mount the dish, looking for trees, buildings, or power lines. In Australia, the dish generally points south, so ensure that view is clear to avoid frustrating dropouts. Also, assess your roof's pitch and condition. Most standard mounts work on slopes under 45 degrees, but steeper pitches may need special brackets. For more tips, see our Starlink installation guide: Where should you set up your dish.
Step 2: Choosing Your Hardware
The plastic base included with your Starlink kit is not suitable for a permanent roof installation in Australia. Our climate demands marine-grade stainless steel and other rust-resistant materials that can withstand coastal salt, UV radiation, and high winds. The mount must also fit Starlink’s proprietary pole stem securely to prevent wobble and signal loss. At SpaceTek, our mounts are designed for Australian conditions and a perfect fit. Explore our guide on Starlink mounting hardware: Everything you need to know to see your options.
Step 3: Safety First
Roofs are inherently dangerous. Before starting, clear your work area, set your ladder on stable ground, and wear appropriate safety gear. For steep or high roofs, a safety harness is non-negotiable. Inspect the roof for weak spots. If you’re not comfortable working at heights, don’t risk it. There’s no shame in calling a professional to ensure the job is done safely.
Step 4: The Installation
With your location confirmed and safety gear on, it's time to install the mount. The specifics vary by roof type, as detailed below. Precision is crucial—follow the manufacturer's instructions exactly. Ensure every bolt is tightened correctly and the mount is level. A rushed job won't survive the first big storm, so take your time to get it right.
Step 5: Weatherproofing
This is the one step you cannot skip. Any hole in your roof is a potential leak. For tile roofs, this means proper flashing. For metal roofs, use brackets with double-seal technology. We recommend high-quality, UV-resistant silicone sealant that won’t degrade in the sun. Also, create a "drip loop" in your cabling to prevent water from running along the cable and into your home.
Step 6: Cable Management
The 30-metre Starlink cable cannot be cut or modified, so handle it with care. Plan your cable run before you start. Routing through the roof cavity is ideal for protection from UV and physical damage. If running externally, use a conduit. Secure the cable without bending it too sharply or overtightening ties, especially near the vulnerable connectors.
Step 7: Final Checks
With everything installed, power up the system and open the Starlink app. It will guide the dish through alignment and confirm you have a strong signal with a clear view of the sky. If the app shows issues, troubleshoot them now before packing up. For tips on optimising your connection, check out our guide to Boost your Starlink internet: Best setup performance hacks.
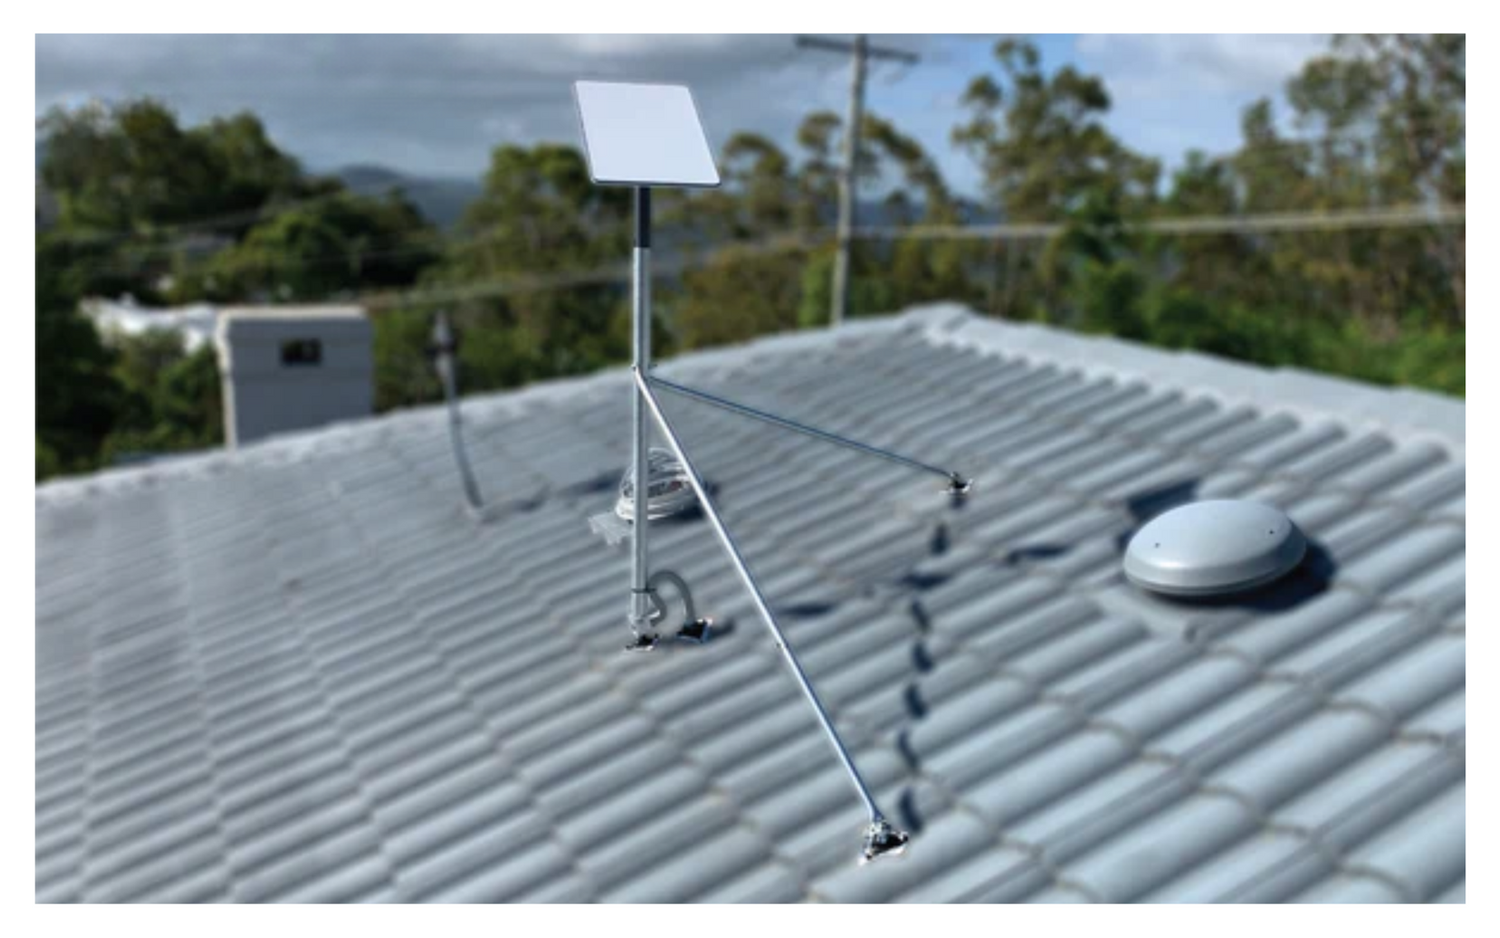
Mounting Solutions for Tile Roofs
Tile roofs are fragile, so the golden rule is: never drill through the tiles. Instead, attach mounts directly to the timber rafters underneath. This involves carefully lifting tiles, securing the mount, and then replacing the tiles around it. Proper flashing and sealing are essential to create a completely waterproof barrier and prevent leaks that can cause thousands in damage. It’s a skilled job that requires patience, which is why we have a detailed guide on How to install a Starlink tile roof mount safely.
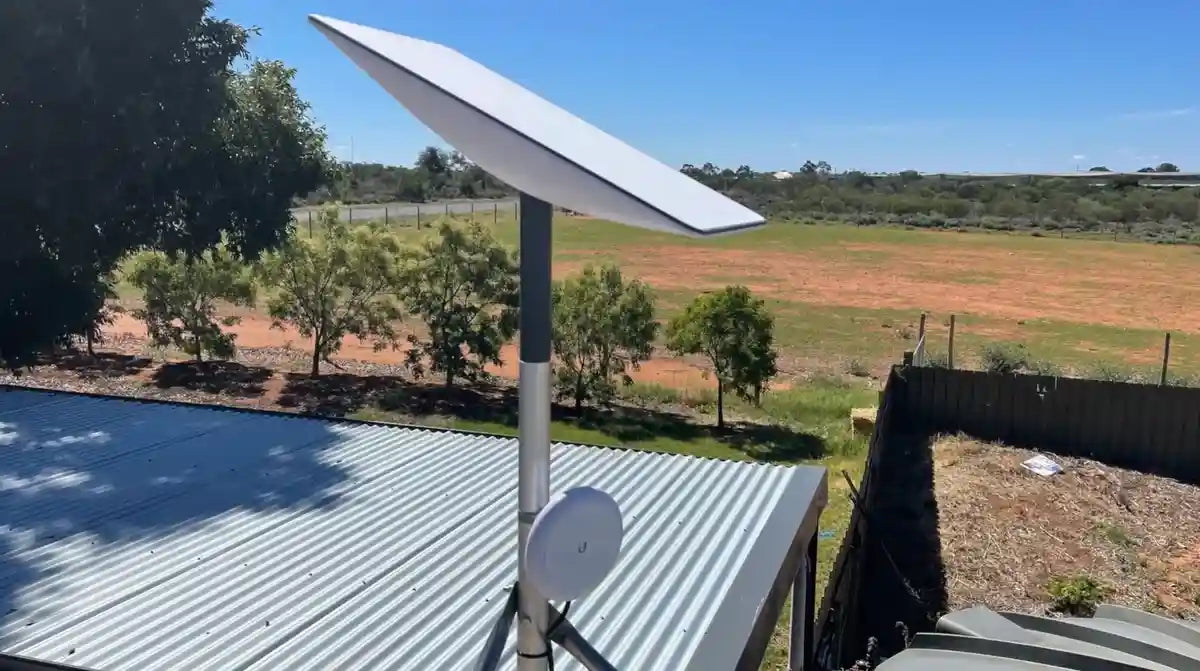
Tackling Tin & Corrugated Roofs
Metal roofs are common in Australia and are excellent for Starlink installations, but they require specific techniques. For exposed-fastened roofing (visible screws), use non-corrosive brackets that create a double seal against moisture. For standing seam roofs, non-penetrating clamps are the best choice as they grip the seams without drilling holes, preserving your roof warranty. Avoid ballast methods (concrete blocks), as they trap moisture and cause corrosion. Rust prevention is critical, so always use marine-grade stainless steel hardware. Learn more in our guide on How to choose the right Starlink mount for your roof type in Australia.

Specialised Mounts for Every Starlink Kit
Not all Starlink dishes are the same. At SpaceTek, we offer specific solutions for each generation to ensure a perfect fit and optimal stability.
- Gen 2 Mounts: Our robust mast adapters and pole mounts are designed to handle the size and weight of the original rectangular "Dishy," lifting it clear of obstructions.
- Gen 3 / V4 Mounts and Accessories: We have a full range of hardware designed for the latest generation dish, ensuring seamless integration and maximum stability.
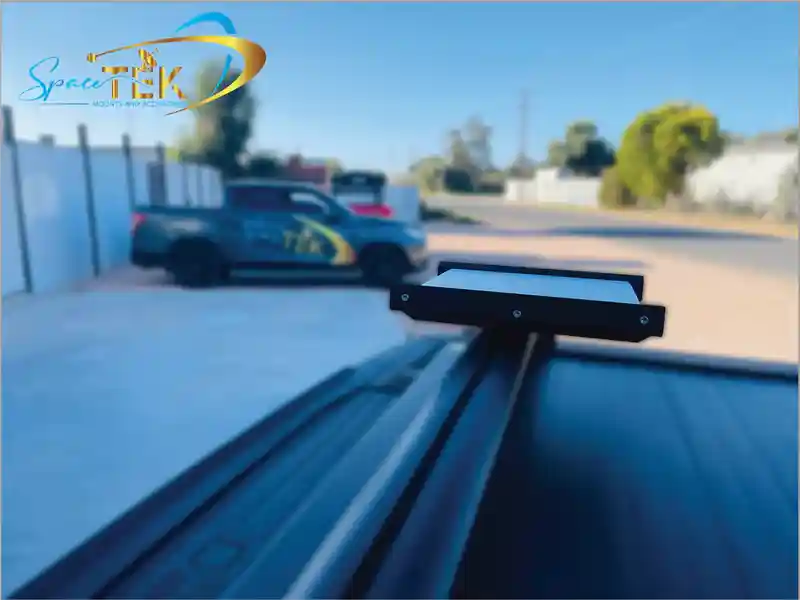
- Starlink Mini Mounts: These mounts cater to the compact Mini dish, providing secure roof rack and suction cup solutions for stationary use.
- RV & Portability Mounts: For travellers, our quick-deploy solutions like fold-down wall mounts and mast adapters keep your Starlink secure on the road.
Final Analysis: Ensuring a Lasting and Reliable Connection
Getting high-speed satellite internet is exciting, but the real goal is an installation that performs for years to come. Australia’s weather—from scorching sun and UV radiation to cyclonic winds—demands respect. The longevity of your Starlink connection depends on three factors: corrosion-resistant materials, proper weatherproofing, and a mount strong enough to handle high winds. Getting these right means consistent performance and peace of mind.
Advantages and Disadvantages for Each Roof Type
Each roof type has its own challenges and benefits.
- Tile Roofs: Offer a clean look as hardware can be hidden, but the tiles are fragile. Installation is complex and best left to professionals, making it a more costly option with a moderate-to-high leak risk if not done perfectly.
- Tin Roofs: A strong, stable platform. The main challenge is preventing corrosion with non-corrosive, double-sealed brackets. Installation is moderately difficult with a low-to-moderate leak risk when sealed correctly.
- Corrugated Roofs: Robust and well-suited to non-penetrating clamps. Matching the mount to the roof profile and preventing rust are key. The difficulty and leak risk are similar to tin roofs.
Potential Risks of Improper Mounting
Understanding what can go wrong highlights why a proper installation is so important.
- Water Damage: Poorly sealed penetrations can lead to costly structural damage that insurance may not cover.
- Wind Damage: An insecure dish can become a dangerous projectile in high winds, damaging property or causing injury. The standard mount is often not rated for Australian wind conditions.
- Signal Loss: A wobbly or misaligned mount will cause intermittent service, defeating the purpose of getting Starlink in the first place.
- Voiding Warranties: Using the wrong mounting method, like drilling into a standing seam metal roof, can void your roof’s warranty.
DIY vs. Professional Installation: Making the Right Call
While Starlink is designed for self-installation, there's a big difference between a temporary ground setup and a permanent, weatherproof roof mount. A DIY approach saves money upfront, but working at heights is dangerous, and mistakes can lead to roof damage, voided warranties, or poor performance down the line.
Professional installation costs more but provides expertise, safety, and peace of mind. Installers understand roof structures, use the right tools, and guarantee their work. For a permanent roof mount in Australia’s challenging environment, a professional is usually the smarter, safer choice. You can find trusted installers through our Find an Installer page.
At SpaceTek Australia, we’ve built our reputation on providing the most secure, rust-resistant, and user-friendly Starlink mounts available. Our approach to Mounting Starlink ensures your system delivers reliable performance for years. Getting your mount right is about ensuring a lasting and safe connection. Choose SpaceTek for solutions that stand up to the unique demands of the Australian landscape. For expert advice customised to your situation, please contact us anytime.
Leave a comment
This site is protected by hCaptcha and the hCaptcha Privacy Policy and Terms of Service apply.