Starlink mounting hardware is your gateway to seamless satellite internet connectivity, especially vital for those living in remote areas with limited internet access. Starlink, a satellite internet constellation developed by SpaceX, aims to provide high-speed internet across the globe. To achieve optimal performance from your Starlink dish, choosing the right mounting option is essential. Here’s a quick overview:
- Wall Mounts: Ideal for attaching to exterior walls.
- Roof Mounts: Best for high elevation to avoid obstructions.
- Pole Mounts: Offers flexibility and stability, perfect for ground installations.
- Eave Mounts: Suitable for discreet mounting under eaves.
- Portable Mounts: Designed for easy relocation, great for RV travelers.
Choosing the right mount improves stability, ensures clear line-of-sight, and maximizes your internet speed and reliability. Whether on a roof, wall, or pole, proper installation can significantly improve your Starlink experience.
In this article, we'll explore the best options for mounting your Starlink dish, from Gen 2 and Gen 3 kits to the compact Starlink Mini. Whether you're setting up on a rooftop in a busy city or a caravan in the outback, we'll guide you through everything you need to know. Open up the full potential of your satellite internet with the proper mounting setup!

Understanding Starlink Mounting Hardware
When setting up your Starlink system, the right starlink mounting hardware is crucial for optimal performance. Whether you're using a Gen 2, Gen 3, or the compact Starlink Mini, each requires specific mounting solutions to ensure a stable and reliable connection. Let's explore the different mounting kits and their installation processes.
Mounting Kits Overview
Starlink Gen 2:
Tin Roof Kit: Perfect for Australian summers, this mount keeps the dish away from radiating roof heat, maximising airflow. It requires no adapter, clipping directly into the mast, preserving your warranty. View Product
Ridge Cap Mount: Ideal for cooler climates, this mount avoids thermal shutdowns by allowing higher airflow. It fits most standard roof pitches and can be installed in under 10 minutes. View Product
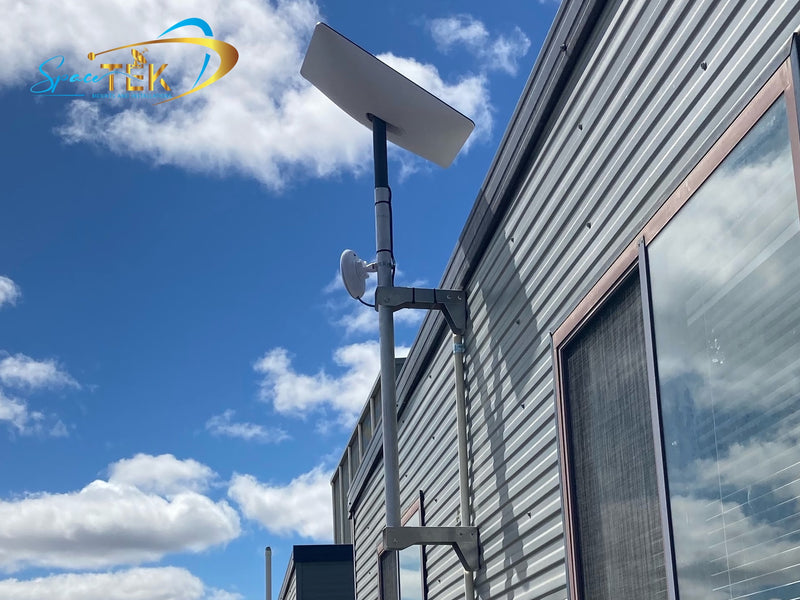
Wall/Eave Mount: Offers 360mm clearance from the wall, making it easy to install without climbing onto the roof. Suitable for both timber and masonry. View Product
Atco/Demountable Wall Mount: Designed for composite wall panels, this mount spreads the load to avoid roof drilling, perfect for temporary setups. View Product
Tile Roof Kit: Ensures your dish remains cool and secure on tile roofs, with easy clip-on installation. View Product
Starlink Gen 3:
Carbon Fibre Telescopic RV Mount: Lightweight and durable, perfect for travelers needing reliable internet on the go. View Product
Tile Roof Kit: Offers a secure, weather-resistant installation for Gen 3 terminals on tile roofs. View Product
Tin Roof Kit: A lite-duty option for corrugated iron roofs, preserving warranty with no drilling required. View Product
Wall/Eave Mount: Versatile for wall or eave installations, ideal for travelers. View Product
In-Motion Mount: Ensures connectivity on the move with durable construction and versatile installation options. View Product
Ridge Cap Mount: Fully adjustable for standard tin roofs, providing optimal elevation for signal reception. View Product
Starlink Mini:
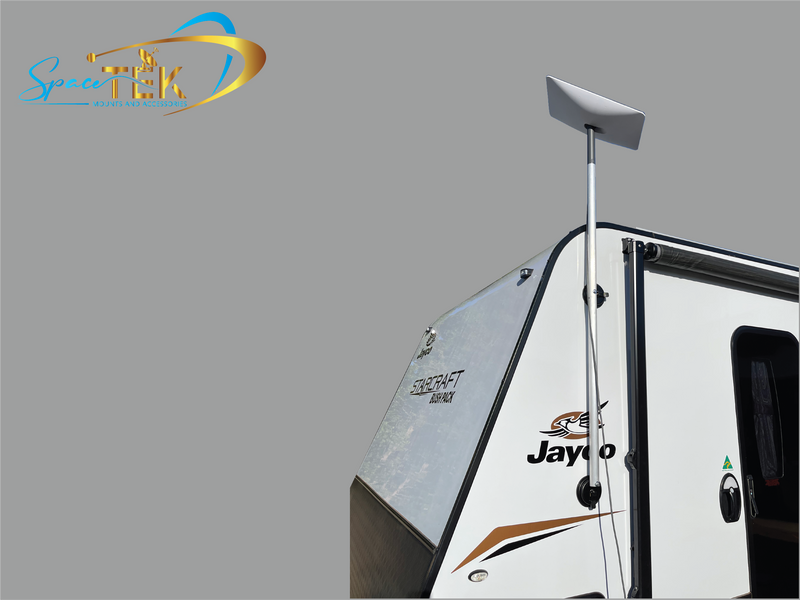
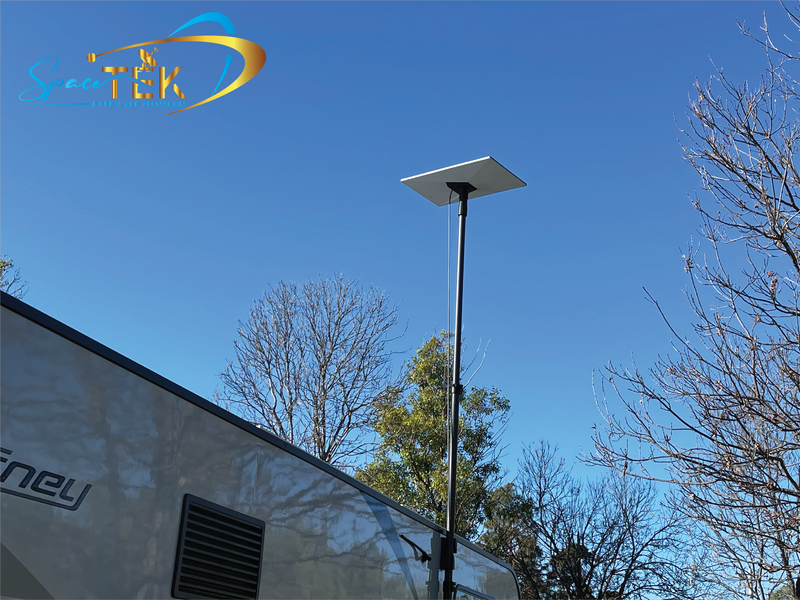
- Carbon Fibre Telescopic RV Mount: Specifically crafted for van and RV owners, this mount is lightweight yet strong, with a telescopic design for easy adjustment. View Product
Installation Insights
Proper installation is key to ensuring the stability and efficiency of your Starlink system. Each mounting kit comes with detailed instructions and all necessary components for a hassle-free setup. For instance, the Carbon Fibre Telescopic RV Mount for the Starlink Mini offers a flat adapter that simplifies installation and improves signal focus.
For roof installations, such as the Tile Roof Kit, you'll need to drill carefully to avoid damaging tiles. Meanwhile, wall and eave mounts offer flexibility without the need for extensive roof work, making them ideal for those who prefer easier access.
In summary, selecting the right starlink mounting hardware and following the installation guidelines will significantly improve your internet experience. Whether stationary or on the move, these kits provide the reliability and performance you need to stay connected.
Our Range of Starlink Mounting Solutions
Starlink Mini
For those using the Starlink Mini, SpaceTek Australia offers the Carbon Fibre Telescopic RV Mount. This mounting solution is perfect for van and RV travelers who require dependable internet access on the road. The mount is crafted from high-strength carbon fibre, making it both lightweight and durable. It includes a flat adapter that simplifies installation and improves signal focus, ensuring optimal performance in various environments.

Starlink Gen 3
SpaceTek's Starlink Gen 3 mounting options are designed to provide secure and reliable installations across different environments. Here's a closer look at the available mounts:
-
Carbon Fibre Telescopic RV Mount: Ideal for travelers, this mount is lightweight yet robust, ensuring stable internet connectivity on the move. View Product

-
Tile Roof Kit: This kit offers a weather-resistant and secure installation for tile roofs, ensuring your Starlink terminal stays in place even in challenging weather. View Product

-
Tin Roof Kit - Lite Duty: A practical solution for corrugated iron roofs that requires no drilling, preserving your warranty. View Product

-
Wall/Eave Mount: Offers versatility for wall or eave installations, perfect for those who need an liftd setup. View Product

-
In-Motion Mount: Designed for connectivity on the go, this mount features durable construction and versatile installation options. View Product

-
Ridge Cap Mount: Fully adjustable for standard tin roofs, this mount provides the elevation needed for optimal signal reception. View Product

Starlink Gen 2
For users with Starlink Gen 2, SpaceTek provides a range of mounts custom to different roof types and installation needs:
-
Tin Roof Kit: Designed for corrugated iron roofs, this mount ensures a secure fit without drilling, maintaining the dish's warranty. View Product

-
Ridge Cap Mount: Perfect for cooler climates, this mount allows for higher airflow to prevent thermal shutdowns. View Product

-
Wall/Eave Mount: Provides clearance from the wall for easy installation without roof access. View Product

-
Atco/Demountable Wall Mount: Ideal for temporary setups, this mount spreads the load to avoid roof drilling. View Product

-
Tile Roof Kit: Ensures a secure and cool installation for tile roofs, with easy clip-on installation. View Product

These starlink mounting hardware solutions are crafted to withstand harsh weather conditions, ensuring your Starlink terminal remains operational and protected. Whether you’re stationary or on the move, SpaceTek Australia has you covered with durable and reliable mounting options.
Frequently Asked Questions about Starlink Mounting Hardware
What mounting hardware comes with Starlink?
When you purchase a Starlink kit, it usually comes with a basic Wedge Mount. This mount is designed for installation on a horizontal surface and provides an 8° angle to help position the dish optimally. However, for more permanent or complex setups, additional mounting hardware may be necessary. These can include wall mounts, roof mounts, or pole mounts, depending on your specific needs and environment.
What is the best way to mount a Starlink dish?
The best way to mount your Starlink dish is to ensure it has a clear horizon. Ideally, you should place the dish on the north side of your location (in the Southern Hemisphere) to maximise its connection to the satellites. Elevating the dish to a lifted location, such as a roof or pole mount, can help avoid obstructions like trees or buildings.
What mounts are available for Starlink?
SpaceTek Australia offers a variety of mounting solutions to accommodate different installation needs:
Wall Mounts: Perfect for attaching the dish to the side of a building, ensuring easy access and installation.
Roof Mounts: Suitable for those who need an elevated position for their dish. Options are available for tile, tin, and ridge cap roofs.
Pole Mounts: Ideal for ground-level installations or when traditional roof or wall mounting isn't possible.
These mounts are crafted to withstand harsh weather conditions, ensuring your Starlink remains securely positioned and operational.
Make the Most of Your Starlink Setup!
At SpaceTek Australia, we understand the importance of a reliable internet connection, especially in remote or challenging environments. That's why we offer custom mounting solutions for your Starlink equipment, custom specifically to meet the needs of Australian conditions. Our mounts are designed to provide optimal performance, ensuring your Starlink dish is securely positioned for the best possible connectivity.
Our range of Starlink mounting hardware is crafted from high-quality materials, such as lightweight and rust-resistant carbon fibre. This ensures durability and longevity, even in harsh weather conditions. Whether you're a digital nomad needing internet on the go, or simply looking for a stable home setup, our mounts are engineered to deliver.
By choosing SpaceTek Australia, you're not only investing in custom solutions that improve your Starlink experience but also ensuring that your setup is both efficient and reliable. Our team is committed to helping you find the perfect mounting option, whether it’s for a tile roof, tin roof, or even a mobile setup like an RV or van.
Explore our full range of Starlink mounting solutions and find how we can help you achieve seamless connectivity, no matter where you are. Visit SpaceTek Australia to learn more and find the perfect mount for your needs.
Leave a comment
This site is protected by hCaptcha and the hCaptcha Privacy Policy and Terms of Service apply.