
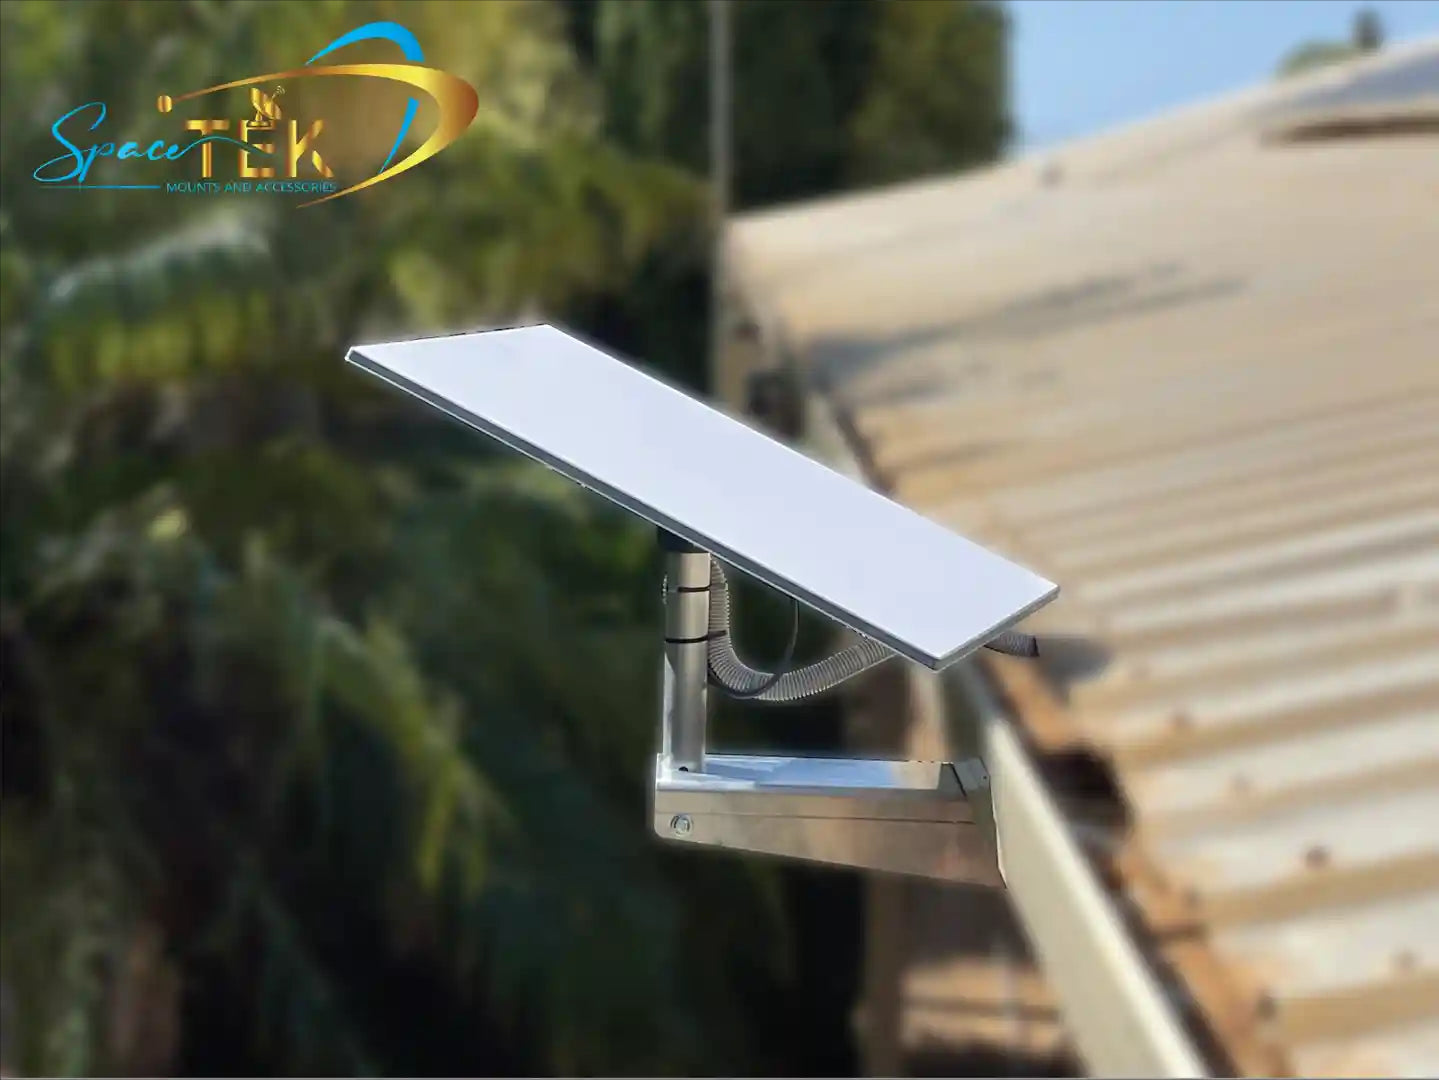
Why the Right Mount is Crucial for Your Australian Starlink Setup

Updated for October 2026. The right Starlink mount depends on your roof material, roof pitch, exposure to wind and whether the location gives the dish a clear view of the sky. For Colorbond, tile and flat roofs, choose a dish mount suited to the roof construction and plan any permanent roof work carefully to protect the building envelope.
A rooftop location can be a practical option when it provides a clear, unobstructed view of the sky. Before deciding on placement, use the Starlink app and review Starlink’s official kit and mounting guides for your kit and location.
Consider the roof structure, weather exposure, access for maintenance and cable route before selecting a location. For permanent roof installations, follow the instructions for your Starlink kit and obtain appropriate professional advice where the roof condition or installation method is uncertain. Keep an alternative ground, wall or pole location in mind if the roof cannot provide a suitable installation.
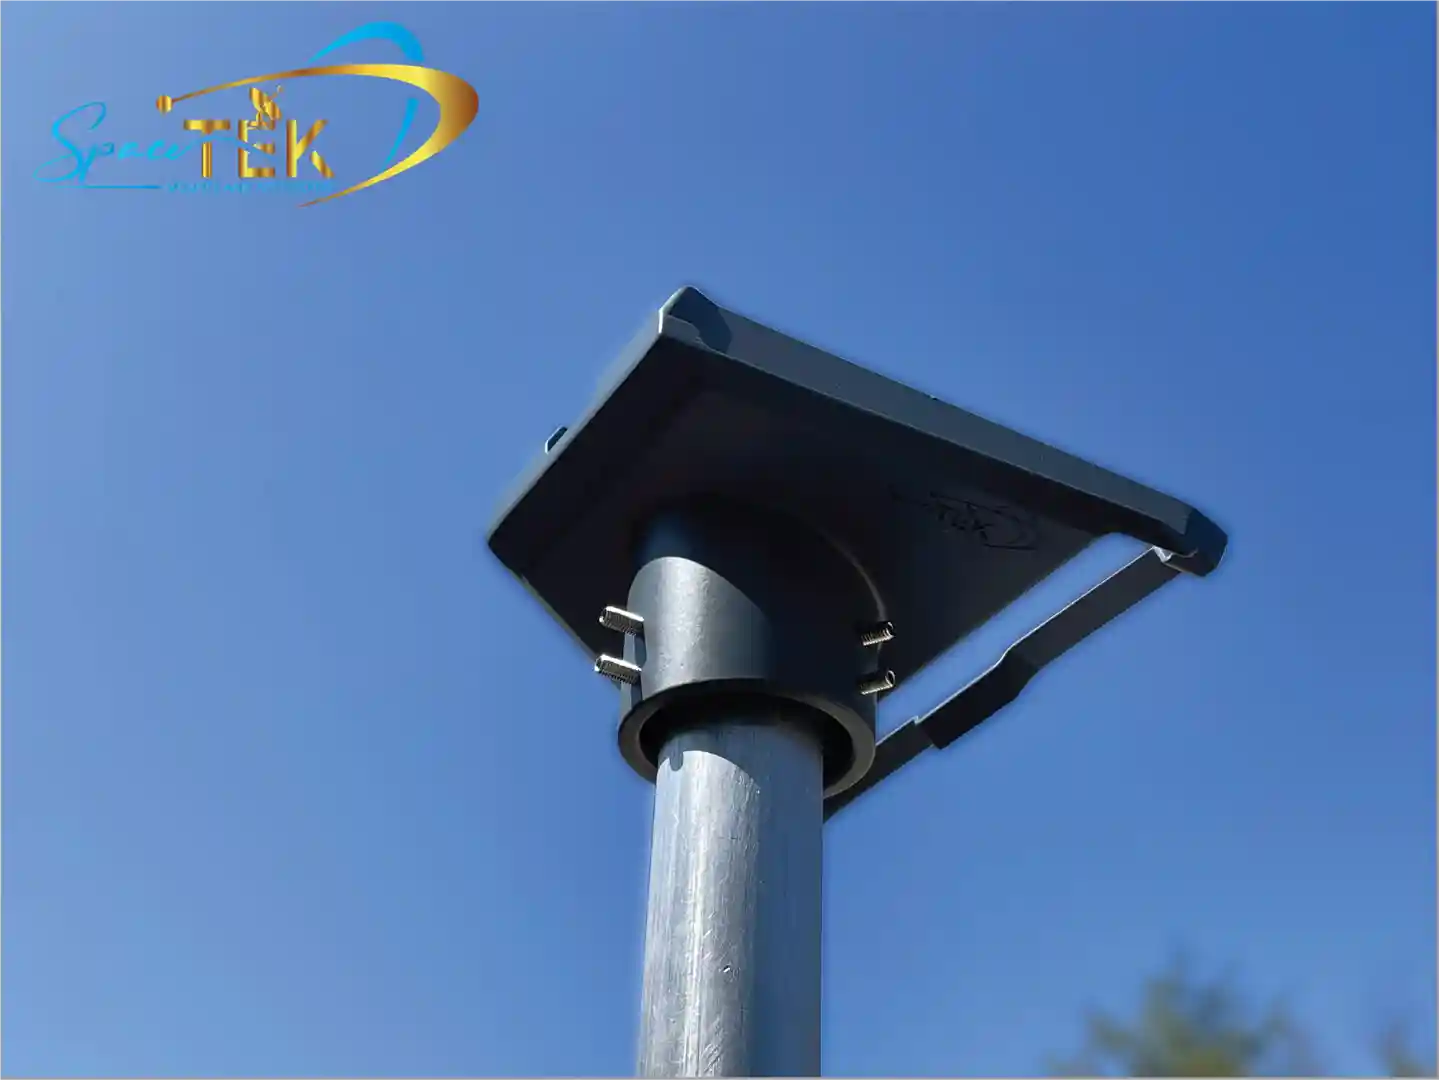
This guide focuses on the practical questions to consider when selecting a Starlink mount for an Australian roof, without assuming that one installation method suits every property.
How to Choose the Right Starlink Mount for Your Roof Type in Australia
Understanding Common Australian Roofs and Their Challenges
Knowing your roof is the first step. Australia’s building styles mean a variety of roofing materials, each with unique installation needs.
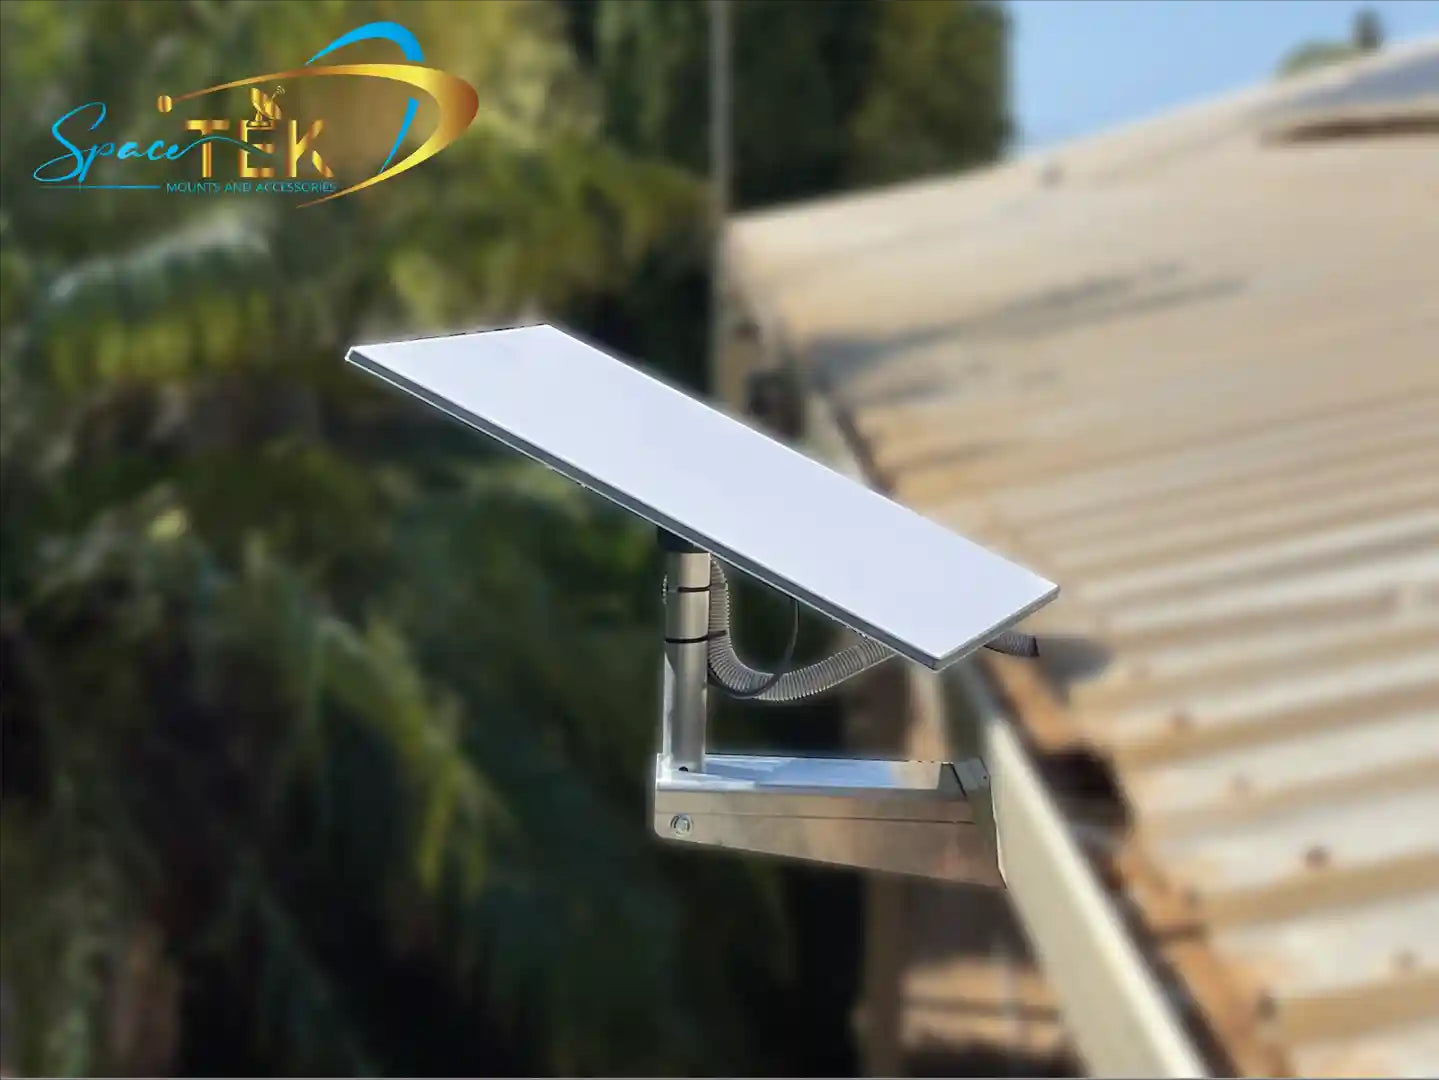
Metal roofs, including Colorbond and corrugated iron, call for careful consideration of the roof profile, fixing method and any manufacturer warranty conditions. Do not assume that a roof kit is non-penetrating: SpaceTek’s documented tin-roof installation includes penetrations and weatherproofing. Follow the requirements for the exact system.
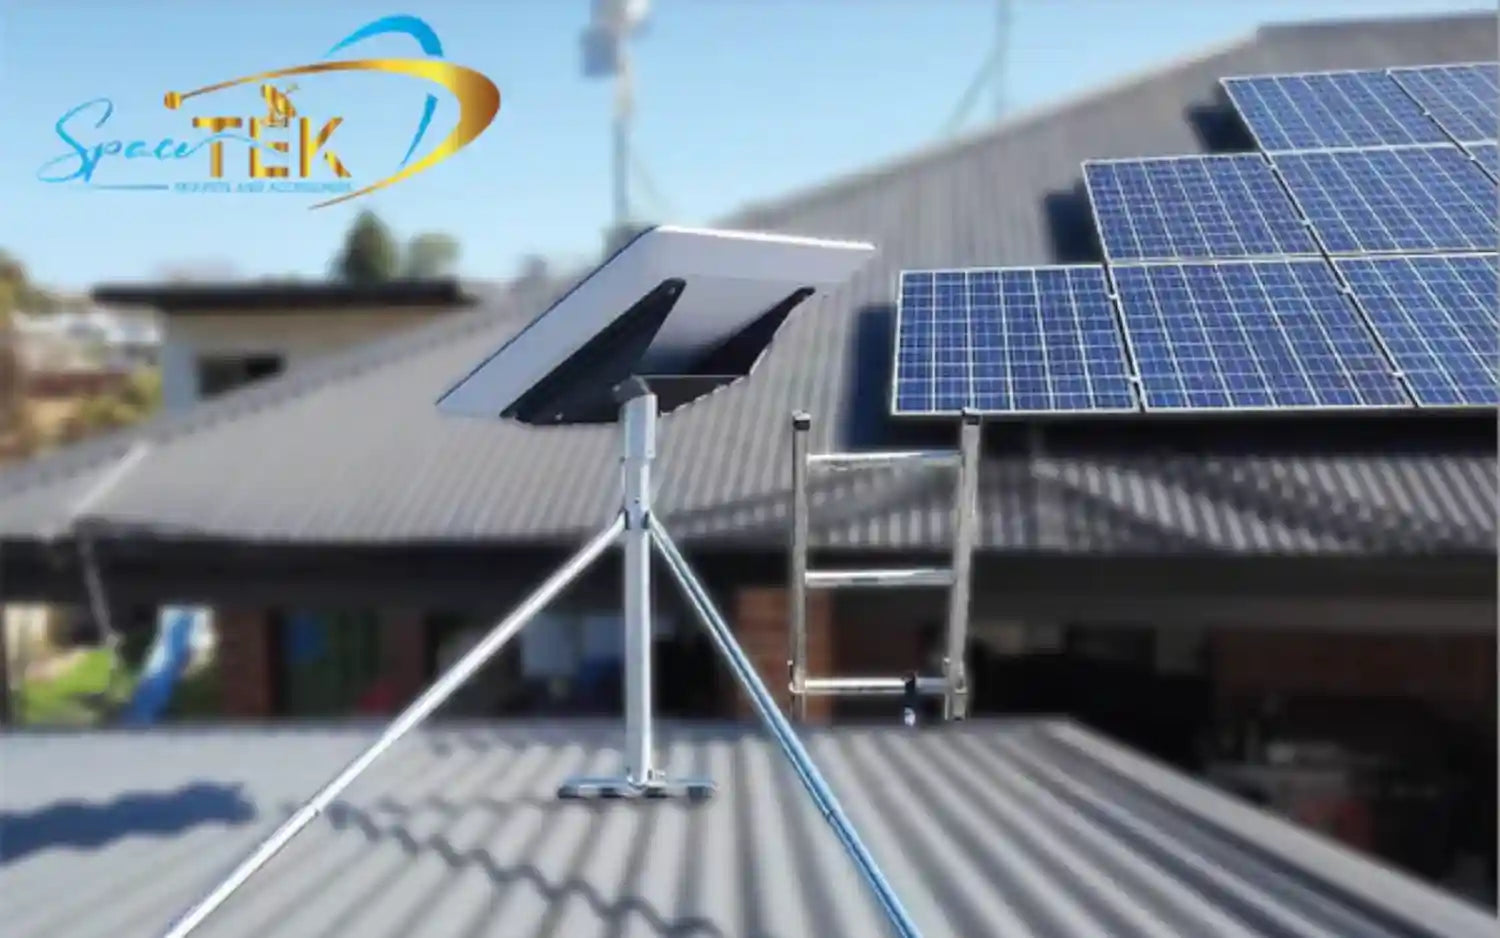
Tile roofs, including terracotta and concrete, require a careful assessment of tile condition, load path and weatherproofing. Use a purpose-designed Starlink mount only where its installation approach is suitable for the roof, and seek qualified advice if any penetration or tile work is involved.
Flat and pitched roofs have different planning needs. Flat roofs require particular attention to drainage and exposure, while pitched roofs may introduce access and fall-risk considerations. Assess the site before committing to a location.
Before buying a dish mount, confirm the exact Starlink kit you own and consult its current official setup and mounting information. Avoid assuming that a mount or accessory is suitable for a particular model without checking the relevant product documentation.
Matching Starlink Mounts to Your Roof
SpaceTek’s range includes Starlink mounting options for different installation contexts; check the current product information before selecting a specific item.
For a metal roof, confirm the roof profile and the fixing method specified by the mount manufacturer. SpaceTek’s Standard Gen 3 / V4 tin-roof guide describes a permanent installation. The Standard Gen 3 / V4 tile-roof kit also requires roof work and sealing. Neither example should be treated as a universal method for other roofs or Starlink models.
Use this high-level comparison as a planning guide:
| Roof or site context | What to assess before choosing a mount |
|---|---|
| Metal roof | Roof profile, approved fixing approach and warranty conditions |
| Tile roof | Tile condition, load path and weatherproofing requirements |
| Flat roof | Drainage, exposure and access for future maintenance |
| Pitched roof | Safe access, roof angle and the proposed fixing location |
| Wall or eave location | Structural suitability, cable route and a clear view of the sky |
Check your kit’s current official product and installation materials for included hardware and mounting guidance. Confirm suitability for your exact Starlink model and location before purchasing; a Standard Gen 3 / V4 example is not a Mini or Performance installation guide.
What Factors Matter When Choosing a Starlink Mount?
Prioritise the roof’s condition, the local environment and the practical requirements of the proposed location.
- Roof condition: Check that the proposed location is structurally sound and suitable for the selected fixing approach.
- Weather exposure: Consider sun, rain, wind and coastal conditions when comparing materials and placement.
- Water management: Any work affecting the roof surface should preserve the roof’s weatherproofing.
- Access and maintenance: Choose a location that can be assessed and maintained safely over time.
No single mounting approach is right for every roof. Compare the available options against the roof construction, local conditions and the official information for your Starlink kit before proceeding.
How Can You Plan a Roof Installation Safely?
Permanent roof work should be planned conservatively, with safety and the integrity of the roof taking priority.
Use the Starlink app to assess obstructions from a safely accessible location; do not climb onto a roof just to scan the sky. Then follow the official instructions for your exact kit. Where roof access, structural fixing or weatherproofing is involved, consider engaging an appropriately qualified installer rather than relying on generic online instructions.
For current product-specific resources, start with Starlink’s official kit and mounting guides and select the information that matches your kit.
Roof work carries meaningful safety and property risks. If the location is difficult to access, the roof is in poor condition or the installation method is uncertain, pause and obtain advice from an appropriately qualified professional.
Secure Your Connection with the Perfect Mount
Choosing the right Starlink mount comes down to matching the roof material and site conditions with an appropriate mounting approach. A well-considered choice supports a clear view of the sky while helping protect the roof from unsuitable work.
For Australian properties, account for roof type, weather exposure, coastal conditions and safe access before narrowing down the options. Product information and the roof’s own requirements should guide the final choice.
Before purchasing, verify your Starlink kit model, review its official guidance and compare the current product information for any mount you are considering. This avoids relying on assumptions about model compatibility or included hardware.
For help comparing currently available SpaceTek mounting options for your property, contact SpaceTek Australia with your roof type and installation context.

Leave a comment
This site is protected by hCaptcha and the hCaptcha Privacy Policy and Terms of Service apply.