Why Starlink Performance Matters for Remote Australia
To improve Starlink performance, focus on five core areas:
- Dish placement – clear 100° field of view
- Router positioning – central, liftd location (1.5–2 m)
- Quality mounting – secure, wind-resistant hardware
- Network optimisation – up-to-date firmware, smart Wi-Fi settings
- Professional installation – especially for tricky sites
Starlink has revolutionised connectivity for regional Australia, yet real-world speeds hinge on a proper setup. Moving a dish a few metres or lifting a router off the floor routinely adds 20–30 % extra speed and stability. As Starlink’s constellation grows past 7,800 satellites and median latency drops below 30 ms, now’s the time to tune your ground gear.
I’m Aaron Wroblewski, founder of SpaceTek Australia. After 25+ years installing satellite systems from the Kimberley to Kangaroo Island, I know what separates blazing-fast Starlink from a flaky link. This guide distils the essentials so you can enjoy rock-solid internet—whether you’re running a cattle station or chasing surf on the coast.

Understanding What Drives Starlink Performance
Traditional GEO satellites sit 35,786 km above Earth; Starlink in Australia uses thousands of low-Earth-orbit craft only 550 km up. The short hop slashes latency but demands an unobstructed 100° cone of sky so your dish can seamlessly hand off between fast-moving satellites.
Peak congestion (about 6 pm–11 pm) may shave a little off your top speed. Savvy users schedule big uploads or downloads for early morning when the sky is quiet.
Starlink’s engineers keep tightening latency. Median figures are already hovering around 30 ms, and extra ground stations across Australia continue to cut the distance your packets travel.
Hardware on your property remains the wild card. Trees, water tanks or a low-slung router can throttle an otherwise perfect link. Master the satellite-to-dish and dish-to-device chain and you’ll open up Starlink’s full potential for remote communities and off-grid lifestyles alike.
The Foundation: Optimising Your Dish Placement
Proper dish siting is the single biggest win for anyone wanting to improve Starlink performance. Think of the dish as holding a conversation with satellites sprinting overhead at 27,000 km/h—every branch or shed in that 100° cone is a mouthful of garbled words.
Find the Clearest Sky
Open the Starlink app and run Check for Obstructions. Anything painted red is robbing speed. Moving a dish from one side of a roof to the other, or trimming back a few limbs, regularly bumps throughput by 25 %.
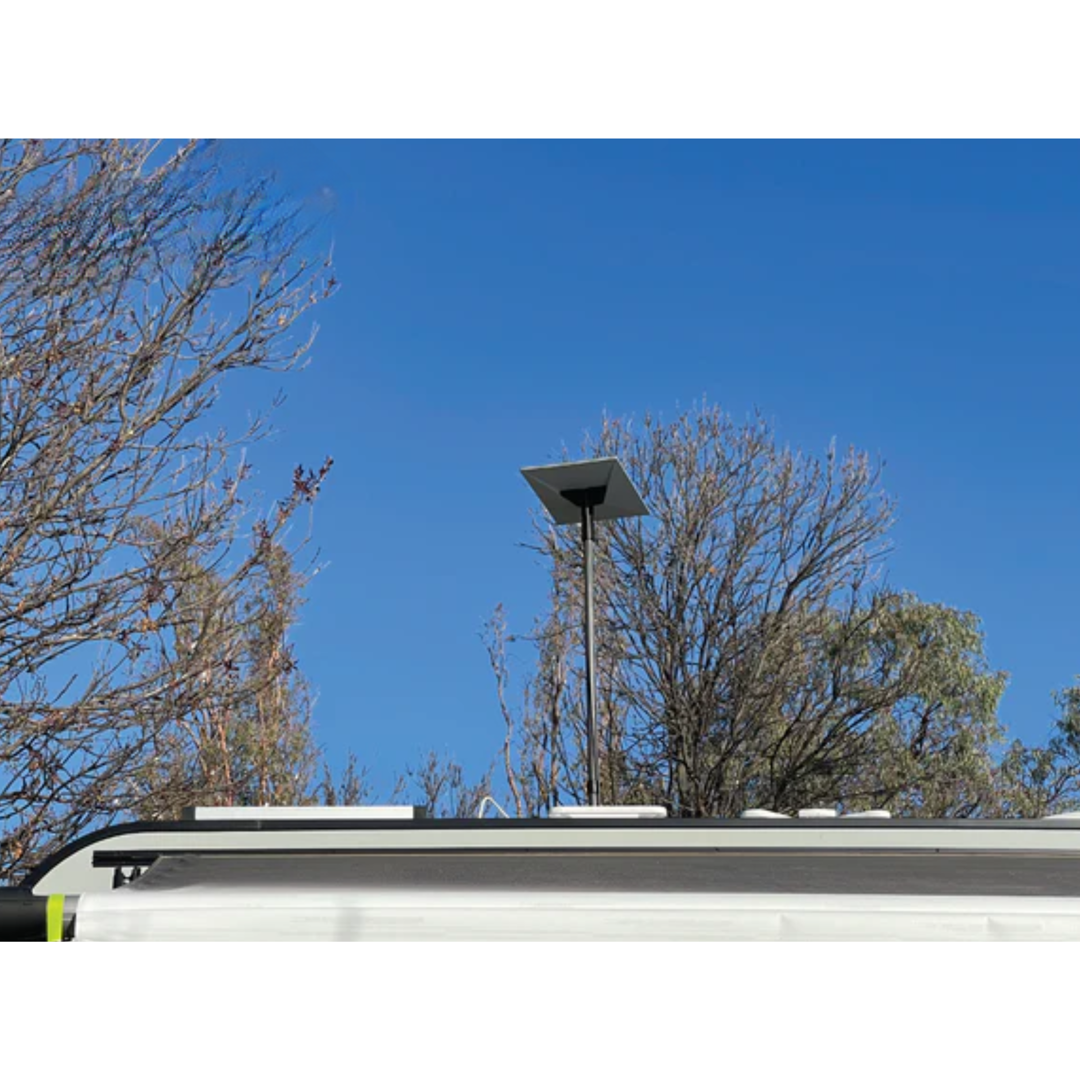
Lift for Success
Ground-level installs fight passing utes, fences and terrain. A roof-mounted dish escapes most of that clutter and shrugs off light foliage. SpaceTek roof mounts are tested for Aussie wind loads and won’t void roofing warranties.
Caravan & RV Tips
On the road? Pack a portable, weighted mount so you can nudge the dish a metre or two until the app shows green. Coil excess cable neatly and route it clear of doors—and curious roos—so you’re not chasing replacements in the middle of nowhere.
How to Improve Starlink Performance Inside Your Home
A perfectly sited dish still needs decent indoor Wi-Fi. Thick brick, metal roofs and sprawling floorplans can mute signals.
Router Placement 101
Place the Starlink router high, central and in the open. Avoid cupboards, fish tanks and microwaves. Even shifting it onto a shelf often doubles useful range.
Reaching the Shed or Granny Flat
For outbuildings within 100 m, outdoor-rated Ethernet is bullet-proof. Where trenching isn’t viable, a point-to-point wireless bridge keeps speeds up without extra cabling.
Quick Advanced Tweaks
• Keep firmware current—updates often include speed bumps.
• Split 2.4 GHz/5 GHz bands so long-range IoT gadgets don’t clog fast lanes.
• Heavy Linux users can trial TCP BBR for slicker uploads (advanced only).
Need more? Our guide to boosting Starlink Wi-Fi covers mesh and device management in detail.
Troubleshooting Common Starlink Speed Issues
Most glitches vanish with a quick check-list.
Reboot & App Review
- Unplug the router for 30 seconds.
- If still slow, power the dish down for 20 minutes.
- Open the Starlink app for outage or obstruction alerts.
Inspect the Hardware
• Walk the cable run—look for chew marks, kinks or loose terminations.
• Ensure the dish has airflow; overheating triggers automatic throttling.
• Weather blips (heavy rain, dust) usually pass in minutes. If issues linger, re-run the obstruction tool—growing foliage is a sneaky culprit.
When to Call for Help
If you’ve run the basics and speeds remain poor, gather app screenshots and contact Starlink support or a SpaceTek installer for an on-site assessment.
Built for Australia: Secure Mounts and Accessories
Cyclones in the north, salt spray on the coast and searing inland heat punish flimsy hardware. SpaceTek’s Starlink mount wind protection range keeps dishes rock-steady and rust-free.
Why Quality Mounts Matter
A dish that shifts a few millimetres in a gust can drop packets and tank speeds. Our marine-grade aluminium and stainless-steel mounts are engineered for Starlink in windy conditions, resisting corrosion and handling cyclone-rated loads.
Must-Have Accessories
- UV-stable cable conduits keep possums and parrots at bay.
- Weatherproof glands seal cable entries.
- Inline surge arrestors add a safety net during summer storms.
- DC power options maintain uptime during brief blackouts.
Browse the full Starlink accessories Australia line-up in our store: SpaceTek mounting solutions and accessories.
Frequently Asked Questions about Improving Starlink Performance
Can I use a third-party router or mesh system with Starlink?
Absolutely! Using third-party networking equipment with Starlink can dramatically improve Starlink performance, especially for larger homes or properties with challenging layouts. The key is getting the right adapter to make everything work together seamlessly.
You'll need SpaceTek's Ethernet adapter to connect external equipment, as the standard Starlink router doesn't include Ethernet ports. Once you've got this sorted, you can either run your Starlink router in bypass mode or replace it entirely with your preferred networking gear.
Third-party routers often deliver superior Wi-Fi coverage and more advanced features than the standard Starlink router. This is particularly beneficial for Australian homes with thick walls, metal roofing, or sprawling rural properties where every bit of coverage counts.
Modern Wi-Fi 6 routers typically handle Starlink's bandwidth beautifully, giving you faster speeds and more reliable connections throughout your home. The investment in quality networking equipment often pays for itself through improved productivity and fewer frustrating dropouts.
For comprehensive guidance on extending your network coverage, check out our detailed article about Starlink mesh Wi-Fi router extenders.
How much does weather really affect Starlink?
Weather impacts on Starlink are surprisingly minimal compared to traditional satellite internet services. The low Earth orbit satellites are far more resilient to weather interference than the old geostationary systems that many rural Australians remember with frustration.
Heavy rain and thunderstorms can cause temporary speed reductions or brief outages, but we're talking minutes rather than hours. The Starlink network's design means that even when one satellite's signal is blocked by weather, others can quickly take over.
Snow isn't much of an issue for most Australian users, but for those in alpine areas, Starlink includes a clever snow melt feature that heats the dish surface to clear accumulation. It works remarkably well, though extreme snowfall might still cause temporary issues.
Dust storms, bushfire smoke, and extreme heat can affect performance, but these impacts are typically short-lived. The key is ensuring your dish has adequate ventilation and isn't subjected to unnecessary heat buildup from poor mounting locations.
Overall, weather-related outages are far less frequent and shorter in duration compared to older satellite internet technologies. Most users find weather impacts barely noticeable in their day-to-day usage, which is a massive improvement over previous satellite services.
Will my speeds get slower as more people join Starlink?
Network congestion is a fair concern as Starlink's user base grows, but the company is staying well ahead of demand through continuous satellite launches and infrastructure improvements. With over 2.6 million customers globally, the network continues expanding to meet growing demand.
During peak usage hours—typically 6pm to 11pm local time—you might notice slightly slower speeds as more users come online. However, Starlink's performance has generally improved over time rather than degraded, thanks to ongoing constellation expansion and network optimisations.
The company launches new satellites regularly, with each V1.5 satellite providing approximately 20 Gbps of capacity and newer Gen2 Mini satellites offering 80 Gbps each. This constant expansion helps maintain performance levels even as more Australians join the network.
Ground station expansion plays a crucial role in maintaining performance across Australia. Additional Points of Presence (PoPs) reduce the distance data must travel over terrestrial networks, improving both speed and latency for users from Perth to Cairns.
The historical trend shows consistent improvement rather than degradation. As Starlink refines its technology and expands its infrastructure, users typically experience better performance over time, not worse.
Maximise Your Starlink Performance
Getting the most from your Starlink connection isn't just about faster internet—it's about creating a reliable foundation for everything that matters in your daily life. Whether you're running a business from remote Queensland, keeping kids connected for distance learning, or simply wanting to stream the footy without buffering, proper setup makes all the difference.
The fundamentals of maximising Starlink performance come down to four key areas: ensuring optimal dish placement with that crucial 100° field of view, positioning your router centrally and liftd for maximum coverage, investing in quality mounting hardware designed specifically for Australian conditions, and maintaining your system with regular updates and monitoring.
Starlink in Australia faces unique challenges that don't exist in other parts of the world. Our extreme weather conditions, from cyclones to bushfires, combined with curious wildlife and vast distances, demand equipment that's built to last. This is where SpaceTek's Australian-designed mounts and accessories prove their worth.
Starlink for Remote Australia has been genuinely transformative for communities that previously struggled with patchy mobile coverage or expensive, slow satellite connections. However, to capture the full benefit of this technology, your ground-based setup needs to be absolutely spot-on. A dish that moves in the wind or a poorly positioned router can turn a potentially excellent connection into a frustrating experience.
Starlink for Remote Communities requires particular attention to long-term reliability. When the nearest technician might be hours away, having robust, well-installed equipment becomes crucial. Our mounting solutions are engineered to withstand everything from coastal salt spray to inland dust storms, ensuring your connection remains stable regardless of what nature throws at it.
The beauty of improving Starlink performance is that many optimisations provide immediate, noticeable results. Customers regularly report speed improvements of 20-30% simply from relocating their dish to avoid tree obstructions, or doubling their Wi-Fi coverage by moving their router to a better position.
As Starlink continues expanding its constellation and improving its technology throughout 2025, ensuring your ground-based setup can take full advantage of these improvements becomes increasingly important. The network is constantly evolving, with new satellites launching regularly and ground stations expanding across Australia.
For expert advice custom to your specific situation, professional installation services, or to discuss the best mounting solutions for your property, contact SpaceTek Australia. Our team understands the unique challenges of Australian conditions and can help you achieve optimal performance whether you're in the red centre, on a coastal property, or anywhere in between.
Reliable internet connectivity in remote Australia isn't just about having the latest technology—it's about having that technology properly installed and maintained. With the right setup, quality equipment, and ongoing attention, your Starlink system can provide the fast, reliable internet access that remote Australia deserves.
Explore our full range of Starlink mounting solutions and accessories to take your connection to the next level. For additional resources about satellite internet in regional Australia, the NBN Co's guide to satellite internet provides valuable insights into the broader landscape of rural connectivity options.


Leave a comment
This site is protected by hCaptcha and the hCaptcha Privacy Policy and Terms of Service apply.