
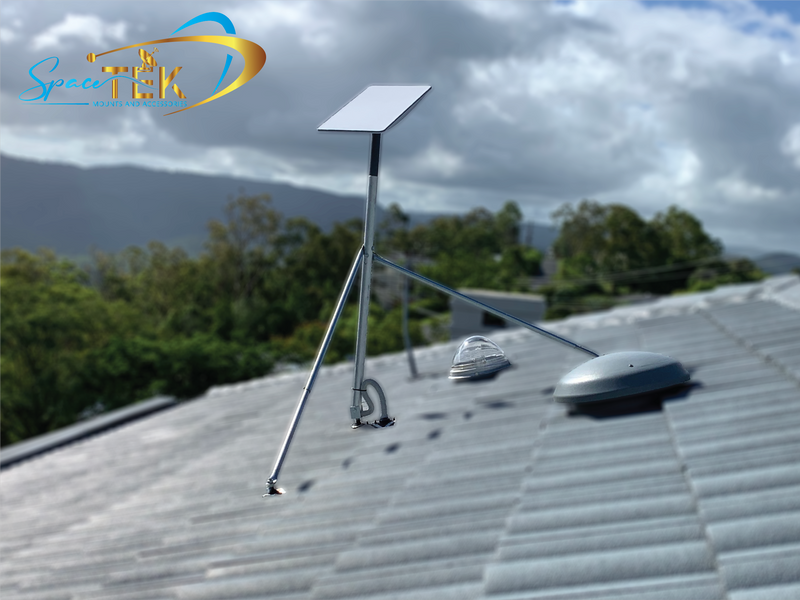
Where should you install your Starlink?
Choose a location with the clear sky view required by your Starlink kit, an appropriate mounting arrangement and safe access for installation and maintenance. A roof, pole or wall can help where ground-level obstructions are a problem, but elevation alone does not make a location suitable.

This October 2026 guide explains how to compare positions before committing to a permanent mount. Start with the Starlink app's obstruction check, then consider the structure, cable route and model-specific installation instructions.
The decision is about the whole setup:
- The dish needs a usable view of the sky.
- The mount must suit the dish and supporting structure.
- The cable must reach the required equipment through an appropriate route.
- Installation and later checks must be practical and safe.
Do not choose a high or exposed position solely because it looks clear in one direction. Assess the view the kit actually needs and how the complete installation will work.
Understand the two different app checks
Check for obstructions before mounting
Starlink communicates with satellites moving across the sky. Trees, rooflines, neighbouring buildings and other objects in the required field of view can interrupt service. The app's obstruction tool uses your phone camera to estimate the view from a proposed position for the selected hardware.
Compare more than one safely accessible position if needed. A site that looks open to the eye can still have obstructions in the part of the sky the terminal uses. Keep the selected kit model consistent when comparing scans.
Follow the alignment guidance for your model
Alignment and obstruction checks serve different purposes. Alignment sets the orientation required by applicable hardware; it cannot remove an object blocking the sky. Some kits use the app's manual Alignment tool, while actuated models have a different setup process.
Use the official kit setup index for your equipment. Do not apply a fixed compass direction or adjustment method from another generation.
Compare ground, roof, pole and wall positions
Start with the clearest practical view you can assess safely. Then consider which installation arrangement is appropriate; a more complicated mount is not necessarily better.
| Position | Why you might consider it | What still needs checking |
|---|---|---|
| Ground or portable position | Accessible for an initial location assessment or a supported temporary setup | Stability, traffic, cable protection and nearby obstructions |
| Roof | Elevation may clear some surrounding objects | Safe access, structure, exact roof/mount fit and weather sealing |
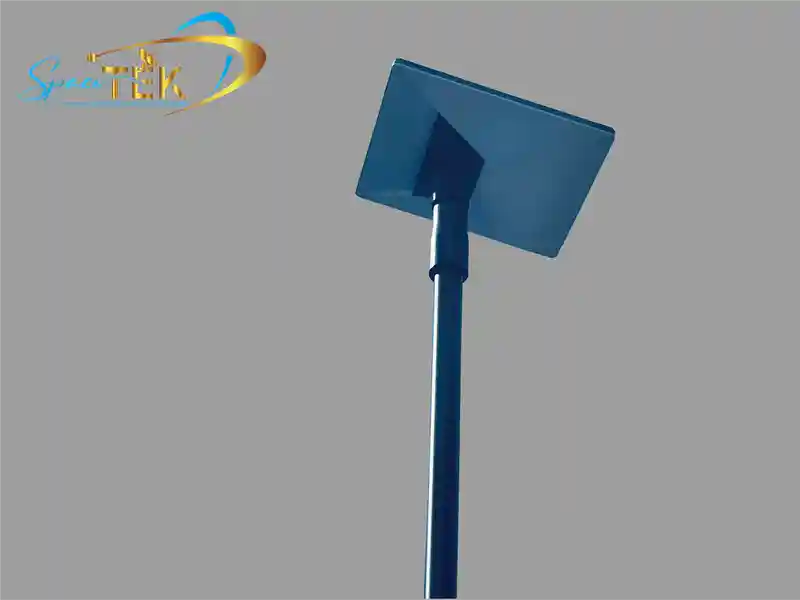
| Pole | Can place the dish away from a building or nearby obstruction | Pole and foundation suitability, model adapter and cable route |
| Wall | May use a suitable building attachment point | Structure, overhangs, nearby walls and mount clearance |
Starlink's installation-location guidance explains the need for a clear view and the role of elevated mounts. It does not mean that every roof, wall or pole provides the necessary view.
Use the exact mount's instructions when assessing fit and installation. A mounting adapter compatible with the dish does not establish that the supporting roof or pole is suitable.
Account for the property and cable route
Trees and open rural sites
Look at the current sky view and likely changes such as growing branches. A taller position may help with a particular obstruction, but do not assume that raising a pole a little will clear distant terrain or every tree. Reassess the proposed position and obtain installation advice where appropriate.
Buildings, balconies and overhangs
Nearby structures can restrict the field of view even on a high floor. Check the actual position rather than choosing a wall because it is convenient. Confirm the relevant property permissions before external mounting or penetrations.
Cable routing and indoor equipment
Measure the complete route, not just the distance between the dish and indoor equipment. Check the permitted cable and length for the kit, the proposed entry point and protection from pinching or damage. A location with a clear sky view may still be impractical if the connection route cannot be installed appropriately.
Indoor WiFi coverage is a separate consideration. Position the router according to its guidance rather than assuming the best dish position automatically gives the best wireless coverage inside the building.
Safe assessment and access
Do not climb onto a roof, lean over a balcony or approach overhead electrical lines to perform a phone scan or try a mount. Starlink's obstruction guidance says to seek professional assistance where the installation or obstruction removal cannot be done safely. Plan access for future maintenance as well as the initial installation.
Check the result after installation
Complete setup using the instructions for the terminal. Follow any model-specific alignment prompts and review the app's status and obstruction information after the equipment has been operating.
If interruptions continue, note the app's alerts and when they occur. Distinguish an obstructed dish from weak indoor WiFi before deciding to move equipment or buy another accessory. A single speed test does not establish reliable performance throughout the day.
Is a permanent mount always required?
The arrangement depends on the kit, location and intended use. A permanent installation needs suitable supporting hardware; a temporary or portable setup must still follow the kit instructions and remain stable. Do not substitute an improvised support for the specified arrangement.
Does raising the dish always help?
No. It helps only if the new position resolves the relevant obstruction while remaining suitable for installation. Compare the view first and assess the structure and route before making changes.
Should you keep adjusting the dish?
Follow the app and kit guidance. If the mount has moved or an obstruction has changed, investigate that cause. Do not repeatedly loosen hardware or force an actuated mechanism to chase a particular compass heading.
Choose accessories after confirming the location
Once you have a workable position, match the mount, adapter and cable to the exact Starlink kit and installation setting. Review current product specifications instead of relying on broad claims about extreme-weather strength or universal compatibility.
For SpaceTek product advice, contact the team with the terminal model, safely taken photographs of the proposed location, the obstruction assessment and the planned cable route. Describe the supporting surface and any access constraints.
A good installation starts with evidence that the location works and hardware suitable for that location. Confirm those points before purchasing or fixing a permanent mount.

Leave a comment
This site is protected by hCaptcha and the hCaptcha Privacy Policy and Terms of Service apply.