Why Starlink Mount Maintenance Matters More Than You Think
Starlink mount maintenance is simpler than you might realise, but it can mean the difference between rock-solid internet and frustrating dropouts. While the dish is the tech marvel, the mount is the unsung hero ensuring it works flawlessly.
A properly installed wall mount can improve connection stability by up to 40% compared to temporary ground-based setups. Yet, most users install their dish and forget the mount entirely—until something goes wrong. Australian conditions are demanding; salt spray, intense UV, and extreme weather can degrade hardware fast. The good news? A simple maintenance routine takes less than 30 minutes quarterly and prevents costly future repairs.
Quick Answer: Essential Starlink Mount Maintenance Steps
- Inspect quarterly - Check for rust, loose bolts, and physical damage every three months (or monthly in harsh coastal/outback conditions).
- Clean gently - Use mild detergent and water with a soft cloth; avoid harsh chemicals and pressure washers.
- Tighten hardware - Secure all bolts and screws without over-tightening (20-25 Nm for heavy-duty mounts).
- Check cables - Ensure connections are secure and cables show no damage or wear.
- Remove obstructions - Clear debris, leaves, or nests that could affect dish positioning.
- Apply protection - Use marine-grade anti-corrosion spray in coastal areas; rinse salt deposits monthly.
- Monitor alignment - Verify the dish hasn't shifted and maintains its optimal angle.
At SpaceTek Australia, we've seen how preventative care makes all the difference. Let's walk through how to protect your investment and keep your internet performing like new.
A Proactive Guide to Starlink Mount Maintenance
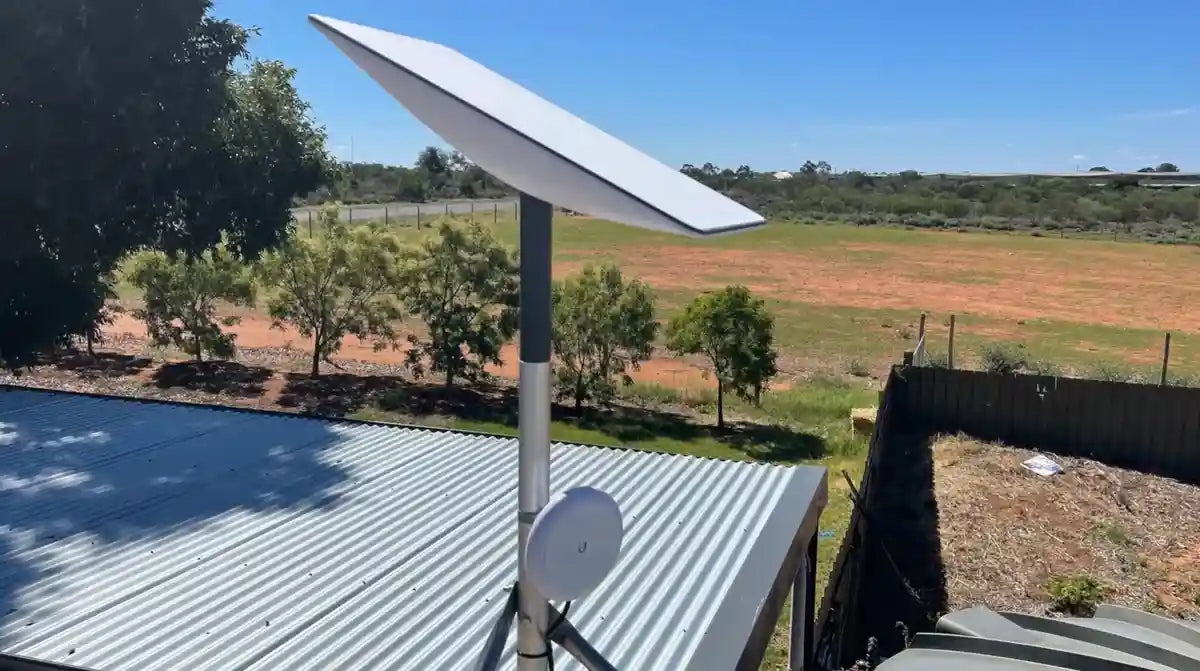
Your Starlink dish communicates with satellites over 500 km away, so even a slight wobble can degrade your signal. Regular maintenance ensures your mount remains a stable foundation, preventing dropouts and extending the life of your setup.
Your Maintenance Toolkit and Schedule
Having the right tools makes maintenance quick and effective. You'll need:
- Socket Wrench Set: 13mm or 14mm sockets are common for heavy-duty mounts.
- Torque Wrench: Essential for tightening without stripping threads. We recommend 20-25 Nm for our heavy-duty mounts.
- Cleaning Supplies: Microfibre cloths, mild detergent (dish soap), a spray bottle, and a soft brush.
- Safety Gear: Glasses, gloves, and non-slip shoes.
- For Coastal Areas: Marine-grade anti-corrosion spray.
Inspection Schedule:
- Quarterly: A thorough check for all installations.
- Monthly: For harsh conditions (coastal salt spray, outback dust).
- Post-Storm: Inspect immediately after any severe weather.
Safety First: Always disconnect the power to your Starlink system before starting. Never work on roof mounts in high winds or rain. If you can't reach your mount safely, call a professional.
Step-by-Step Inspection and Cleaning
Regular inspection is your best defence against performance issues.
- Visual Check: Look for rust (orange or brown spots), loose fittings, and physical damage like cracks or bends. Check cables for fraying, cuts, or animal damage. Clear away any debris like leaves or nests.
- Clean the Dish (If Needed): The dish has a hydrophobic coating that keeps it clean. If grime is visible, use a microfibre cloth with mild glass cleaner applied to the cloth, not the dish. Never use abrasive cleaners, solvents, pressure washers, or treatments like Rain-X. For Starlink’s official guidance, see How do I clean my Starlink?.
- Clean the Mount: Use a soft cloth with mild detergent and water. For stubborn buildup like bird droppings, a paste of baking soda and water works well. Rinse thoroughly and dry completely.
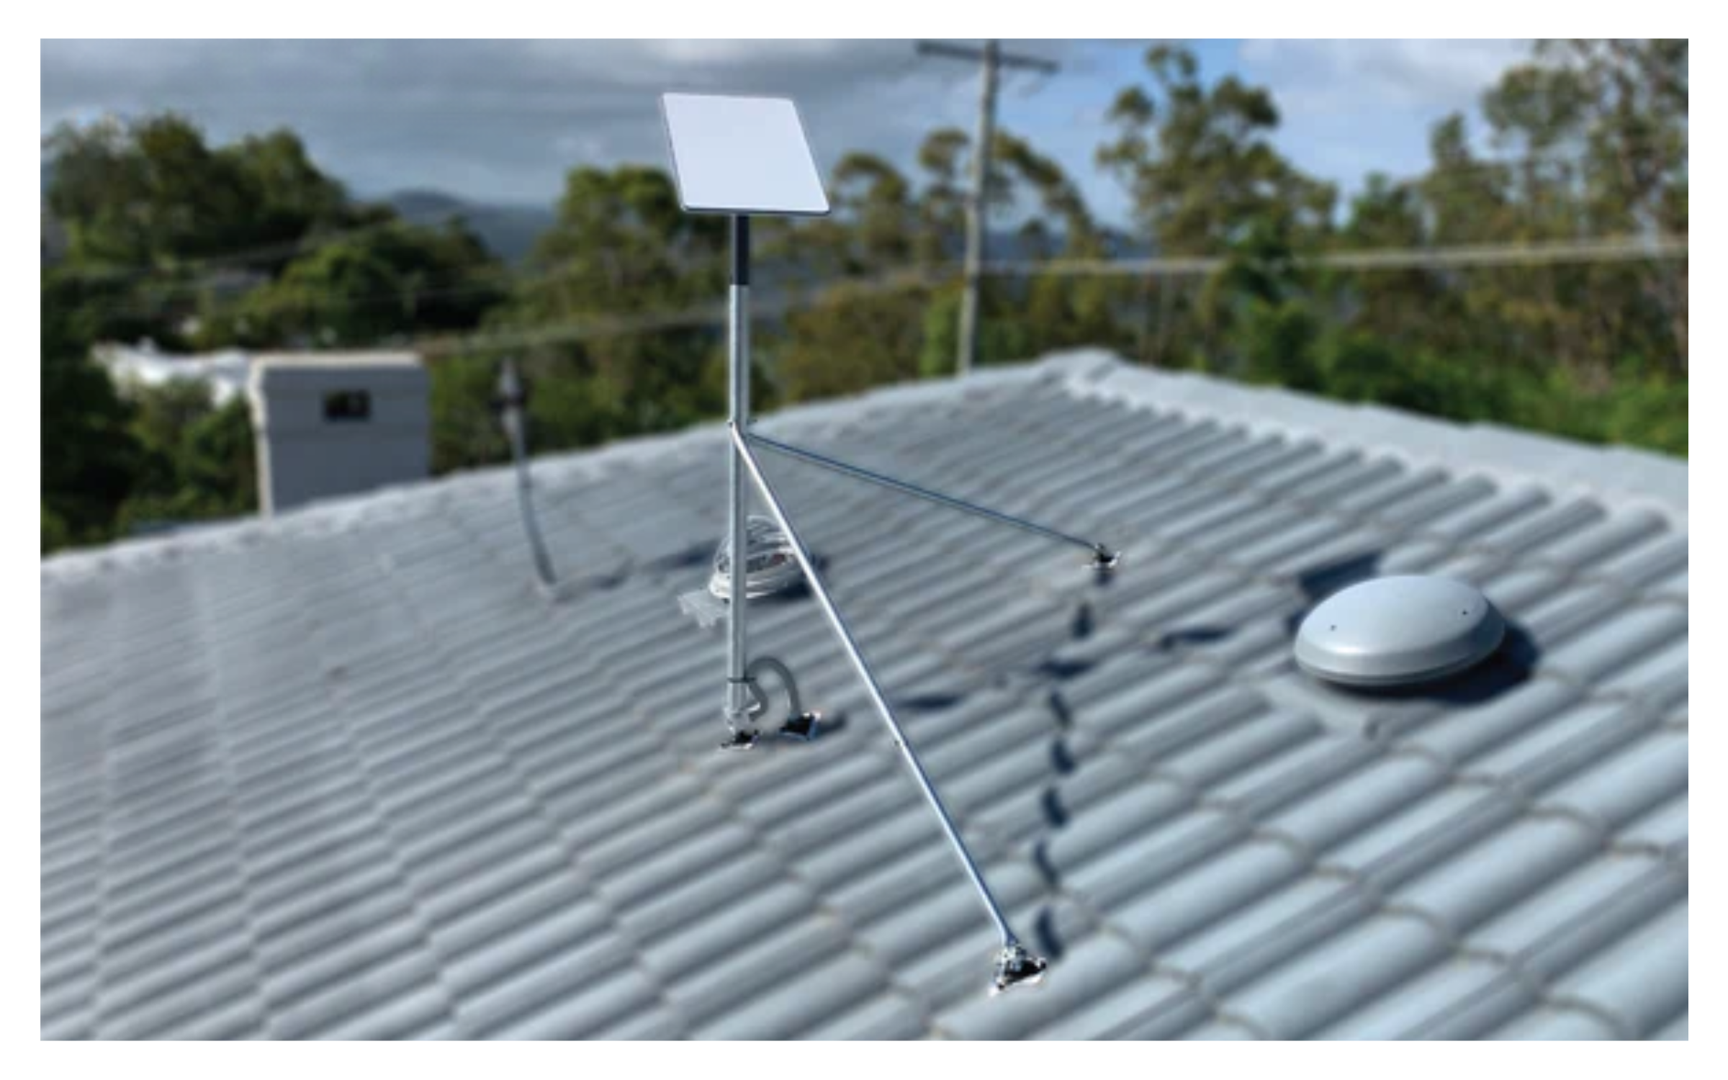
- Tighten and Tidy: Use your torque wrench to secure all fittings. Give the mount a firm tug to confirm it's solid. Tidy cables with UV-resistant zip ties and create a 'drip loop' where the cable enters your home to prevent water ingress.
For more on what to avoid, read our guide on 3 Things You Should Not Do to Your Starlink Dish.
Battling the Elements: Mitigating Environmental Damage
Australian conditions test outdoor equipment. Here’s how to protect your mount.

- Coastal Areas: Salt spray is highly corrosive. Choose marine-grade mounts, apply anti-corrosion spray, and rinse the mount with fresh water monthly.
- Outback/Arid Regions: Intense UV and dust are the main threats. Use mounts with UV-resistant finishes and check fasteners regularly, as temperature swings can loosen them.
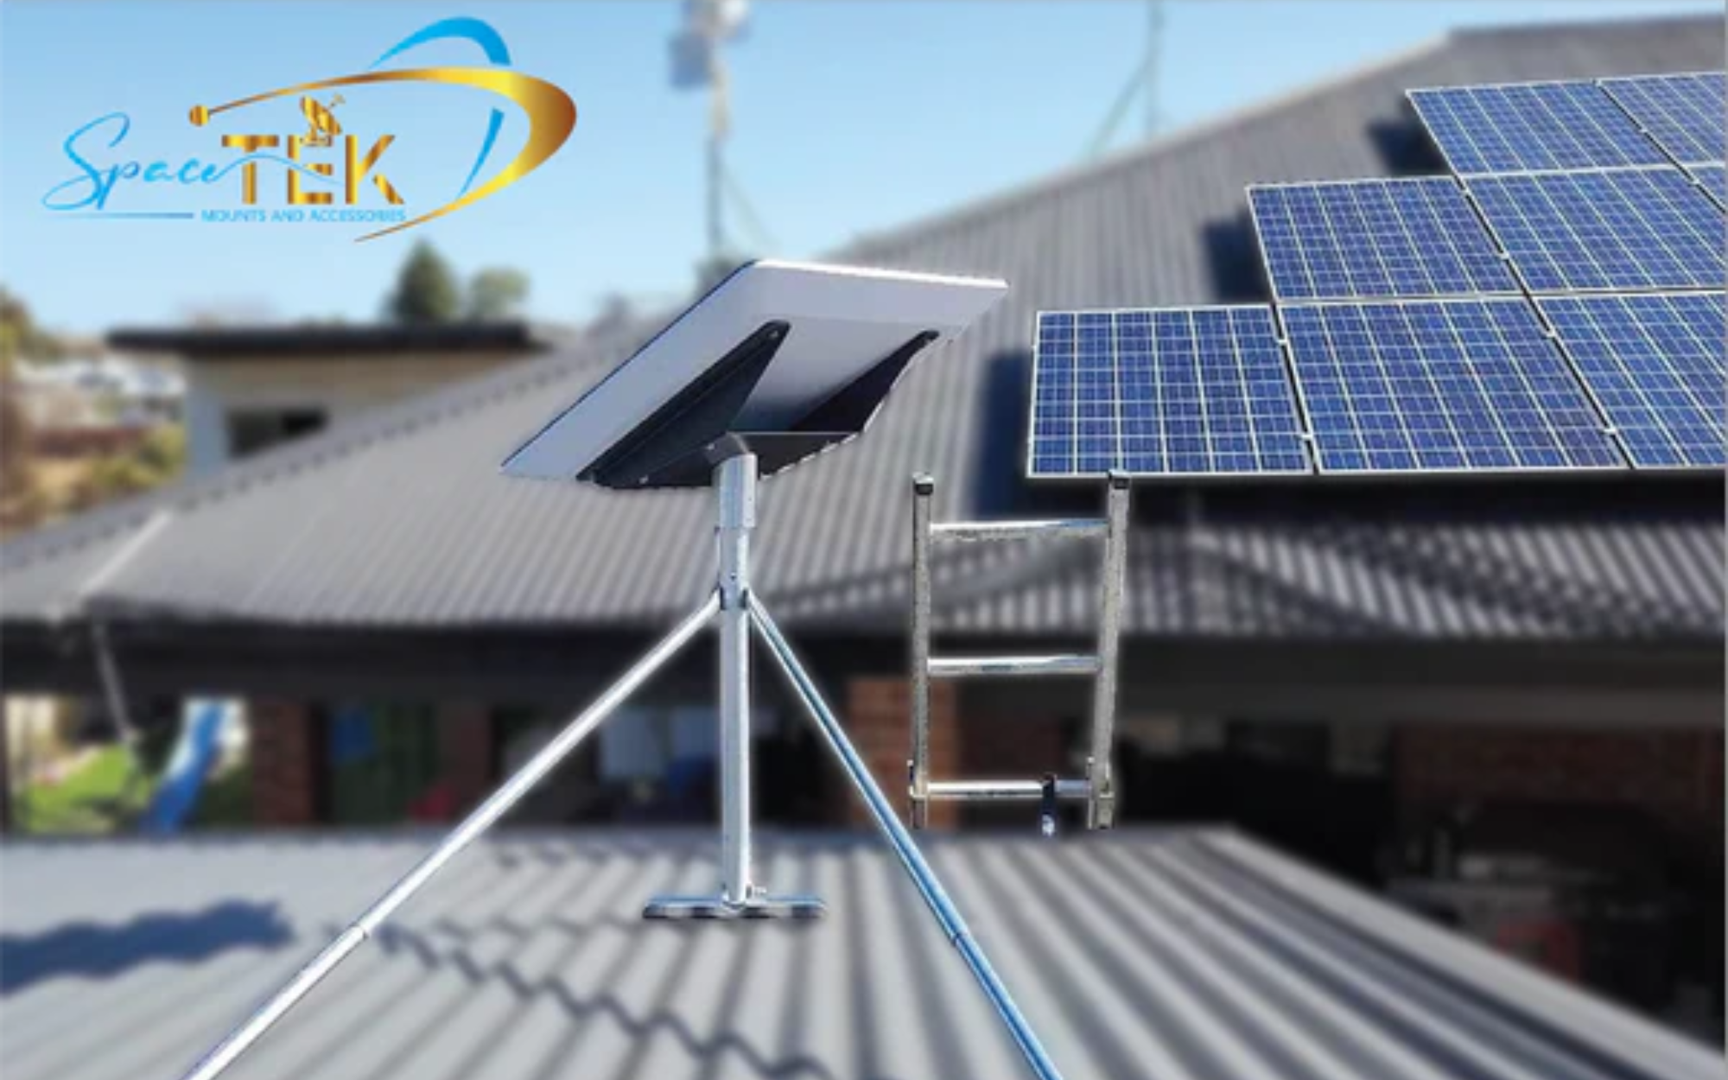
- High Wind/Cyclonic Regions: Structural integrity is paramount. Ensure your mount is secured to a solid surface (brick, concrete) and consider high-wind tethers. Our Cyclone-Rated Mounts withstand winds up to 280 kph.
- UV Radiation: Australia's sun degrades plastics and cables. Always use UV-resistant cable ties and sleeves.
For more on choosing the right hardware, see our guide on Durable Starlink Mounts for Harsh Aussie Conditions.
When to Repair or Replace
Knowing when to fix versus when to upgrade is key.
Replace your mount immediately if you see:
- Deep, flaking rust that has weakened the structure.
- Visible cracks, especially near welds.
- Bent or deformed components that prevent proper alignment.
- Stripped threads that won't tighten securely.
Minor surface rust can be treated, and corroded fasteners can be swapped for new 316-grade stainless steel ones. However, if damage is widespread or a generic mount is failing in harsh conditions, upgrading to a purpose-built solution is the best long-term investment. A stable, high-quality mount protects your hardware and ensures reliable performance. Learn more about what makes a durable mount in our guide to choosing the right hardware.
Choosing the Right Mount for Your Starlink Generation
Each Starlink generation has specific mounting needs. We offer custom solutions for optimal performance.
Starlink Gen 2 Mount Solutions
Our Gen 2 mounts provide superior stability and weather resistance for the rectangular dish, ensuring your system withstands Australia's climate for years of reliable service. Explore the range in our Starlink Gen 2 Mounts Collection.
Starlink Gen 3 Mount Solutions
The latest Gen 3 V4 dish needs a secure foundation. Our Gen 3 mounts provide optimal signal reception and stability, with options like extended wall mounts to clear the wide eaves common on Australian homes. Find the best fit in our Starlink Gen 3 Mounts Collection and get tips from our guide on Mounting Starlink Gen 3 in Australia.
Starlink Mini Mounting Options
The game-changing Starlink Mini needs secure, portable mounting. Our dedicated Mini solutions balance portability with robust stability, ensuring your compact dish performs optimally wherever you set it up. See the options in our Starlink Mini Mounts Collection and our guide to the Best Starlink Mini Mounting Options.
RV and Portability Solutions
For life on the move, our RV and portability mounts are essential. They handle the unique demands of travel, offering secure, quick-release, and adaptable options for caravans and mobile businesses. Browse the Starlink RV Mounts Collection and get prepared with our guide on Starlink RV Mounts.
Secure Your Signal for the Long Haul
Proper mount maintenance is the foundation of your internet connection's reliability. A few minutes spent on a quarterly inspection can save you from frustrating dropouts and costly repairs down the line.
Australia's environment is tough on outdoor equipment. That's why combining correct installation with regular maintenance is the key to years of reliable service. It's the difference between a mount that corrodes in a year and one that performs flawlessly for five or more.
At SpaceTek Australia, we engineer mounts specifically for these demanding conditions. We use marine-grade aluminium, robust steel, and rust-resistant materials because we know what it takes to last in Cairns, Perth, and everywhere in between. Our kits are designed for security, durability, and easy integration with your Starlink system.
Whether you're running a Gen 2, the latest Gen 3, a portable Mini, or an RV setup, we have a solution built to last. Spend less time worrying about your hardware and more time enjoying fast, reliable internet.
If you're unsure about your setup or want to upgrade to a more durable solution, we're here to help. Don't hesitate to get in touch with our team for expert advice on getting the most from your Starlink system for the long haul.
Leave a comment
This site is protected by hCaptcha and the hCaptcha Privacy Policy and Terms of Service apply.