Why Your Starlink Dish is a Lightning Magnet in Australian Storms
Protecting your Starlink from lightning and power surges involve three key changes: proper grounding, multi-layered surge protection, and using weather-resistant mounting hardware designed for Australian conditions.
Quick Protection Checklist:
- Ground your system: Bond your Starlink mount to your home's electrical ground as per Australian electrical codes.
- Install surge protection: Use both an AC surge protector (or UPS) for your power supply and an Ethernet surge arrestor for your data connection.
- Use quality mounting hardware: Choose rust-resistant, weatherproof mounts positioned to minimise lightning attraction.
You've invested in Starlink to escape slow rural internet, but many users overlook a critical risk. Your dish, often the highest point on your property, creates a conductive path for lightning and power surges during storms. The danger isn't just from direct hits; nearby lightning can induce massive voltage spikes that travel through your cables, destroying your power supply, router, and other connected devices.
Reports from users describe power supplies blown apart and cables disintegrated after lightning events. Taking protection seriously is essential to safeguard your investment and your home.
Some resources that can help you:
A Complete Guide to Protecting Your Setup
Your Starlink system is a significant investment, but it's also exposed to nature's power. You can dramatically reduce your risk with three straightforward changes that address the most common vulnerabilities.
Change 1: Implement a Rock-Solid Grounding System
Grounding creates a safe escape route for dangerous electrical energy. Without it, a surge will find its own path—often through your expensive Starlink equipment. Grounding provides a path of least resistance, channelling excess electricity safely into the earth.
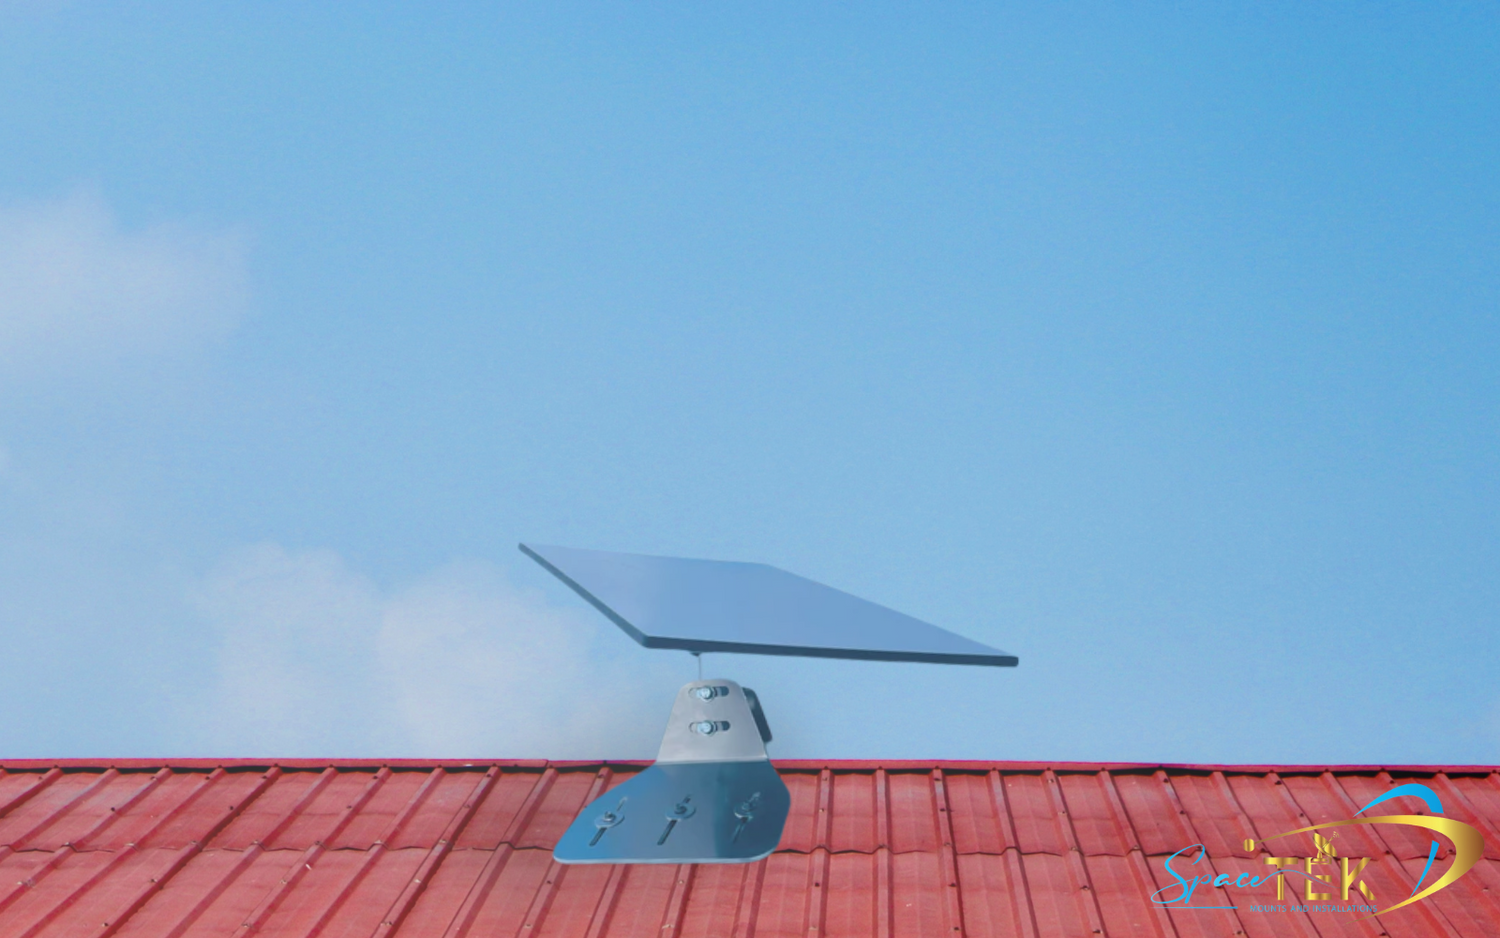
Australian electrical standards and official guidance are clear: anyone in a lightning-prone area needs appropriate protection installed according to local codes. This means bonding your Starlink mount directly to your home's existing electrical ground system. A dedicated grounding wire should run from your dish mount to a grounding block, which then connects to your main electrical service panel's ground. This ensures any surge is safely diverted. Our Starlink Mounting Hardware and Mast Adapters are designed with secure grounding points that won't corrode or fail.
Change 2: Deploy Multi-Layered Surge Protection
While a direct lightning strike is rare and devastating, your protection strategy should focus on the far more common indirect strikes. When lightning hits nearby, it induces powerful surges in electrical lines that can destroy your equipment. Your system has two entry points: the AC power supply and the Ethernet cable. You need to protect both.
For AC surge protection, a quality surge protector or an Uninterruptible Power Supply (UPS) is your first line of defence. A UPS also provides battery backup and regulates voltage, but it alone won't stop a major lightning surge. For the Ethernet cable, you need specialised PoE (Power over Ethernet) surge arrestors rated for Starlink's specific voltage and power. Standard Ethernet protectors are not sufficient. These devices should be installed near the dish and before the cable enters your home, creating a barrier against surges travelling along the data line. For more on power management, see our guides on Starlink DC Power Requirements and Powering Starlink with DC.
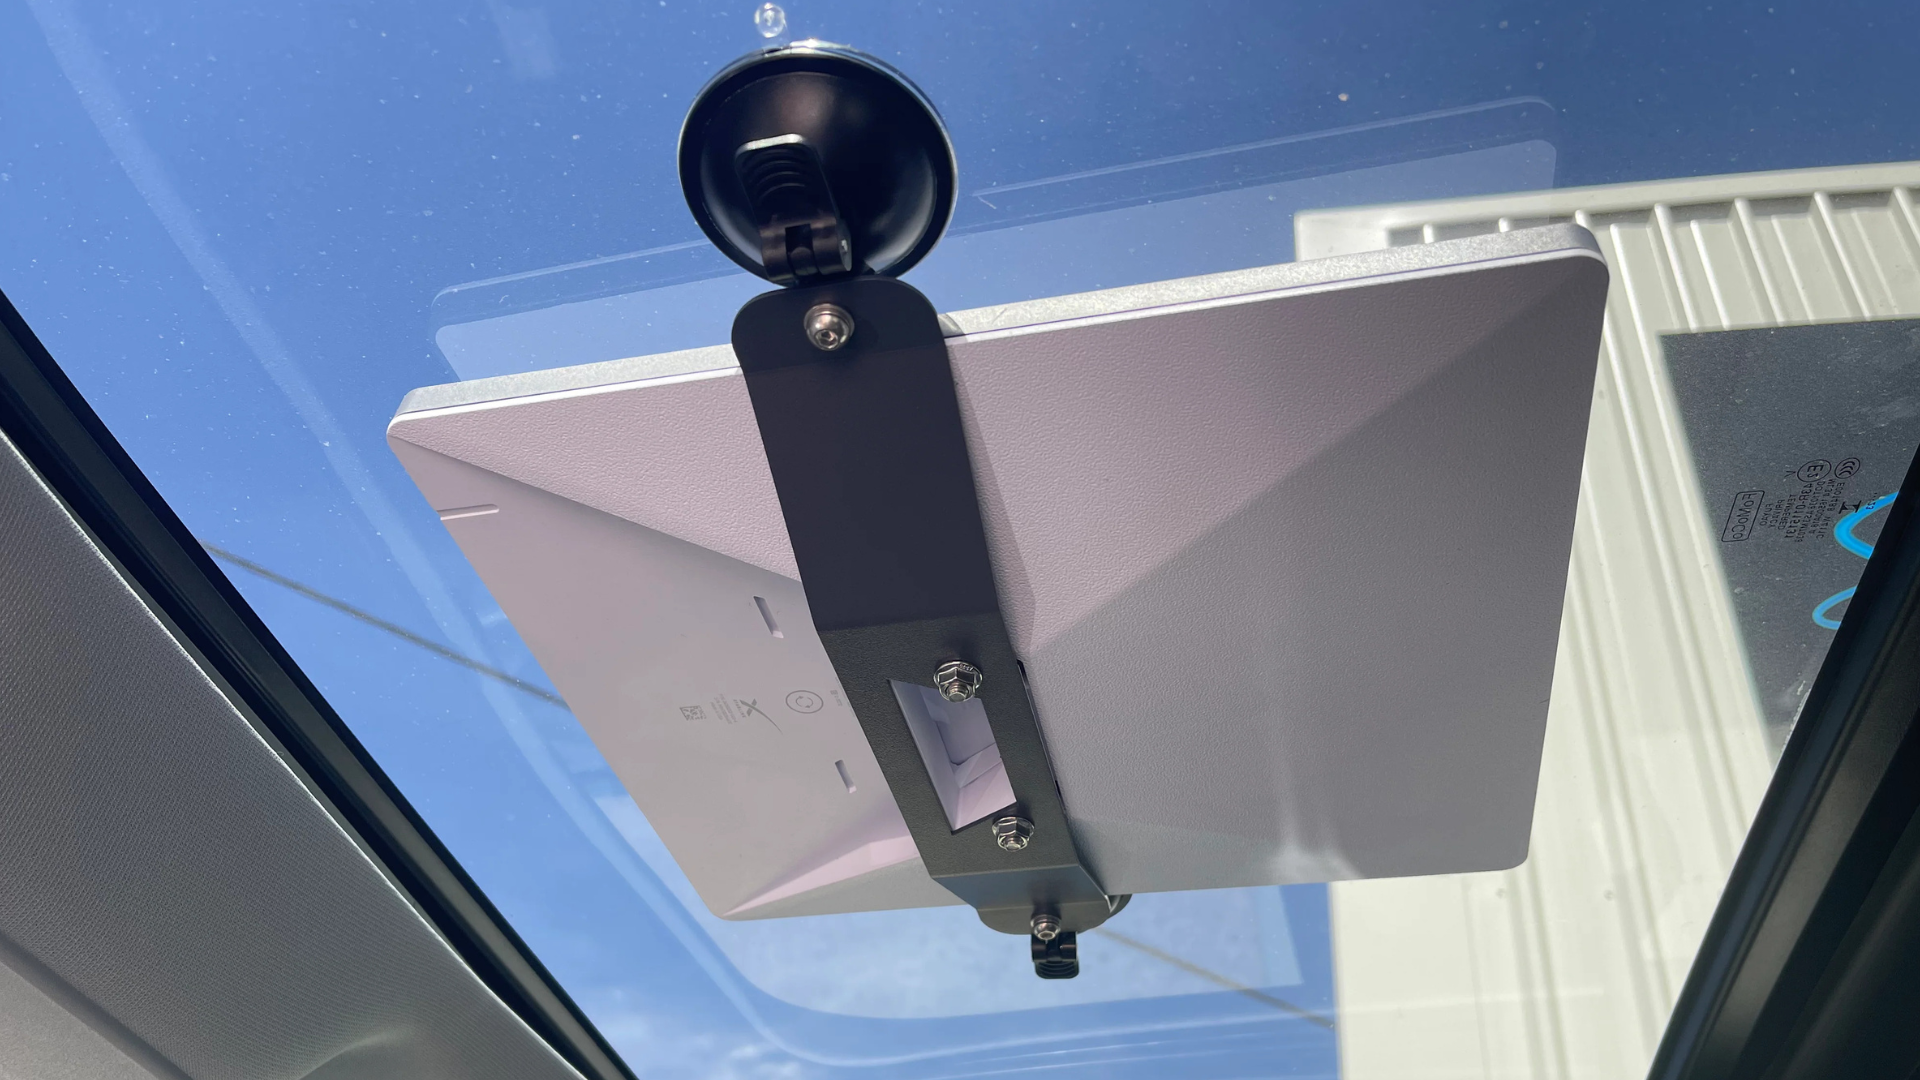
Change 3: Optimise Your Installation with High-Quality Hardware

Where and how you mount your dish impacts its vulnerability. While a clear view of the sky is essential, avoid making the dish the absolute highest point if possible. The materials you use are also critical. Flimsy mounts can fail in harsh Australian weather, creating new electrical hazards.
Our SpaceTek mounting kits use high-quality, rust-resistant materials like marine-grade aluminium and carbon fibre components, chosen for Australian conditions. These mounts stay put through storms and coastal salt spray, maintaining reliability and weather resistance while minimising exposure to surge risks. As our guide on Why Choose SpaceTek Mounting Kits explains, the right materials and design really matter. All mounts and adapters are compatible with Starlink self-install kits, so you can complete your setup confidently. Combine this with high-quality, shielded outdoor-rated Ethernet cables and secure cable management to create a robust and safe installation. Our Starlink Performance Tips guide covers optimal positioning for both signal and safety.
Your Starlink Protection Questions Answered
Here, we address some of the most common concerns about protecting your setup:
What are the risks of not protecting my Starlink setup?
The consequences can be severe. Without protection, you risk:
- Fried equipment: a surge can destroy your Starlink dish, power supply, and router. Users report finding their power supplies literally exploded after lightning events.
- Fire hazard: surges travelling through unprotected cables can ignite electrical fires within walls and roof cavities.
- Widespread damage: a surge can travel into your home network, affecting computers, TVs, and other connected gear—often costing thousands in replacements. See our note on Starlink Gen 2 Router Power Supply Failures.
Can a UPS alone protect my Starlink from lightning?
No. A UPS is great for battery backup and smoothing minor grid issues, but it’s easily overwhelmed by a lightning-induced surge. The safest approach is layered protection: correct grounding, an AC surge device or UPS, and a dedicated Ethernet/PoE surge arrestor—plus quality, weather-resistant hardware and correct installation.
Model-by-model gear guide: the right SpaceTek kit for your setup
The core principles—grounding, surge protection, and solid mounting—apply to every Starlink model. The exact adapters and mounts vary. Below is a quick, practical guide with links to the right gear. All recommended mounts and adapters are built from high-quality, rust-resistant materials (aluminium and, where applicable, carbon fibre) and are compatible with Starlink self-install kits.
Starlink Gen 2 (Rectangular)
- What to protect: ground the mount; use AC surge protection or a UPS on the power supply; add a PoE-rated Ethernet surge arrestor at the cable entry point.
- Recommended hardware: robust roof or wall mounts with secure bonding points. See our Gen 2 mounts and accessories and the Mast Adapter for Dishy Rectangle Gen 2.
- Installation tips: use shielded, outdoor-rated cable and tidy runs. Refer to our Starlink satellite dish installation guide for self-install steps and best practice.
Starlink Gen 3 / V4 (Standard)
- What to protect: same three layers—ground, AC surge/UPS, and PoE surge protection on the data line.
- Recommended hardware: sturdy, weatherproof mounts designed for Australian conditions, with reliable cable management. Explore Gen 3/V4 mounts and accessories built from marine-grade aluminium and compatible with self-install kits.
- Installation tips: keep the dish clear of obstructions but avoid making it the highest lightning-attractive point if you can. Our Starlink Performance Tips cover placement and cable routing.
Starlink Mini
- What to protect: when fixed on-site (home, shed, cabin), apply the same protection stack—grounding, AC surge/UPS, and PoE surge arrestor—plus secure mounting with rust-resistant hardware. On the move, the best protection in severe weather is to unplug and stow the unit.
- Recommended hardware: compact, durable mounts and adapters that won’t corrode. Browse our Starlink Mini accessories designed for portability and reliability.
- Power tips: understand how much power your setup draws and plan for surges and brownouts. See Starlink DC power requirements for a quick breakdown.
RV, 4x4 and Portability
- What to protect: mobile setups face added risk from vibration, moisture, and variable power. Use a quality DC power system with proper surge protection and consider a PoE surge device where your cable enters the vehicle. When parked in severe storms, pack the dish away.
- Recommended approach: pair a robust, corrosion-resistant mount (aluminium or carbon fibre elements for strength-to-weight) with safe DC power practices. Our guide to Off-Grid Starlink set up and notes on Powering Starlink with DC walk you through reliable portable power options.
By matching the right SpaceTek hardware to your Starlink model—and layering grounding plus surge protection—you’ll significantly reduce risk while keeping performance dependable in Australian conditions.
Conclusion
Protecting your Starlink investment from lightning and power surges comes down to three critical actions: establishing a rock-solid grounding system, deploying multi-layered surge protection, and using high-quality, weather-resistant hardware for your installation.
These steps work together to create a comprehensive defence, channelling dangerous electrical energy safely into the ground and blocking surges before they can destroy your equipment. In the harsh Australian climate, a single unprotected storm can cause thousands of dollars in damage and create a serious fire risk.
At SpaceTek Australia, we understand these challenges. Our mounting kits are designed to be a core part of your protection strategy. We provide the most secure, rust-resistant, and user-friendly Starlink mounts in Australia, built from high-quality materials to withstand our unique conditions. Proper installation is key to performance and longevity, and our hardware ensures your system remains secure and optimally positioned.
Don't leave your connectivity and safety to chance. Ready to fortify your system against lightning and surges? Get in touch with our team today for expert advice on securing your Starlink setup for the long haul.

Leave a comment
This site is protected by hCaptcha and the hCaptcha Privacy Policy and Terms of Service apply.