How to Install Starlink: A Step-by-Step Guide
Installing on a Roof, RV, or for Portable Use
Starlink is bringing reliable internet to regional and remote Australia. A correct installation is vital for your safety. It also protects your hardware from harsh weather. This guide covers roof, RV, and portable setups. It features Spacetek’s specialised mounts for each scenario.
1. Matching a Mount to Your Starlink Model
Before installation, you need to identify your Starlink model. Different models, such as the Standard dish for homes and the portable Mini for travel, have unique mounting requirements.
The Standard dish is larger and requires a robust, permanent mount for stability in harsh weather. The compact Starlink Mini is suited for lighter, more portable mounting solutions.
Spacetek designs and manufactures specialised mounts for all current Starlink models available in Australia. Our products are engineered to ensure a secure fit and optimal performance for your specific dish, whether you're setting up at home or on the go.
For more details, see our comprehensive guide to compatible Starlink mounts and adapters.
2. Determining Your Installation Location
Your location determines your Starlink's performance. You have three main options.
Fixed roof installations are for homes and businesses. You mount the dish once for consistent internet. This permanent setup is very reliable.
RV and caravan installations provide internet on the road. They are perfect for travellers. These setups balance portability and performance.
Portable setups offer maximum flexibility. Use them for camping or temporary work sites. You can pack up and move easily.
Every installation has three critical requirements:
- A clear sky view. Your dish needs an unobstructed view. Trees, buildings, and antennas will block the signal.
- Structural support. The mount must be secure. It needs to withstand strong winds and weather.
- Easy maintenance access. You will need to clean the dish and check connections.
Use the Starlink app's obstruction checker. This tool is essential. It scans your location for signal blockers. This prevents mistakes and saves you time.
Download the free app before you start:
Walk around your property with the app open. It will show you the best spots. A clear location ensures your Starlink works perfectly.
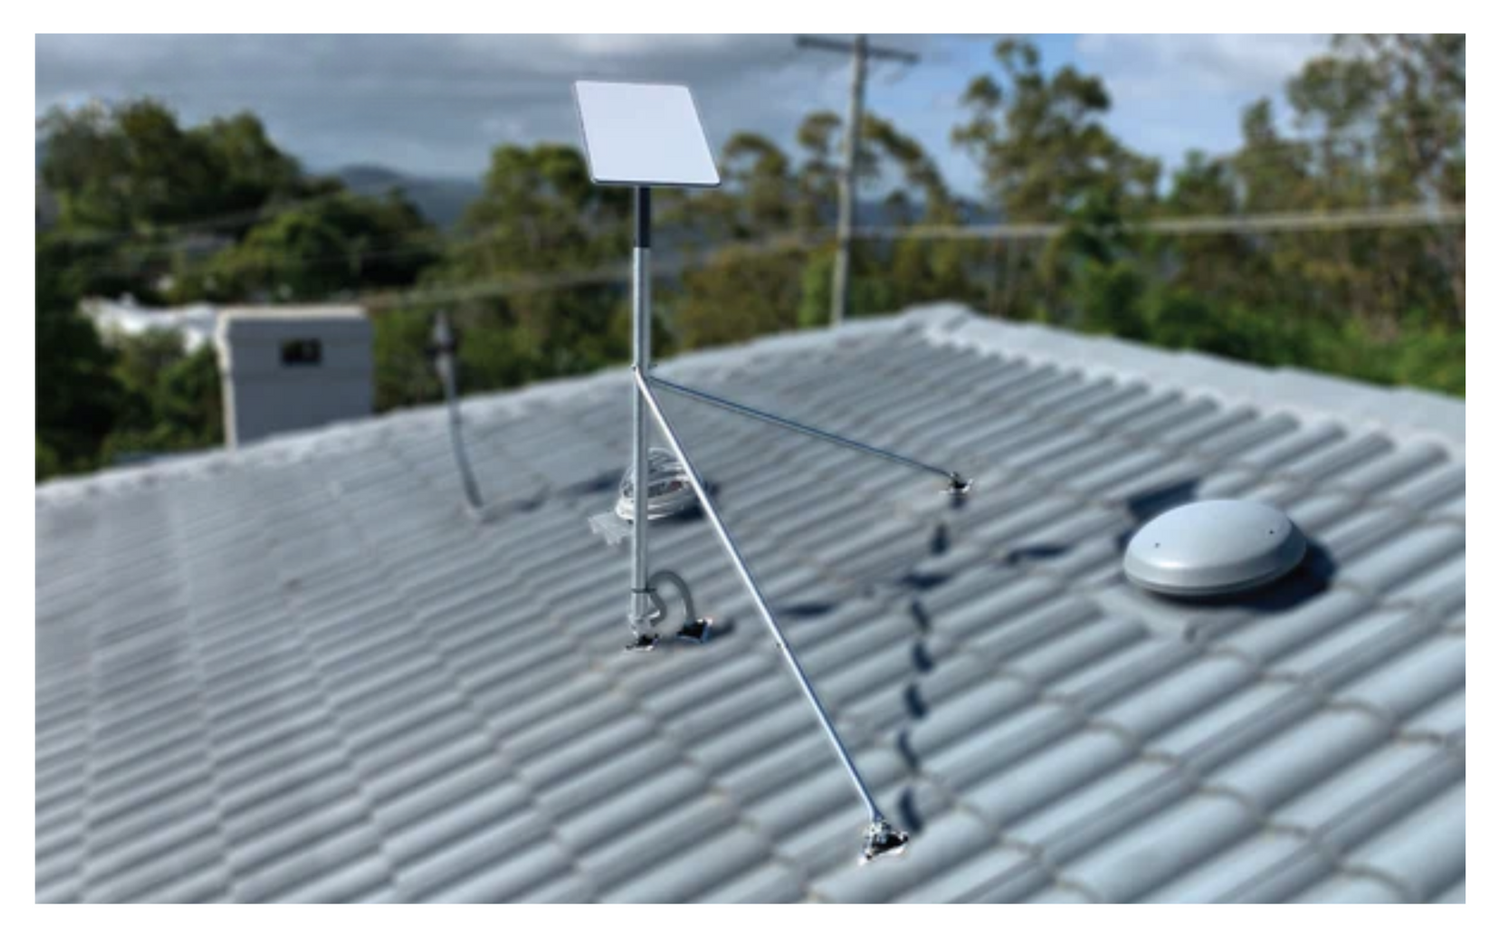
3. Installing on a Fixed Roof (Permanent)
A fixed roof installation provides the most reliable connection. This permanent setup is ideal for homes and businesses. It keeps your dish secure in all weather. Proper installation ensures weatherproof connections and neat cable management. For a full overview, read our Ultimate Guide to Installing Starlink on Your Roof.
3.1 Tin Roof Installation
Australian tin roofs require special mounts. Our Spacetek mounts create a secure, watertight seal.
For most homes, use the Tin Roof - Starlink Mount Roof Kit for Dishy - Gen 3 (V4) - Lite Duty. For areas with extreme weather, use the heavy-duty Tin Roof - Starlink Mount Roof Kit for Dishy - Gen 3 (V4). Both kits work with Gen 2 and Gen 3 dishes.
Follow these steps for installation:
- Position the mount. Place it on a roof rib. Align it with a roof truss or batten for strength.
- Mark your drill holes. Use the mount as a template. Double-check the alignment.
- Drill pilot holes. Drill carefully through the tin sheeting.
- Apply weatherproof sealant. Put a generous amount of marine-grade silicone around each hole.
- Fasten the mount. Secure it to the roof truss or batten, not just the tin. Tighten screws firmly.
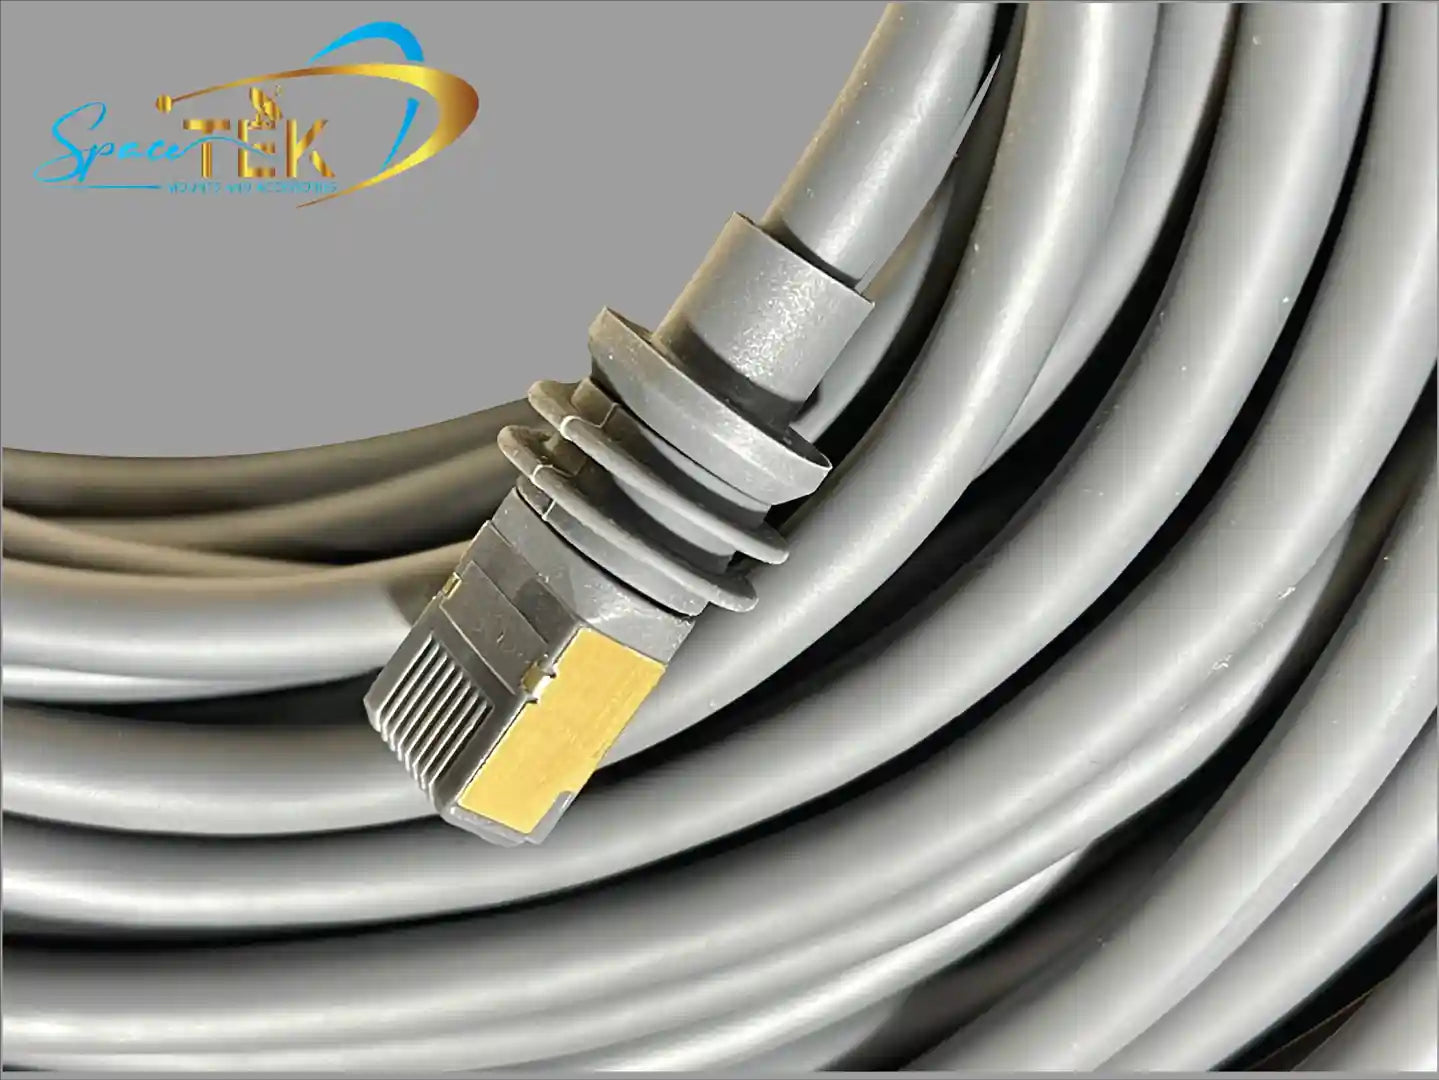
- Route the cable. Run the Starlink cable from the dish to the router. Use UV-resistant cable ties.
- Seal the cable entry point. Use a weatherproof grommet and sealant where the cable enters your home.
3.2 Wall or Eave Mount Installation
Wall and eave mounts avoid drilling into your roof. They are often easier to access for maintenance. This method works well if you have a solid wall with a clear sky view.
Follow these steps for installation:
- Select a location. Choose a solid wall or eave with an unobstructed view.
- Mark your drill holes. Hold the mount in position. Use a level to ensure it is straight.
- Drill pilot holes. Use the correct drill bit for your wall material (brick, weatherboard, etc.).
- Insert wall anchors. Use anchors if your wall material needs extra support.
- Mount the bracket. Use corrosion-resistant screws. Check that it is level and solid.
- Attach your Starlink dish. Insert the dish into the mount until it clicks into place.
- Manage your cables. Use clips to secure the cable and prevent wind damage.
For more details, see How to Install Your Starlink Dish Wall Mount.
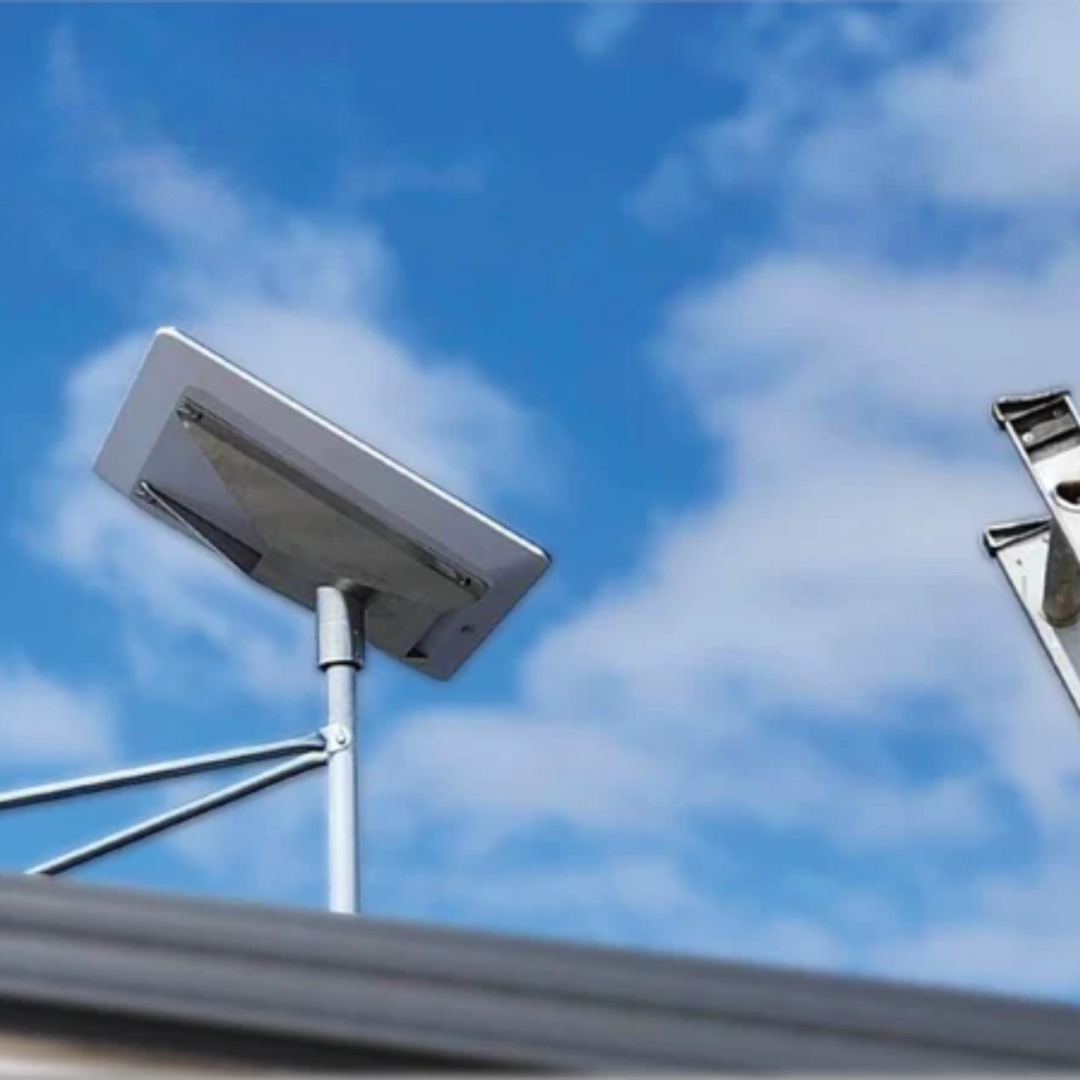
3.3 Ridge Cap Mount Installation
A ridge cap mount places your dish at the highest point of the roof. This position offers the clearest sky view. Our mounts protect your roof's waterproofing.
Follow these steps for installation:
- Position the mount. Place it carefully on the roof's peak. Ensure it is centered and stable.
- Mark and drill pilot holes. Drill through the ridge cap into the roof structure.
- Install flashing. Place flashing under the mount base. This creates a water barrier.
- Apply weatherproof sealant. Cover all drill holes and fasteners with sealant. This prevents water damage.
- Fasten the mount. Use strong, corrosion-resistant fasteners to secure the mount to the roof structure.
- Attach your Starlink dish. Ensure it clicks firmly into the mount.
- Route the cable. Secure the cable down the roof slope to prevent wind lift.
- Re-torque fasteners annually. Check and tighten all fasteners each year. This prevents loosening over time.
Learn more about our roof mounts in our Guide to Starlink Gen 3 Roof Mount Kits.
3.4 Dish Adjustment for Optimal Signal
Your Starlink dish adjusts itself automatically. However, initial positioning is important. Two key terms help you understand this.
Elevation is the dish's vertical tilt. It is how high the dish points to the sky. Azimuth is the dish's horizontal direction. It is the compass direction the dish faces.
The Starlink app guides you through fine-tuning. Follow this simple adjust-test-lock process:
- Make small adjustments. Gently rotate the mount to change the azimuth. Adjust the mount's tilt to change the elevation.
- Test the signal. Check the performance data in the Starlink app after each adjustment.
- Lock the mount. Once you find the optimal signal, tighten all mount fasteners securely.
For more help, see the official guide on how to use the Alignment Tool.
4. Installing on an RV or Caravan
Starlink provides excellent internet for RVs and caravans. You can work, stream, and stay connected from anywhere. Choose the right mount for your travel style. For more RV setup details, visit RV Life Connected: Setting Up Starlink on the Go.
%20(4)_compressed.png?alt=media&token=c56b01d6-bfe2-4778-a1a1-ea931957a727 "A Starlink dish securely mounted on the roof of an RV, with a clear sky in the background - Starlink install kit")
4.1 In-Motion Mounts
In-motion mounts are for serious travellers. They let you use Starlink while driving. These mounts are tough and aerodynamic. They handle highway speeds and bumpy roads.
Follow these steps to install an in-motion mount:
- Select a roof location. Find a flat, sturdy spot on your RV roof or roof rack.
- Mark your drill points. Position the mount and mark where to drill.
- Drill pilot holes. Drill slowly to avoid damaging the roof.
- Apply weatherproof sealant. Use marine-grade sealant around each hole.
- Fasten the mount securely. Use stainless steel bolts and nuts.
- Attach your Starlink dish. The dish should click securely into the mount.
- Route the cable inside. Run the cable into your RV through a waterproof entry point.
- Seal the cable entry. Use a weatherproof grommet and more sealant to prevent leaks.
Learn more about Starlink Gen 3 Roof Rack Mobility Mounts.
4.2 Suction Cup Mounts
Suction cup mounts are great for stationary camping. They are quick to set up. No drilling is required. They work best on smooth surfaces like RV roofs or windows.
Follow these steps to install a suction cup mount:
- Clean the surface thoroughly. Use methylated spirits to remove all dust and oils.
- Position the mount. Press the suction cups firmly onto the clean surface.
- Engage the locking levers. Flip each lever to create a strong vacuum seal.
- Test the security. Gently tug the mount to ensure it is solid.
- Attach your dish. Connect your Starlink dish to the mount.
- Route the cable safely. Keep the cable away from walkways to prevent trips.
For more information, read about the Starlink RV Compatible Suction Cup Mount.
Troubleshooting
Even the best suction cups can fail. Follow these tips to prevent problems:
- Always clean the surface. Even fingerprints can break the seal.
- Lightly moisten the cups. This can improve the seal on very clean surfaces.
- Avoid panel seams. Cups need a flat surface to form a seal.
- Consider the temperature. Extreme heat or cold can affect the rubber.
- Check the mount regularly. Re-apply the suction every few hours.
- Use safety straps. Always use a backup strap to prevent the dish from falling.
5. Portable or Temporary Setup
Portable setups give you ultimate flexibility. Take high-speed internet camping or to a temporary work site. These setups are simple to pack up and move. For more information, see our Guide to Portable Starlink Mounts.
Use a tripod mount for a portable setup. These mounts are designed for quick deployment.
Follow these steps for a portable setup:
- Assemble the tripod base. Unfold the legs and make sure they are stable.
- Secure the Starlink dish. Attach the dish to the tripod head. It should click into place.
- Find a clear location. Use the Starlink app's obstruction checker. Find a spot with a clear view of the sky, away from trees.
- Connect to power. You will need mains power or a portable power station.
- Manage the cable. Route the cable carefully to avoid a tripping hazard.
- Stabilize the tripod. If it is windy, use guy ropes or weights to anchor the tripod.
- Adjust the dish. Use the Starlink app to fine-tune the dish's position for the best signal.
Explore our Top Mounts for Portability and Protection.
6. Safety and Long-Term Maintenance
Your safety always comes first. Be careful when installing your Starlink install kit, especially at heights.
Follow these critical roof safety precautions:
- Use a sturdy ladder. Secure it at the base and the top.
- Wear non-slip footwear. Shoes with good grip are essential.
- Check weather conditions. Never work on a roof in wind or rain.
- Work with a buddy. A partner can help and call for assistance if needed.
Spacetek mounts are built for Australian conditions. They have high wind-load ratings. Regular maintenance ensures they last.
Follow these long-term maintenance steps:
- Inspect your mount annually. Also check it after any severe weather event.
- Check for loose fasteners. Re-torque any loose bolts or screws.
- Inspect for UV degradation. Check cables and sealants for cracks from sun exposure.
- Maintain sealant. Re-apply marine-grade sealant to any cracks or gaps to prevent leaks.
- Clean your dish. Wipe away any dirt, leaves, or debris.
- Check for fastener fatigue. Metal expands and contracts, which can loosen screws over time. Tighten them during your annual inspection.
Proper maintenance extends your system's life. It also ensures consistent performance. Learn how to Avoid DIY Starlink Mounting Mistakes.
7. Tailoring Your Installation with Spacetek
Choosing the right mount is simple. Your choice depends on a few key factors.
First, consider your roof type or vehicle. A tin roof needs a different mount than a tile roof or an RV.
Next, think about your installation type. Permanent setups need robust mounts. Temporary setups need portable mounts.
Finally, check your Starlink dish model. The Standard Gen 3 dish is heavier than the Starlink Mini. It requires a stronger mount.
Our mounts are rust-resistant and tough. They handle Australia's harsh conditions. They also integrate perfectly with your Starlink install kit. For more details, see Why Choose Spacetek Mounting Kits?.
Spacetek Mount and Starlink Model Compatibility
This table matches our mounts to your needs:
| Installation Type | Recommended Spacetek Product(s) | Compatible Starlink Model | Best Use Case |
|---|---|---|---|
| Tin Roof | Tin Roof Mount Kit - Gen 3 | Standard Gen 3 | Permanent, secure installation on standard Australian tin roofs. |
| Wall Mount | Universal Wall Mount | Standard Gen 3, Mini | Attaching to a wall or eave to avoid roof penetration. |
| Ridge Cap | Universal Ridge Mount | Standard Gen 3 | Optimal positioning on the peak of a pitched roof for a clear view. |
| RV In-Motion | Gen 3 Roof Rack Mobility Mount | Standard Gen 3 | Using Starlink while the vehicle is moving. |
| Portable Camping | Starlink Mini Suction Cup Mount | Starlink Mini | Temporary, stationary setup on smooth surfaces like glass or RV siding. |
8. Conclusion
A proper installation is key to getting the best performance from your Starlink install kit. A secure, weatherproof mount protects your hardware investment. It ensures your Starlink system delivers fast, reliable internet for years.
Your SpaceTek mount is designed to work perfectly with your Starlink components. Our designs handle Australia's harsh conditions, keeping your dish secure and performing at its best.
Need expert advice choosing the perfect mount?
The SpaceTek team is here to help. We understand Australian conditions and can guide you to the ideal accessories for your specific needs. Contact us for personalised product selection.
Ready to get connected?
Leave a comment
This site is protected by hCaptcha and the hCaptcha Privacy Policy and Terms of Service apply.