





Tin/Metal Roof Mount Kit for Starlink Standard (Gen 3 / V4) – Heavy Duty
Spacetek install guide
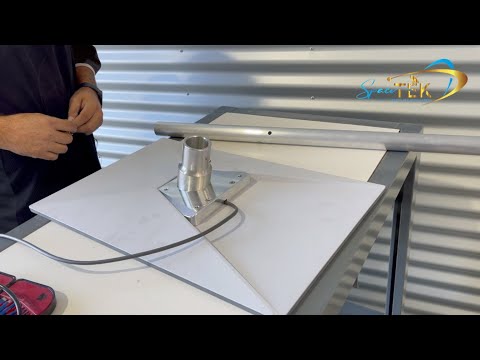
Need help installing this heavy duty roof mount?
Specifications
✅ Compatibility note: This product suits the Starlink Standard (Gen 3 / V4) flat rectangular terminal, also commonly called Standard Kit, Standard 4 or V4. It does not suit Starlink Mini, Gen 2 actuated Standard, High Performance or Flat High Performance models unless specifically stated.
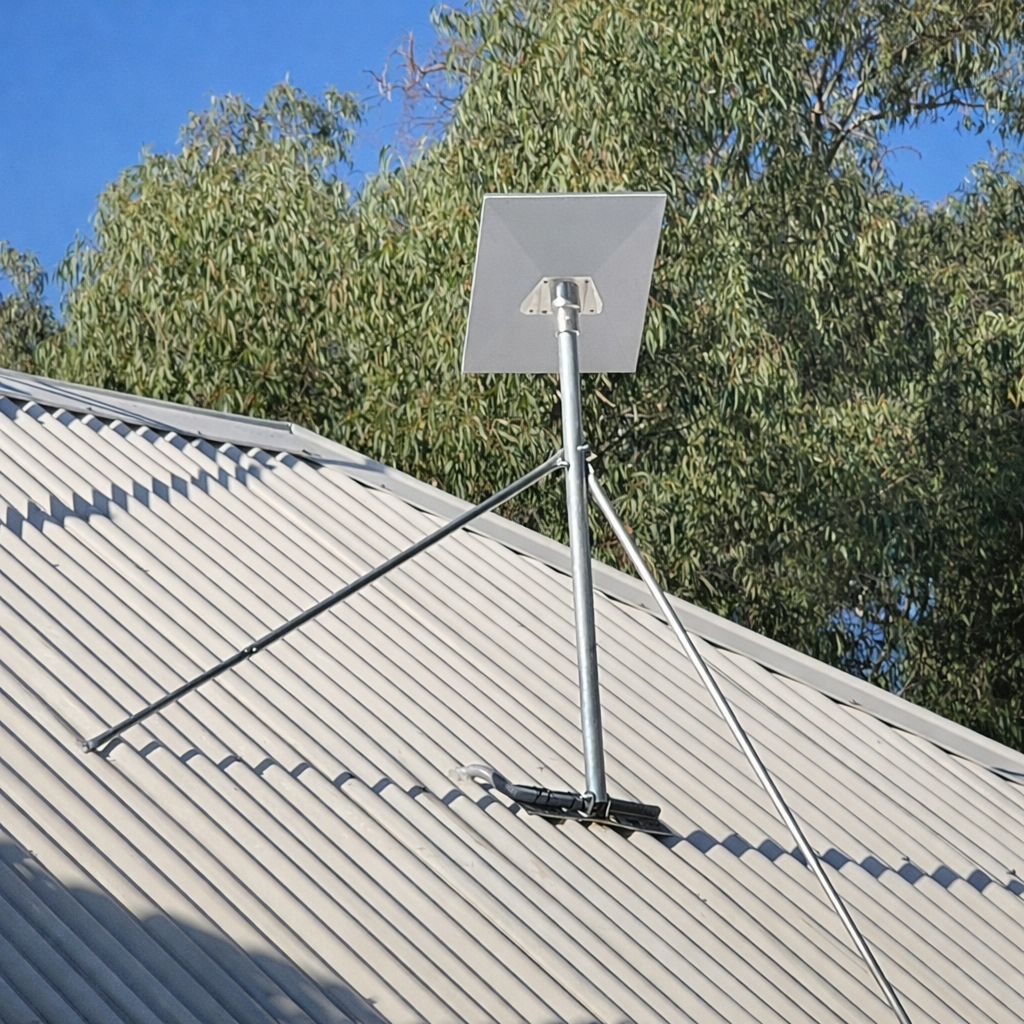
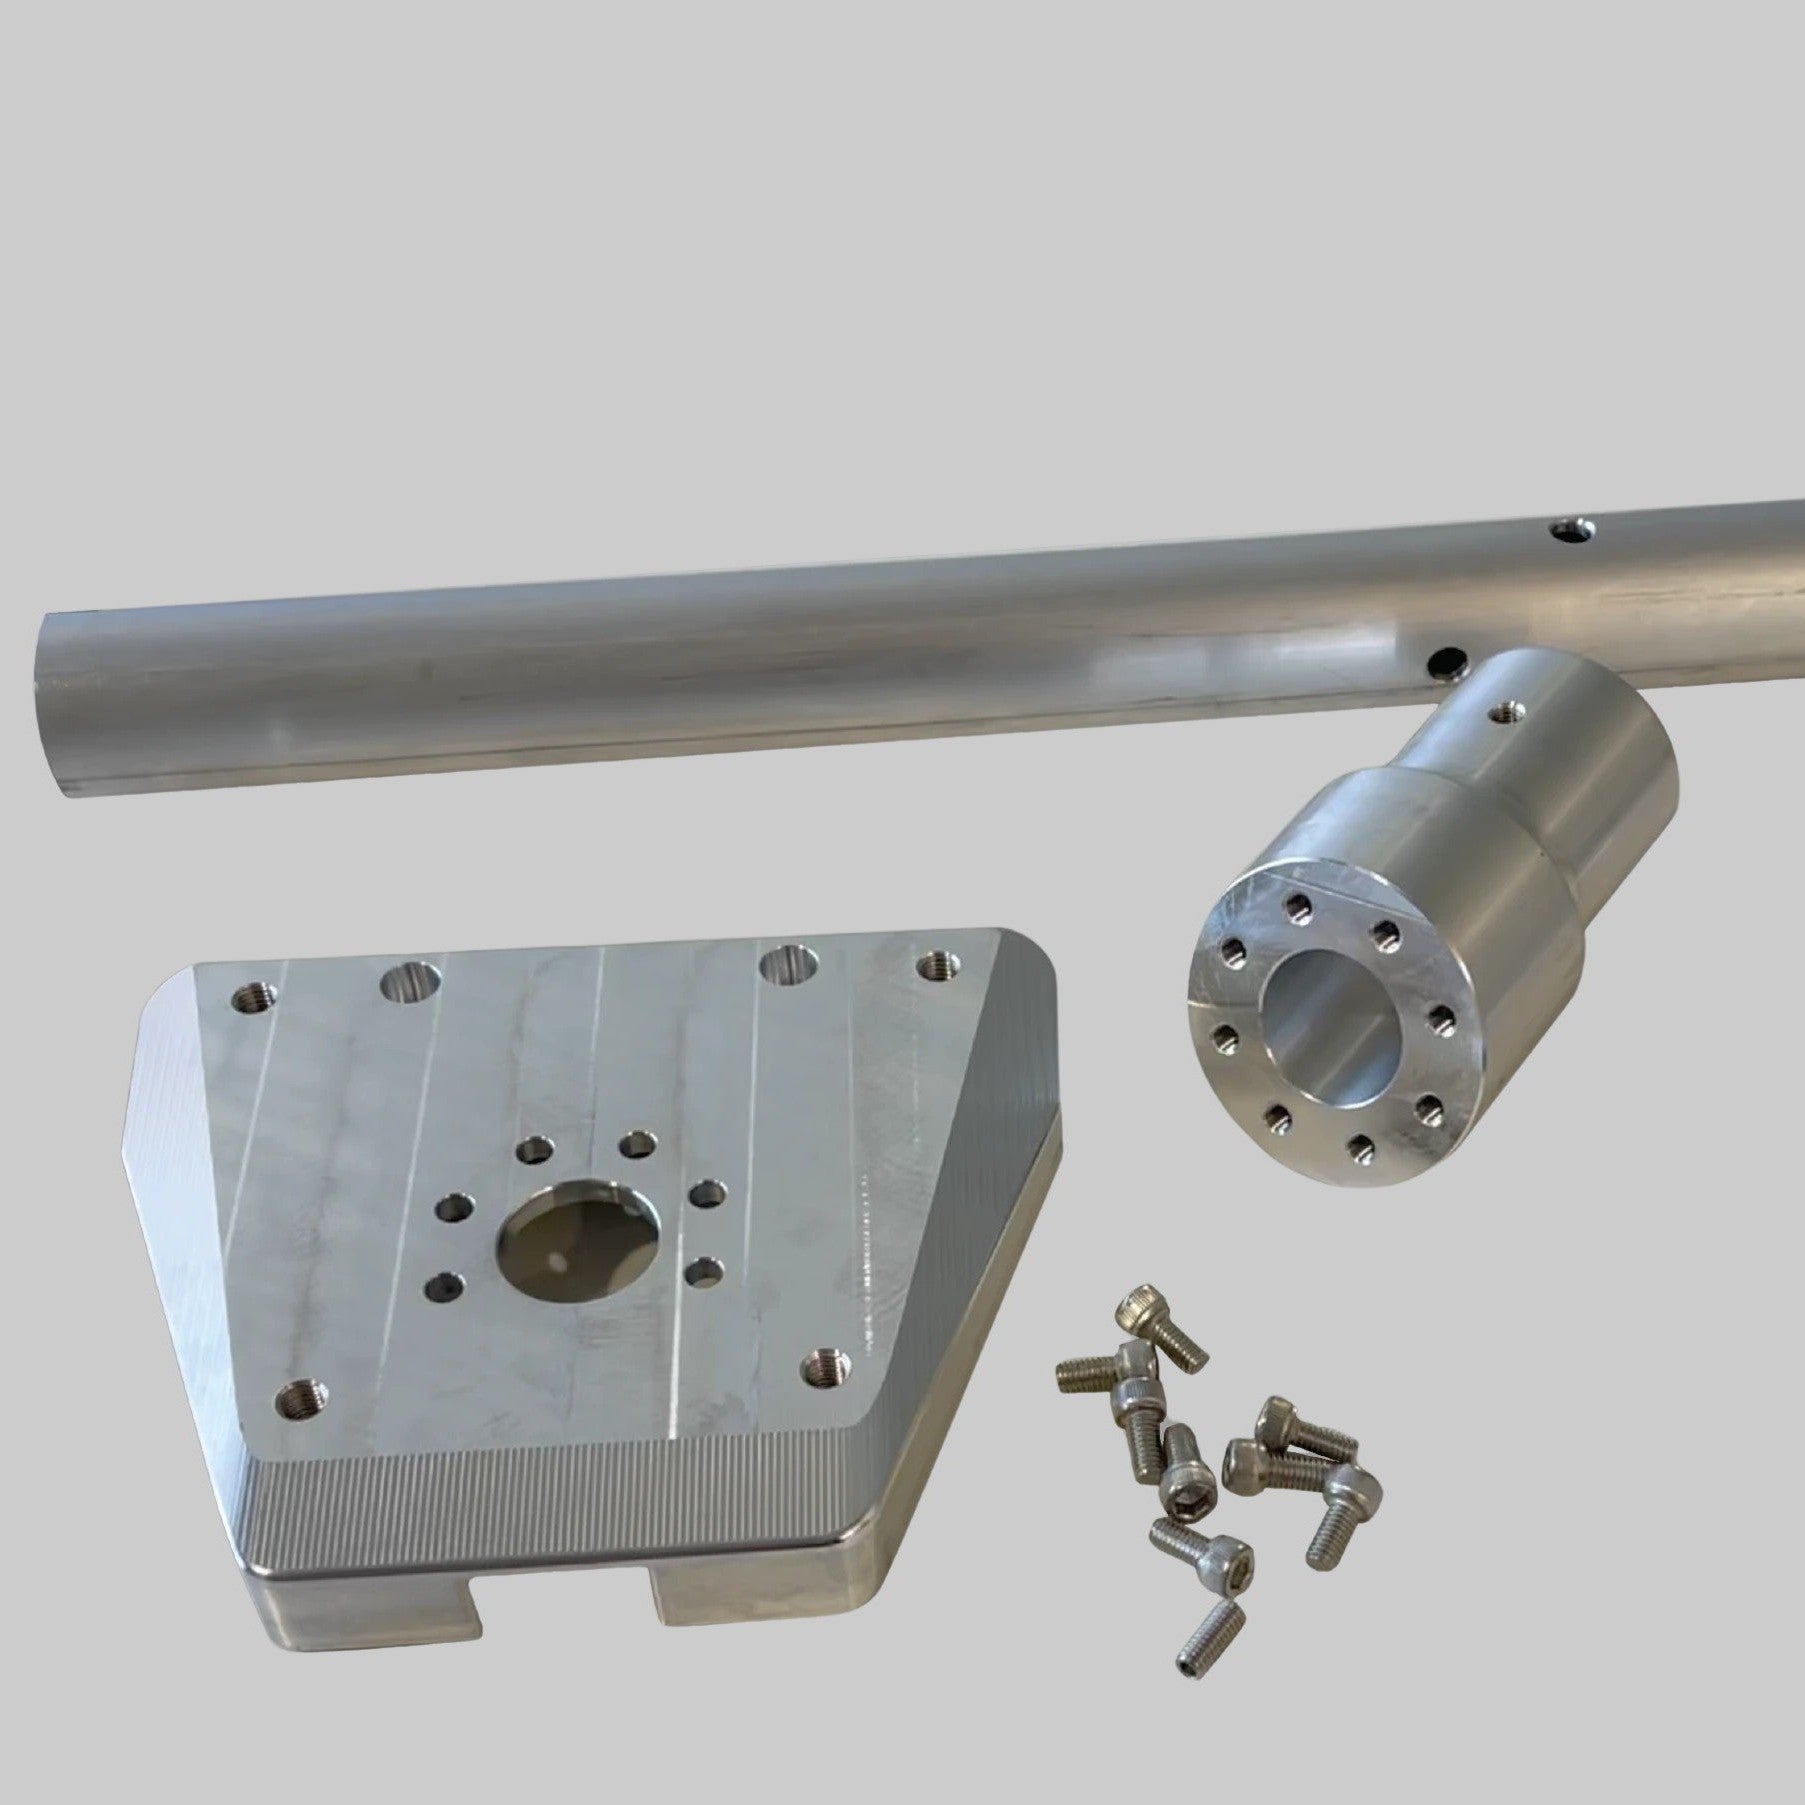
Starlink Standard (Gen 3 / V4) Tin Roof Mount Kit with Heavy Duty 40mm Pole Adapter
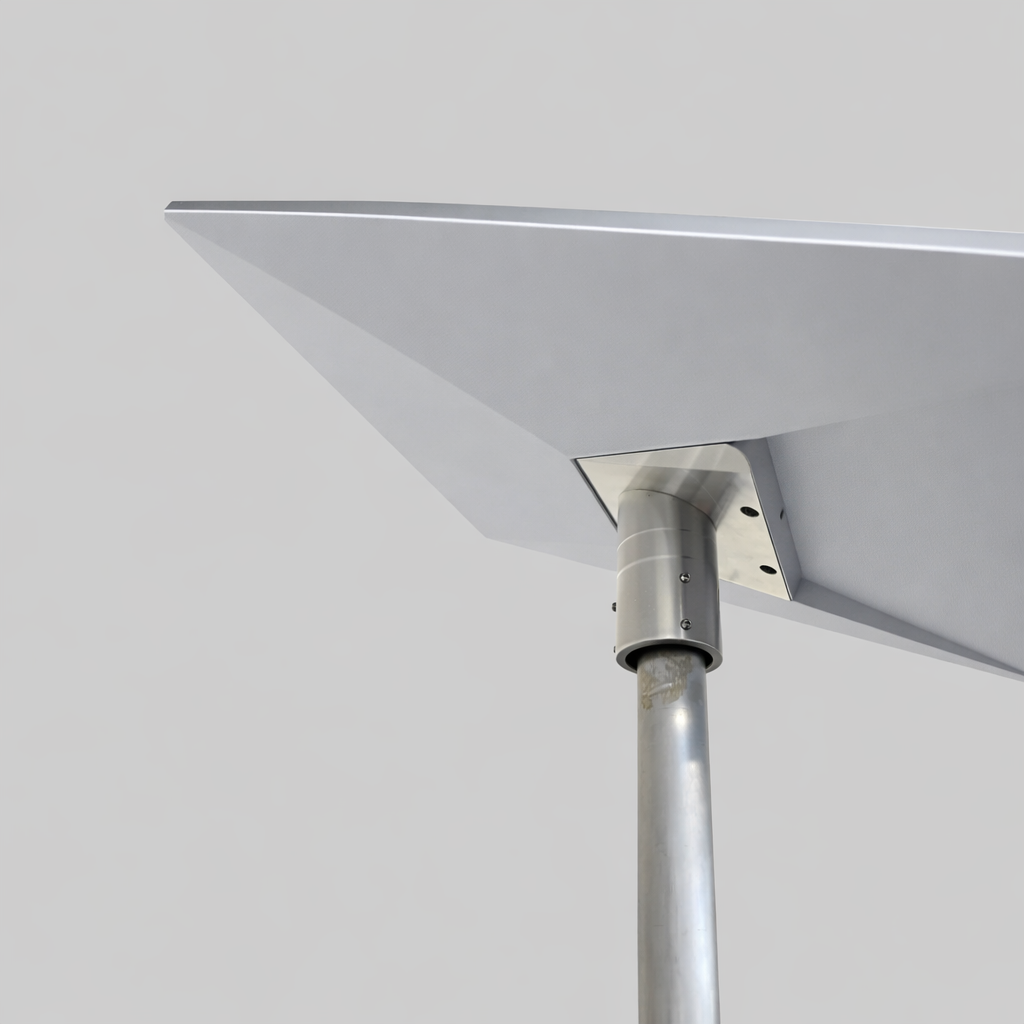
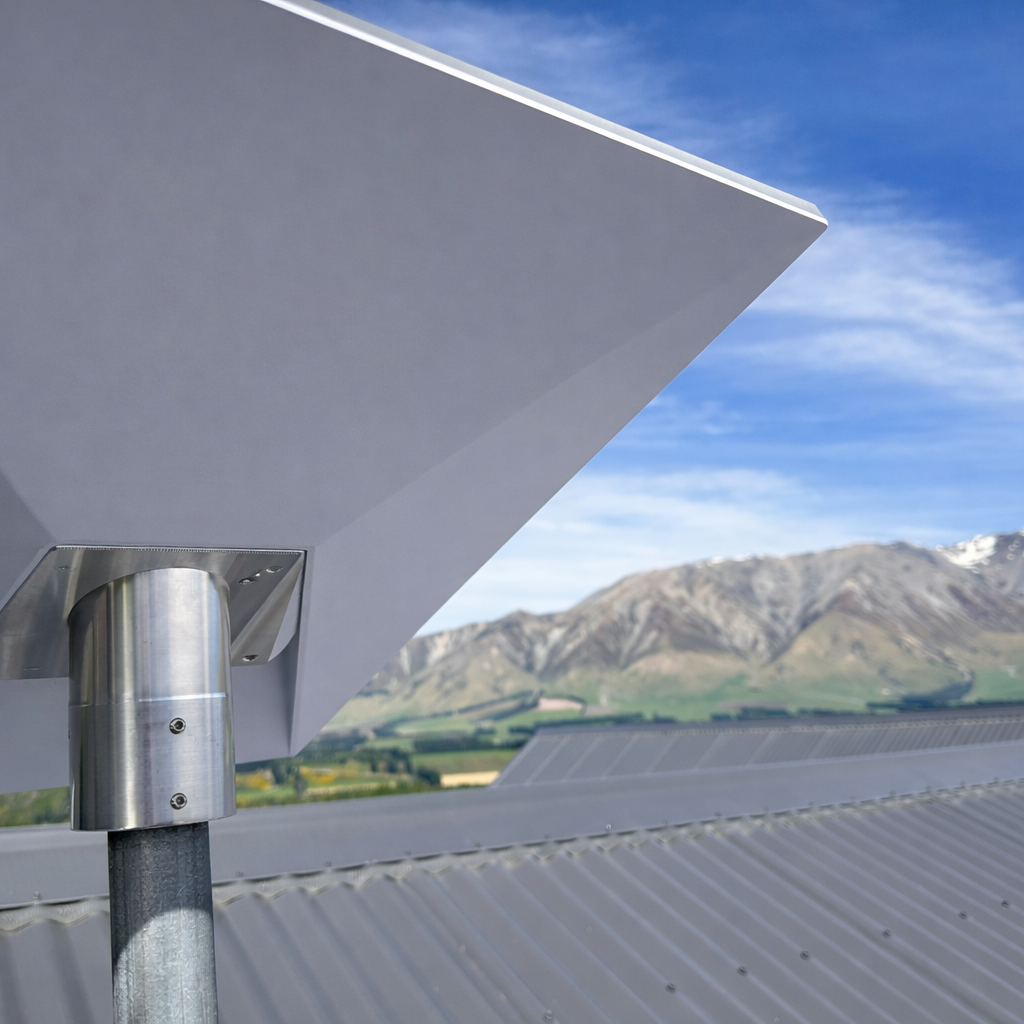
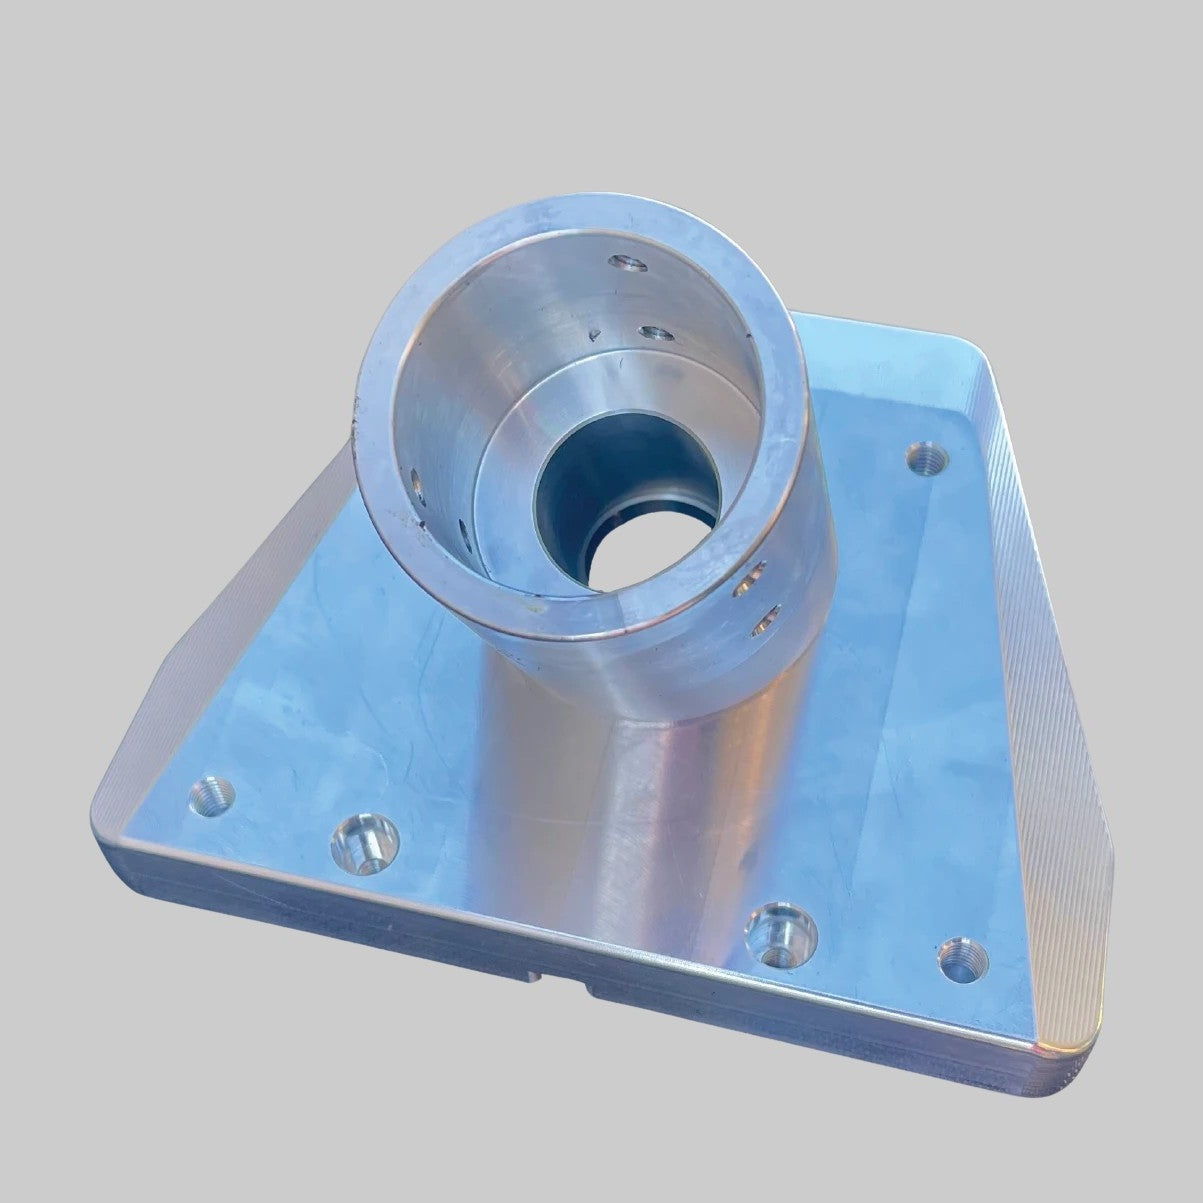
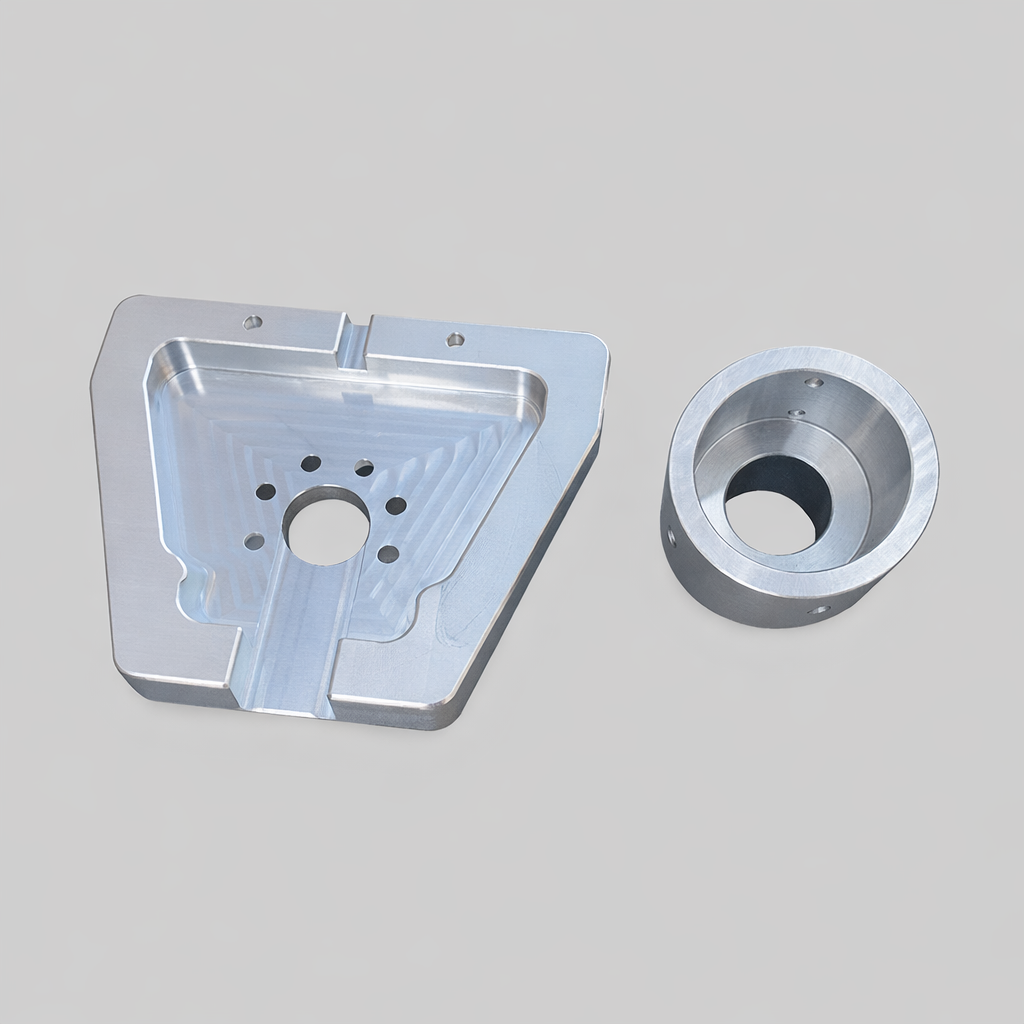
The Spacetek Heavy Duty Tin Roof Mount Kit is designed for permanent installation of the Starlink Standard (Gen 3 / V4) rectangular terminal on corrugated metal roofing in high wind load and exposed environments. The system uses a reinforced mounting assembly combined with a heavy-duty machined aluminium Gen 3 to 40mm pole adapter, delivering increased rigidity and improved resistance to uplift and vibration.
📦 What’s included
- 1 x Standard (Gen 3 / V4) Heavy Duty Aluminium Pole Adaptor Kit, suits UTA-232.
- 2 x Structural Telescopic Stay Bars (Galvanised Steel)
- 1 x Aluminium Base Plate (270mm x 75mm)
- 1 x Aluminium Pole Mast (choice of length)
- Generic Fastener Pack (please check suitability for your specific install)
🛰️ Starlink terminal not included. This product includes Spacetek accessories only; purchase your Starlink kit separately from here.
Optional Add On: If you require additional structural support for the stay bars, you may consider adding additional cleats to the stay bar mounting points on your roof. We also have a extra heavy duty base plate which is larger and covers more area for extreme envrionments.
Starlink Standard (Gen 3 / V4) terminals incorporate a thermal protection shut-off at approximately 50°C. The elevated pole configuration increases separation from heat-radiating metal roofing, improving airflow around the dish and reducing thermal loading during Australian summer conditions.
Multiple pole height options are available. Extended variants provide additional clearance over roof obstructions and allow space beneath the dish for secondary antennas, 4G failover equipment, point-to-point radios, or terrestrial TV hardware.
Key Features
✅ High Wind Load Design — Reinforced mounting system suited to exposed locations and wind-prone regions.
✅ Gen 3 (V4) Compatibility — Precision-engineered for the Starlink Gen 3 rectangular terminal.
✅ Heavy Duty 40 mm Pipe Adapter — Increased wall thickness and clamping surface for improved mast retention and load handling.
✅ Thermal Clearance Geometry — Elevated mounting height assists airflow and reduces roof-radiated heat contributing to 50 °C shut-off events.
✅ Extended Height Options — Longer poles improve line-of-sight and provide space for auxiliary communications equipment.
Installation Overview (also see video below)
- Identify a potential mounting location with clear sky visibility of the southern sky. (If in the southern hemisphere). TIP : If you are planning to mount on the northern side of your building, ensure the height of the mount allows the Starlink to tilt and view towards the southern sky and not be obstructed by the roof's structure.
- Mark fixing points for the included base plate, aligning the peaks of the roofing corrugations with the base plate. Using pliers, lift up the fixing flaps on the base plate. (This is where the mast/pipe will fasten onto later on).
- Apply appropriate exterior-grade sealant to all penetration points and screw in the base plate aligned to the marked fixing points.
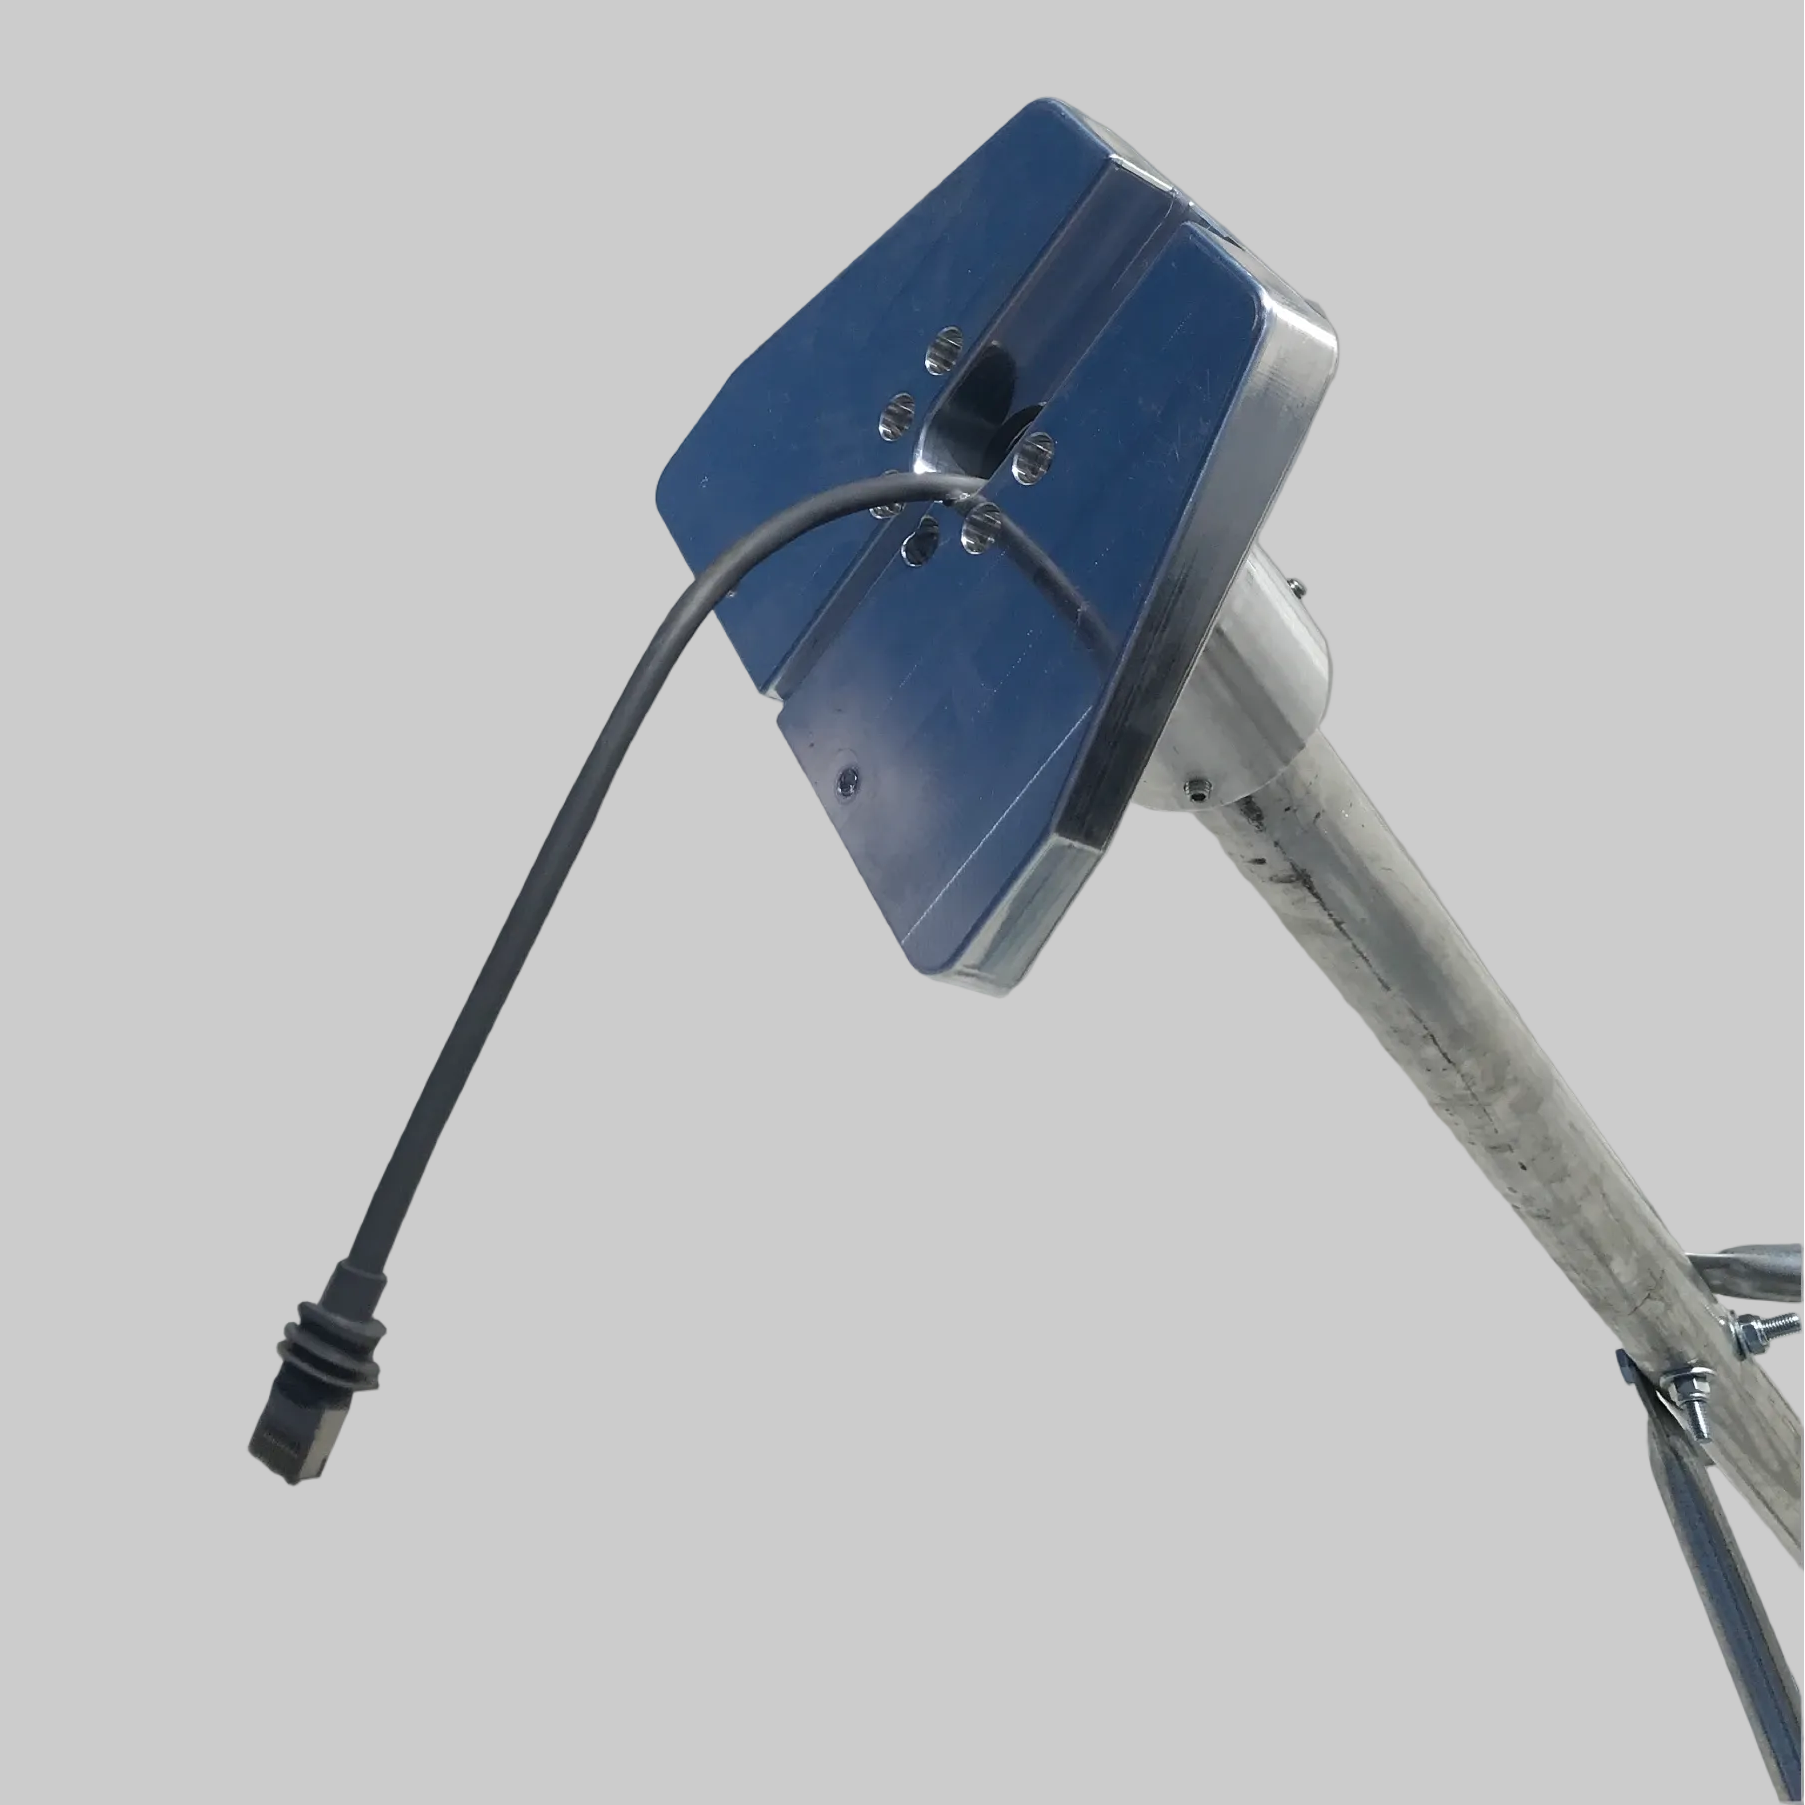
- Pass the Starlink Standard (Gen 3 / V4) cable through the pipe mast, then center the mast against the raised fixing flaps on the base plate, loosely fastening the mast to the base plate using the supplied hex bolt and nut.
- Stay bars come in male / female pairs, loosely attach both pairs of staybars to the center mast using the pre-drilled holes. With a pair of shifters, bend up the ends of the stay bars to align to the angle of your roof's fixing points. Adjust the length of the stay bars as required to reach a secure fastening point on your roof, then fix the stay bars in place with the included tek screws.
- Confirm mounting alignment and mechanical rigidity before continuing.
- Prepare the Starlink for final mounting position, remove the ground kickstand from the Gen 3 (V4) - consult your Starlink manual for this or see the video here.
- Plug the Starlink Standard (Gen 3 / V4) cable into the back of the Starlink dish ensuring the waterproof glands fit snugly into the port.
- Assemble the two pieces of the heavy duty Spacetek pole adaptor together by following this video. Insert the Spacetek Heavy Duty Gen 3 (V4) pole adaptor into the Starlink in the position the kickstand was occupying, ensuring it clicks into place and does not come out when agitated. It should be firmly in place. Ensure the cable is running smoothly through the adaptor. This now means the cable can run smoothly through the hole in the adapter and down into the mast.
- Slide the Spacetek pole adaptor over the end of the mounted mast, using the grub screws and allen key to tighten around the pole to secure the adaptor. Note - that the Starlink dish should be facing south in preparation for signal calibration, you do not need to full tighten the grub screws as yet.
- Complete the cable run & penetration through your roof.
- Once the cable run is complete within the structure, plug into your router. Turn on the power and commence Starlink calibration in your Starlink App as per the instructions in Starlink documentation.
- If required - adjust the angle of the dish by rotating the Spacetek pole adapter and adjusting the grub screws for micro-level adjustments.
- Once fully aligned , tighten the grub screws with the included allen key.
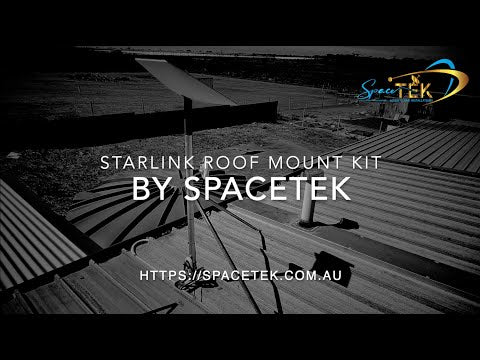
📽️ Installation reference:
The tripod erection and mounting process is demonstrated in the official installation video (Gen 2 terminal shown for method reference only). The same procedure applies to Gen 3 using the supplied heavy-duty adapter.
Important Notes
⚠️ Not suitable for ground, freestanding, or portable installation.
⚠️ Roof penetrations must be sealed to prevent water ingress.
⚠️ This mount is intended for high-wind regions but must still be fixed to structurally sound roofing.
⚠️ Professional installation is strongly recommended for exposed or elevated sites.
This product is rated 4.8 of 5.0 stars.
It has received 24 reviews.
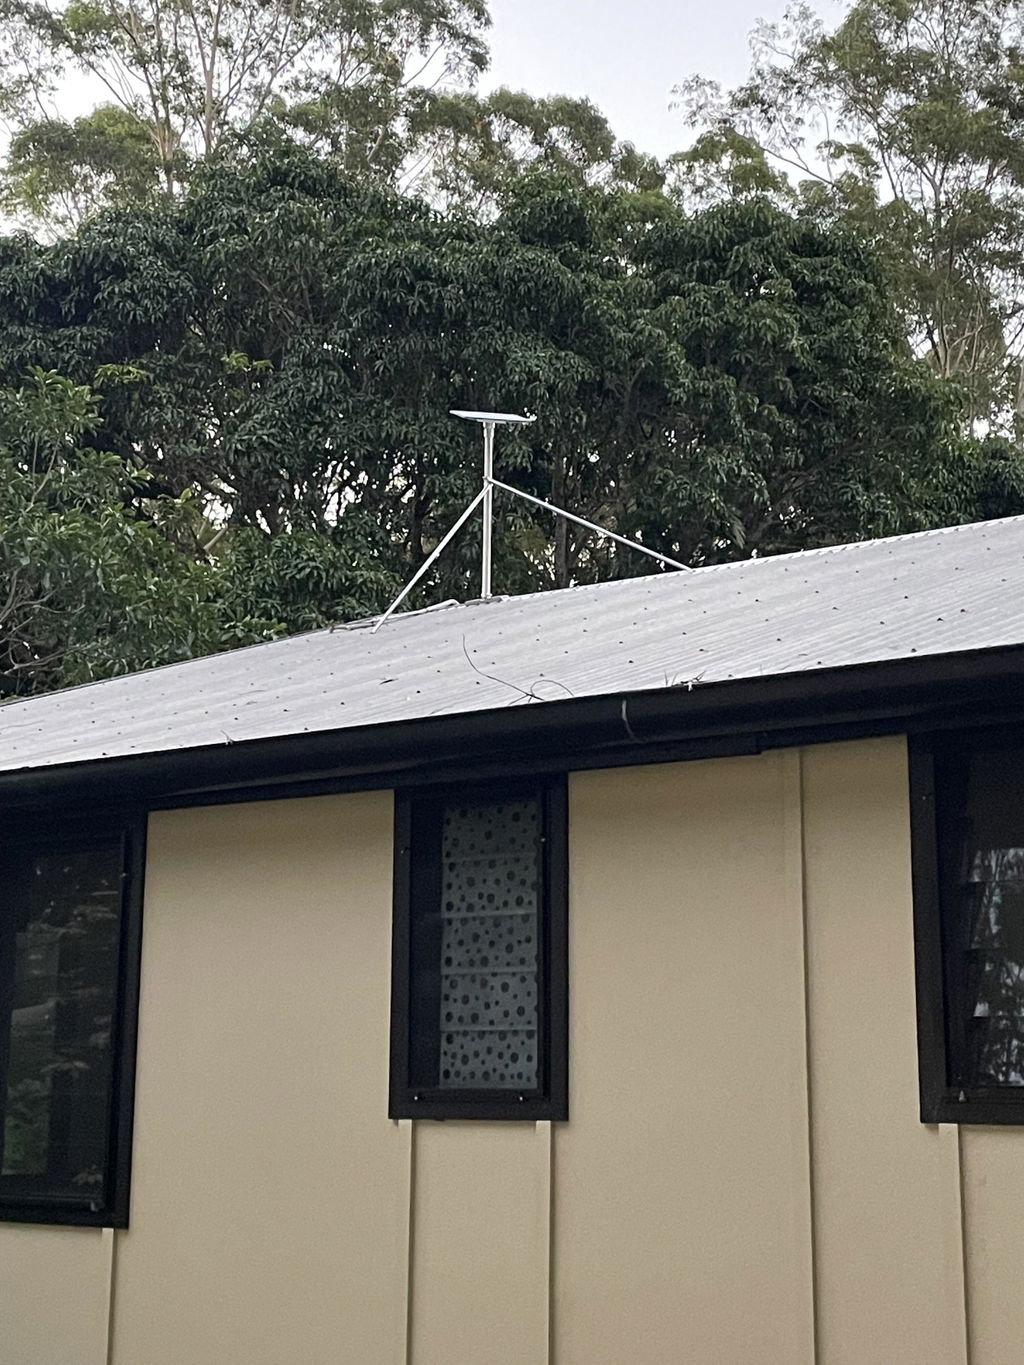
Nice piece of kit, easy for one person to install, all required components included. The website photo differs from the actual unit as the older design had six grub screws to attach the boss to the pole, now only one. I do think this is a weak point and that you should go back to having several grub screws, to prevent rotational movement in high winds. I would still recommend this unit.
no instructions in kit - had to contact them.
unit itself is robust
superb mounting very sturdy set up
Kit was exactly as described and my electrician had no issues with the installation
Hi Alan,
Thanks for sharing your feedback! We're really glad to hear the Tin/Metal Roof Mount Kit was exactly as described and that your electrician had no issues with the installation. We appreciate you taking the time to leave a review.
The whole experience with your staff was great
Hi Peter,
Thanks so much for taking the time to leave a review for us. We're really happy to hear you had a great experience with our team. We appreciate your feedback!
The Mount design is perfect for corrugated roof's, it mounted with no stress, it fits snug and sturdy, aligned dish easily and now enjoying internet. Ty 😊
A great kit, supplied by a professional team.
Solid construction, simple to install. Fast delivery to Far North QLD.
Got here quick. Easy to put up. Strong.
Good, solid stand for roof mounting Starlink
This is the best roof mount on the market, perfect fit, great engineering. Install was easy. Quality components. Very happy.
Excellent product but did not come with any installation instructions
Good and strong for spline stea
Very happy with the heavy duty tin roof kit. Quality product.
Great product, very easy to install and sturdy!🤙🏼
Sturdy kit - ideal for Far North QLD weather conditions. Installation was quick and easy using the excellent instructional video on your website.
Thank you.
Thank you for your kind review! We're glad to hear that our Starlink Mount Roof Kit was able to withstand the tough weather conditions up North! We're also happy to hear that the installation process was quick and easy for you. Happy Starlink-ing!
The Spacetek Team
Very impressed with the quality of this mount. What a great product.
Thank you Owen for your kind words, your business is very much appreciated!
-Spacetek Team
Easy to install.
good product
Great product works just as advertised
Perfect live on the south coast high winds and wild weather this is built to last easy to install forget the plastic mounts
Excellent quality, sturdy and easy to erect.
Excellent quality, sturdy and easy to erect.
Fantastic product
Why Choose Spacetek Mounting Kits?
Quality & Compatibility
At SpaceTek's Starlink Shop, we offer a comprehensive range of additional mounts, adapters, and accessories. Whether you're looking to fine-tune your setup or maximize performance, we have you covered. Our products are built to withstand varying temperatures and harsh weather conditions, ensuring your Starlink Dishy remains operational and protected from thermal shutdowns on scorching hot days or during pouring rain or gale-force winds.
Don't leave your Starlink experience to chance. Choose the Starlink experts who understand the importance of quality, compatibility, and performance since 2021.
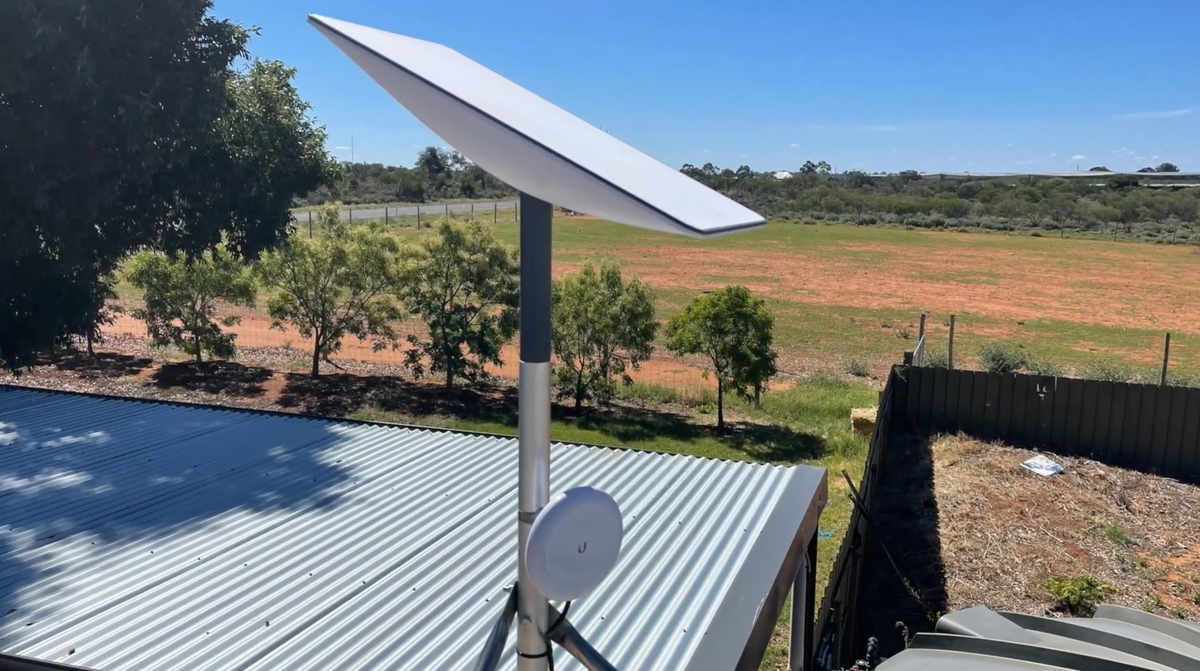
Custom-Machined
Secure and stable installation for your Starlink dish, guaranteeing optimal performance.
Lightweight & Rust-Resistant
Our mounting equipment provides a durable and long-lasting solution for mounting your Starlink equipment.
Built to Last
Our products are built to withstand various weather conditions, including high temperatures, heavy rain, and strong winds.
At SpaceTek's Starlink Shop, we offer a comprehensive range of additional mounts, adapters, and accessories. Whether you're looking to fine-tune your setup or maximize performance, we have you covered. Our products are built to withstand varying temperatures and harsh weather conditions, ensuring your Starlink Dishy remains operational and protected from thermal shutdowns on scorching hot days or during pouring rain or gale-force winds.
Don't leave your Starlink experience to chance. Choose the Starlink experts who understand the importance of quality, compatibility, and performance since 2021.