An Introduction to the Starlink Gen 3 Upgrade
Upgrading to Starlink Gen 3 isn’t a swap-out of your old kit; it’s a fresh purchase through your existing Starlink account. The new hardware brings a smarter dish design and a far more capable router, with a revised mounting system that’s better suited to permanent installs—especially when matched with mounts built to handle Australian weather.
Quick Answer: How to upgrade to Starlink Gen 3
- Order new hardware: Log in to your Starlink account and choose “Order Another Starlink” from the Shop tab.
- Choose your kit: Select the Gen 3 Standard Kit with your preferred service plan.
- Install new equipment: Set up your Gen 3 dish using the included kickstand for temporary placement.
- Configure the router: Use the Starlink app to customise Wi‑Fi 6 settings and wired connections via the dual Ethernet ports.
- Update mounting: Fit a compatible Gen 3 mount—Gen 2 mounts are not compatible due to the new dish interface.
Key benefits of Gen 3
- Improved router: Wi‑Fi 6, two Ethernet ports, coverage up to 297 m², and support for up to 235 devices.
- Smarter dish design: A larger aperture for a wider field of view and a removable kickstand for quick deployment.
- Better stability options: A streamlined form factor ready for secure fixed mounts and self‑install kits.
If you’re upgrading, keep in mind that Gen 3’s redesigned mounting interface means your old Gen 2 mounts won’t fit. For a long‑term installation, choose a proper Gen 3 mount made with rust‑resistant aluminium or carbon fibre components and stainless hardware—materials that stand up to the sun, salt and storms common across Australia. SpaceTek mounts are designed to be compatible with Starlink self‑install kits and to keep your alignment rock‑solid over time.
I’m Aaron Wroblewski, founder of SpaceTek Australia. Across 25+ years in satellite systems, I’ve helped thousands of Aussies upgrade to new generations of gear without headaches—particularly around mount compatibility, weather resistance and protecting your investment.
Quick upgrading to Starlink Gen 3 definitions:
The How-To Guide for Upgrading to Starlink Gen 3
Upgrading to Starlink Gen 3 is a practical way to future‑proof your connection with hardware designed for tougher conditions and bigger device loads. Below is what changes from Gen 2 to Gen 3, how to order, and how to integrate the new router or dish with an existing setup.
Key differences: Starlink Gen 2 vs Gen 3 hardware
The jump from the Standard Actuated (Gen 2) dish to the Standard (Gen 3) dish is significant. Gen 3 expands the dish width to 15.07 inches (from 11.9 inches), increasing field of view for more reliable satellite acquisition. The integrated pole of Gen 2 is gone, replaced by a removable kickstand and a revised connection interface. This is a win for stability and mounting flexibility, but it does mean Gen 2 mounts are not compatible.
The Gen 3 router is a significant improvement for many households. It introduces Wi‑Fi 6 (802.11ax) for higher throughput and better performance when lots of devices are online. Dual RJ45 Ethernet ports are built in, removing the need for a separate adapter to hard‑wire TVs, PCs or access points. With up to 297 m² of coverage and support for around 235 devices, it suits busy homes, small offices and mobile rigs.
For a detailed look at how Starlink hardware has evolved, see our closer look at Gen 1 vs Gen 2 Starlink satellite dishes. If you’re weighing up the full Gen 3 package, our Beginners Guide to Starlink Gen 3 breaks down the key decisions.
The official process to order a Gen 3 upgrade
Starlink does not run a trade‑in program. To upgrade, you add a new kit to your account.
- Log in at Starlink.com and navigate to the Shop tab.
- Select “Order Another Starlink”.
- Choose your plan (Residential or Roam/Mobile).
- Select the Standard Gen 3 Kit and complete the order.
Note that partial hardware refunds aren’t offered when you upgrade—so double‑check your selection before checkout. You can also order via the Starlink app. For policy details, see Starlink’s article Can I upgrade my Starlink hardware?. If you’re ordering in Australia, our guide to getting connected with Starlink Gen 3 in Australia covers local considerations.
Integrating the Gen 3 router with an existing system
You can adopt the Gen 3 router first and tackle the dish later—handy if your current Gen 2 dish is well‑mounted and performing. The Gen 3 router is weather‑resistant (IP56), temperature‑tolerant (approximately −30 °C to +50 °C), and straightforward to set up: power it on, connect to the STARLINK Wi‑Fi network, then customise in the app.
For larger homes, the Gen 3 router can act as a mesh node to extend an existing Gen 2 network. The Starlink app walks you through pairing. Read more about how to set up Starlink Mesh and our guide on everything you need to know about Starlink Mesh WiFi.
If you want the Gen 3 router to become your main hub now, enable Bypass Mode on a Gen 2 router (Ethernet adapter required) and wire devices directly into the Gen 3 router’s dual Ethernet ports. This gives you stable, low‑latency connections for fixed equipment.
Mounting your new Gen 3 dish: what’s changed?
The biggest practical change when upgrading to Gen 3 is the mounting interface. The Gen 2’s integrated pole has been replaced with a robust, detachable kickstand and a different connection geometry. As a result, Gen 2 mounts are not compatible with the Gen 3 dish.
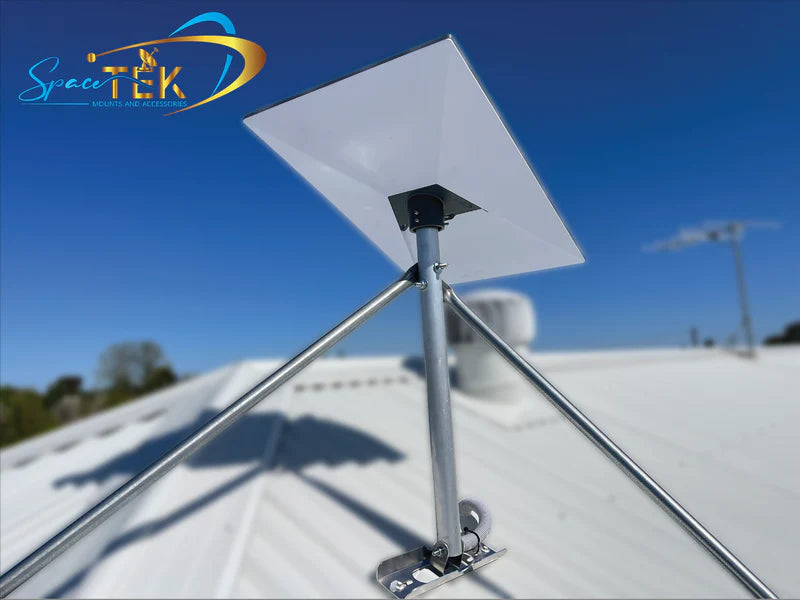
The kickstand is excellent for testing and temporary placement, but a permanent roof, wall or pole installation calls for a dedicated Gen 3 mount. A quality mount ensures alignment, minimises wind‑induced movement and protects your system when the weather turns. We engineer our mounts in rust‑resistant aluminium and stainless steel, and use carbon fibre where weight or stiffness provide an advantage—materials chosen for Australia’s UV, coastal salt air and high winds. For product selection and planning, start with our ultimate guide to Starlink Gen 3 mounting kits and our walkthrough on mounting Starlink Gen 3 in Australia made easy.
Finalising Your Upgrade and Getting the Right Gear
When the hardware arrives, performance and longevity come down to one thing: a secure, weather‑ready installation. That means the right mount, the right position, and materials that won’t give up in the sun, wind or salt.

Choosing the best mount for a durable Gen 3 installation
Gen 3’s kickstand is perfect for a quick test, but for day‑to‑day reliability you’ll want a purpose‑built mount. Our solutions are designed for Australian conditions and are compatible with Starlink self‑install kits, so you can fit them with confidence.
- Roof mounts: For permanent installs and the clearest sky view. Our Starlink Gen 3 roof mount kits are engineered for common roof types (including Colorbond and tile) and use rust‑resistant aluminium and stainless steel.
- Wall mounts: Ideal where roof access is limited. They provide a rigid attachment point and help maintain optimum elevation and azimuth.
- Pole adapters: Handy for precise height and clearance above trees or sheds.
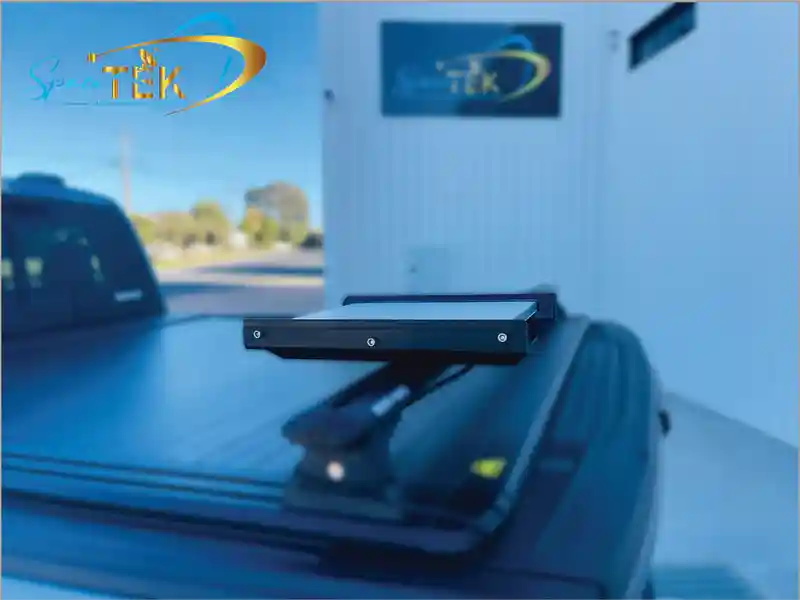
- Mobility mounts: For caravans and touring setups, our Starlink Gen 3 V4 Standard Mobility Mount prioritises fast deployment and strong hold‑down, using lightweight, corrosion‑resistant materials.
Browse the full range of Gen 3 mounts and accessories when you’re ready to choose.
Product picks by platform: Mini, Gen 2, Gen 3 and RV/Portability
Because every Starlink model has different connection geometry and use‑cases, it’s smart to choose hardware that’s purpose‑built for your platform.
Starlink Gen 3 (Standard V4): If you’re upgrading now, start with our Gen 3 mounts and accessories collection. These mounts are designed around the Gen 3 interface, with aluminium and carbon fibre options to balance stiffness and weight, and stainless fixings for long‑term corrosion resistance.
Starlink Gen 2 (Standard Actuated): Many households are keeping Gen 2 dishes in service and adding the Gen 3 router for better Wi‑Fi. For mount guidance, see our closer look at Gen 1 vs Gen 2 Starlink satellite dishes, then get in touch for a Gen 2‑specific roof, wall or pole solution built from rust‑proof materials and compatible with Starlink self‑install kits.
Starlink Mini: Mini demands lightweight yet robust mounting for tight spaces and travel. We recommend compact aluminium or carbon fibre brackets and poles that maintain rigidity without adding bulk. If you’re planning a Mini install on a vehicle or in a small structure, contact us for model‑specific advice and compatible hardware options that suit your layout and wind exposure.
RV and Portability (Roam/Mobile): Touring needs are unique—your gear must be quick to deploy, easy to stow and corrosion‑resistant. Explore our Starlink RV and Portability accessories, including telescopic carbon fibre poles, quick‑release bases and low‑profile roof hardware that won’t rattle or rust.
Installation tips for reliability in Australian conditions
- Aim for clear sky: Use the Starlink app’s obstruction tool before drilling holes. Even small tree lines can cause dropouts.
- Build it to last: Choose mounts made from marine‑grade aluminium, carbon fibre and stainless steel fixings. These materials resist rust and UV degradation.
- Anchor properly: Use suitable fasteners for your roof or wall type, and apply sealants as recommended to keep water out.
- Cable management: Keep runs tidy, avoid sharp bends, and use couplers and extensions rated for the Starlink system.
- Test before you seal: Power up, verify link stability and run a speed test before finalising penetrations and weatherproofing.
For a deeper dive into options and techniques, our ultimate guide to Starlink Gen 3 mounting kits and our how‑to on mounting Starlink Gen 3 in Australia made easy will help you plan a clean, robust install.
Short recap and next steps
Upgrading to Starlink Gen 3 is straightforward: order the new kit, configure the Wi‑Fi 6 router, and mount the larger dish on hardware designed for the new interface. The right mount—built from rust‑resistant aluminium or carbon fibre with stainless hardware—protects your alignment, minimises weather‑related movement and preserves performance over the long haul. SpaceTek provides the most secure, rust‑resistant, and user‑friendly Starlink mounts in Australia, built for Australian conditions.
If you’d like a hand choosing the best roof, wall, pole or mobile option for your site—or need tailored product advice for Starlink Mini, Gen 2 or Gen 3—please contact us. Our team can analyse your location, recommend a compatible self‑install solution, and help you get online quickly and reliably.


Leave a comment
This site is protected by hCaptcha and the hCaptcha Privacy Policy and Terms of Service apply.