
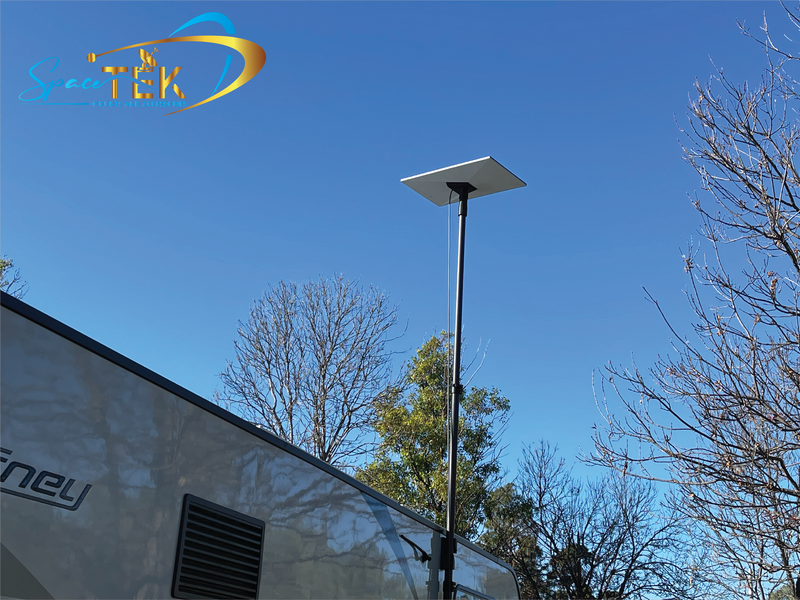
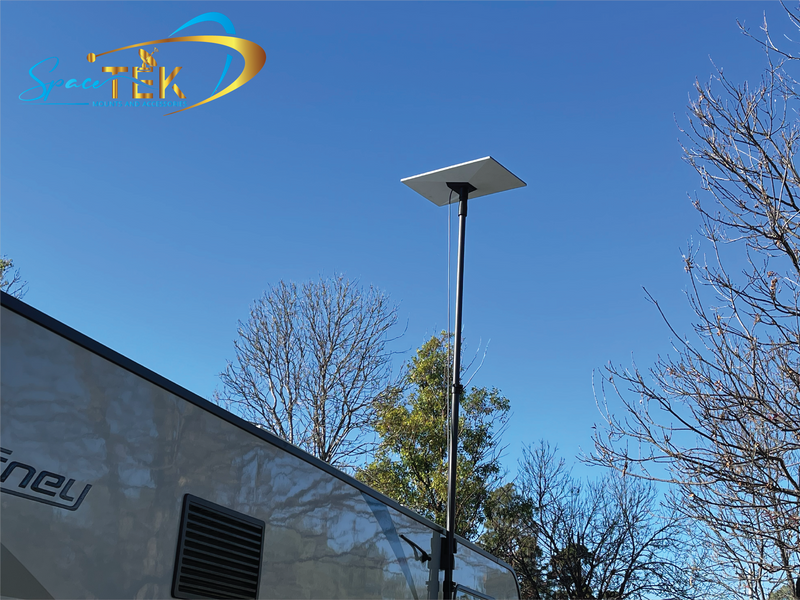
The right Starlink Gen 3 / V4 dish mount depends on where the terminal will live: a fixed roof, wall or eave, caravan, RV, or vehicle. Choose a model-specific SpaceTek option that matches the mounting surface, gives the dish a clear view of the sky, and supports safe cable routing.
Before ordering, confirm that the product is listed for the flat rectangular Starlink Standard (Gen 3 / V4) terminal rather than Starlink Mini, Gen 2, or High Performance hardware. It is also worth reviewing Starlink’s Standard Kit installation guide and checking local roof-work requirements before starting.
Here is a quick way to narrow the choice:
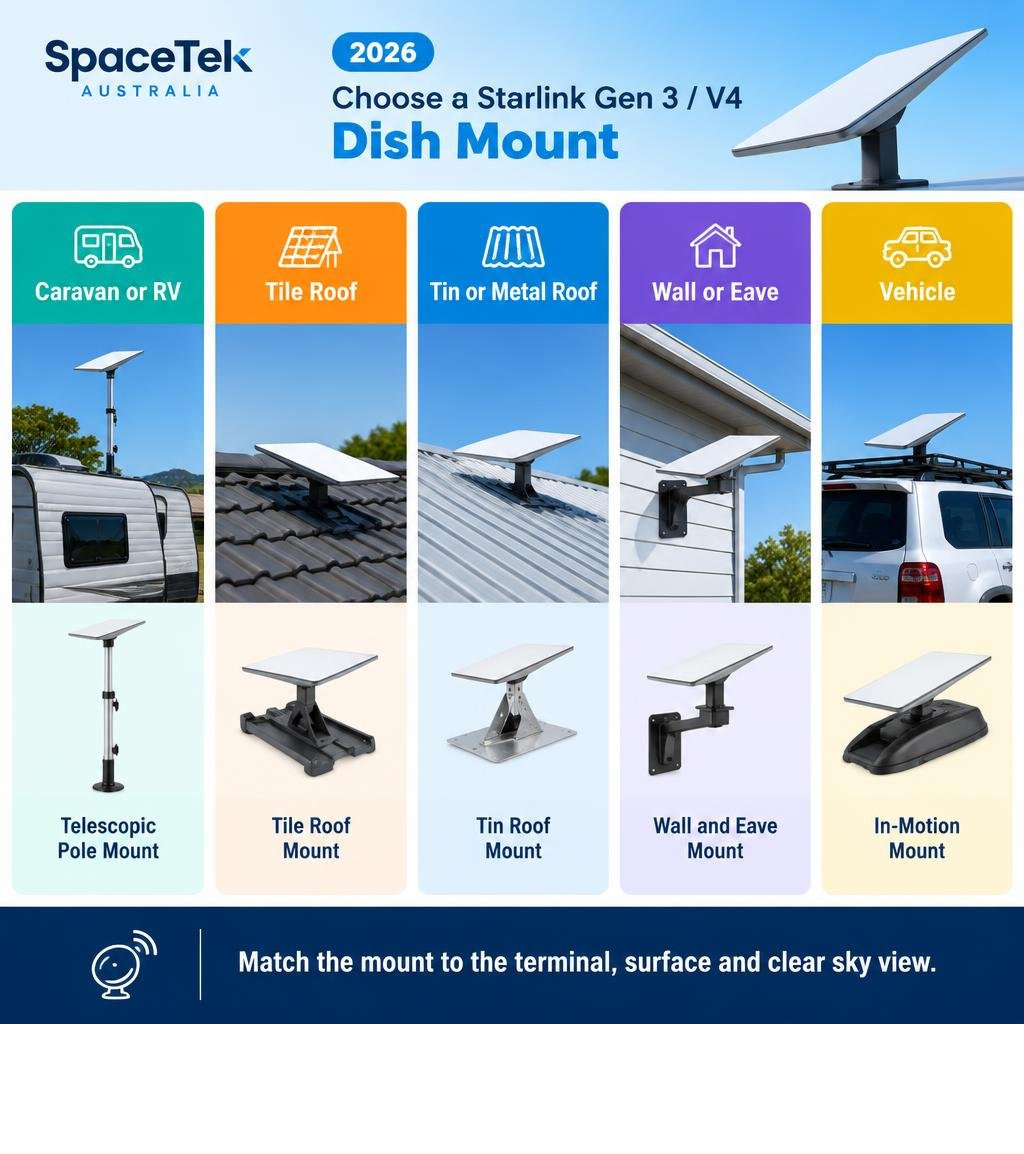
- Caravan, RV or temporary touring setup: Choose a telescopic pole mount when extra height and a pack-down design will help clear nearby awnings, vehicles or low campsite obstructions.
- Tile roof: Choose a dedicated tile-roof kit only when you are comfortable with the drilling, sealing and fixing work required for a permanent installation.
- Tin or metal roof: Choose a purpose-built tin or metal roof kit that suits the roof profile and creates separation between the dish and the roof surface.
- Wall or eave: Choose a wall and eave mount where the building structure offers a clearer sky view than the roof.
- Vehicle use: Choose an in-motion mount designed specifically for the Starlink Standard Gen 3 / V4 terminal and the intended vehicle fixing method.
- Ridge-cap roof position: Choose a ridge-cap mount when that roof location offers the best clear-sky path and can be safely fixed and sealed.
SpaceTek’s current Gen 3 / V4 range includes roof, wall, eave, pole and vehicle options, so the best recommendation is based on roof material, wind exposure, cable path, sky visibility and whether the installation needs to remain portable.
Which Starlink Gen 3 / V4 dish mount suits your installation?
Do you need a portable mount for a caravan or RV?
The Telescopic Pole Mount Kit for Starlink RVs and Caravans is a practical option for temporary travel setups. Its carbon-fibre pole extends from about 1 m to 3 m, packs down for transport, and has a Gen 3 / V4 variant. Use it when a little extra elevation can improve sky visibility around awnings, vehicles and low campsite obstructions.
Choose the variant that matches the terminal, and use a stable, appropriate fixing method for the site rather than treating a portable setup as a substitute for a permanent roof installation.
Is a tile roof the right fixing point?

The Tile Roof Starlink Mount Kit for Standard Gen 3 / V4 is intended for stable, fixed tile-roof installations. It uses an aluminium pole adaptor and structural support components, with height options to suit the site.
This approach requires drilling and weatherproofing the roof penetrations. If you are unsure about roof condition, spare tiles, flashing or sealing, choose a different location or use a qualified installer.
What works on a tin or metal roof?
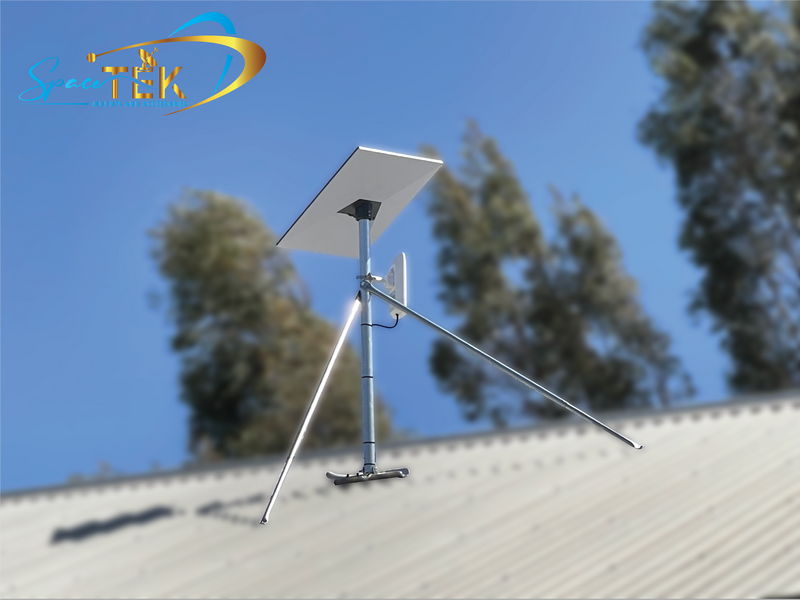
For corrugated roofing, the Tin or Metal Roof Mount Kit for Starlink Standard Gen 3 / V4 provides an elevated, fixed mounting point. The kit is designed for the flat rectangular Standard terminal and includes a powder-coated aluminium adaptor.
Select the mast height only after checking the roof structure, clear-sky path and cable route. An elevated position can also help keep the dish away from radiant heat from a metal roof.
When does a wall or eave mount make sense?
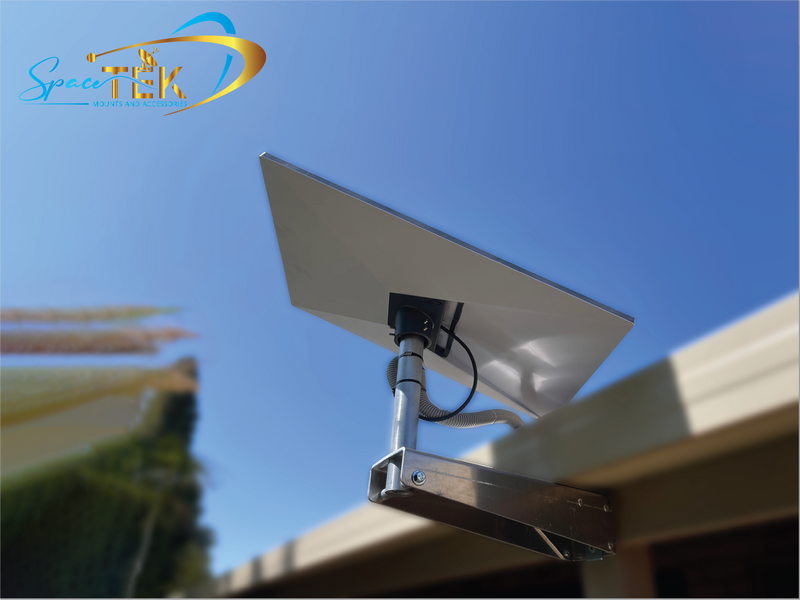
A wall or eave mount can be the better choice when a side of the building provides a clearer sky view, a more manageable cable route or easier maintenance access than the roof. Confirm that the chosen fixing point is structurally suitable and that the mount is listed for Starlink Standard Gen 3 / V4 compatibility.
Is an in-motion mount right for vehicle travel?
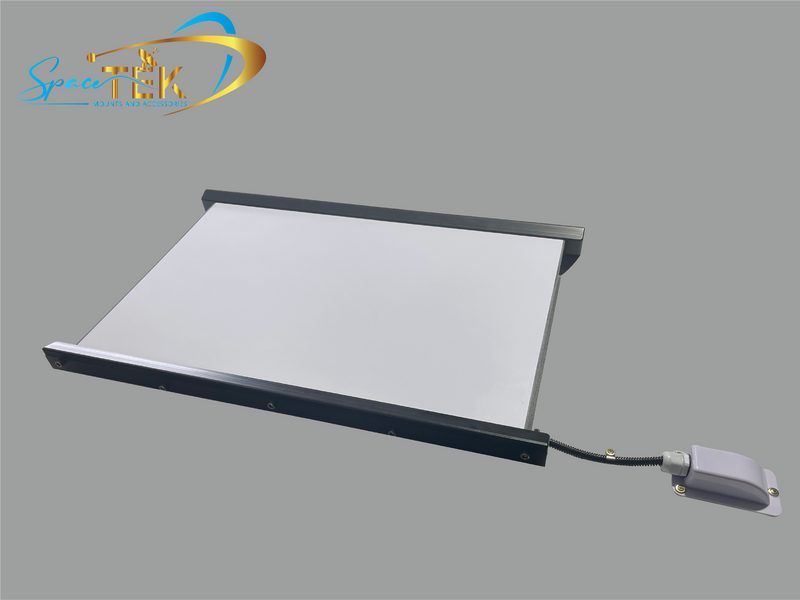
SpaceTek’s Starlink Gen 3 In-Motion Vehicle Mount is made in Australia for the Standard Gen 3 / V4 terminal. Its powder-coated folded aluminium and precision-machined, engineering-grade plastic construction are designed for a secure vehicle installation.
Use the bolt-down layout or the compatible optional magnet upgrade only where the vehicle and mounting surface are suitable. Check the product instructions and the service conditions before relying on mobile connectivity.
When should you choose a ridge-cap mount?
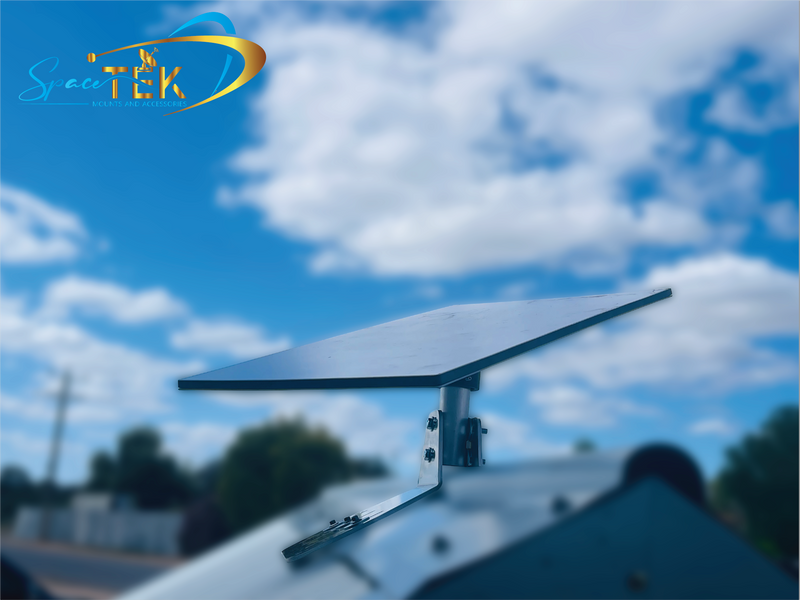
A ridge-cap mount can be a sound option for suitable tin or metal roofs when the ridge location creates the clearest view of the sky. Confirm the roof profile, pitch, fixing method, sealing requirements and Starlink model compatibility before ordering.
For the current selection of compatible roof, wall, pole and vehicle products, browse SpaceTek’s Starlink Standard Gen 3 / V4 mounts and accessories collection.
What should you check before choosing a Starlink Gen 3 / V4 dish mount?
The best Starlink mount is not simply the tallest option. It should match the Starlink Standard Gen 3 / V4 terminal, the surface it will attach to and the practical conditions at the site.
Does the mount match your Starlink model?
Check that the product page specifically lists the flat rectangular Starlink Standard Gen 3 / V4 terminal. Starlink Mini, Gen 2, High Performance and Flat High Performance hardware use different interfaces, so a visually similar dish mount is not automatically compatible.
Does the location have a clear view of the sky?
Choose a position that minimises nearby obstructions such as trees, rooflines, solar equipment, vehicles and buildings. More height is useful only when it improves the clear-sky path and the structure can safely support the installation.
Is the fixing surface suitable?
Match the dish mount to the actual surface:
- Tile roofs: Allow for drilling, suitable fasteners and careful sealing.
- Tin and metal roofs: Confirm the roof profile, structural fixing points, wind exposure and separation from radiant heat.
- Walls and eaves: Confirm the substrate can carry the mount and terminal securely.
- Caravans, RVs and vehicles: Use a mount intended for mobile conditions and a fixing method appropriate to the vehicle.
Have you planned the cable route and maintenance access?
Plan a protected cable route before fitting the dish mount. Avoid sharp edges, pinch points, standing water and routes that make future inspection difficult. A location should also allow safe access for installation, adjustment and maintenance.
When should you use a professional installer?
Use a qualified installer if the work involves roof penetrations, height, uncertain structural fixing, waterproofing or electrical routing. A properly selected mounting position helps the terminal operate reliably while reducing avoidable installation risk.
Frequently asked questions about Starlink Gen 3 / V4 dish mounts
Can Starlink Gen 3 / V4 be pole mounted?
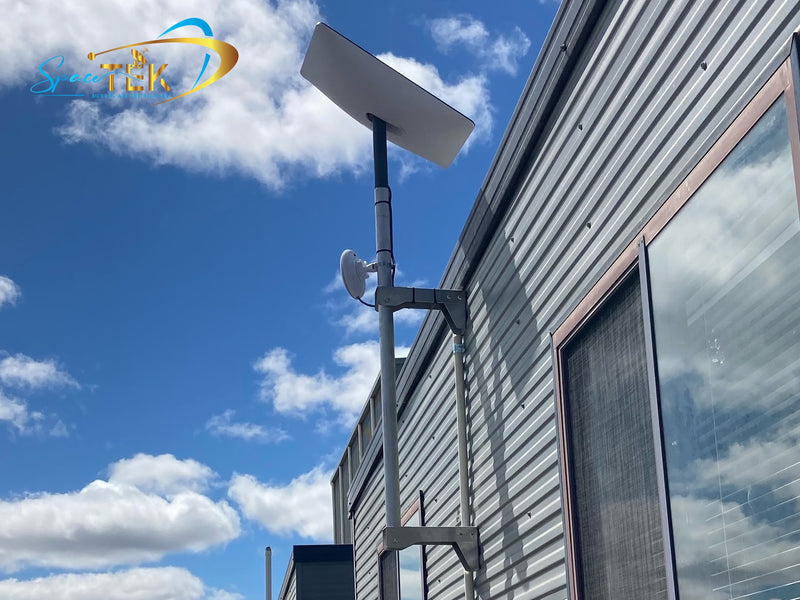
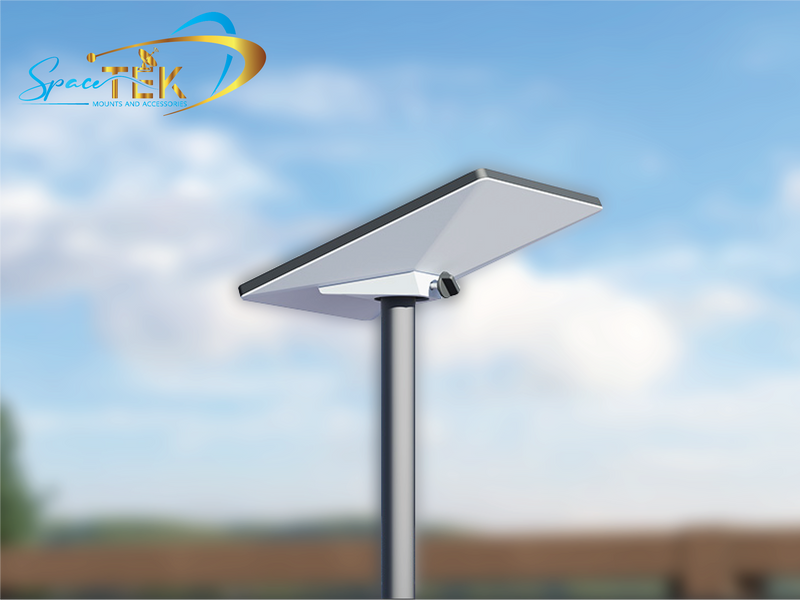
Yes. A pole mount can help lift the Starlink Standard Gen 3 / V4 terminal above low obstructions when the pole, adaptor and fixing arrangement are designed for the specific terminal and site. For a fixed roof or ground installation, confirm the pole is secure, the cable route is protected and the final position has a clear view of the sky.
Does Starlink Gen 3 / V4 come with a dish mount?
The Standard kit includes its own basic stand, but many installations need a more suitable solution for a roof, wall, eave, caravan or vehicle. Choose a dedicated Starlink mount only after confirming the terminal model, mounting surface, cable path and whether the setup is permanent or portable.
Can Starlink Gen 3 / V4 be flat mounted?
A flat installation may be possible with a product designed for that use, but it is not a universal recommendation. The right choice depends on clear-sky visibility, heat exposure, drainage, cable management and the manufacturer’s instructions for the specific dish mount. Do not assume that an ordinary flat surface is a safe or compatible fixing point.
What is the best mount for a caravan or RV?
For travel, a telescopic pole mount can be useful when you need a portable setup and extra elevation at campsites. For vehicle travel, choose an in-motion mount only when it is specifically intended for the Starlink Standard Gen 3 / V4 terminal and your vehicle setup.
How do you choose between roof, wall and eave mounting?
Start with the clearest sky view, then compare structural fixing points, wind exposure, cable routing, waterproofing needs and safe access. The best option is the one that is both compatible with the terminal and practical to install and maintain.
Ready to choose a Starlink Gen 3 / V4 dish mount?
SpaceTek Australia offers Australian-designed Starlink mounts and accessories for fixed home installations, remote properties, caravans, RVs and vehicles. The current Gen 3 / V4 range includes options for tile, tin and metal roofs, walls, eaves, pole mounting and in-motion use.
For a dependable result, start with the terminal model and the installation surface, then assess sky visibility, wind exposure, cable routing and whether the setup must stay portable. SpaceTek products use purpose-built components, including precision-machined or folded aluminium and reinforced composite materials where appropriate, rather than generic improvised solutions.
If the installation involves roof penetrations, difficult access or uncertain structural fixing, get professional help before installing. Choosing the right Starlink mount for the location helps protect the terminal, support a cleaner cable route and give the system its best chance of a reliable clear-sky connection.
Explore the compatible options in SpaceTek’s current Gen 3 / V4 collection and select the dish mount that best suits your installation.

Leave a comment
This site is protected by hCaptcha and the hCaptcha Privacy Policy and Terms of Service apply.