Why Overlooked Steps in Starlink Mounting Can Make or Break Your Connection
A proper setup in Starlink Mounting is often the difference between a reliable, high-speed connection and frustrating drop-outs. While positioning the dish is critical, neglecting the cables that power it can lead to signal loss, equipment failure, and water damage.
Common mistakes like sharp bends, missing drip loops, poor sealing, and leaving cables exposed to UV rays or wildlife can undermine your entire setup. In Australia, these issues are magnified by our harsh conditions. Relentless sun, coastal salt spray, and curious animals like possums and cockatoos can destroy an unprotected cable in months.
The good news is that proper cable management takes minimal extra effort but saves hundreds in potential repairs. It ensures your investment is protected and your internet connection remains stable when you need it most.
At SpaceTek, we've spent years working with remote communications systems across Australia. We've seen how crucial cable protection is, which is why our mounting solutions are designed to simplify secure cable routing and help you avoid the common pitfalls that trip up many DIY installers.
Cable Management Essentials
When setting up your Starlink, it's easy to focus on the dish and forget the cables. This is a costly mistake. Cable Management isn't just about tidiness; it's about protecting your investment, ensuring a rock-solid connection, and preventing damage to your home. A properly managed cable system performs better and lasts longer.
Understanding Your Starlink Cables
Your Starlink system relies on a few key cables. The most important is the Dish-to-Router cable, which is a proprietary design that carries both data and power (Power over Ethernet or PoE).
- Gen 2 (Rectangular Dish): Uses custom connectors and comes in a standard 23-metre length, with a 46-metre option available.
- Gen 3 (Standard/Mini): Uses a more standard RJ45 connector, simplifying routing.
Due to power requirements, it's not recommended to extend the dish cable beyond the official 46-metre version, as this can cause power loss and connection issues. For a deeper dive, see our An Essential Guide to Buying Starlink Cables.
For connecting devices to your router, standard Ethernet cables are used. Cat5e is sufficient for Starlink speeds, but Cat6 is a good choice for future-proofing. Always use outdoor-rated cables for any external runs. You can learn more about the differences at Ethernet Cable Categories Explained.
Common Cable Management Mistakes and Their Consequences
Ignoring cable management doesn't just look messy—it actively damages your system. Here are the most common mistakes we see and the problems they cause:
- Sharp Bends and Kinks: Bending a cable too tightly damages the internal wires, leading to signal degradation, slower speeds, and connection drop-outs.
- Skipping the Drip Loop: Without a small downward loop before the cable enters your home, rainwater will track directly inside, causing leaks and potentially frying your electronics.
- Improperly Sealed Entry Points: A hole drilled in your wall or roof must be sealed with a weatherproof gland and neutral-cure silicone. If not, you're inviting water, dust, and pests into your home.
- UV Exposure: The Australian sun is brutal. Unprotected cables will become brittle and crack, exposing the internal wiring to moisture and damage.
Wildlife Damage: Possums, cockatoos, and rodents are notorious for chewing through exposed cables, which can sever your connection completely.
Physical Stress and Tension: Pulling cables too tight or leaving them unsupported puts strain on the connectors, leading to loose connections and eventual failure.
- Using Unofficial or Modified Cables: Attempting to modify or extend the proprietary Starlink cable without expert knowledge can damage your equipment, void your warranty, and cause connection instability. For safe outdoor setups, follow our Mounting Starlink Dish Outdoors: A Beginners Guide.
Fortunately, every one of these mistakes is avoidable with a bit of planning.
Best Practices for Starlink Mounting
Getting cable management right is about planning and attention to detail. Follow these best practices for a professional and durable installation.
- Plan Your Route: Before you start, map out the shortest, safest path for your cable from the dish to the router, avoiding sharp edges and high-traffic areas.
- Use Conduit for Protection: For any outdoor runs, especially with our Gen 2 Mounts & Accessories or Gen 3/V4 Mounts & Accessories, run the cable through UV-resistant conduit. This is the best defence against sun, weather, and wildlife.
- Secure Cables Properly: Use UV-resistant clips or zip ties every 30-50 cm to prevent sagging and reduce physical stress on the cable and connectors.
- Seal All Entry Points: Use a weatherproof gland and neutral-cure silicone sealant where the cable enters your building. This is non-negotiable for preventing leaks.
- Create a Drip Loop: Always form a small, downward-facing loop in the cable just before it enters the wall gland. This simple step directs rainwater away from the entry point.
- Avoid Sharp Bends: Route cables with gentle curves to protect the internal wiring and maintain signal integrity.
- Prioritise Quality and Safety: Always use high-quality, weather-resistant materials. When working at heights, use appropriate safety gear. For more tips, see our guide on Starlink Installation: Top Tips for a Flawless Setup.
Cable Solutions for Different Starlink Setups
Your cable management strategy will vary depending on your installation type.

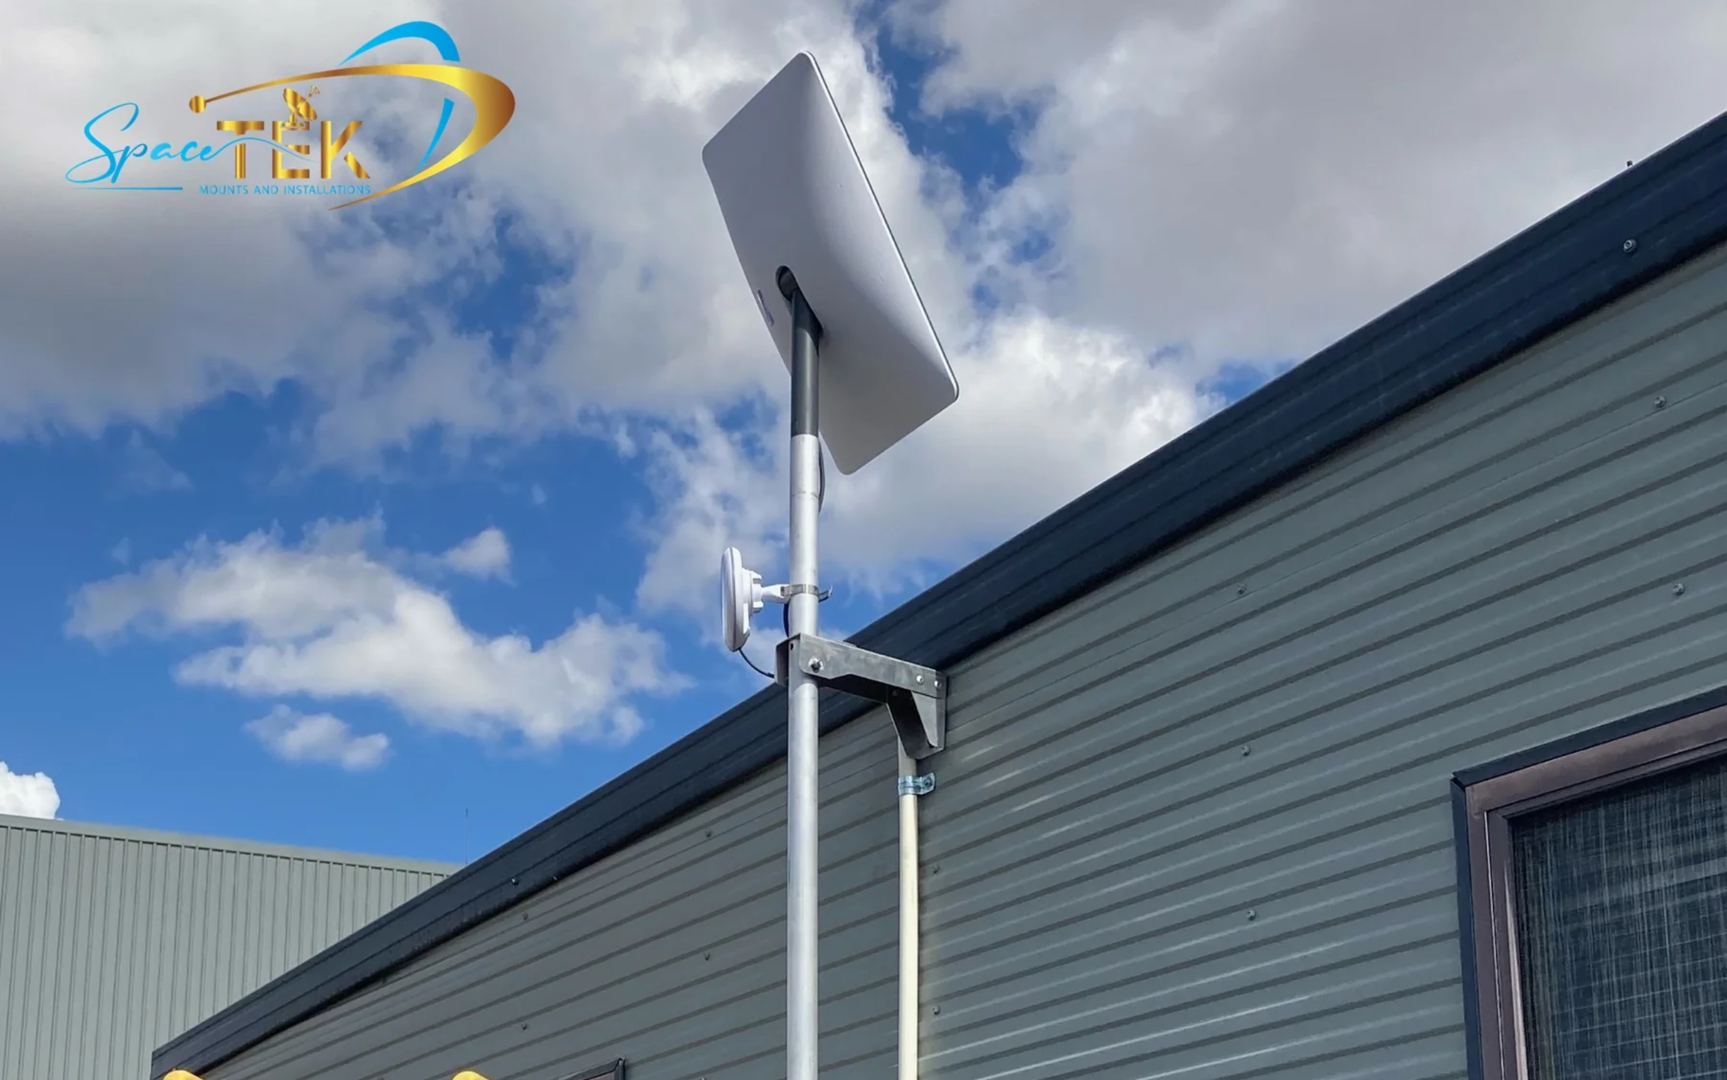
Residential Roof and Pole Mounts: For permanent installations, durability is key. Run the cable through UV-resistant conduit along the roof or pole, securing it tightly. Always use a weatherproof gland and neutral-cure silicone at the entry point. This approach works perfectly with our Gen 2 Mounts & Accessories and Gen 3/V4 Mounts & Accessories.
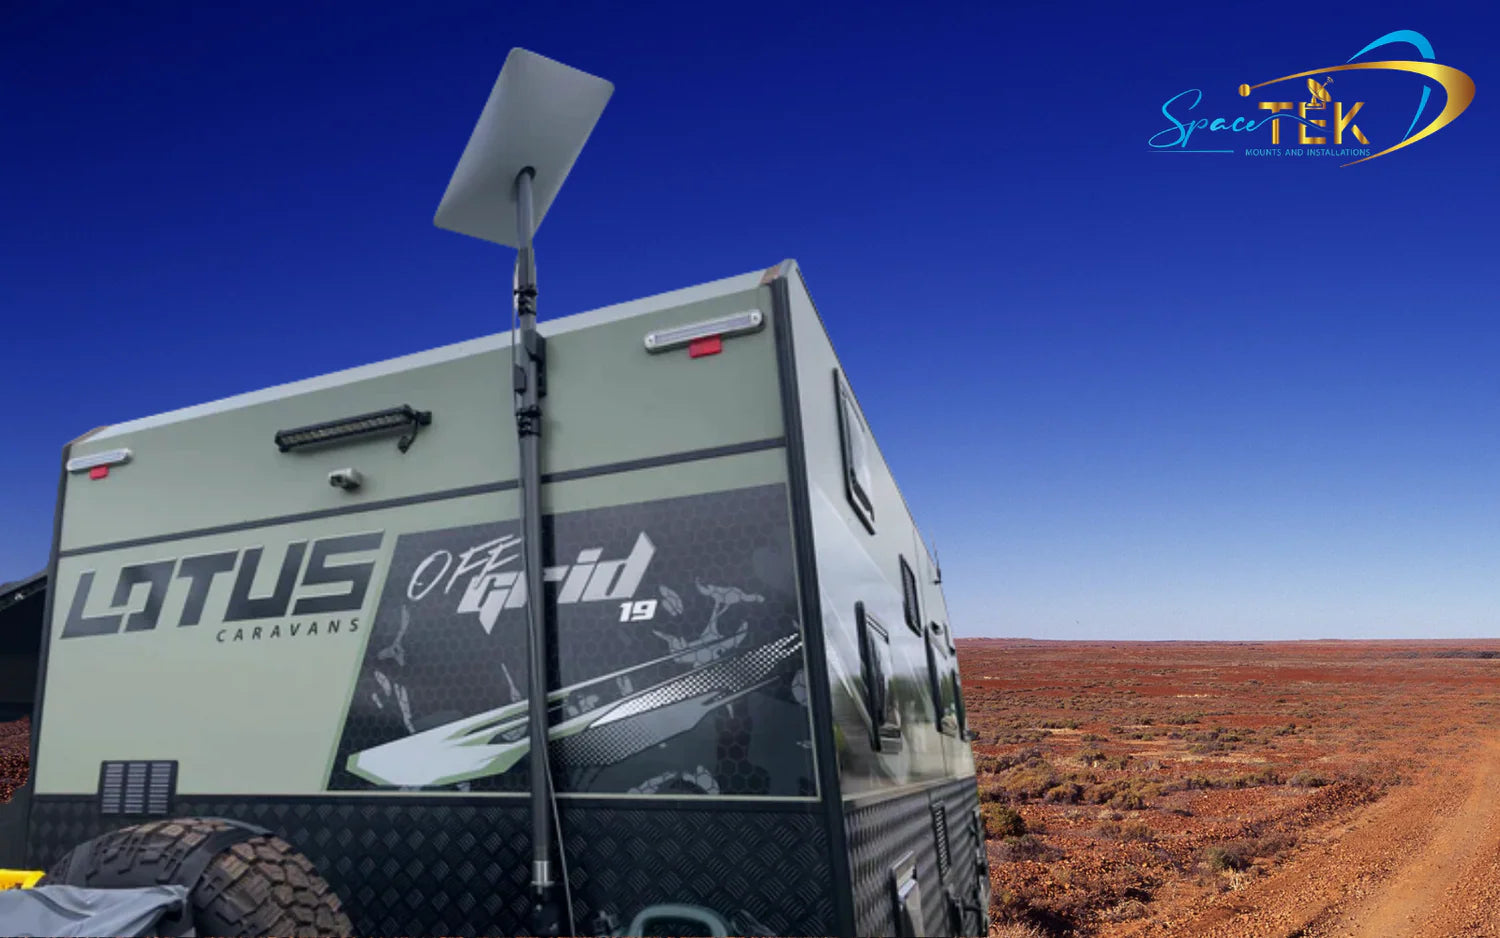
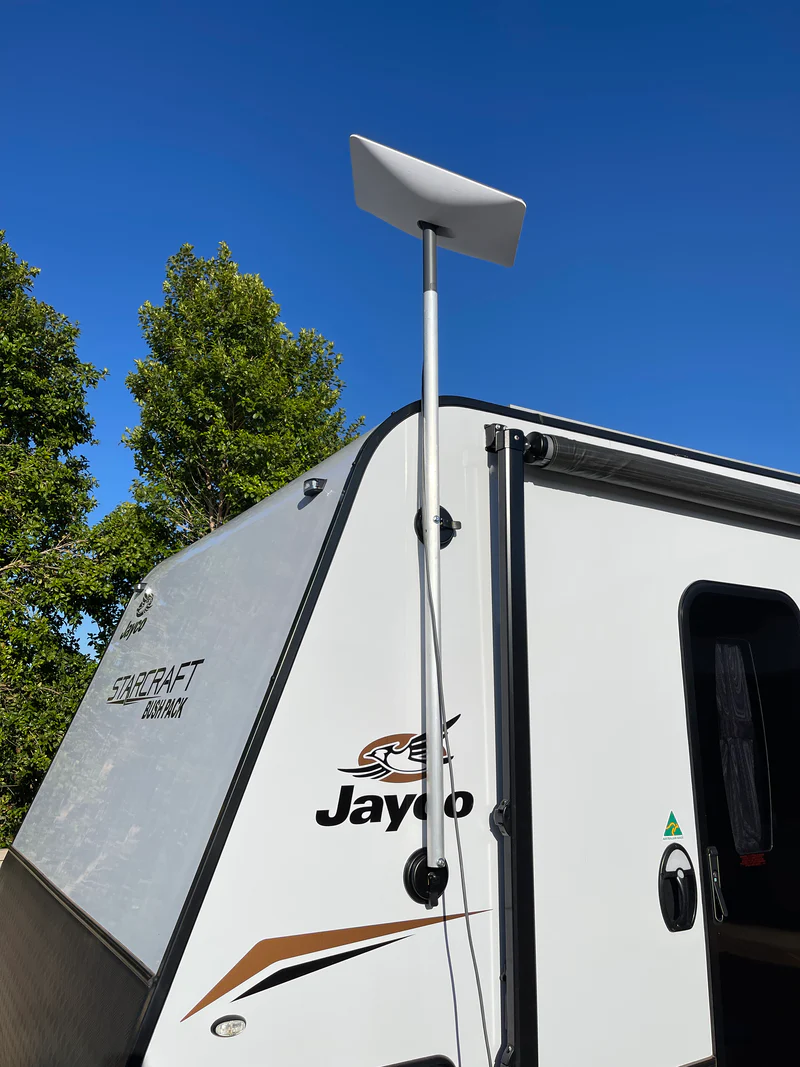
RV and Portable Setups: For life on the road, focus on protection and ease of use. Use Velcro straps to manage excess cable and consider a multi-reel for tangle-free storage. This protects the cable during transit and makes setup and teardown a breeze. Our Starlink RV & Portability Mounts are designed for this flexibility.
Starlink Mini: The new Starlink Mini is built for portability, but its cables still need care. Use the "over-and-under" coiling method to prevent twists and store the cable away from direct sunlight.
A few essential accessories make all the difference: UV-resistant clips, conduit, weatherproof glands, neutral-cure silicone, and Velcro straps will cover almost any situation.
Securing Your Connection for the Long Haul
As we've seen, Cable Management is not just a finishing touch—it's the foundation of a reliable connection that will last for years. By avoiding common mistakes like sharp bends, improper sealing, and exposure to UV and wildlife, you protect your investment from damage and frustrating drop-outs.
The Australian environment is unforgiving, but investing in quality materials like UV-resistant conduit and weatherproof glands is your best insurance policy. A few extra dollars and a little planning during installation can save you hundreds in repairs and ensure your connection stays strong.
At SpaceTek Australia, we've engineered our Starlink mounting solutions to make professional-grade cable management simple. Our high-quality, rust-resistant mounts provide secure and clean routing options for Gen 2, Gen 3, and Starlink Mini systems, ensuring they stand up to harsh Australian conditions. They are the most secure, user-friendly mounts designed to work seamlessly with Starlink's self-install kits.
Don't let poor cable management be the weak link in your system. If you're planning your setup and want to ensure it's done right, get in touch with us for expert advice. Our team understands the unique challenges of Australian installations and can help you build a rock-solid connection.
Leave a comment
This site is protected by hCaptcha and the hCaptcha Privacy Policy and Terms of Service apply.