
Why the Right Starlink Gen 3 Mount Makes All the Difference

A Starlink Gen 3 flat mount is the low-profile bracket that replaces the dish's built-in kickstand, securing your Gen 3 Standard dish flush against a roof, vehicle, or boat deck. When selecting a mounting solution for Australian conditions, look for these essential features:
- Snap-in design: Quick-release tabs allow for easy removal when you need to use the dish on its stand, giving you flexibility for different camping setups.
- High-speed stability: Choose mounts designed for highway speeds and ongoing vibration, so the dish stays secure on sealed roads and corrugations.
- Durable construction: UV-stabilised materials and stainless steel hardware help prevent rust and degradation in harsh sun and coastal air.
- Aerodynamic profile: A slim design reduces wind resistance and helps protect the dish from low-hanging branches or road debris.
- Versatile attachment: Look for multiple mounting methods such as high-strength magnets, VHB adhesive, or through-bolt options to suit steel, aluminium, or fibreglass roofs.
The Gen 3 Standard dish ships with a kickstand designed for ground use. For mobile or roof-mounted setups, you need a flat mount that keeps the dish aerodynamic, secure, and signal-ready.
Without the right mount, you risk wind damage, poor positioning, and cable strain, which can become a serious issue if you rely on Starlink for work or communications in remote areas.
Starlink Gen 3 flat mount word list:
Choosing the Best Starlink Gen 3 Flat Mount for Australian Conditions
When we look for a Starlink Gen 3 flat mount, we aren't just looking for something that holds the dish; we are looking for a system that survives the Australian elements. The Gen 3 Standard dish is a sophisticated phased array antenna. Unlike older models, it doesn't need to physically move to find satellites. This makes a flat, fixed installation ideal for those of us on the move.
The Gen 3 dish features a 140-degree field of view and an IP67 rating, meaning it is built to handle dust and temporary immersion in water. However, the standard kickstand isn't designed for the 100 km/h winds you’ll face on the M1 or the vibrations of a corrugated track in the Kimberley. A high-quality flat mount ensures the dish stays horizontal, which minimises drag and protects the edges from impact.
According to the Starlink Specifications, the hardware is robust, but the mounting interface is the weak point in high-mobility scenarios. We always recommend choosing mounts that offer wrap-around protection. This acts like a smartphone case for your dish, shielding the corners from debris. If you are moving from an older setup, check out our More info on Gen 2 vs Gen 3 upgrades to see how the mounting requirements have changed.
Why You Need a Starlink Gen 3 Flat Mount for Mobile Use
Aerodynamics is the primary reason for choosing a flat mount. When you mount a dish with the kickstand on an RV roof, you create a massive amount of wind resistance and a perfect "hook" for low-hanging branches. A Starlink Gen 3 flat mount sits roughly 1.8 to 2 inches high, allowing air to flow over it smoothly.
For boat owners, flat mounting is essential to keep the dish secure against salt spray and heavy pitching. We also see many users integrating these mounts with 12V conversion kits. By removing the need for an inverter, you can run your Starlink directly off your caravan's battery system, making your setup significantly more efficient. You can explore these options in our collection of More info on Starlink RV and portability mounts.
Step-by-Step: Installing Your Starlink Gen 3 Flat Mount
Installing a Starlink Gen 3 flat mount is generally a straightforward DIY task. Most high-quality mounts use a "drop-in" or "snap-in" system that requires zero modifications to the dish itself, preserving your warranty.
- Remove the Kickstand: Press the release tabs on the back of the Starlink dish and slide the kickstand out.
- Prepare the Mount: If you are using a snap-in mount, simply slide the dish into the bracket until you hear a click.
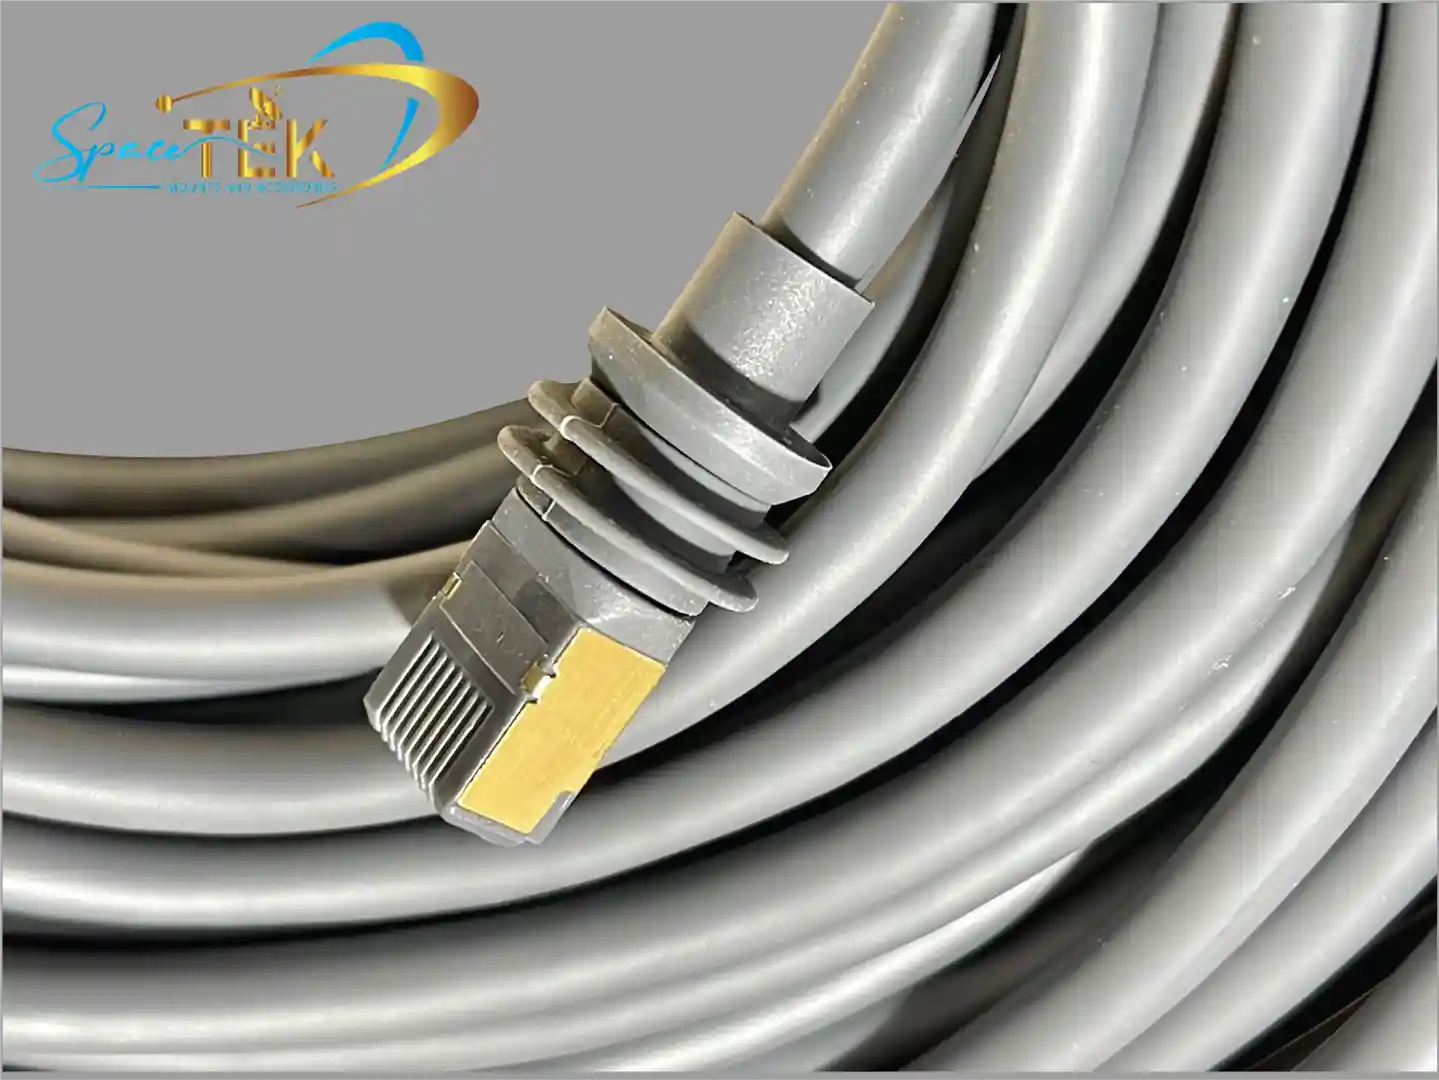
- Cable Routing: Connect the Starlink cable before fully securing the mount. Ensure the latch clicks into place. We recommend using silicone sealant around any roof penetration points to prevent leaks.
- Secure the Base: Depending on your choice, you will either bolt the mount down, use VHB adhesive pads, or engage high-strength magnets.
For a detailed walkthrough, see our More info on Gen 3 mobility mount setup.
Comparing Attachment Methods: Magnets vs Through-Bolting
Choosing how to stick your mount to your vehicle is a big decision.
- Magnets: These are incredibly popular for those who want a semi-permanent setup. Rubber-coated magnets have been tested up to 193 km/h (120 mph). They are perfect for steel-roofed vans and 4WDs.
- Through-Bolting: This is the "hurricane-proof" option. By bolting directly through the roof or a mounting plate, you ensure the dish isn't going anywhere. This is our preferred method for long-haul trucks and permanent RV installs.
- VHB Adhesive: Very High Bond (VHB) tape is a great alternative for fibreglass roofs where you don't want to drill holes. When applied to a clean surface, it's remarkably strong.
- Suction Cups: Best for temporary mounting on glass or smooth panels, but we generally don't recommend these for high-speed highway travel.
Top 5 Mounting Solutions for High-Wind Environments
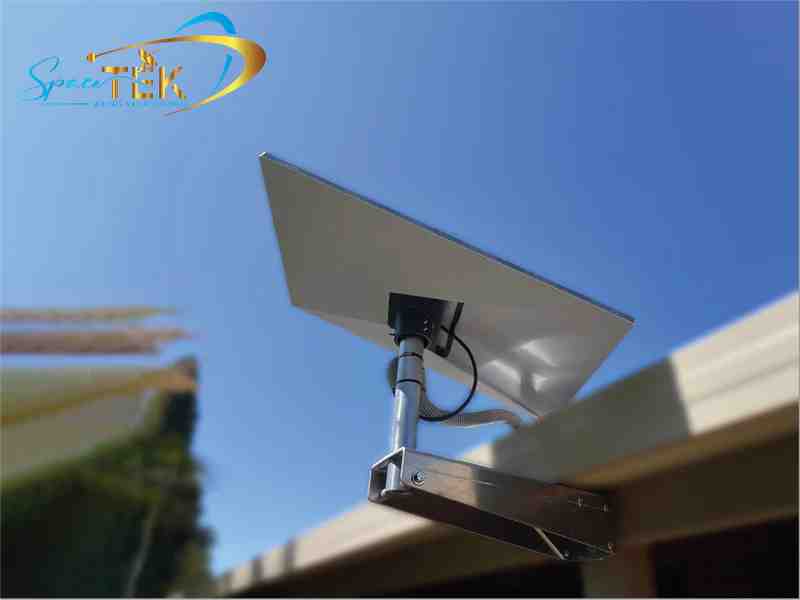
In Australia, "high wind" can mean anything from a coastal gale to the turbulence behind a triple-road train. For residential or static setups where a flat mount isn't the best fit, we look toward heavy-duty pole mounts. These are often manufactured right here in Brisbane using high-grade aluminium to ensure they never rust.
When installing these, always refer to the Official Setup Guides to ensure your mounting angle allows for proper water runoff. For those looking for fixed roof options, check our More info on Gen 3 roof mount kits.
Heavy-Duty Pole Mounts and Pipe Adapters
If you are mounting your Gen 3 dish on a pole, you need a pipe adapter. The Gen 3 Standard dish doesn't fit standard poles natively. We customise our adapters to fit 38mm to 46mm diameter masts.
To make a setup truly "hurricane-proof," we use stay bars. These are additional support arms that triangulate the mast, preventing it from swaying in high winds. This stability is crucial for maintaining a consistent link with the Starlink satellites. You can find these specialised parts in our More info on Gen 3 pole adapters.
Custom Fascia and Wall Mounts for Gutter Clearance
Every house is different, which is why we offer custom-built fascia and wall mounts. If you have a large gutter or a specific bargeboard height, a standard off-the-shelf mount might not clear the obstruction.
We provide mounts with various offsets (from 50mm up to 260mm) to ensure your dish has a 360-degree clear view of the sky. Our mounts are finished with a durable powder coating to withstand the salt air of the Gold Coast or the intense UV of Central Queensland.
Conclusion: Securing Your Connection with SpaceTek Australia
Choosing the right Starlink Gen 3 flat mount or pole mount is about more than just convenience; it's about protecting your investment and ensuring you have a reliable connection when you're off the grid. Whether you're crossing the Nullarbor in an RV or setting up a permanent home office in the hinterland, the mounting hardware is the foundation of your satellite internet experience.
At SpaceTek Australia, we pride ourselves on creating solutions that are built for Australian conditions. Our mounts are rust-resistant, easy to install, and designed to work seamlessly with Starlink's self-installer kits. Don't leave your connectivity to chance with a flimsy bracket.
If you have a unique installation challenge or need advice on which mount is right for your vehicle or home, we are here to help. Our team has the expertise to ensure your setup is secure, aerodynamic, and ready for whatever the Australian weather throws at it.
Get in touch with us today for expert advice on your Starlink installation.
Leave a comment
This site is protected by hCaptcha and the hCaptcha Privacy Policy and Terms of Service apply.