
Why Elevating Your Dishy Makes a Difference
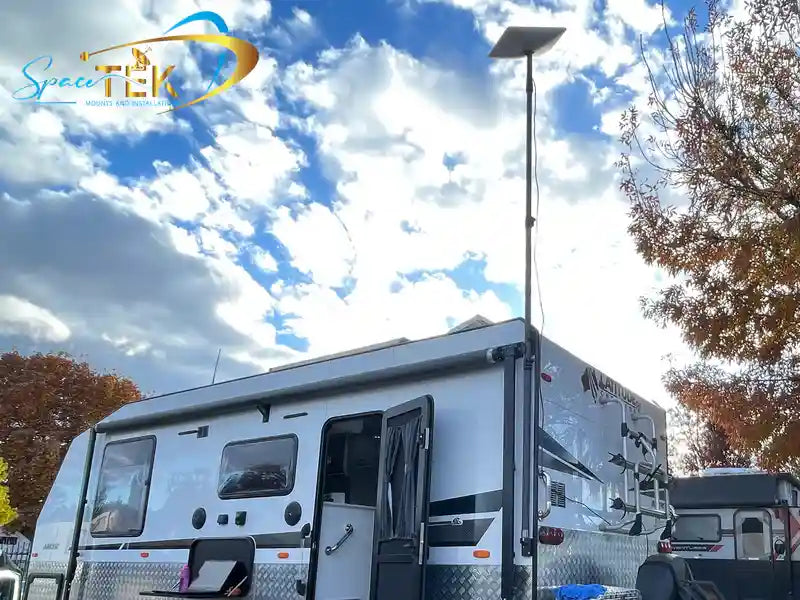
The starlink mini mounting pole is key to reliable satellite internet, especially when ground-level obstacles block your signal. Elevating your Starlink Mini is crucial because height matters. A pole mount lifts your dish above trees, buildings, and other obstructions, giving it the clear sky view needed for strong, consistent speeds.
I'm Aaron Wroblewski, founder of SpaceTek Australia. With over 25 years in satellite communications, I know that proper mounting is essential, especially for starlink mini mounting pole solutions in Australian conditions. Let's get your setup right.
How Pole Mounting Boosts Performance
Pole mounting your Starlink Mini is often a necessity for optimal performance. It's all about giving your Dishy a clear field of view of the sky to communicate with the Starlink satellite constellation. Here’s how a starlink mini mounting pole directly improves your connection:
- Maximises Signal Strength: Lifting the dish above ground-level obstructions like trees and buildings ensures a direct, clear path to the satellites. This maximises signal reception, which is fundamental for high-speed data transfer.
- Reduces Dropouts and Latency: Obstructions cause interruptions, leading to frustrating dropouts and higher latency. A clear line of sight from a pole mount provides a stable, continuous connection, which is vital for streaming, online gaming, and video calls.
- Provides Consistent Speeds: With a strong, uninterrupted signal, your Starlink Mini can maintain its advertised speeds more reliably, avoiding the fluctuations caused by obstacles.
- Ensures a Stable and Secure Setup: A properly installed pole mount provides a robust base, preventing the dish from moving in windy conditions, which could disrupt its connection.
- Essential in Obstructed Areas: In places with dense trees or nearby buildings, a ground-level installation is often unusable. A pole mount becomes essential to get a reliable internet connection.
For a deeper dive into setup options, see our guide on Starlink Mini mounting options. For official instructions, you can find official setup guides here.
Your Guide to the Perfect Starlink Mini Mounting Pole Setup
Finding the perfect starlink mini mounting pole setup doesn't have to be complicated. The right pole mount can transform a frustrating internet experience into a reliable one, whether it's for a permanent home installation, a portable camping setup, or full-time RV living.
What types of pole mounts are available for the Starlink Mini?
The Starlink Mini is designed to attach to any pole between 31mm and 50mm in diameter. At SpaceTek, we offer specialised solutions for Australian conditions.
- Telescopic Poles: Popular for their adjustable height (e.g., 1m to 3m), they are perfect for clearing unexpected obstacles. Our carbon fibre RV mount is lightweight (1.5kg) yet strong enough for windy conditions.
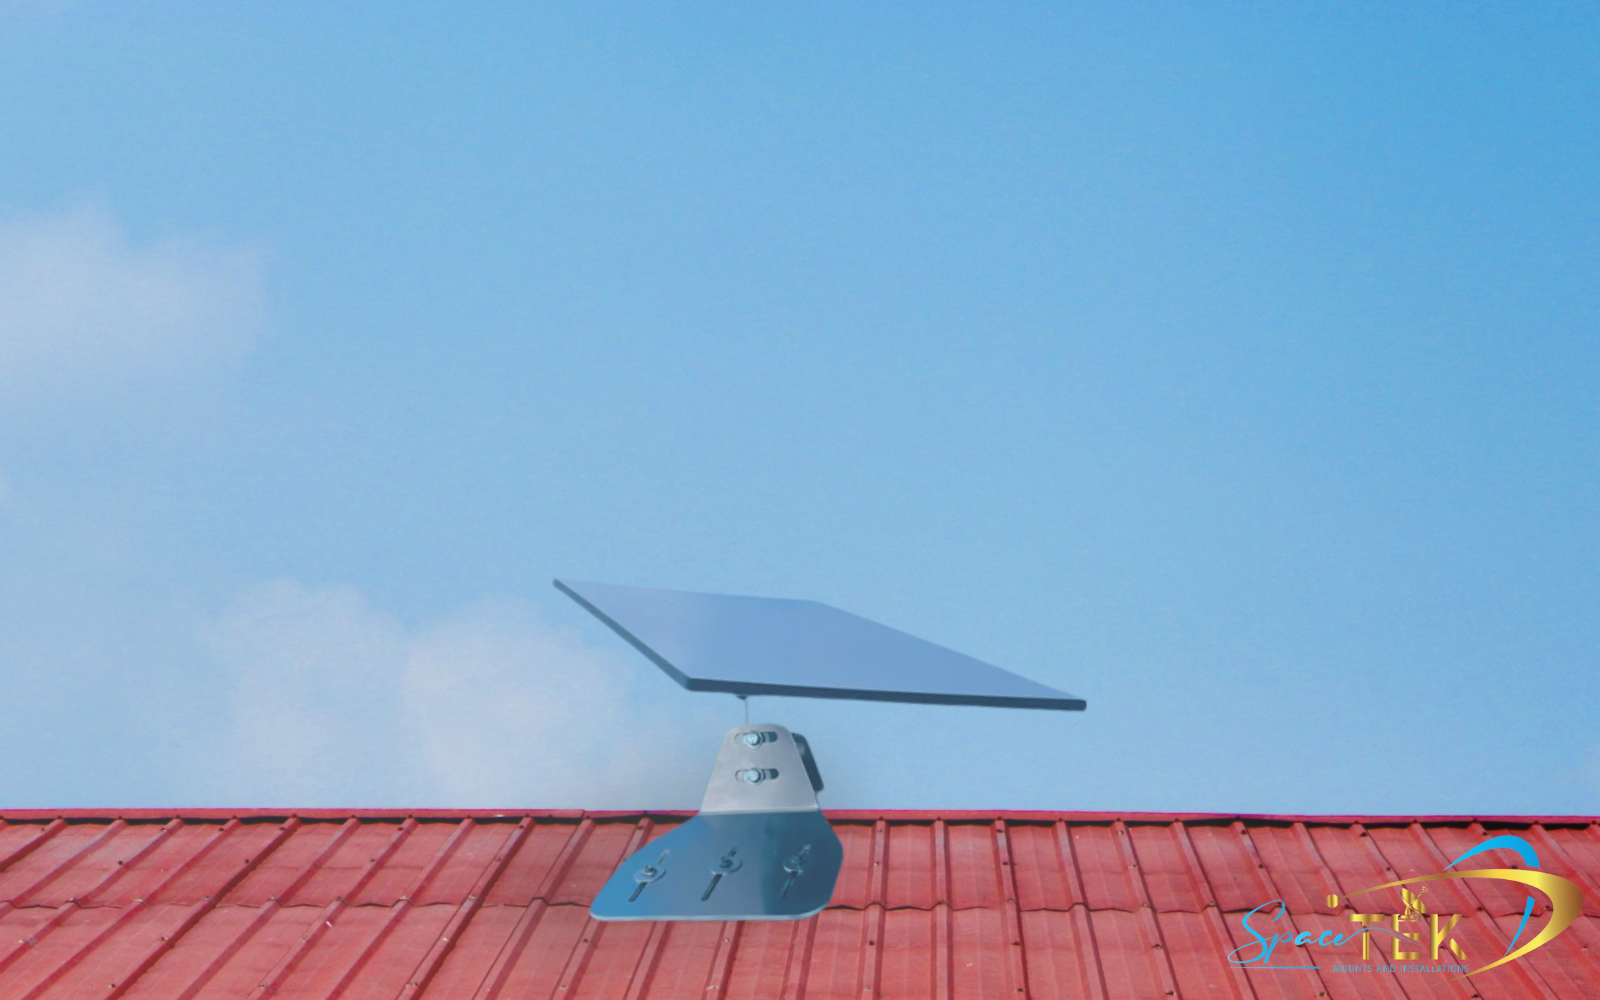
- Fixed-Height Poles: Ideal for permanent home installations, offering maximum stability and a clean look.
- Carbon Fibre Poles: Recommended for portability without sacrificing strength. They are durable, easy to transport, and corrosion-resistant, making them great for coastal areas.
- Rust-Resistant Steel Poles: The most durable option for harsh conditions and permanent installations, built to withstand extreme weather.
Each type helps you get your starlink mini mounting pole setup right. For more details, check out our definitive guide to Starlink Mini accessories.
How do you install a Starlink Mini on a pole?
Installing your Starlink Mini on a pole is straightforward. Using the Starlink app's obstruction checker before you start is the most important tip.
Tools needed: Starlink app, drill, a hex key, a level, and cable ties.
- Step 1: Find the Best Location. Use the Starlink app's "Check for Obstructions" tool to find a spot with a 100% clear view of the sky. Height is your friend.
- Step 2: Secure the Pole. Anchor your pole securely, whether it's in the ground, on a tripod, or on your RV. Use a level to ensure it's perfectly vertical for optimal performance.
- Step 3: Attach the Pipe Adapter. Use a hex key to loosen the screw on your pipe adapter, slide it onto your pole (up to 51mm diameter), and tighten it securely.
- Step 4: Mount the Dishy and Cable. Slide the Starlink Mini onto the mount until it clicks. Route the cable down the pole and secure it with cable ties to prevent wind damage.
Always prioritise safety: use proper tools, be careful on ladders, and stay clear of power lines.
What are the considerations for a Starlink Mini mounting pole on an RV?
Mounting a starlink mini mounting pole on an RV presents unique challenges, from road vibrations to varied campsites. Here’s what to consider:
- Portability and Weight: Every kilogram counts in an RV. Lightweight materials like carbon fibre are ideal. Our telescopic mount weighs just 1.5kg but is strong enough for reliable service.
- Adjustable Height: Campsites vary, so an adjustable pole (e.g., 1m to 3m) is essential to clear obstacles wherever you park.
- Durability: Your mount must withstand constant travel, vibrations, and harsh Australian conditions.
- Quick Setup: After a long drive, you want a fast, tool-free setup. Our solutions are designed for convenience.
- Mounting Methods: Common RV options include drawbar mounts, ladder mounts, tripod bases, and roof rack mounts.
The goal is a reliable connection wherever you roam. For more on mobile setups, explore our guide on Starlink on the move.
Final Checks and Getting Connected
You're almost there! Your starlink mini mounting pole is up, and your Dishy is mounted. Before you start streaming, a few final checks can make the difference between a good connection and a brilliant one.
Achieving a Secure and Optimal Connection
Taking a few minutes for these final checks will save you hours of troubleshooting later.
- Check Physical Connections: Ensure your starlink mini mounting pole is secure. Your pipe adapter should grip the pole firmly, and the Starlink Mini should be clicked securely into its mount with no wobble.
- Test Pole Stability: Give the pole a firm shake. It needs to be rock-solid to withstand Australian winds. Any sway can affect the dish's alignment. Consider guy wires for tall installations.
- Run the Obstruction Check Again: Open the Starlink app and run the "Check for Obstructions" tool one last time from the dish's final position. You're aiming for a 100% clear view. Even small obstructions can impact service.
- Think Seasonally: Consider future obstructions, like tree growth. A clear view today might be blocked in a few months.
Our SpaceTek Australia mounts are engineered for unique Australian conditions, from coastal salt spray to inland heat, ensuring your setup remains secure and performs optimally.
Once everything is secure, power up your system and run a speed test. If speeds are low, the obstruction view is the first thing to re-check.
Ready to get your setup sorted? Explore our full range of Starlink Mini mounts and accessories and see why thousands of Australians trust SpaceTek Australia to keep them connected.
Leave a comment
This site is protected by hCaptcha and the hCaptcha Privacy Policy and Terms of Service apply.