Why Proper Starlink Dish Alignment Matters
Starlink dish alignment is the process of positioning a satellite dish so that it faces the most suitable part of the sky for communicating with Starlink’s Low Earth Orbit (LEO) satellites. Correct alignment is indispensable for achieving maximum signal strength, minimising service interruptions and maintaining consistent speeds—an issue of particular importance for users in remote Australia.
Unlike traditional geostationary services, Starlink relies on thousands of rapidly moving satellites. This means the dish must be aimed with precision and held firmly in place over the long‐term. In Australia, that generally means pointing the dish towards the southern sky. Modern user-installed dishes require manual alignment through the Starlink app, whereas early motorised units performed this task automatically.
If alignment is ignored or allowed to drift, the consequences include:
- Frequent service drop-outs
- Reduced download and upload speeds
- ‘Starlink Misaligned’ warnings in the app
- Possible rainwater pooling if the dish sits at an incorrect angle
Establishing and maintaining the correct orientation is therefore essential for reliable performance—especially in the harsh environmental conditions common across Australia. A secure, corrosion-resistant SpaceTek mount is designed to hold that position year after year.
Understanding the Fundamentals of Starlink Alignment
Optimal performance from any Starlink system begins with an understanding of its underlying technology. Starlink operates a dense constellation of Low Earth Orbit satellites approximately 550 kilometres above Earth—far closer than the 36 000 kilometres of geostationary platforms. The reduced distance means lower latency but demands highly accurate Starlink dish alignment.
A clear, unobstructed line of sight to the sky is paramount. Nearby trees, buildings or steel structures can create intermittent shadows in the signal path, causing drop-outs or speed reductions. Should you need assistance assessing obstructions, see our guide on Tips to Steer Around Dish Obstructions.
Why the Dish Points South in Australia
Being in the Southern Hemisphere, Australians achieve the best satellite coverage by aiming the dish towards the south. This orientation takes advantage of the highest satellite density while avoiding interference with geostationary satellites positioned above the equator in the Clarke Belt. The Starlink app provides real-time guidance, ensuring network performance and regulatory compliance.
The Technology: Phased Array Antennas and Field of View
Starlink dishes employ phased-array technology, electronically steering the signal without mechanical movement. Each dish has roughly a 110-degree field of view (wider on certain flat variants), allowing it to track multiple satellites as they pass overhead. Although the broad cone gives some tolerance, a clear view inside that cone remains essential for stable connectivity. You can follow satellite positions live at satellitemap.space.
For a deeper discussion of how signal quality affects throughput, refer to Starlink SNR Explained: How Signal to Noise Ratio Affects Your Speed, Power Use, Reliability.
Preparing for Installation: Location and Obstruction Checks
Successful Starlink dish alignment begins long before the equipment is unboxed. A thorough site survey to identify the best installation location is essential for achieving peak performance and avoiding future complications. This preparatory phase is critical for both permanent and temporary installations. The primary goal is to find a location with a clear view of the southern sky, free from obstructions within the dish's 110-degree field of view. For a list of common installation errors, refer to our guide on 7 Clever Ways to Avoid DIY Starlink Mounting Mistakes.
Choosing the Ideal Location for the Dish
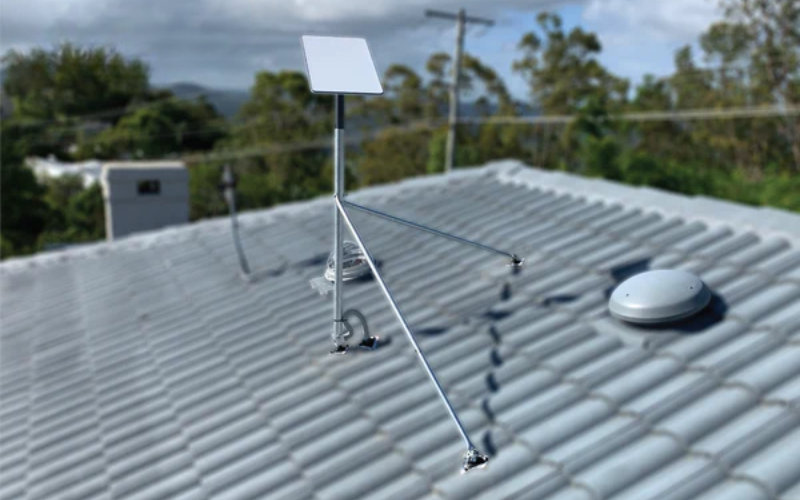
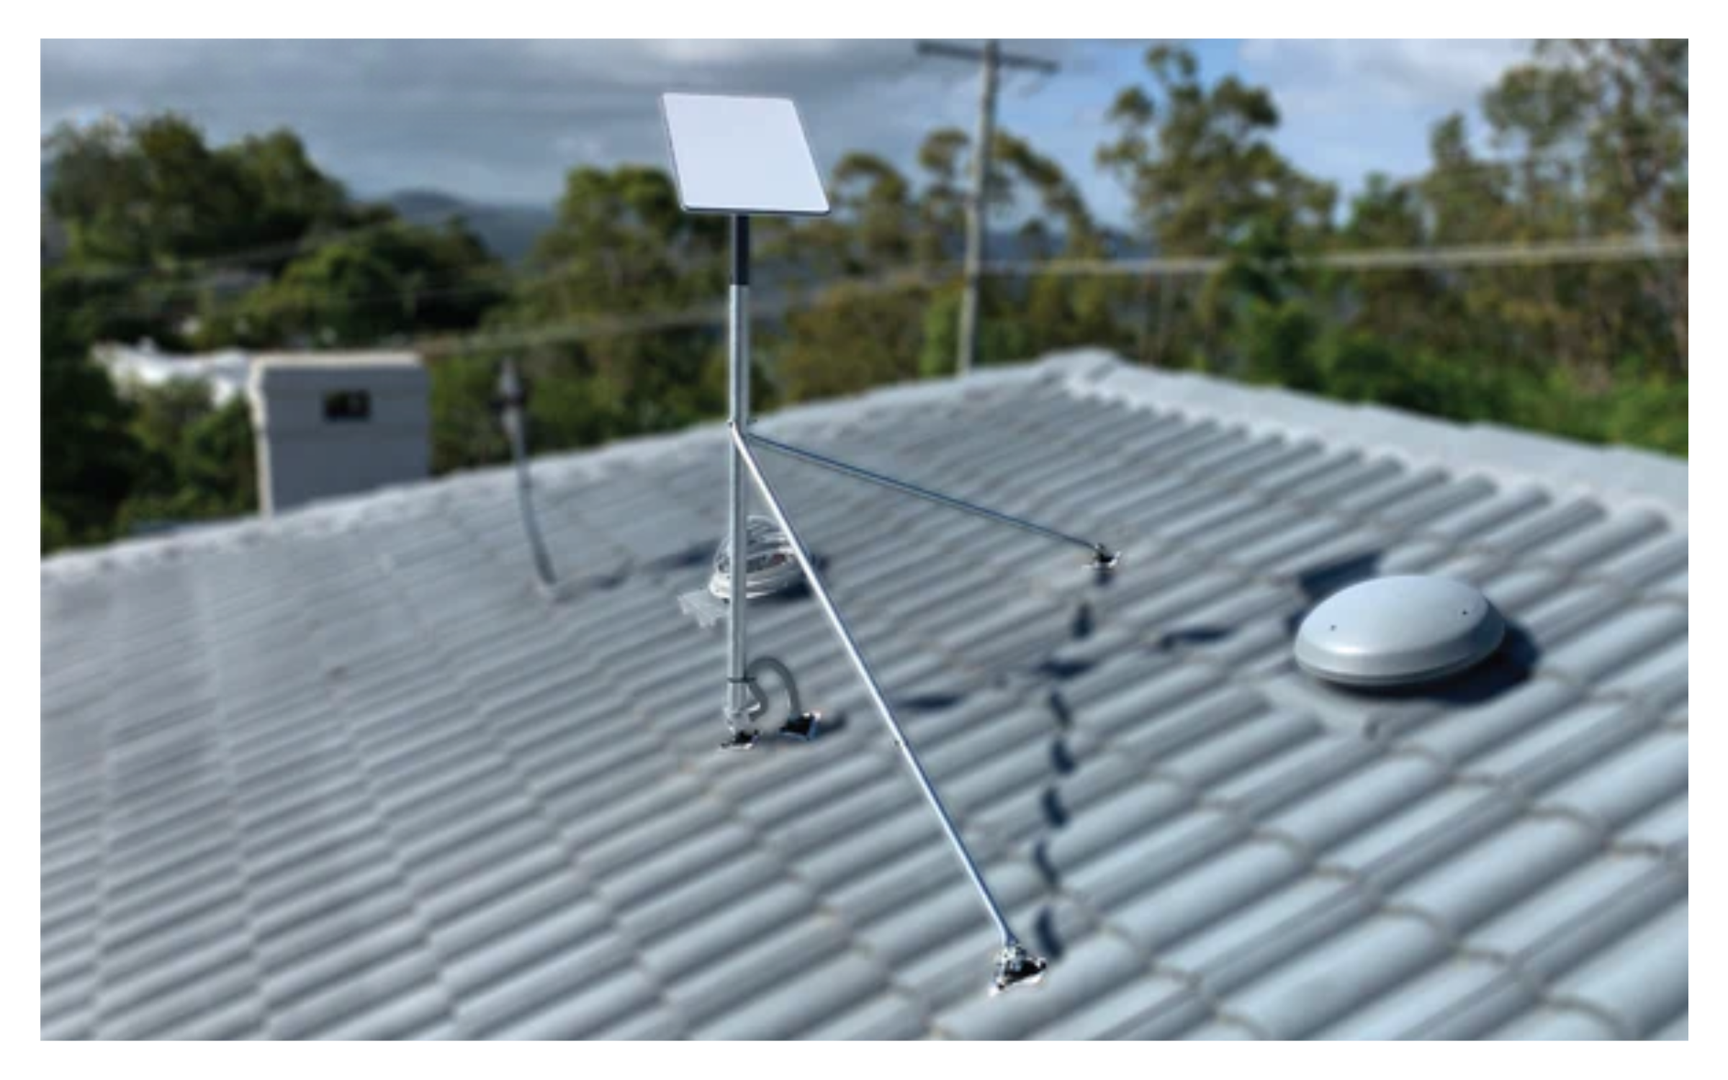
The ideal location for a Starlink dish requires height and southern exposure. Mounting the dish as high as possible helps clear potential obstacles like trees and buildings that can create signal shadows. Roof mounting is often the best option for elevation and an unobstructed view, while pole mounting offers flexibility when a roof is unsuitable.
It is important to remember that the dish signal cannot penetrate solid objects. Even partial obstructions from trees or buildings can cause intermittent service and reduced speeds. When selecting a site, consider potential future obstructions, such as tree growth. For more detailed guidance, consult our resources on What Is the Ideal Location for Installing My Starlink Dish? and Roof vs. Pole Mounts: Which One's Best for Your Starlink Setup?.
Using the Starlink App to Scan for Obstructions

The Starlink app's obstruction scanner is an indispensable tool for validating a chosen location. It uses a smartphone's camera to map the sky and identify any objects that could block the satellite signal.
To use the tool, position the smartphone at the exact proposed installation spot and follow the in-app prompts to perform a slow, 360-degree scan of the overhead environment. The app will generate a visual map, with red shaded areas indicating obstructions and green areas showing a clear line of sight. The goal is to find a location with minimal red shading, especially in the southern part of the sky. If the scan reveals significant obstructions, a different location should be selected and scanned. For a complete walkthrough, see our guide: How to Set Up Starlink in Australia: Step-by-Step for First-Timers.
A Step-by-Step Guide to Starlink Dish Alignment
The current generation of user-installed Starlink dishes are manual-alignment units with no internal motors. Alignment is carried out with the help of the Starlink app and should always be completed with the dish mounted securely to a SpaceTek bracket or pole.
Initial Preparation
- Unpack all components and fit the dish to its SpaceTek mount.
- Route the supplied cable neatly through the mount and into the premises, ensuring there are no sharp bends.
- Power up the equipment in accordance with the manufacturer's instructions.
- Connect a phone or tablet to the temporary 'STARLINK' Wi-Fi network.
- Open the Starlink app and follow the prompts until the 'Alignment' screen appears.
Manual Alignment Procedure
- Select 'Open Alignment Tool' in the app.
- A compass-style target box will indicate the required direction.
- Rotate the dish slowly on its SpaceTek mount until the on-screen indicator is centred within the box. Move in small increments for the finest accuracy.
- Tighten all SpaceTek mounting hardware to lock the angle in place. SpaceTek brackets are engineered to prevent movement under Australian wind loads.
- Remain in the app for confirmation. A green tick signifies success; the process is complete.
If necessary, a short demonstration video is available here.
Verifying Alignment over Time
The Starlink app will trigger a 'Starlink Misaligned' alert if the dish drifts by more than five degrees. Should that occur, re-enter the alignment tool and recentre the indicator. Always confirm that the SpaceTek mount remains firmly anchored; a loose fixture is the most common cause of drift. For additional advice on resisting wind forces, read Hold Onto Your Dish: A Guide to Starlink Dish Wind Resistance.
Special Considerations and Common Issues
Beyond the initial setup, several factors can affect long-term performance, from mobile use to the need for realignment. Understanding these issues is key to maintaining a high-quality connection, especially for Starlink for remote communities where reliability is paramount. For weather-related issues, see Troubleshooting Tips When Starlink Drops Out in Stormy Weather.
Alignment for Mobile Setups in Australia (RVs and Caravans)
For mobile use in RVs or caravans, Starlink dish alignment requires frequent attention. While manual alignment is still necessary for newer models, the pointing direction will change with each new location. The dish's 110-degree field of view provides some tolerance, but for optimal performance when stationary, the dish should be oriented south using the app's alignment tool. For those travelling in remote Australia, a stable connection is often essential. A robust SpaceTek mount ensures the dish remains secure and correctly positioned when parked. For more on mounting options, see Secure Your Signal: Starlink Mounting Solutions Explained.
Do I Need to Realign My Dish After Initial Setup?
For permanent installations with a secure mount, realignment should be infrequent. However, it may be necessary in certain situations:
- Network Optimisation: Starlink may issue network updates that subtly change the ideal pointing direction, prompting a manual adjustment for Gen 3 users.
- Physical Displacement: High winds or impacts can shift the dish. A robust, professionally installed mount, like those from SpaceTek, is designed to prevent this.
- Obstruction Changes: New buildings or tree growth can block the signal path, requiring the dish to be repositioned and realigned.
The Starlink app will issue an alert if the dish is misaligned by 5 degrees or more. For information on mounts designed for maximum stability, refer to The Definitive Guide to the Best Starlink Pivot Mounts.
Common Misconceptions Debunked
- Dishes always point north: This is incorrect. In Australia, dishes point south to optimise satellite communication and avoid interference with geostationary satellites. The exact direction is determined by the app.
- Dishes aim away from obstructions: The dish aims towards the highest satellite density, not away from local obstacles. It is the user's responsibility to select an obstruction-free location.
- Laying the dish flat is acceptable: This should never be done with a standard dish. An incorrect angle can cause service interruptions and allow rainwater to accumulate, potentially damaging the hardware. See Starlink support for more details.
Frequently Asked Questions about Starlink Alignment
Do all dishes require manual alignment?
Only the latest non-motorised Starlink dishes need to be positioned by hand; earlier motorised variants aligned automatically. The Starlink app will confirm whether manual input is required.
What direction should my dish point in Australia?
For most locations, the strongest Starlink coverage is achieved by facing the dish south. The app supplies the precise azimuth and elevation angles for your exact site.
What does the ‘Starlink Misaligned’ error mean?
This alert appears when the dish deviates by roughly five degrees from the target angle. Realign through the app and verify that your SpaceTek mount has not loosened. Persistent misalignment usually indicates an insecure mounting solution.
If you have further questions, please contact our expert team for personalised assistance.
Rugged Accessories for Tough Australian Conditions
Achieving correct Starlink dish alignment is the first step; maintaining it in Australia's demanding environment is the ongoing challenge. A stable mounting foundation is essential to withstand harsh weather, from coastal winds to extreme inland temperatures, and prevent alignment issues.
Inadequate mounting solutions can lead to dish movement during high winds, causing "Starlink Misaligned" errors and service disruptions. Corrosion can also compromise the integrity of the installation, risking damage to the Starlink equipment. These failures are particularly problematic in remote Australia, where reliable connectivity is essential.
SpaceTek Australia's custom-engineered mounts are designed to address these challenges. Tested to withstand significant wind loads and constructed from corrosion-resistant materials like marine-grade stainless steel, these mounts provide the long-term stability required for Australian conditions. This reliability is crucial for remote communities that depend on Starlink for education, business, and emergency services.
Our mounting solutions are engineered for durability and precision, ensuring a Starlink installation maintains its alignment and performance year after year. This provides peace of mind that the connection will remain stable through any weather.
Explore our comprehensive range of mounting solutions, each designed for the Australian Starlink user who demands reliability. Please view our full range of mounting solutions to find the ideal product for your needs. For professional advice or installation queries, please contact our expert team.

Leave a comment
This site is protected by hCaptcha and the hCaptcha Privacy Policy and Terms of Service apply.