Why Wind Ratings Matter for Starlink Installations
Starlink dish wind resistance is mission-critical for Australian users who cop everything from southerly busters to full-blown cyclones. Here are the essentials:
- Standard dish – no published figure, but well-mounted units usually ride out 130–145 kph winds (Category 2) without drama.
- Flat High-Performance/Maritime – officially rated to 280 kph (174 mph), squarely in Category 5 territory.
- Mount matters most – the dish can only do its job if the bracket, fixings and structure hold firm.
In short, the premium dish can survive winds stronger than Cyclone Tracy, yet poor mounting still sends dishes cartwheeling across paddocks. Quality hardware and sound install practice are the real heroes.
Starlink Dish Wind Resistance Ratings Explained
When it comes to Starlink dish wind resistance, not all dishes are created equal. Understanding which model you've got - and what it can handle - is the first step to keeping your internet connection alive when the weather turns nasty.
SpaceX keeps their cards close to their chest when it comes to wind ratings. The standard residential dish that most Aussies know and love doesn't come with an official wind speed rating. This leaves many users scratching their heads, wondering if their dish will survive the next big blow.
The round "Dishy McFlatface" might not have fancy specifications, but it's tougher than you'd think. Real-world testing shows these dishes can handle moderate wind conditions when they're properly secured. The key word there is "properly" - we've seen plenty of standard dishes survive storms that would flatten poorly mounted premium models.
Step up to the Flat High-Performance dish, and you're getting into serious territory. This business-grade model is built for environments where downtime costs money. While SpaceX doesn't publish exact wind ratings for this model, its construction is noticeably more robust than the standard version.
Then there's the heavyweight champion - the Maritime/Flat High-Performance dish with its official 280 kph wind rating. This beast is engineered to survive Category 5 cyclones and comes with IP56 environmental protection. That IP56 rating means it can handle high-pressure water jets from any direction - perfect for coastal installations where salt spray and driving rain are part of daily life.
Standard vs High-Performance Starlink dish wind resistance
The difference between these models goes way beyond just wind ratings. Standard dishes have proven themselves in countless Australian installations, with users reporting successful operation through 80-90 mph gusts. The secret sauce? Proper mounting every single time.
Standard dishes come with built-in snow-melting capability that clears about 1.5 inches of snow per hour. While we don't get much snow in most of Australia, this heating element can draw up to 100 watts during operation. That thermal cycling can affect the dish's structural integrity over time, especially during extreme weather events.
High-Performance dishes bump up that snow-melting rate to 3 inches per hour and feature beefier construction throughout. They're designed for commercial applications where every minute of downtime costs money, so they're built to tougher standards from the ground up.
The Maritime version takes this philosophy to the extreme. These dishes are engineered to handle the 190,000 pounds of thrust generated by Falcon 9 rocket engines during drone ship landings. When your dish can survive a rocket landing, you know it'll handle whatever Queensland's cyclone season throws at it.
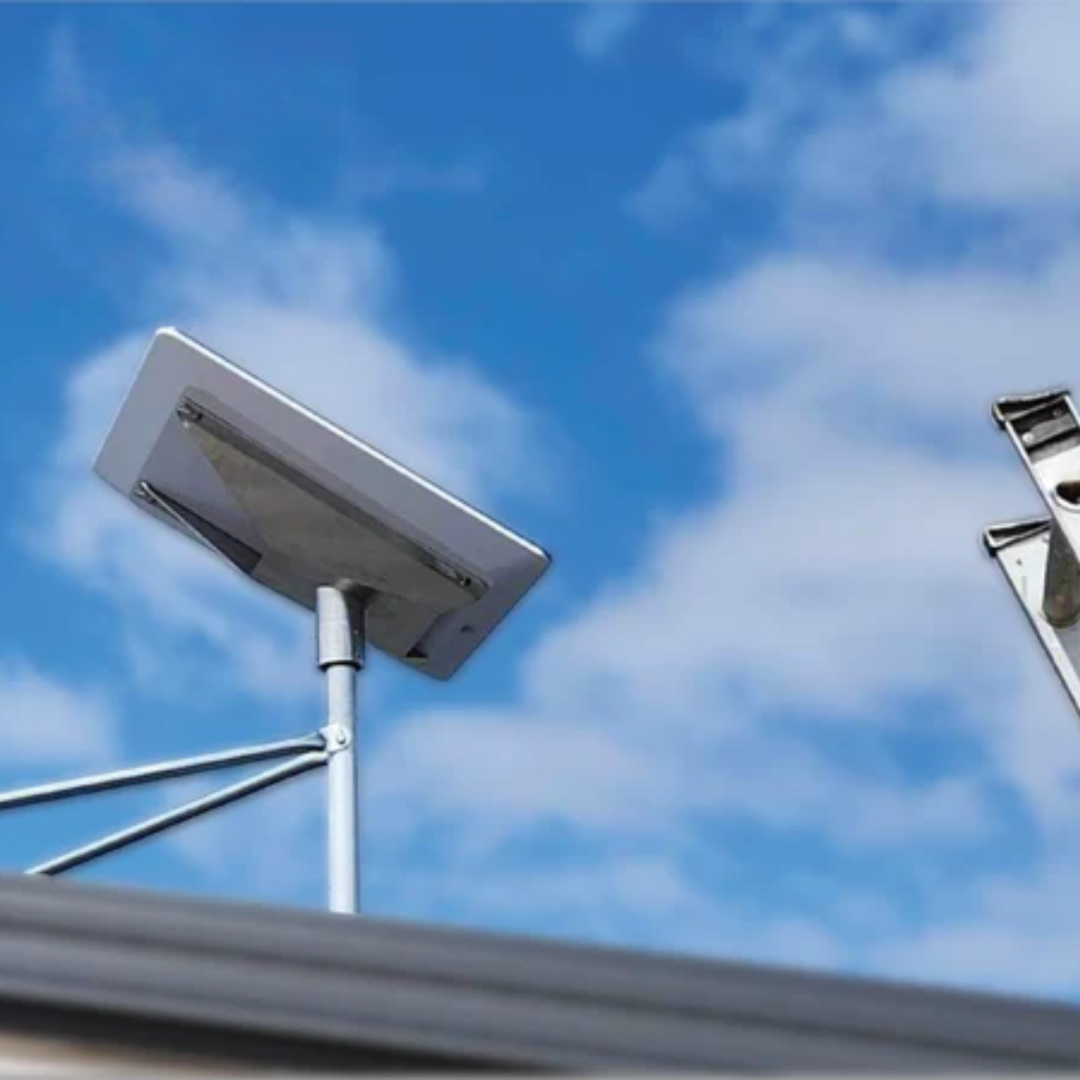
Boosting Starlink dish wind resistance with the right mount
Here's where many installations fall flat on their face - literally. The mounting hardware becomes the weak link in an otherwise solid system. You can have the toughest dish on the planet, but if it's attached to a flimsy bracket or dodgy mounting surface, it won't survive a moderate storm.
We've seen expensive High-Performance dishes destroyed because someone tried to save a few dollars on mounting hardware. The dish itself was perfectly fine, but the cheap bracket failed, sending the whole assembly tumbling across the yard. This is why secure Starlink dish mounting isn't just recommended - it's essential.
The mounting surface makes all the difference. A dish mounted to a concrete pad or properly engineered roof mount will handle much higher winds than one attached to lightweight materials like fascia boards. At SpaceTek, we've load-tested our mounting solutions to ensure they can handle the forces generated by cyclone-strength winds without breaking a sweat.
Real-World Performance in Aussie Storms & Cyclones
Australia provides a brutal test-lab for Starlink in windy conditions. During Cyclone Seroja (WA, 2021) several SpaceTek customers stayed online through 170 kph gusts – not because they owned Maritime dishes, but because their mounts were engineered for cyclone loads.
Smaller systems still fail when brackets or foundations let go. Ground-level dishes often "frisbee" at 80 kph because crosswinds create lift; secure pole or roof mounts avoid that.
Flying debris remains the bigger threat. We have seen dishes structurally perfect after 185 kph winds yet rendered useless by a stray sheet of tin. Good prep means clearing loose items and, when a Cat 3+ is imminent, whipping the dish off its quick-release bracket and stowing it safely.
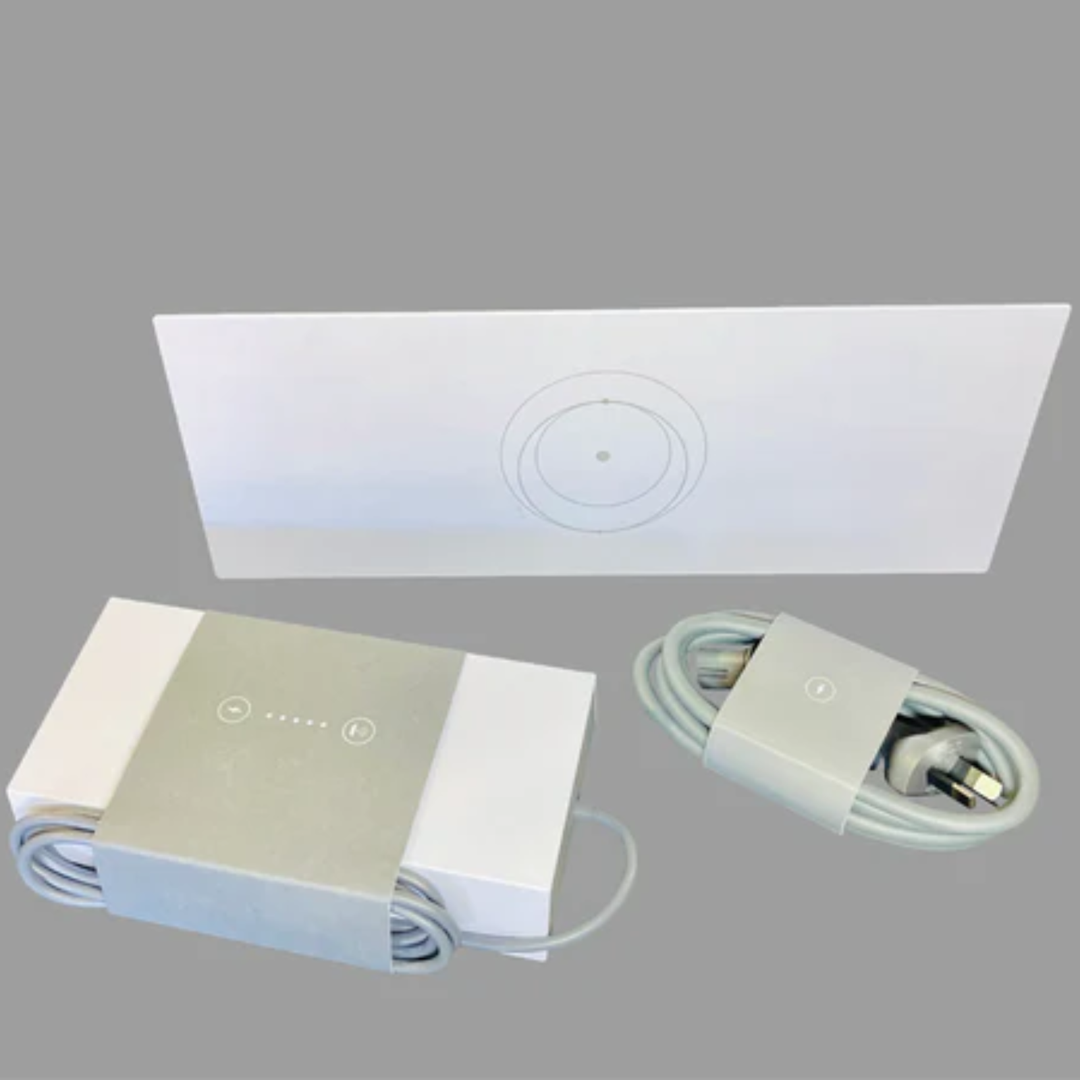
Power backup proved equally vital. After Seroja, grid outages lasted days in some towns; installations with small lithium battery banks kept streaming while the NBN and mobile networks were down. For regional users, a basic inverter charger can be the difference between full service and radio silence.
Mounting for Maximum Wind Protection
Wind acts like a giant lever on your dish. Even the strongest antenna is pointless if the bracket or surface fails. That’s why SpaceTek’s Starlink mounting solutions focus on rust-proof materials and properly engineered load paths.
Roof mounts tie into rafters and spread loads across the building frame. Pole mounts transfer forces straight into a concrete footing – our go-to for areas that regularly see 80 kph+ winds.
Key tips for a Secure Starlink dish:
- Use marine-grade stainless fixings – galvanised bolts rust out fast near the coast.
- Don’t mount to fascia boards; anchor into structural timber or masonry.
- Oversize the concrete footing (we recommend 300 mm diameter x 600 mm deep for cyclone zones).
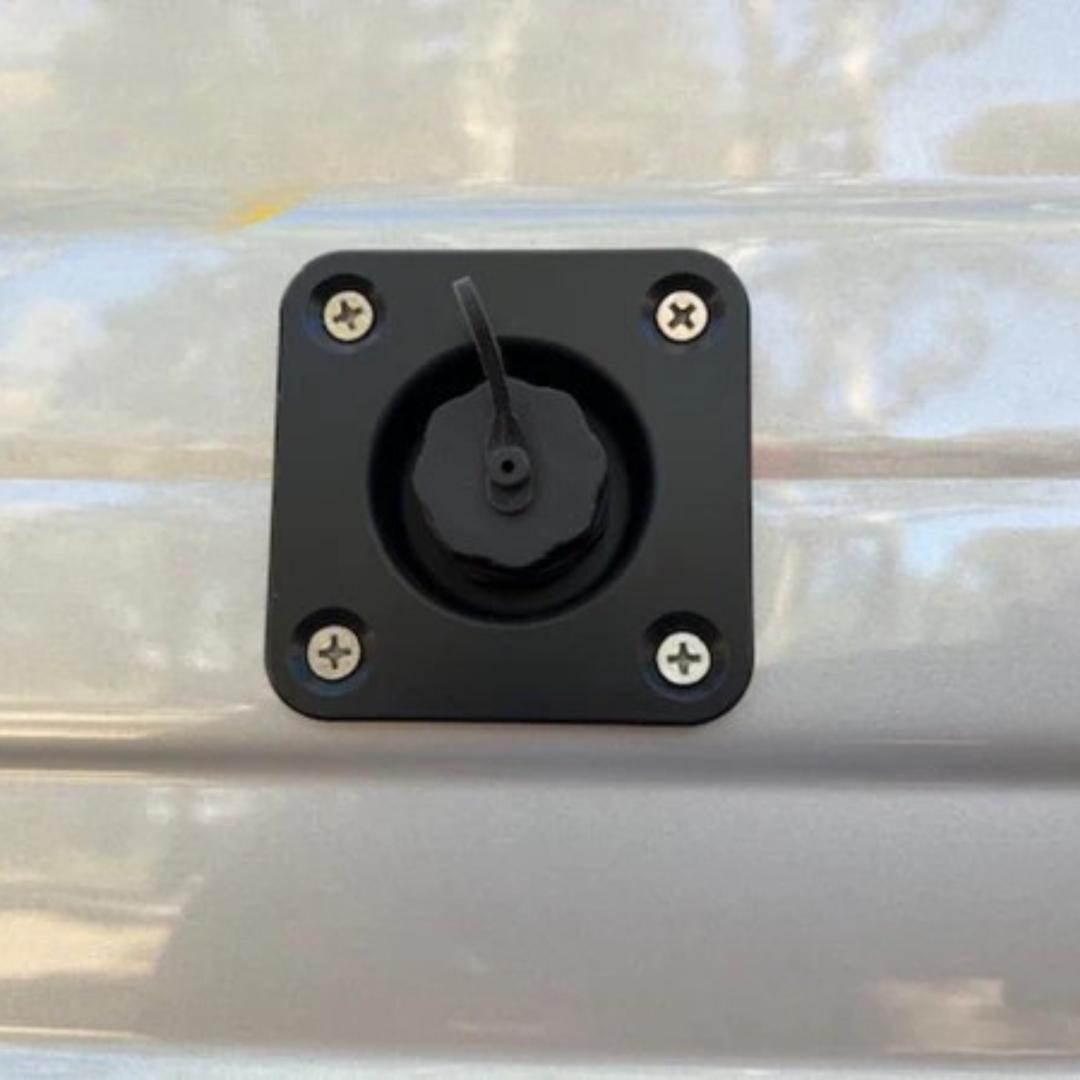
- Add a quick-release adapter so you can remove the dish before a Cat 3+.
SpaceTek gear simplifies all of this. Our pole kits arrive with pre-cut templates, stainless hardware and illustrated instructions – no guesswork, no rattles.
Maintenance, Warranty & Prep Tips Before the Next Blow
A five-minute inspection each month keeps surprises at bay. Check bolts for corrosion, look for cracked brackets and run the Starlink app diagnostics after any hard blow.
If a serious system fault appears under normal storm conditions, SpaceX usually honours warranty – provided the installation was up to scratch. Photos of your mount before and after weather events are gold when lodging a claim.
Practical Cyclone Prep Checklist
- 48 hrs out – monitor BOM alerts, photograph your setup.
- 24 hrs – secure loose outdoor gear; tighten fixings.
- 12 hrs – if Cat 3+ forecast and you’re on a standard dish, remove it and coil cables neatly.
- During storm – disconnect power to avoid surges.
- After – wait for safe conditions, reinspect mount, clear debris, run diagnostics.
Need help? Contact the SpaceTek team for site-specific advice.
Frequently Asked Questions about Starlink Dish Wind Resistance
How much wind can the standard dish handle?
With quality mounting, around 130–145 kph (Cat 2). Poor mounting drops that to as little as 60 kph.
Should I pull the dish down before a cyclone?
If a Cat 3 or stronger system is heading your way – yes. Quick-release pole adapters make this a two-minute job.
Does the warranty cover wind damage?
Generally, yes for normal storm loads if the dish was correctly installed. Extreme events or obvious mounting failures aren’t covered. Keep install photos to support any claim.
For more personalised guidance, reach out via our contact page.
Starlink Accessories Built for Remote Australia
SpaceTek specialises in Starlink accessories Australia that shrug off salt, dust and tropical downpours. Our marine-grade stainless hardware, powder-coated brackets and carbon-fibre poles are field-tested across cyclone-prone Queensland and dusty outback SA.
- Carbon Fibre Telescopic RV Mount – 1.5 kg, extends 1–3 m, ideal for travellers needing quick setup and a lightweight pack-down.
- Flat High Performance Pole Adapter – Advanced – six grub screws and 30° pitch for self-cleaning and rapid removal ahead of severe weather.
- Starlink Mini In-Motion Mount – precision-machined aluminium with optional magnetic feet for non-permanent installs on roof racks.
Whether you’re installing Starlink for Remote Communities or fine-tuning a beach shack connection, the right mount is the cheapest insurance you’ll ever buy. Explore the full range of Starlink mounting solutions on our website, or get in touch for custom advice.
External resources worth bookmarking: the Bureau of Meteorology cyclone outlook and SpaceX’s official Starlink specifications page.
Leave a comment
This site is protected by hCaptcha and the hCaptcha Privacy Policy and Terms of Service apply.