The Hidden Costs of Botched Starlink Mounts
DIY Starlink Mounting Mistakes to Avoid can save you hundreds of dollars in roof repairs and spare you from maddening internet drop-outs. A rushed or makeshift installation often ends in corrosion, leaks or lost connectivity—especially under Australia’s brutal sun, salt and storms.
Below are the seven big blunders we still see every week. Dodge them and your Starlink will hum along happily for years:
- Ballast on metal roofs – traps moisture and accelerates rust.
- Extra roof holes – weaken structure and void warranties.
- Poor drainage – invites water pooling and metal degradation.
- Wrong materials/hardware – fail in high winds and corrode quickly.
- Messy cable runs – create leaks and signal noise.
- Bad mounting angle – triggers “Motors Stuck” errors and drop-outs.
- Ignoring obstructions – gum trees today, constant outages tomorrow.
In remote Australia, a solid Starlink installation is often the only link to school, health services and work. Cut corners here and you could be offline—and out of pocket—when you need the web most.

DIY Starlink Mounting Mistakes to Avoid: Quick Overview
Before you hit the roof with tools blazing, fire up the Starlink app’s sky-scan to check for obstructions and grab a quick safety checklist. Rushing the job—skipping harnesses, drilling at random or balancing dishes on bricks—usually ends in leaks, rust or fly-away hardware once the summer storms arrive. A few extra minutes of planning beats days of repairs when you live hundreds of kilometres from the nearest technician.
1 – Skip the Site Survey, Suffer the Drop-outs
Starlink needs a clear, 100° cone of sky. Use the app’s “Check for Obstructions” feature to scan the area:
- Open the app, tap Check for Obstructions.
- Walk the intended mount spot; red zones mean blocked signal.
- Pick the clearest location—even if that means adding a taller mount.
Gum trees grow fast, so allow extra clearance now to avoid outages later.
More info about ideal locations
2 – Ballast Blocks & Timber: The Roof-Rust Recipe
Concrete blocks or lumped timber might feel like a clever “no-drill” fix, but they trap moisture, strip protective coatings and void your Colorbond® warranty in a heartbeat. After one wet season you could be replacing roof sheets—an expensive lesson.
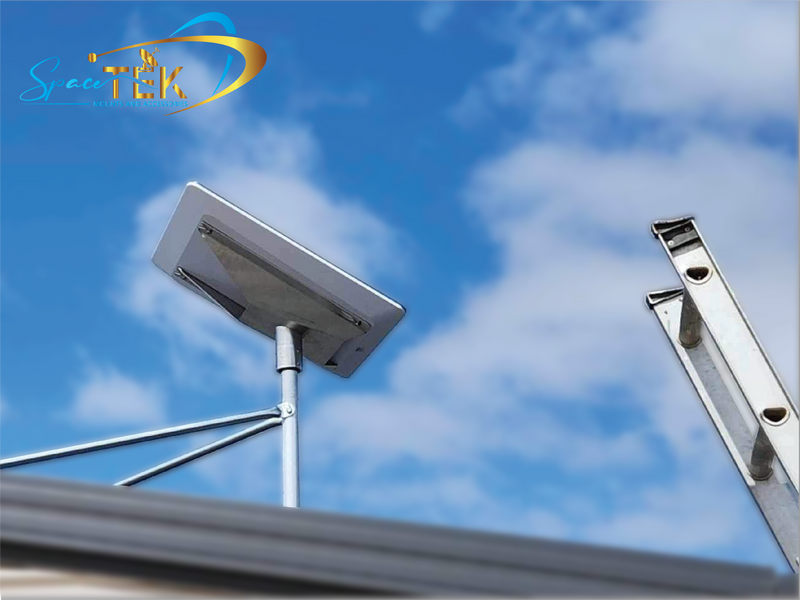
Use purpose-made brackets that clamp or fasten with EPDM-sealed screws designed for corrugated, standing-seam or tile roofs.
Latest research on roof ballast issues
3 – Random Roof Holes & Wrong Hardware
Every extra hole is a new leak path. Always drill through ridges (not valleys), hit rafters, and seal with neutral-cure silicone plus stainless screws with EPDM washers. Mild-steel screws corrode fast—especially near the coast—and can rip out in cyclonic winds.
More info about mounting hardware
4 – Forget Drainage: Invite Moisture & Corrosion
Flat plates that sit flush on metal roofing form mini-dams. Water pools, salt concentrates and rust races in. Choose mounts with built-in drainage channels or stand-off feet that let water flow and air circulate.

5 – Untreated Wood, Mild-Steel Screws & Wild Aussie Winds
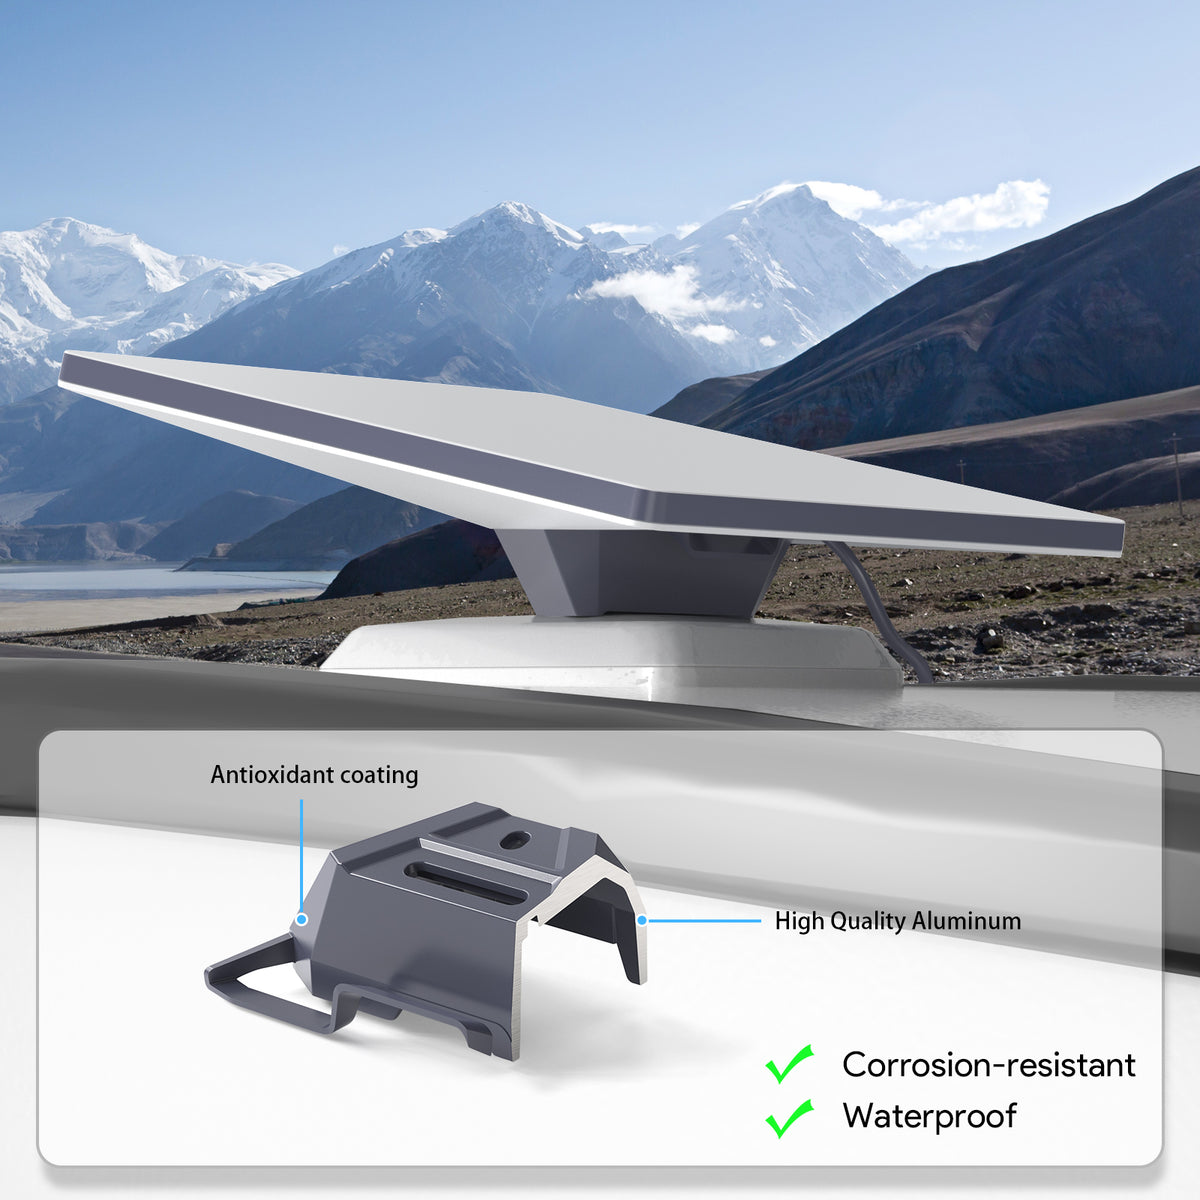
Cyclone gusts, desert dust-storms and salty sea breezes punish cheap materials. Insist on 316-grade stainless or aluminium brackets and, if you must use timber, only use treated hardwood. Add diagonal bracing in high-wind zones.
6 – No Gland, No Tape: Cable Chaos & Leaky Ceilings
A cable hole is still a roof penetration. Fit a weatherproof gland, form a drip-loop and secure runs with UV-resistant clips every 30–50 cm. In possum territory, slide the cable through rigid conduit to stop midnight nibbling.
7 – Mount First, Aim Later: Performance Left on the Table
Starlink motors need the dish within 40° of vertical. Test on the ground, watch it auto-orient, then lock that angle in your permanent mount. Re-scan after storms and every big tree-prune—conditions change.
Frequently Asked Questions about DIY Starlink Mounting Mistakes to Avoid
What sealant works on Colorbond®? Neutral-cure roofing silicone—never acidic-cure varieties.
How do I stop possums chewing the cable? Run it through conduit or use wildlife-rated cable sleeve and spray with bitter deterrent.
Can I reuse my old Foxtel pole? Only if the diameter matches Starlink’s adapter, the pole is rust-free and meets your local wind rating.
Rugged Accessories for Tough Australian Conditions
SpaceTek Australia designs rust-resistant, wind-rated mounts tested from the Kimberley to the High Country. By avoiding the mistakes above and choosing hardware built for Starlink in Australia, Starlink for Remote Australia and Starlink for Remote Communities, you’ll stay online when it matters most.
Ready for bullet-proof connectivity? Explore our full range of mounts and accessories at SpaceTek Australia.
Stay Connected, No Matter Where You Are

Leave a comment
This site is protected by hCaptcha and the hCaptcha Privacy Policy and Terms of Service apply.