Your Quick Start Guide to Starlink Setup
How to plug in Starlink is simpler than you might think, and you can be online in just a few steps.
Here's the quick version:
- Find a clear view of the sky using the Starlink app's obstruction tool.
- Connect the cable to your Starlink dish, ensuring it clicks in and sits flush.
- Plug the cable into router port #1, then connect the router to a power outlet.
- Connect to the "STARLINK" WiFi network on your device and set a new password.
- Wait for the dish to auto-level and find the optimal angle for a satellite connection.
Starlink uses a network of low-Earth orbit (LEO) satellites to deliver high-speed internet to homes, caravans, and remote locations across Australia. It's a game-changer for regional areas that have long struggled with slow, unreliable connections.
This guide walks you through every step of the physical setup. You'll learn what's in the box, where to place your dish, how to connect the cables, and what to do if you run into issues.
I'm Aaron Wroblewski, founder of SpaceTek Australia. With over 25 years in satellite communications, I've helped hundreds of Australians understand how to plug in Starlink correctly for optimal performance. I've seen every installation challenge and designed our mounting solutions to handle them all.
How to Plug in Starlink: A Step-by-Step Guide
Getting your Starlink system running is designed to be a straightforward self-installation. Let's walk through exactly how to plug in Starlink in three simple steps.
Step 1: Unboxing and Finding the Perfect Spot
Your Starlink kit arrives with the dish (affectionately known as "Dishy"), a WiFi router, cables, and a base for ground-level setup. The Starlink Mini is even more compact, with the router built directly into the dish.
Before connecting anything, find the best location. This is the most important step. Your dish needs a clear, unobstructed 110-degree view of the sky to maintain a stable connection. Even small obstructions like tree branches can cause dropouts.
Don't guess—download the Starlink App for iOS or Android and use the "Check for Obstructions" tool. It uses your phone's camera to scan the sky and identify potential blockages. If all ground-level options are blocked, you'll need to consider a higher mounting position. Our Starlink Installation Guide: Where Should You Set Up Your Dish? can help.
Step 2: How to Plug in Starlink's Physical Connections
With your spot chosen, it's time to connect the cables, which are designed to fit only one way.
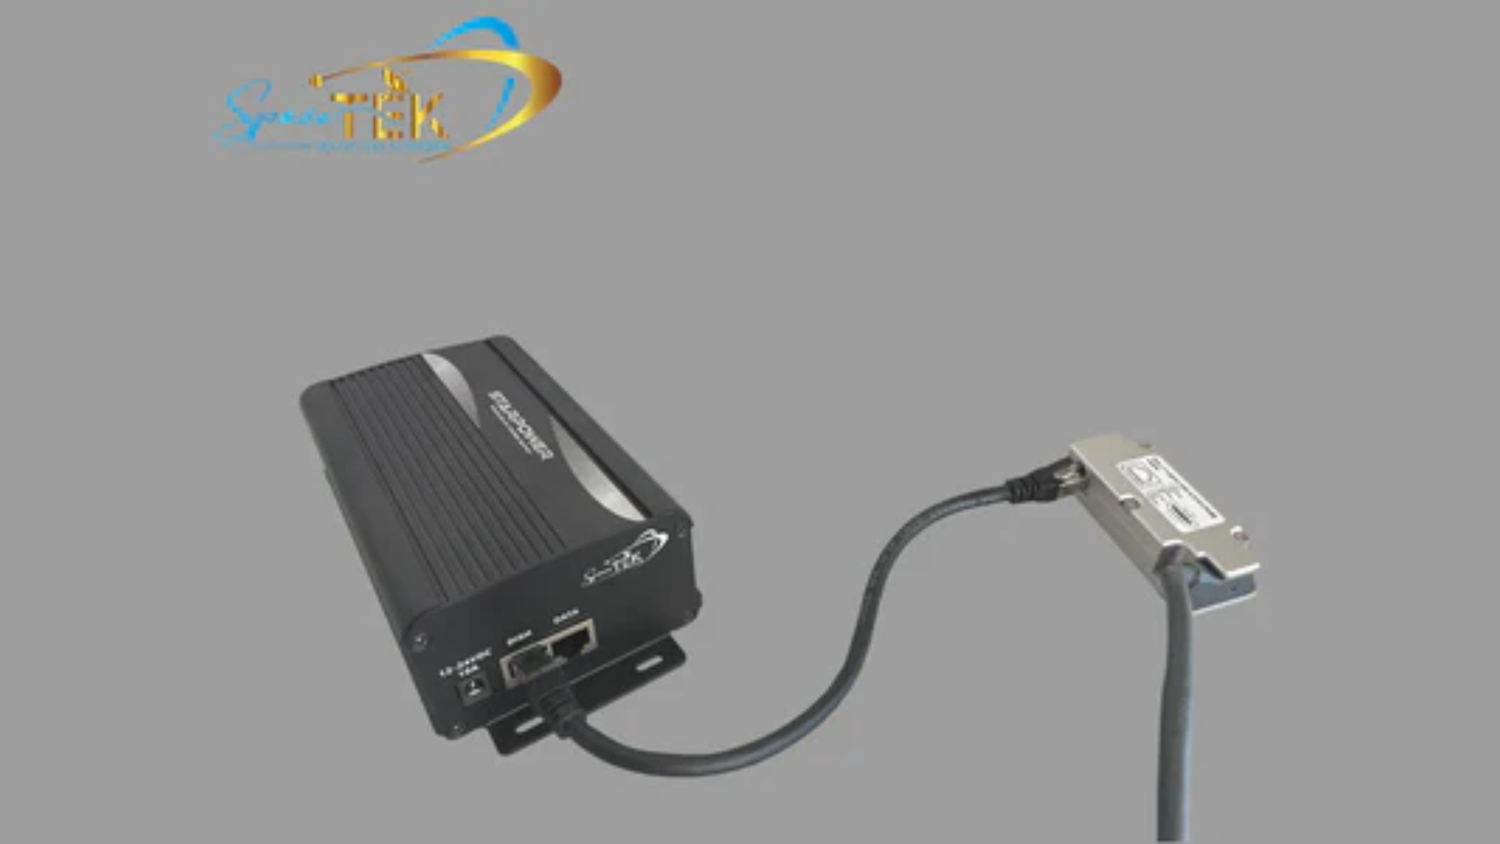
- Standard Dish: Plug the cable into the dish (locking feature up) until it clicks and sits flush. Route the other end to your router and plug it into port #1 (locking feature down). This single cable cleverly carries both data and power using Power over Ethernet (PoE).
- Starlink Mini: Plug the DC power cable into the Mini, ensuring it's fully inserted. Use the provided cable and ensure it's fully inserted to maintain the dish's IP67 waterproof rating.
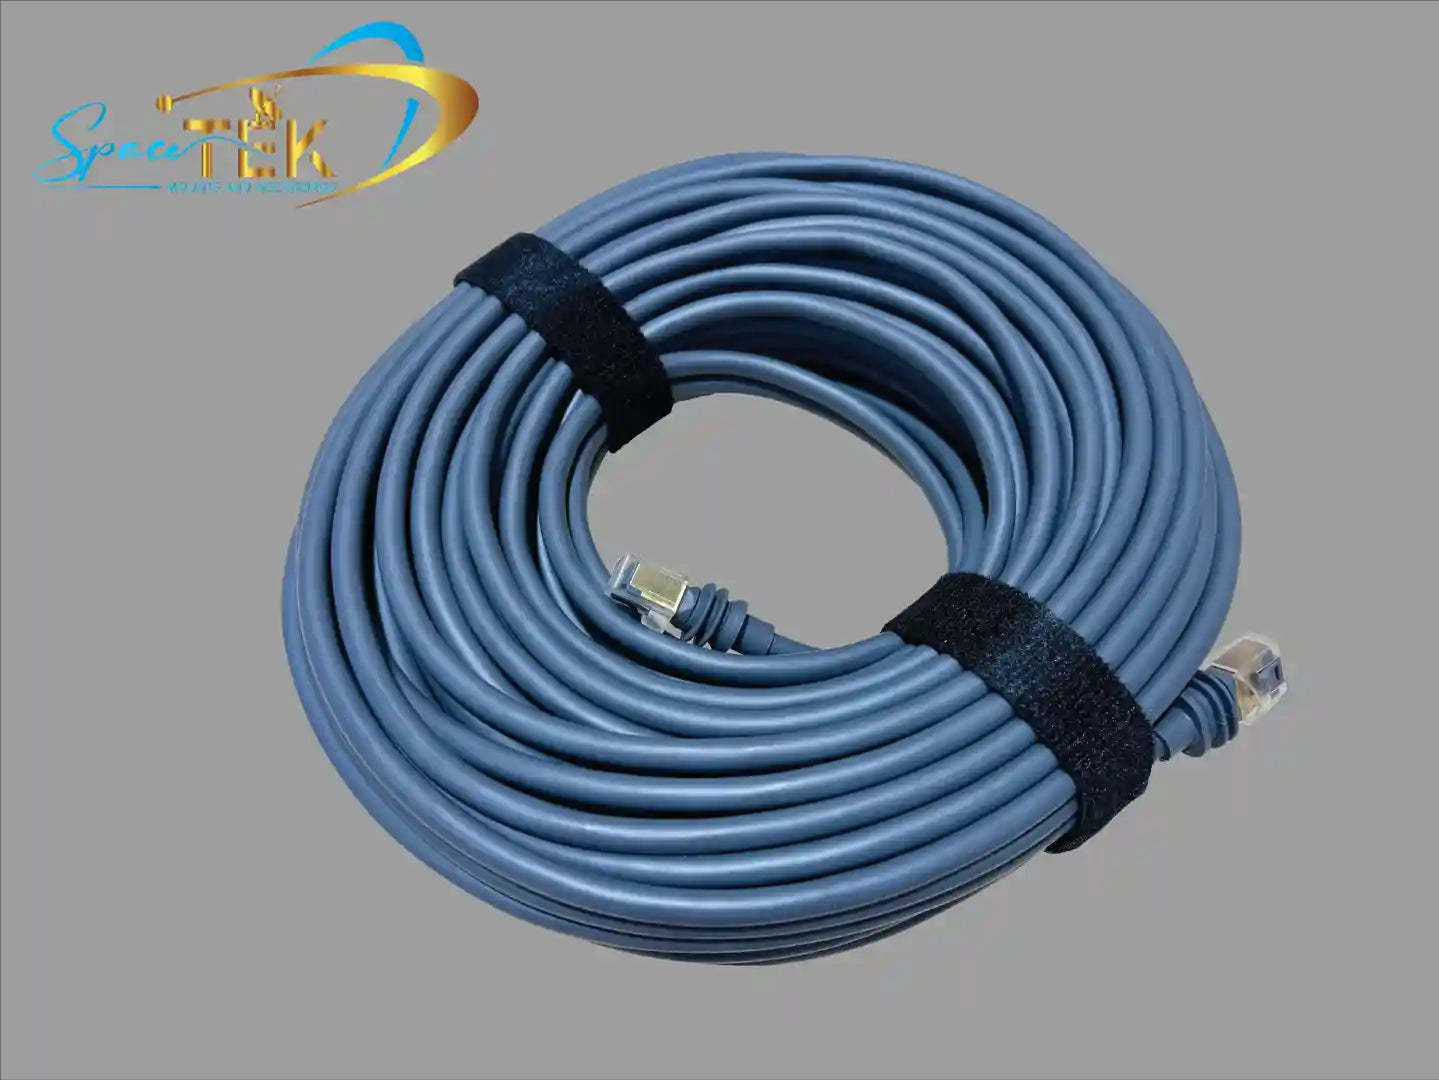
Finally, connect the AC power cable from your router or power supply to a standard wall outlet. For more details on cabling, see our Detailed Guide to Starlink Satellite Cable.
Step 3: Powering Up, Aligning, and Connecting to WiFi
Once powered on, the system begins its boot sequence. Actuated dishes (Gen 1, Performance) will automatically level and tilt to find satellites. For Gen 3 and Mini dishes, the app will guide you on alignment. Give the system up to 20 minutes to establish its first connection and download updates.
Your router's light will turn solid white when you're online (it turns off after an hour, which is normal). A solid red light indicates a connection issue.
Now, grab your phone or laptop, find the "STARLINK" WiFi network, and connect. A browser window should pop up, prompting you to set a new network name and password. Once that's done, open the Starlink App. This is your control centre for monitoring performance and managing your connection.
Troubleshooting and Upgrading Your Connection
Even with a careful setup, you might not get online immediately. Most issues have simple fixes.
Can't Get Online? Quick Fixes After You Plug in Starlink
If you're not connected after 20 minutes, try these quick fixes:
- Check the App: Open the Starlink app first. It will display alerts if the dish is booting, obstructed, or offline.
- Power Cycle: Unplug the router from power, wait a full 30 seconds, and plug it back in. This simple reboot fixes most temporary glitches.
- Check Connections: Go back and physically check that every cable is securely clicked into place and sits flush. A loose connection is a common culprit.
- Check Router Lights: A solid red light means it can't connect. Flashing white means it's still trying. No light means no power.
If you're still stuck, our guide on Why Won't My Starlink Connect? Common Setup Issues and Fixes offers more detailed solutions.
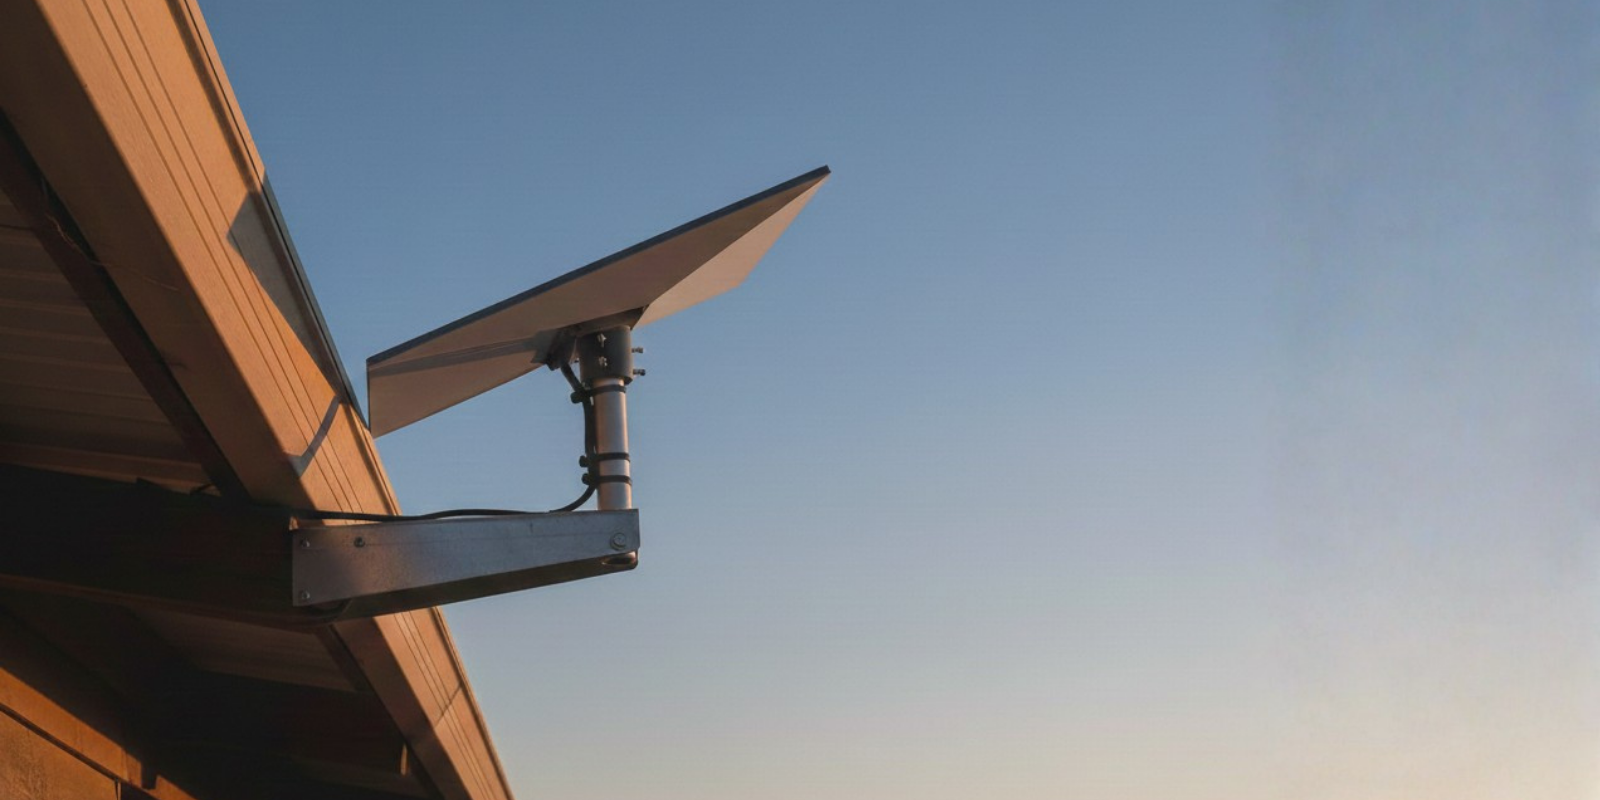
Beyond the Basics: Mounting Your Dish for Peak Performance
The included kickstand is fine for testing, but for long-term reliability in Australian conditions, a proper mount is essential. It lifts your dish above ground-level obstructions and secures it against wind, storms, and accidents. Height and stability are key to an uninterrupted, high-speed connection. Deciding if you need a mount is really about how much you value reliability. Our guide to Starlink Mounting Hardware: Everything You Need to Know explains your options.

Compatible Mounts & Accessories for Every Starlink Model
At SpaceTek Australia, we develop mounting solutions that work in local conditions.
- For Starlink Mini: Our Starlink Mini Mounts Collection offers compact, weatherproof solutions perfect for portability and quick setups on your 4WD or at a campsite.
- For Gen 2: Made from aluminium and carbon fibre, our Gen 2 Mounts Collection provides a lightweight yet strong and secure fit that prevents wobbling in harsh weather.
- For Gen 3: Our Gen 3 Mounts Collection features heavy-duty, rust-resistant hardware designed to withstand everything from coastal salt spray to outback dust.
- For RV & Travel: Our Starlink RV Mounts Collection is for life on the road. These portable mounts install quickly and hold firm, engineered for corrugated roads and highway speeds.
Conclusion: A Secure Setup for Lasting Reliability
You now know exactly how to plug in Starlink—a simple process of finding a clear sky, connecting the cables, and powering on. But getting online is just the first step. To ensure your high-speed connection is reliable day in and day out, a secure mounting solution is crucial, especially in Australia's demanding climate. The included kickstand isn't built to withstand strong winds or corrosive salt air.
At SpaceTek Australia, we specialise in providing the most secure, rust-resistant, and user-friendly Starlink mounting solutions in the country. Our products are engineered for Australian conditions, using high-quality materials like aluminium and carbon fibre that won't fail when you need them most. They are fully compatible with Starlink's self-install kits, allowing you to create a professional-grade setup yourself. Protecting your investment with a proper mount ensures you get the consistent, reliable performance you paid for.
If you have questions about the best mount for your home, caravan, or business, we're here to help. For expert advice custom to your specific needs, contact us anytime. You can also learn more in our article Why Spacetek is the Go-To Shop for Starlink Mounts and Accessories in Australia.
Conclusion: A Secure Setup for Lasting Reliability
You've now got the complete picture of how to plug in Starlink – from opening the box to connecting your first device. The process is straightforward: find a clear view of the sky, connect the cables properly, power up the system, and join your new WiFi network. Within minutes, you can be online with high-speed satellite internet.
However, getting connected is just the beginning. For long-term reliability in Australia's often brutal conditions, a secure mount is essential. The included kickstand is great for testing, but a dedicated mount protects your investment from wind, weather, and corrosion, ensuring your connection stays stable when you need it most.
At SpaceTek Australia, we've built our reputation on providing premium, rust-resistant mounting solutions using materials like aluminium and carbon fibre, all engineered for the Australian climate. Our mounts integrate seamlessly with your Starlink self-installer kit, providing the foundation for reliable internet that lasts.
Not sure which mounting solution is right for you? We're always happy to help. Contact us for expert guidance customised to your needs. Let us help you make sure your Starlink stays connected for years to come.
Leave a comment
This site is protected by hCaptcha and the hCaptcha Privacy Policy and Terms of Service apply.