Why Starlink Setup Problems Can Derail Your Internet Dreams
Starlink setup problems are common, but most can be solved with the right approach. Whether you're setting up a new Gen 3 kit or an older model, a little preparation goes a long way.
Most Common Starlink Setup Issues:
- Signal obstruction: Trees, buildings, or debris blocking the satellite view.
- Poor cable connections: Loose or damaged cables causing intermittent service.
- App connectivity issues: VPN interference or connecting to the wrong network.
- Hardware placement: Incorrect dish positioning or an unstable mount.
- Account/service address problems: Using the dish outside its registered location.
Getting your Starlink running shouldn't be rocket science. Yet, up to 75% of connectivity issues stem from improper installation and signal obstruction. The key is a methodical approach, from finding a clear 100-degree sky view to using a mounting solution that can handle Australian weather.
I'm Aaron Wroblewski, founder of SpaceTek Australia. With 25 years in satellite communications, I've seen every Starlink setup problem imaginable. Our team has helped hundreds of customers achieve reliable, high-speed connections by providing robust, Australian-designed mounting solutions and expert advice.
Getting Started: Your Pre-Flight Checklist for a Smooth Starlink Setup
Before troubleshooting, let's cover the basics to prevent Starlink setup problems from happening in the first place.
What are the most common Starlink setup problems and how do I avoid them?
Understanding these common pitfalls can save you a world of frustration.
1. Signal Obstruction: The Invisible Barrier This is the most frequent issue. Starlink needs a clear, 100-degree view of the sky. Trees, buildings, or even heavy debris on the dish can block signals.
- How to fix it: Use the Starlink app's "Check for Obstructions" tool (iOS, Android). Scan multiple potential locations with your phone's camera. Moving the dish just a few metres can make a huge difference. For more details, see the official FAQ on checking for obstructions.
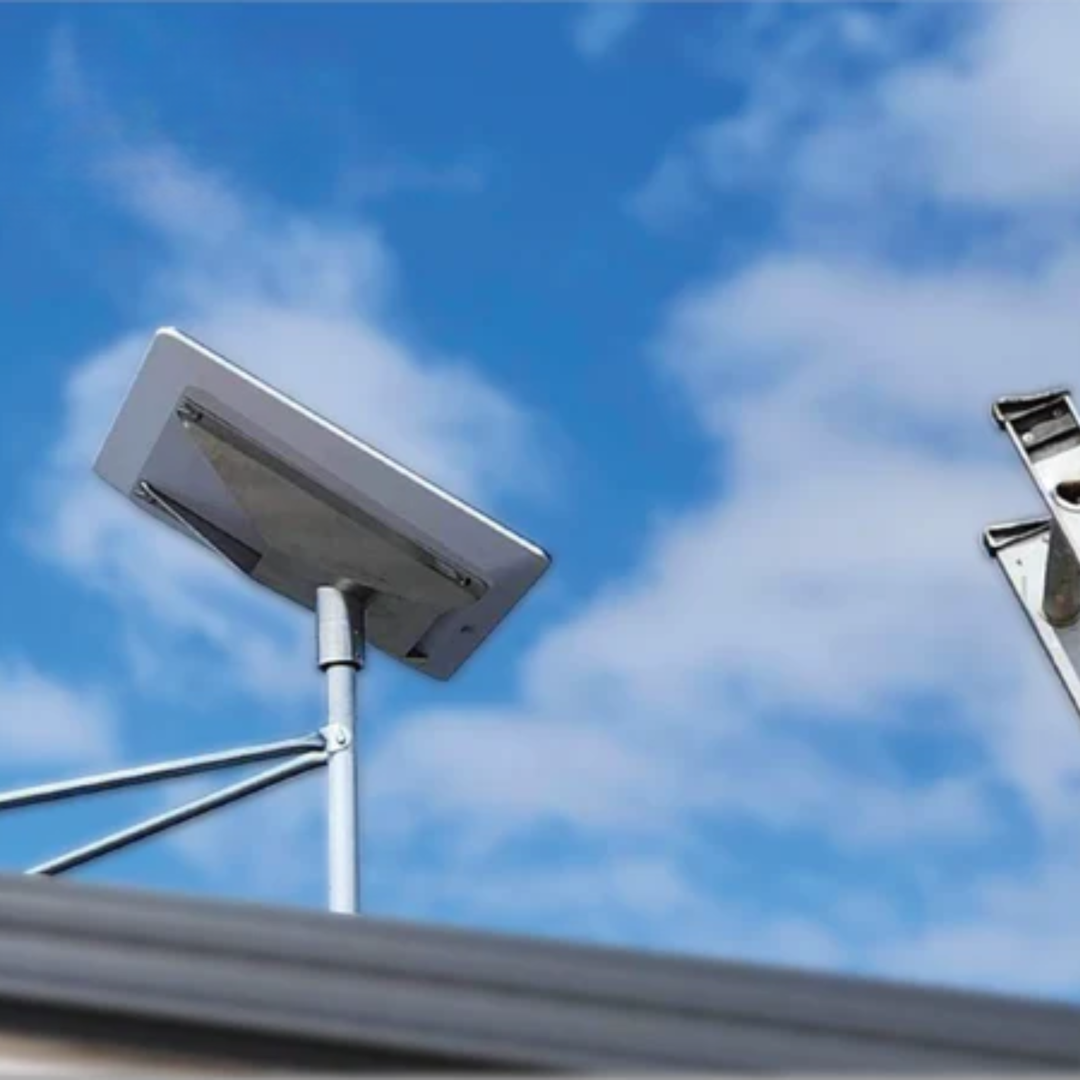
2. Improper Installation & Hardware Placement A wobbly mast or poorly positioned dish can degrade your service. Height and stability are your best friends.
- Best practices: Ensure your mount is rock-solid to prevent swaying in the wind. This is where SpaceTek's custom mounting kits shine. We offer high-quality, rust-resistant mounts designed for Australian conditions, ensuring secure performance. You can find the right mount for your Gen 3/V4 kit on our website. If your ideal spot is on a roof, consider professional help. You can find a professional installer in your area through our network for a safe and secure setup.
3. Hardware, Cable, and Account Issues
- Cable Damage: Inspect your cable for nicks or sharp bends. Ensure both ends are fully seated and click into place. Protect cables run through walls with conduit.
- Account Status: An "Offline - Unexpected Location" message often means your dish is outside its registered service address. Check your account on the Starlink website to ensure your plan is active and your location is correct.
How do setup and Wi-Fi configuration differ between Starlink kits?
While the core principle is the same, there are key differences between Starlink models.
1. Dish Alignment
- Standard Actuated (Gen 2) & Performance Kits: These are plug-and-play. They automatically level and align themselves. Do not adjust them manually.
- Standard (Gen 3/V4) & Mini Kits: These newer, more portable models require manual alignment. Use the Starlink app's alignment tool to point the dish correctly.
2. Wi-Fi Network Setup Initial setup is done through the Starlink app. After powering on, connect to the default Starlink Wi-Fi network (e.g., "STINKY" or "STARLINK"). The app will then prompt you to create a secure network name (SSID) and password. If you run into Wi-Fi issues, a factory reset can help. Here's how to factory reset your Starlink router.
For adventurers, SpaceTek Australia offers a range of RV and Portability mounts to make using your Starlink Mini or Standard Kit a breeze, wherever your travels take you.
Troubleshooting Guide for Common Starlink Setup Problems
Once you're set up, you might still encounter issues. Here’s how to solve the most common Starlink setup problems.
Why is my connection intermittent and how do I fix it?
An unstable connection is frustrating, but the cause is usually simple.
- Check for Obstructions (Again): Trees grow and things change. Rerun the obstruction check in the Starlink app if you experience drops.
- Eliminate Mast Sway: Your dish needs to be rock-steady. Even minor wind-induced movement can disrupt the signal. A professional installation with a quality mount can reduce weather-related issues by up to 50%. Our heavy-duty roof mounts are designed to keep your dish stable in harsh Australian weather.
- Weather Impacts: Heavy rain or snow can temporarily affect your signal (known as "rain fade"). This is normal. Starlink has a built-in snow melt feature you can enable in the app.
- Third-Party Hardware: If you're using your own router, try connecting directly to the Starlink router's Wi-Fi to see if the problem persists. This helps isolate the issue.
- The Simple Reboot: Your first line of defence. Unplug your Starlink for 30 seconds, plug it back in, and wait 15-30 minutes for it to restart. This resolves a surprising number of problems.
What do the Starlink app's 'Offline' alerts mean?
Learning the app's language is key to quick fixes.
- 'Offline - Booting': Your system is starting up. Be patient, as this can take up to 30 minutes. If it's stuck, try a reboot. See Starlink's official guide for 'Offline - Booting' for more.
- 'Offline - Searching': The dish is hunting for satellites. This can be caused by a new obstruction or a shift in the dish's position. Re-check for obstructions and verify its alignment.
- 'Offline - Disconnected': This is a general connection error. First, check that your phone is connected to the Starlink Wi-Fi network. If it is, the issue is with the Starlink system itself; a reboot is your next step.
- 'Poor Cable Connection': The app has detected a physical problem with the cable. Power everything down and inspect both ends of the cable, ensuring they are clean and securely clicked into place. Check the entire cable for damage. Starlink's guide for 'Poor Cable Connection' alerts has more details.
Advanced Solutions and Getting Expert Help
When standard fixes don't work, or you want a more customised setup, it's time for advanced solutions.
Can I use my own router or mesh system with Starlink?
Yes, and it's a great way to get better Wi-Fi coverage or advanced features. For Gen 2 and Gen 3 systems, simply enable "Bypass Mode" in the Starlink app. This turns your Starlink router into a simple modem, letting your own router manage your network.
For a clean and professional setup, consider using our Starlink parts and accessories like RJ45 recessed data sockets for wall connections and a dedicated router wall mount to keep things tidy.
When and how should I contact support for my Starlink setup problems?
If you've tried everything and are still stuck, it's time to contact support. Before you do, you could try a factory reset as a last resort for persistent Wi-Fi issues.
To contact Starlink Support, you must submit a ticket through the app or website. To get the best help, provide a detailed description:
- What: Describe the problem, when it started, and what app alerts you see.
- How: List all the troubleshooting steps you've already taken.
- Where: Include clear photos of your dish installation, its view of the sky, and your cable runs.
If you're dealing with a complex installation, working at heights, or have persistent issues, professional help is your best bet. At SpaceTek Australia, we provide expert advice and a network of installers to ensure your system is set up for optimal performance and reliability.
Ready to solve your Starlink setup problems for good? Get expert advice or find an installer through our network, and explore our range of accessories designed for Australian conditions.


Leave a comment
This site is protected by hCaptcha and the hCaptcha Privacy Policy and Terms of Service apply.