What Is Starlink Equipment? A Quick-Start Guide for Australians

Starlink equipment is the physical hardware that connects your home, vehicle, or remote worksite to SpaceX's low Earth orbit satellite network — delivering high-speed internet virtually anywhere in Australia.
Here is a quick overview of the main Starlink kits available:
- Standard Kit — Best for residential use. Includes the Gen 3 router with Wi-Fi 6, a 15m cable, and the phased array dish. Ideal for streaming, video calls, and gaming.
- Mini Kit — Compact and portable. Built-in Wi-Fi router, ultra-low power draw, and fits in a backpack. Great for travel, camping, and small spaces.
- Performance Kit — Built for demanding environments. Higher speeds, extreme weather resilience, and designed for industrial or remote business use.
- Actuated High Performance Kit — Engineered for in-motion use. Suited to RVs, vessels, and mobile enterprises needing consistent connectivity on the move.
Each kit requires an active Starlink service plan to operate.
For Rob out in regional Australia — where the nearest fibre node might be hours away and bushfire season can knock out ground-based infrastructure entirely — choosing the right kit and installing it correctly is not just about convenience. It is about staying connected when it genuinely matters.
The good news is that modern Starlink hardware is remarkably capable. Dishes are rated to handle temperatures from -30°C to 50°C, operational winds above 96 kph, and even heavy rainfall. But the hardware alone is only part of the equation.
Getting reliable, long-term performance from your system means pairing it with the right mounting solution and a stable, regulated power supply — two areas where Australian conditions demand more than a basic off-the-shelf approach.
This guide walks through everything you need to know, from kit specifications and setup to power requirements and mounting options purpose-built for the Australian environment.
Why Connectivity Fails in Extreme Conditions
Starlink equipment provides infrastructure independence by bypassing ground-based networks that are often vulnerable to local disasters. In Australia, maintaining a connection during bushfire seasons or severe heatwaves is a matter of safety, as physical fibre and copper lines can easily be destroyed by fire or compromised by power grid failures.
Traditional internet relies on a chain of physical cables and local exchanges. If one link breaks, the whole suburb goes dark. Because Starlink communicates directly with a satellite constellation in Low Earth Orbit, it remains operational as long as your dish has power and a clear view of the sky. This makes it an essential tool for bushfire readiness.
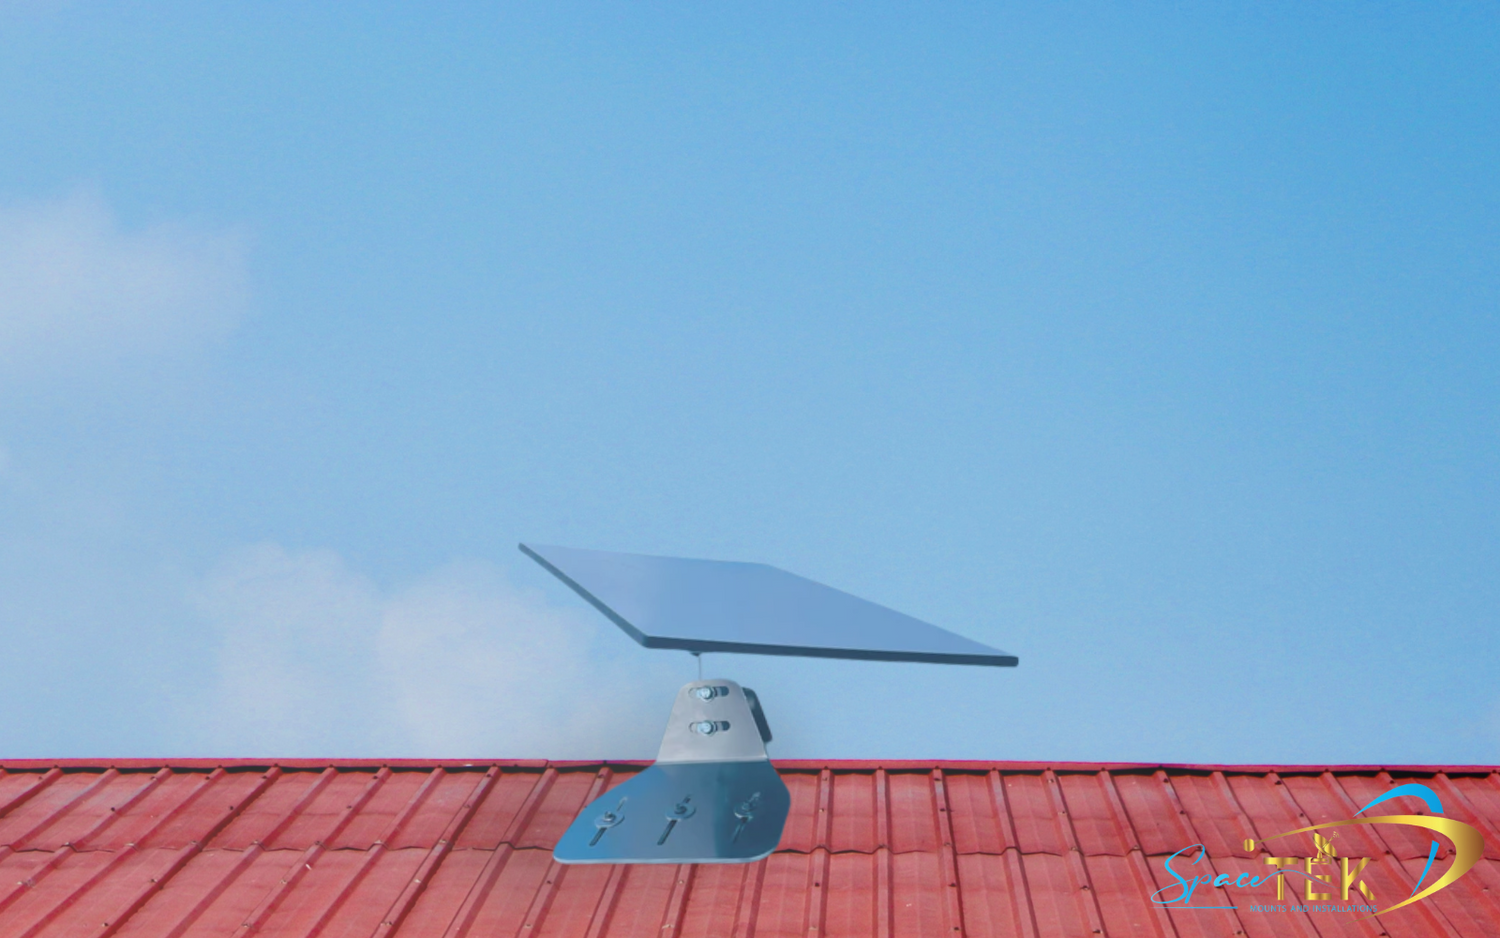
However, extreme heat can be a silent killer for electronics. While the hardware is designed for high temperatures, the intense Australian sun can lead to thermal throttling if the dish is not mounted with adequate airflow. Using high-quality aluminium mounts rather than resting the unit on a hot surface helps dissipate heat and maintains performance during those 40°C+ days.
To understand the broader context of this technology, you can explore What is Starlink internet to see how it differs from traditional providers.
Why Proper DC Power Matters
To ensure your connection remains stable, Starlink equipment requires a consistent and regulated power source that can handle the specific demands of satellite hardware. Standard 12V vehicle systems are notorious for fluctuations; when your fridge compressor kicks in or the solar controller switches modes, the resulting voltage drops can cause your Starlink to reboot or drop the signal.
Power consumption varies significantly across the product range:
- Standard Kit: Averages 75-100W during normal operation.
- Mini Kit: Highly efficient, averaging between 25-40W.
- Performance Kits: Can draw significantly more, especially when the snow melt heater is active.
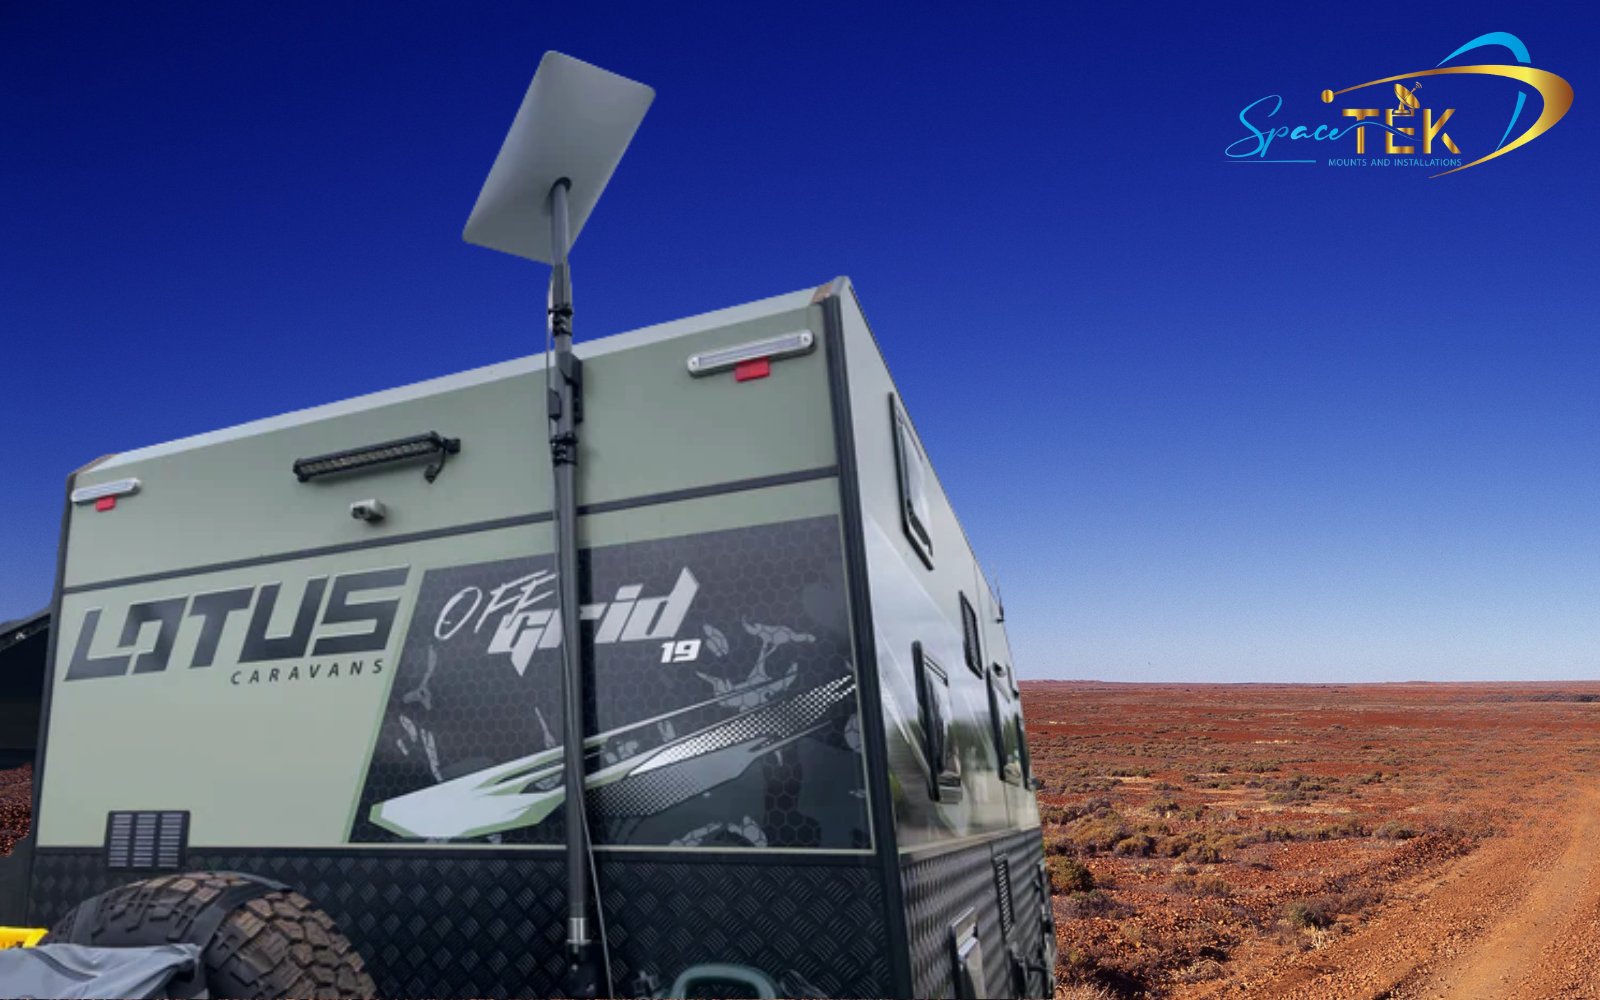
For mobile users in caravans or 4WDs, "doing it properly the first time" means moving away from basic cigarette lighter adapters. A dedicated, regulated DC power solution ensures that even when your battery voltage dips, the hardware receives the stable flow it needs. We have seen many travelers struggle with intermittent dropouts simply because their 12V system couldn't maintain the peak draw required during satellite acquisition.
For more details on connecting your system, check out our guide on the Starlink power plug and our Detailed guide to compatible Starlink power supplies.

Troubleshooting Your Starlink Equipment Connection
Using the Official App for Starlink equipment
The Starlink app is the primary tool for diagnosing hardware health and identifying why your speeds might be lagging. It should be your first port of call for any technical issues, providing real-time data on satellite pings and hardware status.
One of the most important features is the 'Obstructions' tool. Because the dish requires a 110-degree field of view to track satellites moving across the sky, even a single overhanging branch can cause a "micro-dropout." The app uses your phone's camera to scan the area and tell you exactly where the sky needs to be clear. For newer non-actuated models, the app also provides software-assisted manual orienting, guiding you to point the dish at the optimal angle for your specific latitude.
Managing Environmental Settings
If you are traveling through the Snowy Mountains or living in a frost-prone valley, you need to manage your environmental settings. Starlink equipment features an internal heating element known as "Snow Melt Mode."
This feature can be customised in the app to be 'Off', 'Automatic', or 'Always On'. When active, it can melt snow at a rate of up to 40mm per hour. However, this significantly increases power consumption. For most Australians, keeping this in 'Automatic' is the smartest move. The hardware itself is rugged, with most components carrying an IP67 rating, meaning they can handle heavy rain and dust, provided the cables are seated correctly. The operating temperature range of -30°C to 50°C covers almost every Australian climate, but as we always say: airflow is your friend.
You can find more technical details in the official Starlink | Specifications.
The Smarter Way to Mount Starlink Equipment

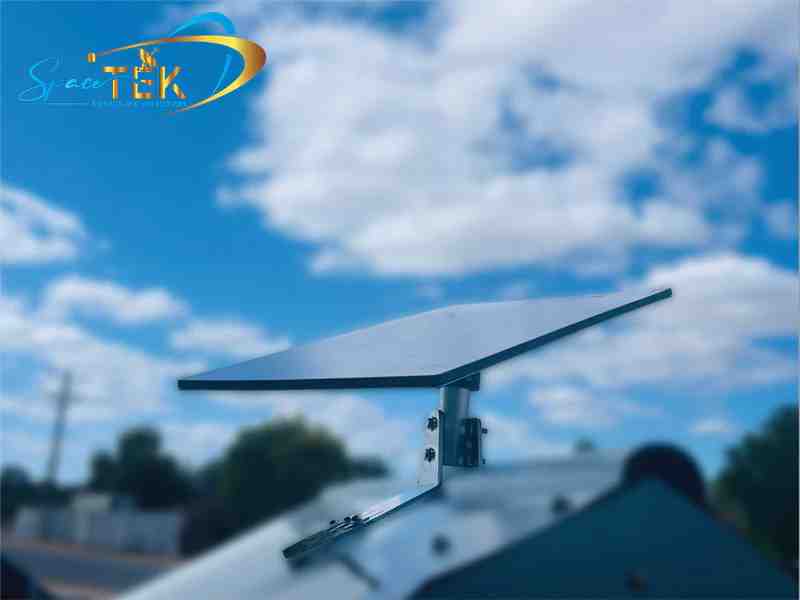
When it comes to permanent installation, the difference between a "she'll be right" approach and a professional setup is the materials used. Standard plastic mounts often become brittle under the harsh Australian UV index, leading to cracks and eventual failure.
We recommend using precision-machined aluminium for all mounting hardware. Aluminium is rust-resistant, lightweight, and offers superior vibration resistance—which is critical if you are mounting a dish to a roof rack or a bull bar for off-road touring. A dish that wobbles even slightly in the wind will struggle to maintain a high-speed data lock.
Whether you are fixing a dish to a residential roof or a moving vehicle, the goal is infrastructure that is rock-solid. You can explore the various options in our Starlink Mounts Complete Guide or the Starlink Mounting Kits Complete Guide. For those looking to adapt their existing gear, see A comprehensive guide to compatible Starlink mounts and adapters.

SpaceTek Product Range for Starlink Equipment
SpaceTek Australia specialises in custom mounting solutions and power hardware engineered for the rigours of the Australian outback. We believe in building gear that survives the corrugated tracks and the coastal salt air.
Our product range is organised by dish type so it is easier to choose hardware that actually fits:
- Starlink Mini: Compact mounting options and dedicated DC power solutions designed for portable and vehicle-based setups, with a focus on stable power delivery and low-profile installation.
- Starlink Gen 3: Mounts and accessories built for the latest Standard kit, including secure roof installation options suited to Australian wind, heat, and vibration.
- Starlink Gen 2: Mounting hardware and adapters for the actuated dish, designed to keep the motorised unit stable without unwanted movement or slippage.
- Starlink Performance: Heavy-duty aluminium mounting solutions made to support the larger and heavier Performance dish in demanding fixed or mobile installations.
Understanding the differences between these versions is key to choosing the right accessories. You can compare them in our guides: Starlink Gen 1 vs Gen 2 vs Gen 3 and Starlink standard vs high performance. For a complete overview, check the Starlink Versions Complete Guide.
To browse our specific collections, visit our House Starlink Mounts & Accessories or our Vehicle Solutions.
Installation & Maintenance
Secure Cable Management
The weak point in many DIY installations isn't the dish—it's the cable. The standard 15m Starlink cable is a high-quality data line, but it is susceptible to damage if left flapping in the wind or pinched in a door frame.
Proper cable management involves using UV-stabilised conduits for any exposed runs and high-quality rubber grommets where the cable enters a structure or vehicle. This prevents moisture ingress and ensures the IP67 environmental rating of the hardware remains intact. If a cable is allowed to vibrate against a sharp edge on a roof rack, it will eventually fail, usually at the most inconvenient time possible.
Explore more about maintaining your setup in Starlink Generations And Accessories and Starlink accessories - where to find your dishs best friends.
Voltage Verification and Setup
Before you finish your mobile installation and head into the desert, you must verify your power setup. The Gen 3 router is a powerful piece of Starlink equipment; it uses Wi-Fi 6 technology and can support up to 235 devices simultaneously. However, this performance is entirely dependent on receiving a stable voltage.
If your power supply is undersized, the router might work fine for basic browsing but fail when you try to run a high-definition video call or when multiple people connect at once. Always check the wattage requirements on your specific model's spec sheet. For the best results, use a multimeter to ensure that your power source remains consistent under load.

Frequently Asked Questions about Starlink Equipment
What is included in the Standard Starlink equipment kit?
The Standard kit is designed as an all-in-one solution. Inside the box, you will find the electronic phased array antenna (the dish), a kickstand for temporary ground placement, the Gen 3 Wi-Fi router, a 15m Starlink cable to connect the dish to the router, and the AC power supply. While this is enough to get you online, most Australians find they need additional mounts for a permanent, secure installation. For more on this, see our Best starlink accessories guide.
Can the Starlink Mini be powered by a portable battery?
Yes, the Starlink Mini is the most portable version of Starlink equipment yet. It can be powered by a stable DC source or a USB-C PD (Power Delivery) source. However, the battery or power bank must be capable of delivering at least 100W to ensure the dish has enough overhead for satellite acquisition and heater functions. We provide dedicated cables and boosters to make this process seamless for campers. You can find these in our Starlink Australia accessories section.
How does the equipment handle extreme Australian heat?
All Starlink dishes are engineered to operate in environments up to 50°C. While they are resilient, they can suffer from "thermal throttling"—where the system slows down to protect itself from heat damage. To prevent this, we recommend mounting your dish using aluminium brackets that allow for plenty of airflow underneath the unit. Avoid mounting it directly against dark, heat-absorbing surfaces like black plastic or rubber mats. For more tips, read What are the best Starlink accessories to have now.
Conclusion
Investing in high-quality Starlink equipment is the first step toward true digital freedom in Australia, but the hardware is only as good as its installation. Whether you are setting up a permanent home connection or a mobile touring rig, the mantra remains the same: invest once and install right.
By pairing your Starlink hardware with Australian-engineered aluminium mounts and stable, regulated DC power, you protect your investment from the vibrations of the road and the harshness of the elements. Don't let a flimsy plastic mount or a fluctuating 12V battery stand between you and a reliable connection.
If you are ready to get set up but want a professional touch, you can find an installer through our network to ensure your system is optimised for the long haul.
Leave a comment
This site is protected by hCaptcha and the hCaptcha Privacy Policy and Terms of Service apply.