Why Height Is Key for Starlink Performance
The correct height for starlink dish installations is all about clearing obstructions to give the dish a 100-degree unobstructed view of the sky. There's no single "correct" height, but the goal is to ensure the dish can see at least 20 degrees above the horizon in all directions. For most residential properties, this is achieved with poles between 10 and 20 feet high, depending on nearby trees, buildings, and terrain.
Your Starlink needs to track satellites as they move across the sky. Any obstruction—tree branches, rooflines, or power poles—will cause dropouts and slower speeds. Height isn't about hitting a magic number; it's about getting a clear line of sight.
Many Australians, from rural areas surrounded by gum trees to suburban homes with neighbouring buildings, face this challenge. Choosing the right mounting height is the difference between reliable internet and constant frustration.
I'm Aaron Wroblewski, founder of SpaceTek Australia. With over 25 years of experience in remote connectivity, I've learned that finding the correct height starts with understanding your site and using the right hardware. This guide will walk you through how to assess your location and choose a mounting solution that lasts.
Finding the Correct Height for Your Starlink Dish
Getting your Starlink dish to the right height isn't about a one-size-fits-all formula. It's about understanding the dish's technical needs, assessing your property's unique challenges, and choosing hardware that delivers a clear sky view. Let's walk through how to figure this out.
Understanding Starlink's "Clear View of the Sky" Requirement
Starlink absolutely needs a clear view of the sky. This isn't a suggestion—it's the difference between smooth streaming and a frozen video call. The dish tracks a constellation of Low Earth Orbit (LEO) satellites, and to do this effectively, it requires a 100-degree cone of unobstructed sky. Specifically, it must see at least 20 degrees above the horizon in every direction (a full 360-degree sweep).
Imagine standing where you plan to mount the dish. You'd need to look up and see nothing but sky in a complete circle. No tree branches, rooflines, or power lines. When something blocks this cone, your connection will drop out, videos will buffer, and online gaming becomes impossible. The dish simply can't maintain stable contact with enough satellites. For a deeper look at how these angles work, see our guide on Starlink Dish Angles Explained: A Guide for Australian Users.
Using the Starlink App to Determine the Correct Height for Your Starlink Dish
Before buying any hardware, your first step is to download the official Starlink app (iOS and Android). Its "Check for Obstructions" feature uses your phone's camera and augmented reality to show you exactly what the dish will "see" from any spot on your property.
Walk around your property and test different locations: on the ground, on the roof (if safe), or where you're considering a pole. Activate the obstruction checker and pan your phone across the sky as prompted. The app will highlight any obstructions in red. Your goal is to find a location with minimal or no red warnings. While the app isn't perfect, it's an invaluable tool for visualising why a certain height is necessary. Seeing that a neighbour's tree is blocking the view makes the need for a taller pole crystal clear.
How Obstructions Impact Your Required Installation Height
Obstructions are the primary reason we can't just place the dish on the ground. Understanding what's in the way is key to determining the correct height for starlink dish placement.
- Trees: The most common culprits in Australia. Branches grow and leaves thicken, so a spot that works in winter might fail in spring.
- Buildings and Rooflines: Your own roof can be an obstacle for a ground mount, and a neighbour's house can block a large portion of the sky.
- Terrain: If your property is in a valley or near rising ground, you're already at a disadvantage. Hills can block huge swathes of the sky, making extra height critical.
- Power Lines and Poles: Even thin lines can cause frustrating micro-interruptions as satellites pass behind them.
Inadequate height leads to dropouts, buffering, and slower speeds. This is why most successful Australian installations use poles between 10 and 20 feet—it gets the dish above the clutter and into clean air. For more strategies, check out our Tips to Navigate Around Dish Obstructions.
Choosing the Right Mount to Achieve the Correct Height for Your Starlink Dish
Once you know how high your dish needs to be, you must choose mounting hardware that can get it there safely and reliably. This isn't the place to cut corners, as the correct height for starlink dish placement only matters if the mount is stable, especially in Australian winds.
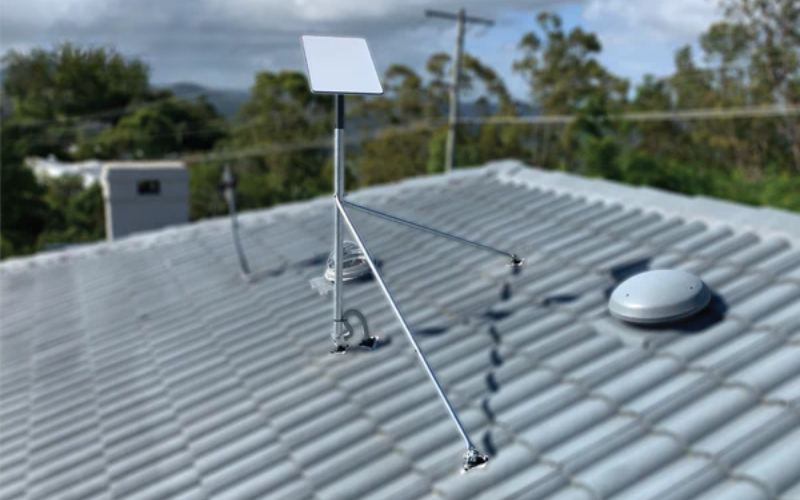
Pole mounts are the go-to solution for gaining significant height. A wobbly dish directly impacts performance, causing dropouts as it loses its lock on satellites. Stability starts with the pole itself—we recommend a minimum diameter of 1.5 inches. For poles over 10-15 feet or in windy areas, guy wires are essential for preventing sway.
Material quality is crucial in Australia's harsh climate. Our SpaceTek mounts are built from high-quality, rust-resistant materials specifically chosen to withstand coastal salt, high humidity, and intense UV exposure for years. We've seen too many imported mounts fail because they weren't designed for our environment.
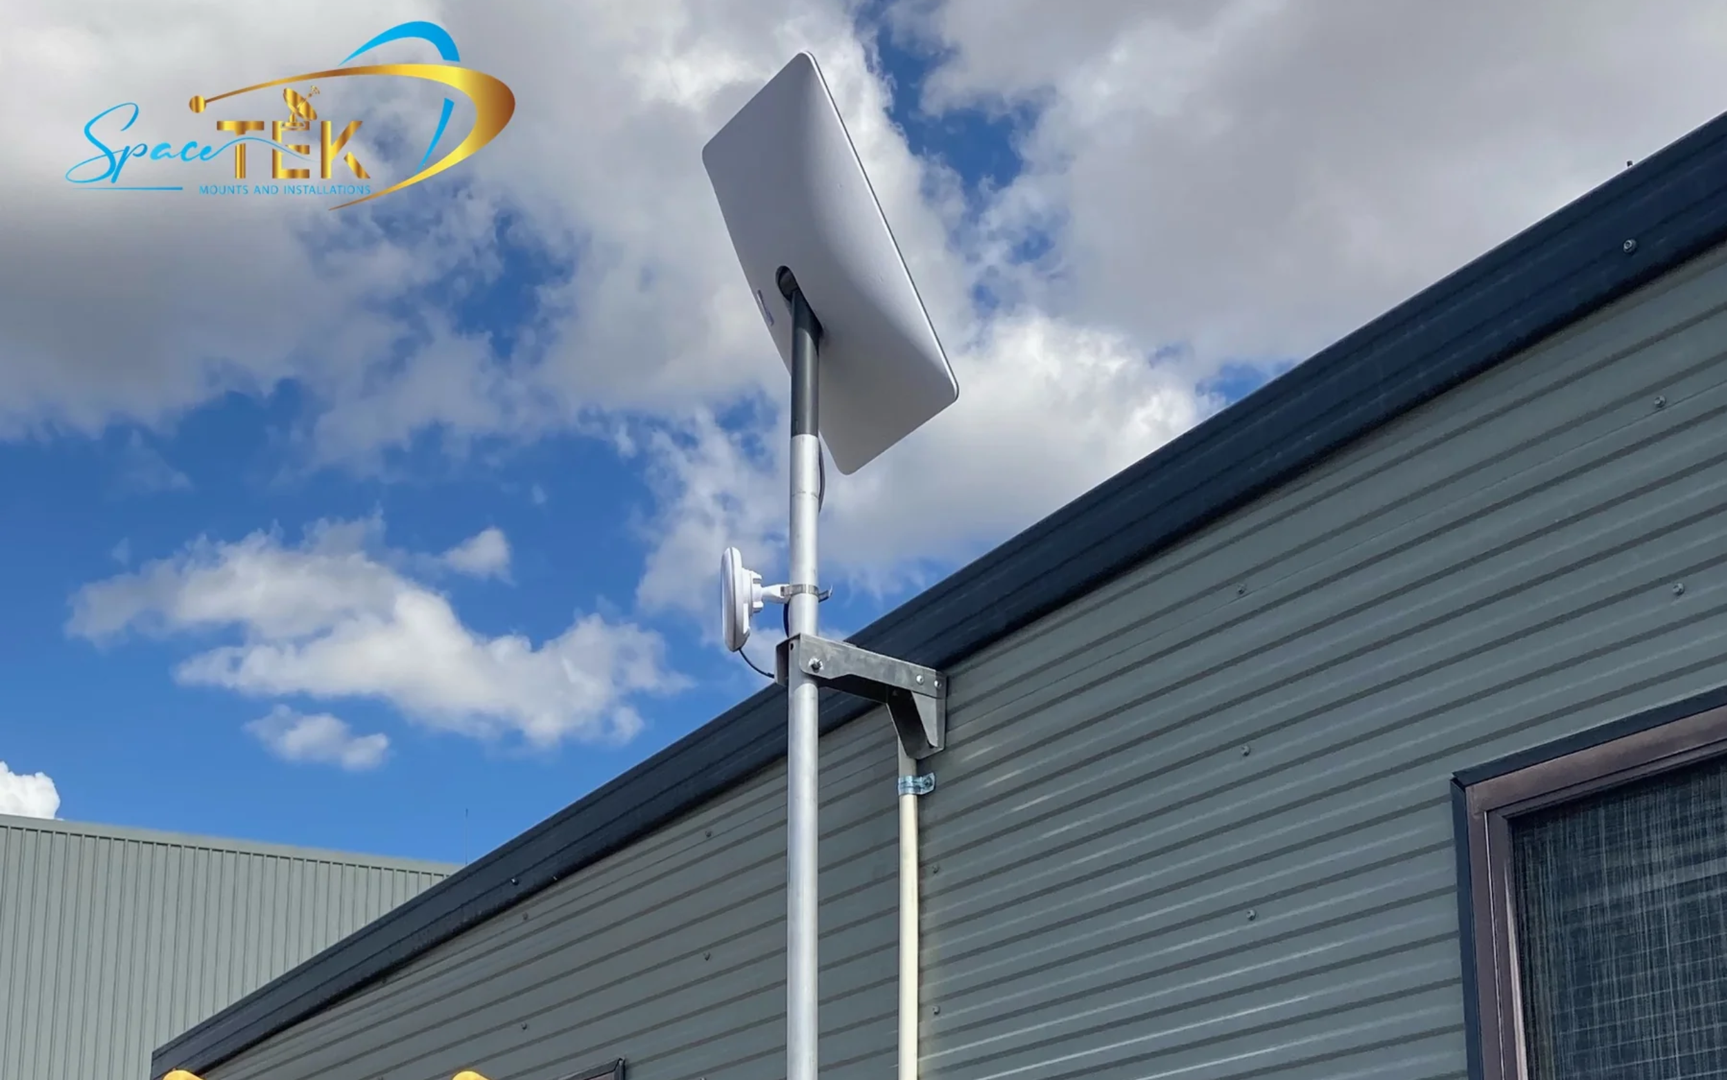
Roof mounts and wall mounts are also great options if they provide enough elevation to clear obstructions. Pivot mounts work well on slanted roofs, while ridgeline mounts are ideal if you want to avoid drilling. For a complete overview, explore our Mount Up: Your Complete Guide to Starlink Dish Installation and Alignment or browse our range of Gen 3 & V4 Mounts and Accessories.
Matching Your SpaceTek Mount to Your Starlink Model
While the 100-degree clear sky view is universal for all Starlink dishes, the physical hardware varies between models. Choosing a SpaceTek mount designed for your specific dish is crucial for a secure fit and optimal performance, which is key to achieving the correct height for starlink dish installation.
For the Standard (Gen 3) Dish: The latest "Standard" dish features a unique snap-in kickstand. To mount it on a pole, you need a compatible adapter. Our Gen 3 & V4 Mounts and Accessories are engineered specifically for this system. They provide a secure, stable connection that integrates perfectly with the Gen 3 dish's design, ensuring it stays locked in place.
For the Starlink Mini: As a game-changer for portability, the Starlink Mini requires its own specialised mounting solutions due to its smaller size and different form factor. We have developed a complete range of Starlink Mini Mounts that are custom-designed for a perfect, snug fit, maintaining both stability and ease of transport.
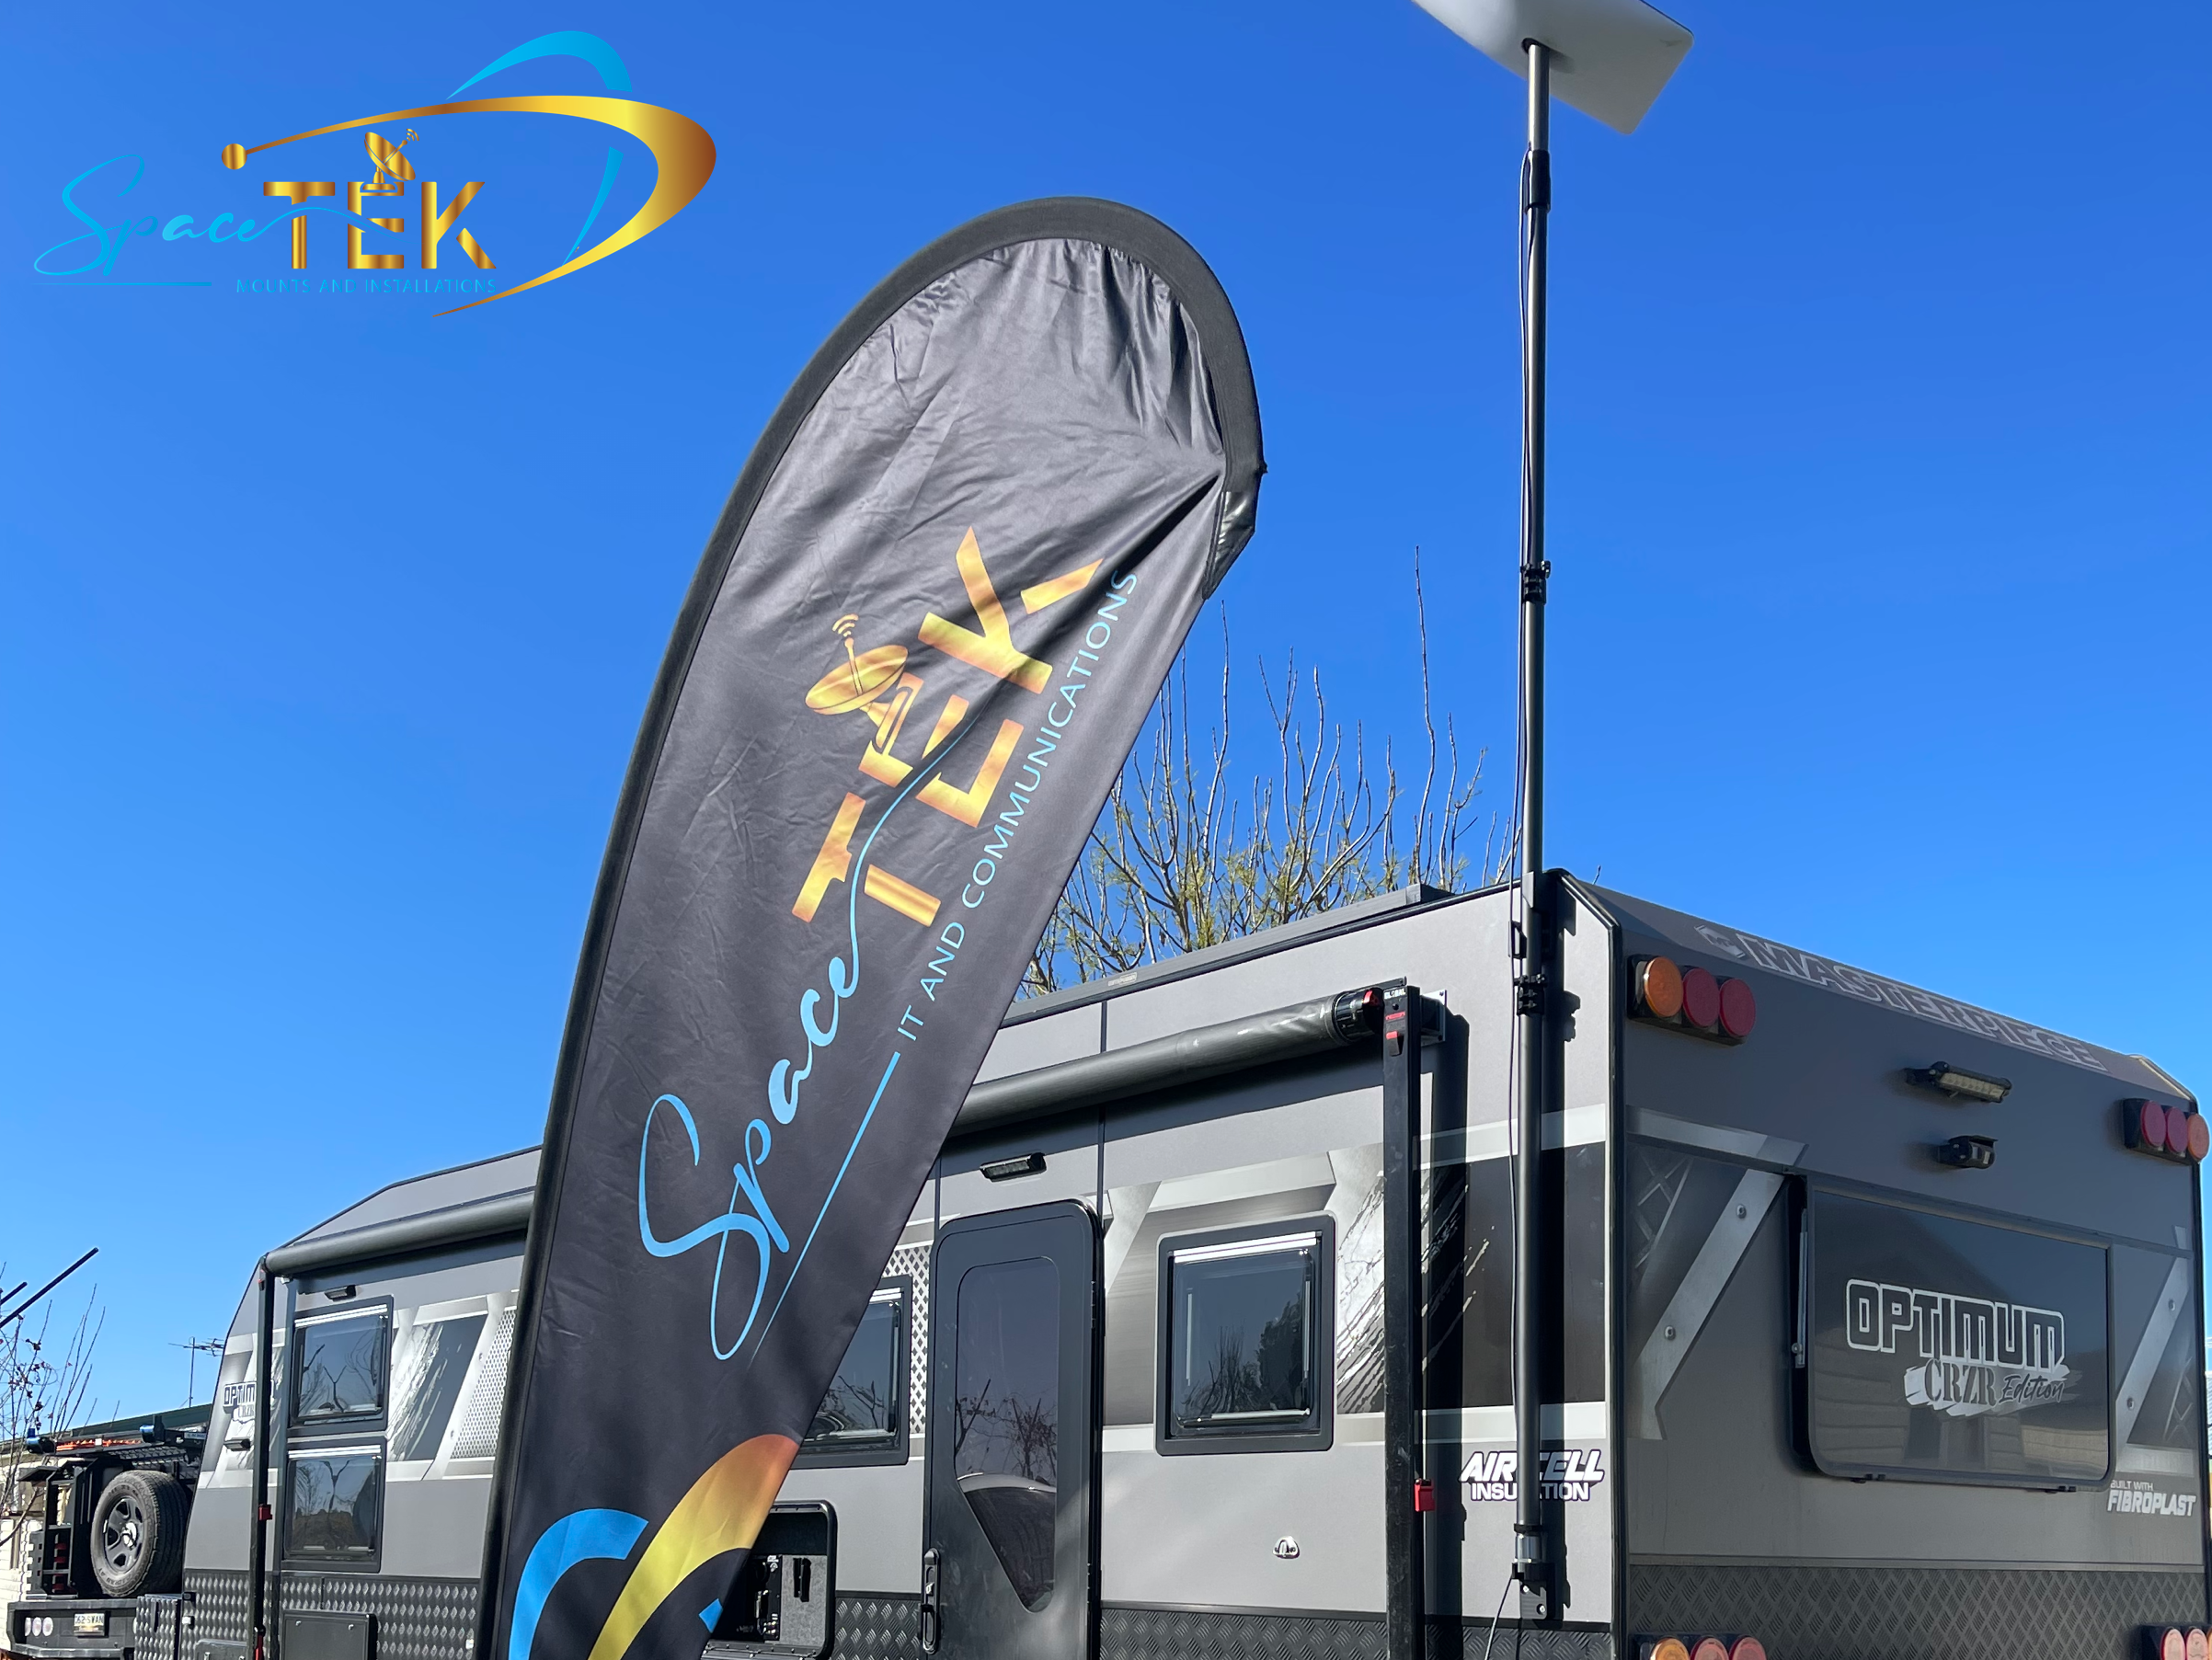
For the High Performance Dish: This larger, heavier dish presents a significant wind load, demanding a much more robust mounting solution. Mounting it at height requires serious hardware. Our heavy-duty mounts, including options within our Starlink RV and Portability Mounts collection, are engineered with the necessary strength. They feature thicker poles, stronger brackets, and provisions for guy wires to guarantee stability even in challenging conditions.
Safety First: What to Consider When Installing at Height
Installing your Starlink at height carries real risks. If you are uncomfortable with climbing ladders, working on roofs, or drilling, please contact a professional. No internet connection is worth a serious injury.
- Work Safely at Heights: Use a stable, secured ladder and have a spotter. On a roof, use proper fall protection like a harness and non-slip footwear. Never work alone or in bad weather.
- Electrical Safety: Disconnect power before installation. Be extremely cautious when drilling to avoid hitting hidden wiring or pipes. Proper grounding is essential for outdoor installations to protect against lightning.
- Mount Stability: Starlink notes that mounts aren't designed for extreme winds, so tethering should be used to prevent failure. Ensure all hardware is securely fastened to prevent the dish from becoming a projectile in high winds.
- Cable Management: Secure the cable to prevent trip hazards and protect it from UV damage. Use a "drip loop" where the cable enters the building to stop water from running inside, and seal all holes with weather-resistant sealant.

If you're not confident, we strongly recommend hiring a professional. You can find experienced local installers through our Find an Installer page.
Conclusion: Secure the Perfect Height for Uninterrupted Service
Finding the correct height for starlink dish installation comes down to a few key steps: understanding the need for a 100-degree clear sky view, using the Starlink app to find obstructions, and choosing a mount that's built to last in Australian conditions.
There is no magic number for height. The ideal elevation depends entirely on clearing whatever is blocking your dish's view, whether it's trees, buildings, or terrain. For many, a 10 to 20-foot pole mount is the perfect solution. Remember to also select hardware compatible with your specific model, whether it's the Standard Gen 3, the portable Starlink Mini, or the heavy-duty High Performance dish.
Most importantly, always prioritise safety. If you have any doubts about working at heights, it's always best to call in a professional.
At SpaceTek Australia, we provide the most secure, rust-resistant, and user-friendly Starlink mounts engineered specifically for the Australian climate. Our solutions aren't just about gaining height; they're about ensuring your dish remains stable through fierce winds and scorching sun, delivering optimal performance and long-term reliability. Our weather-resistant materials and sturdy designs ensure your connection stays strong, day in and day out.
If you're ready to find the perfect mount for your situation, we're here to help. For personalised advice, get in touch with us for expert advice. You can also explore our guide on Starlink Mounting Hardware: Everything You Need to Know for more insights.
Leave a comment
This site is protected by hCaptcha and the hCaptcha Privacy Policy and Terms of Service apply.