Understanding the Fundamentals of Starlink Dish Alignment
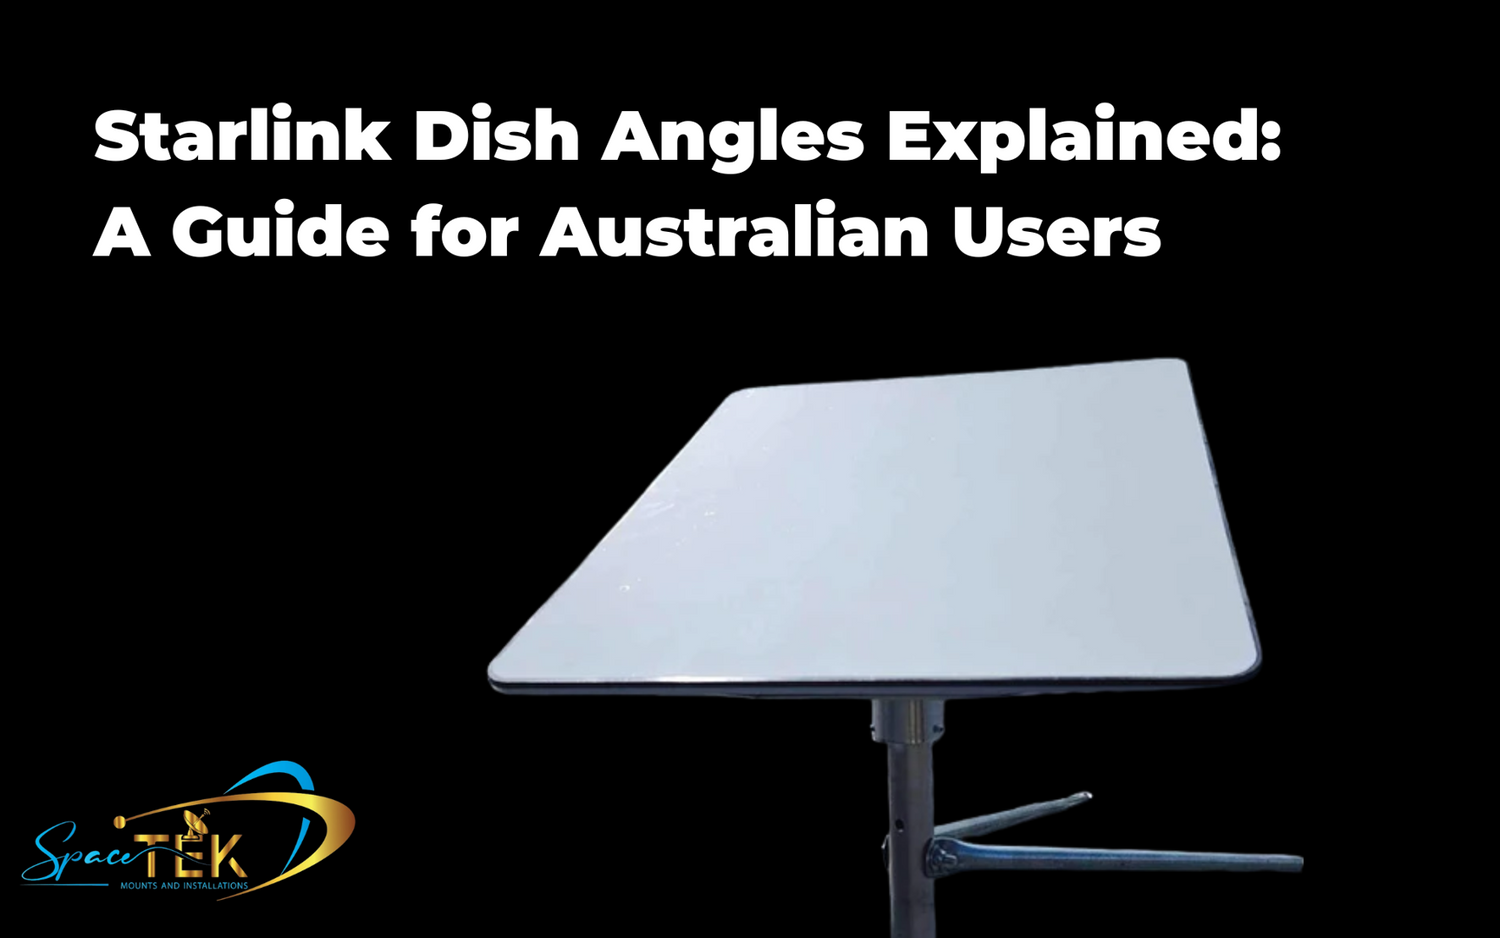
Achieving the correct Starlink dish angle is fundamental for reliable internet performance, particularly across Australia's diverse terrain. The optimal angle is determined by your geographic location. Australian users must typically orient their dishes to face south at an elevation angle between 35 and 50 degrees. This alignment ensures clear communication with Starlink's constellation of Low Earth Orbit satellites.
Quick Guide: Starlink Dish Angle in Australia
- Direction: South.
- Elevation Angle: 35–50 degrees from the horizontal.
- Field of View: Requires a 100–110-degree unobstructed cone of sky.
- Key Tool: The Starlink app’s obstruction scanner for precise positioning.
- Critical Factor: A clear line of sight to the southern sky, free from trees, buildings, or terrain.
Unlike traditional satellite services that rely on a single geostationary satellite, Starlink dishes employ advanced phased-array technology to track multiple moving satellites. This configuration delivers faster internet speeds and lower latency but demands precise positioning for consistent connectivity. For users in remote and rural Australia, correct dish alignment is especially critical, as dense forests, hills and weather can impact signal quality.
Starlink in Australia offers a transformative connectivity solution, especially for regions where traditional internet infrastructure is lacking. Its network of LEO satellites orbits at approximately 550 kilometres, far closer than traditional geostationary satellites at 36,000 kilometres. This proximity dramatically reduces signal travel time, resulting in lower latency and a more responsive internet experience suitable for video calls, online gaming and other interactive applications.
The system tracks these fast-moving LEO satellites using a phased-array antenna. This flat panel electronically steers its signal without mechanical movement, allowing it to communicate with multiple satellites as they pass through its field of view. This field of view—a wide, 100 to 110-degree cone of sky—must remain unobstructed. For Starlink for Remote Australia, ensuring a clear field of view is paramount, and our custom mounts are designed to help achieve this vital clearance.
Why Starlink Dishes Point South in Australia
In Australia, Starlink dishes must face south, which is opposite to installations in the Northern Hemisphere. This is due to the orbital paths of the Starlink satellite constellation, which travel over the North and South Poles. For users in the Southern Hemisphere, the optimal access path is towards the south.
Your specific latitude within Australia influences the exact elevation angle. The Starlink system automatically adjusts its internal aiming, but the initial physical positioning of the dish towards the southern sky is the responsibility of the user or installer.
Furthermore, Starlink dishes do not point north in Australia to avoid interference with geostationary satellites located in the Clarke Belt above the equator. International regulations prevent Starlink from transmitting signals that could disrupt these services, so the system is configured to avoid the northern sky.
- Azimuth: The compass heading. For Australian users, this is broadly south.
- Elevation angle: The upward tilt from the horizon, measured in degrees. For Australia, this is typically between 35 and 50 degrees.
For more information on Starlink and the importance of robust mounting, explore our insights: More info about SpaceTek services
Using the Starlink App to Find Your Angle
The Starlink app is an essential tool for installation. Its obstruction scanner uses your smartphone’s camera and augmented reality (AR) to help you find the best location for your dish by identifying potential signal blockages.
For Australian properties, particularly those with surrounding trees or hilly terrain, a thorough site survey with the app is non-negotiable. It helps you visualise the required 100–110-degree cone of sky. Red-shaded areas in the scan indicate obstructions, and the goal is to find a location with a clear view, especially in the dish’s primary direction.
How to Use the Starlink Obstruction Checker:
- Download and open the Starlink app on your iOS or Android smartphone.
- Select "Check for Obstructions" from the main menu.
- Grant camera permission when prompted.
- Follow the on-screen instructions to pan your phone across the sky, covering the entire required field of view.
- Review the obstruction map. The app will display a map where green indicates clear sky and red signifies obstructions.
- Confirm the optimal direction is clear. The app will indicate the general direction the dish will face (south in Australia).
- Scan multiple locations if the initial spot is obstructed. Try higher points or different areas of your property to find a clear signal path.
Achieving the Optimal Starlink Dish Angle in Australia
Achieving the optimal Starlink dish angle in Australia requires more than just pointing it south; it involves accounting for unique environmental factors. For Starlink for Remote Communities, this often means overcoming significant installation challenges posed by dense bushland or hilly terrain.
Weatherproofing and wind loading are critical considerations. Australia's climate includes intense heat, torrential rain, and cyclonic winds. A poorly secured dish can be compromised by strong winds, and prolonged exposure can degrade performance. Our mounts are engineered to withstand these harsh conditions, ensuring your Starlink system remains stable and operational.
Navigating Common Australian Obstructions
The Australian landscape presents several common obstructions for Starlink installations:
- Gum trees: Tall, dense eucalyptus trees are a primary cause of signal blockage.
- Urban buildings: In populated areas, nearby structures can obstruct the required field of view.
- Hilly terrain: Rolling landscapes can block the necessary line of sight to the southern sky.
- Rural infrastructure: Large farm sheds, silos, and other structures can interfere with the signal path.
These obstructions can cause signal dropouts and intermittent connectivity. The Starlink system cannot transmit through solid objects, which is why a clear line of sight, confirmed with the app's obstruction checker, is essential.
To learn more about finding the ideal location for your dish, we offer dedicated resources: More info about SpaceTek services.
Best Practices for a Stable and Correct Starlink Dish Angle
A stable and correctly angled dish is the foundation of reliable Starlink internet. Secure mounting is critical for both performance and safety, as a dish that moves in the wind can cause signal fluctuations or become detached in extreme weather.
SpaceTek mounts are specifically designed with vibration reduction and wind resistance to handle Australian weather. We offer a range of solutions for various installation scenarios:
- Roof mounts: Ideal for achieving maximum height and a clear view in suburban or urban settings.
- Pole mounts: Excellent for clearing tall obstructions like trees in rural areas.
- Wall mounts: Suitable for installations where a roof or pole mount is not feasible.
The primary goal of any mount is to achieve sufficient clearance above obstructions. An extra few metres of height can often make the difference between an obstructed and a clear signal path. Our mounts are designed to maximise this crucial clearance.
For comprehensive installation guidance, please refer to our guide: More info about SpaceTek services.
Actuated vs. Manual Aiming: What You Need to Know
Starlink dish models differ in their aiming mechanisms. Some models feature a motorised system that automatically orients the dish to the optimal Starlink dish angle after being powered on.
Other models lack internal motors and require manual aiming during the initial setup. The Starlink app guides the user to physically position the dish correctly. Once set, the phased array antenna electronically steers the signal without further physical movement.
SpaceTek mounts are compatible with all Starlink dish models, whether actuated or non-actuated. They provide a stable platform for motorised models to perform adjustments and ensure manually aimed dishes remain securely in their optimal position. With a correct and secure installation, no ongoing manual adjustments are needed, as the system's phased array technology automatically handles all satellite tracking.
Ensuring Long-Term Performance and Reliability
Ensuring the long-term performance of your Starlink system in Australia's climate requires a durable installation and occasional maintenance. SpaceTek Australia provides solutions engineered to withstand local conditions, ensuring your connection remains robust.
After significant weather events, visually inspect your Starlink dish and mount for any movement or damage. Keeping the dish surface clean from dust or debris also helps maintain optimal signal reception. For Starlink for Remote Communities, where professional assistance may be limited, the long-term stability of the installation is paramount. Our heavy-duty, corrosion-resistant mounts are designed for these scenarios to minimise the need for frequent interventions.
Diagnosing and Fixing Angle-Related Performance Issues
If you experience slow speeds or frequent dropouts, the Starlink dish angle or an obstruction is the likely cause. The Starlink app's "Visibility Map" is the primary diagnostic tool, providing real-time data on your dish's view of the sky.
Common causes of performance issues include:
- Physical obstructions: The app's visibility map will show if trees or buildings are blocking the signal.
- Incorrect initial angle: If the initial physical alignment is incorrect, it can limit the dish's tracking ability.
- Mount instability: A loose or vibrating mount can compromise the dish's aim.
An "Obstructed" status in the app means something is blocking the line of sight to the satellites. To resolve this, you may need to re-evaluate the placement with the app's scanner, increase the dish's height with a taller mount, or relocate the dish to a different part of your property.
Be mindful of seasonal changes, as tree growth during spring and summer can create new obstructions. Regularly checking the visibility map can help prevent these issues.
For more in-depth advice on optimising performance, consult our guide: More info about SpaceTek services.
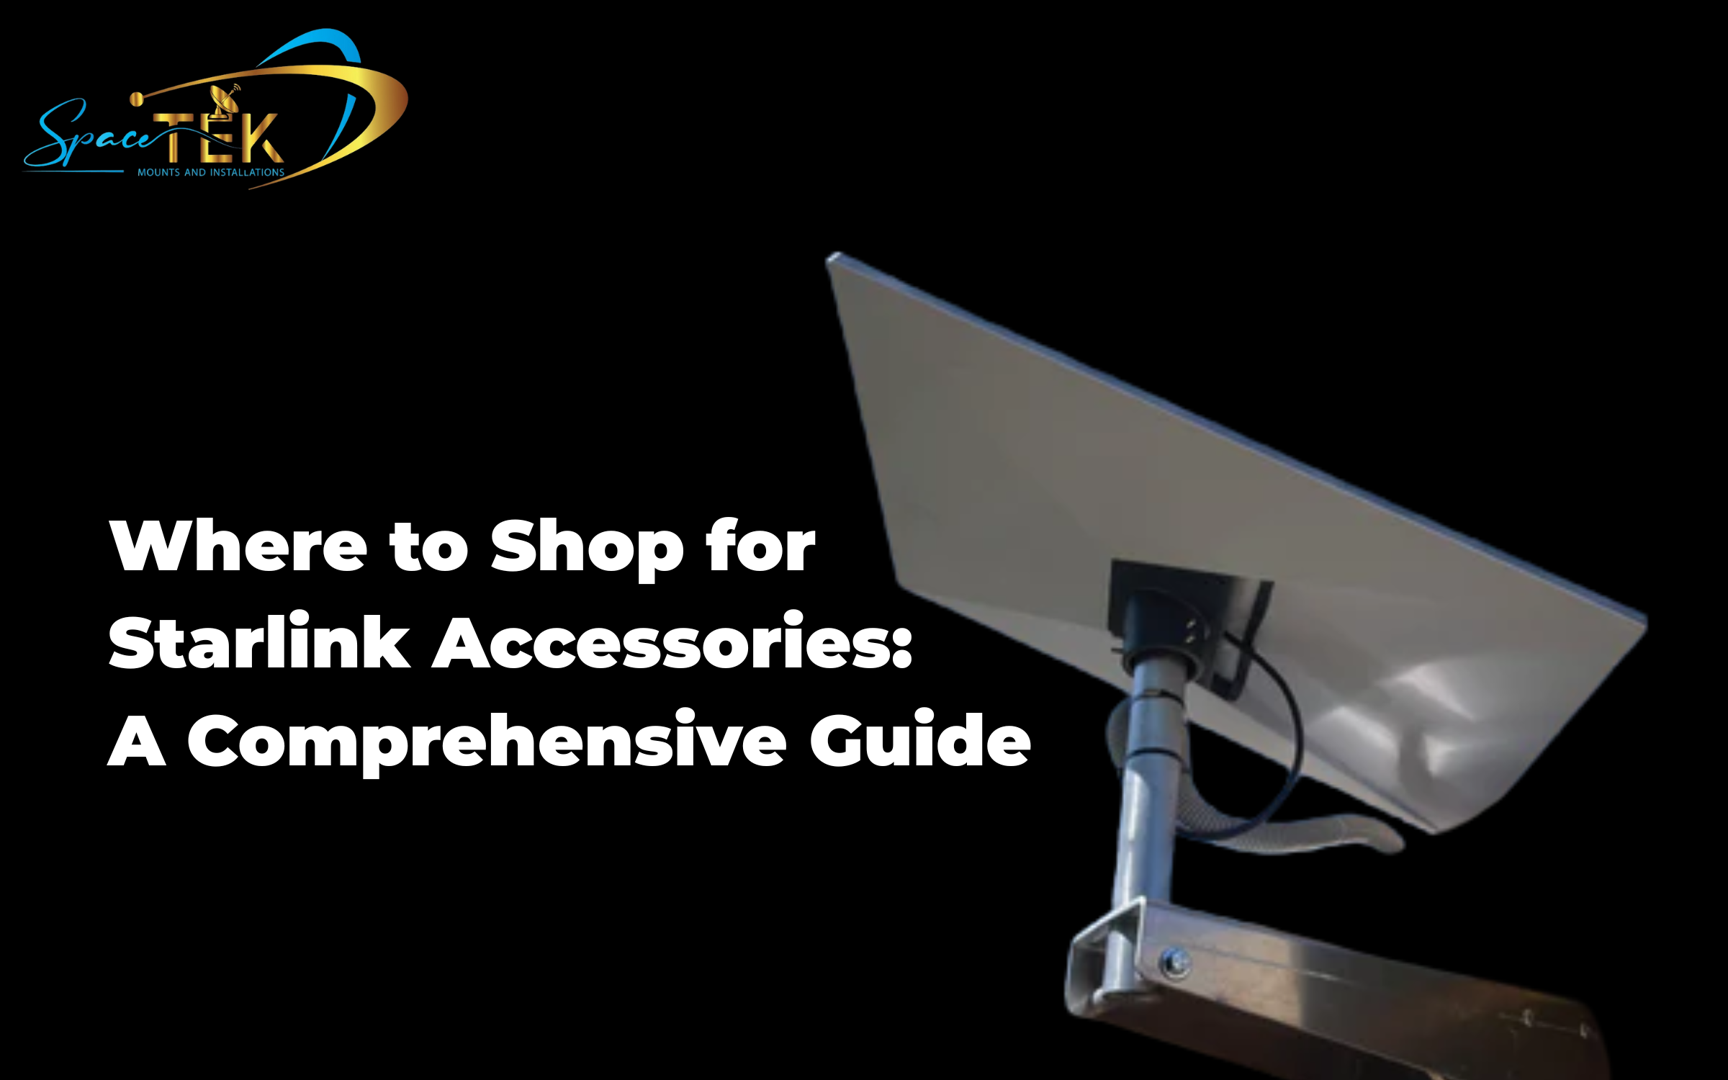
Reliable Internet Starts with the Right Accessories
The path to reliable, high-speed internet with Starlink begins with understanding the optimal Starlink dish angle and securing the dish with appropriate accessories. The quality of the mounting solution directly impacts connectivity.
Key Takeaways:
- The correct Starlink dish angle (south, 35-50 degrees elevation) is critical for Australian users.
- A clear, unobstructed field of view is non-negotiable for consistent performance.
- Robust, stable, and weather-resistant mounting is essential for long-term reliability in Australian conditions.
SpaceTek Australia specialises in custom-engineered mounts and accessories designed for the unique challenges of the Australian environment. Our products are built to provide the stability your Starlink dish needs to deliver consistent, high-speed internet.
Maximise Your Starlink Performance
Achieving the correct Starlink dish angle and ensuring secure mounting are fundamental requirements for optimising your Starlink performance. A precise southern orientation, optimal elevation, and a clear line of sight establish the foundation for consistent, high-speed internet. SpaceTek mounts are engineered to facilitate and sustain this optimal configuration, delivering the stability and durability essential for Australia's demanding environmental conditions.
We encourage you to explore SpaceTek’s comprehensive portfolio of mounts and accessories. Our products are designed for Australian users, providing robust and dependable solutions for a wide array of installation scenarios.
To find reliable, Australian-designed Starlink accessories, please Browse SpaceTek products.
For expert guidance custom to your specific requirements, do not hesitate to contact the SpaceTek team.
For additional insights into satellite connectivity within Australia, the NBN Co offers further reading on Satellite Internet in Australia.
Leave a comment
This site is protected by hCaptcha and the hCaptcha Privacy Policy and Terms of Service apply.