
Why Is My Starlink Offline? Decoding App Status Messages
When troubleshooting a Starlink setup, first power cycle the system by unplugging the router for 30 seconds, check the Starlink app for obstructions or outage alerts, and ensure all proprietary cable connections are firmly clicked into place. Most setup issues are caused by physical cable misalignment or minor sky obstructions rather than hardware faults, meaning you can usually get back online in minutes without contacting support.
Here are the most common fixes to try first:
- Power cycle your system: unplug the router, wait 30 seconds, plug back in, and give it up to 10 minutes to reconnect.
- Check for obstructions: open the Starlink app and run the obstruction checker. Even minor sky blockage can cause repeated dropouts.
- Inspect all cable connections: ensure both ends are firmly seated with no visible kinks, cuts, or corrosion.
- Check app status messages: the app will tell you if the dish is Booting, Searching, or Disconnected, which points you to the right fix.
- Check for outages: look for an outage banner in the Starlink app dashboard before touching any hardware.
Up to three-quarters of Starlink connectivity issues come down to improper installation or signal obstruction, not faulty hardware. That means most problems are completely fixable with the right approach.
Whether you have just unboxed a brand-new kit or you are chasing down an intermittent drop on an existing install, this guide walks you through every common issue in plain English. No technical background needed.
Troubleshooting Starlink setup further reading:

When things go wrong, your first port of call should always be the Starlink app. Instead of guessing what is broken, let the dish tell you what is happening. The app dashboard displays real-time telemetry straight from the sky to your phone.
Understanding these status messages will save you hours of unnecessary hair-pulling:
- Offline - Booting: This means your system is starting up. On a fresh setup or after a power cycle, the dish can take some time to run self-diagnostics, level itself, and locate the nearest satellite constellation. If this message persists, you may be dealing with a power delivery issue or a software hang.
- Offline - Searching: Your dish is powered on but cannot find a satellite. This is completely normal during the first 10 minutes of boot-up. However, if it stays stuck on "Searching," it means the dish's view of the sky is heavily blocked, or the satellite constellation is temporarily out of range.
- Offline - Disconnected: This is a physical layer error. The router cannot see the dish at all. Most of the time, this is caused by a loose cable connection, a bent pin inside the proprietary plug, or a damaged cable run.
- Poor Cable Connection: This explicit warning indicates that while a connection exists, there is too much resistance or signal loss. This is common if the proprietary cable has been bent past its minimum bend radius, kinked during installation, or if moisture has entered the plug.
If you are struggling with initial setup errors, reading our deep-dive on Why Won't My Starlink Connect? Common Setup Issues and Fixes can help you isolate physical hardware faults from software configuration bugs.
Step-by-Step Guide to Troubleshooting a Starlink Setup
If your setup fails to go online after the initial unboxing, do not panic. Follow this systematic troubleshooting process to isolate and resolve the issue.
- Check the Physical Connections: Inspect the cable running from the dish to the router. Starlink's proprietary connectors require a surprising amount of force to seat fully. Push them in until you hear or feel a distinct click. Ensure there is no dirt or grit inside the ports.
- Perform a Methodical Power Cycle: Unplug the power cord from the wall outlet or your power supply. Do not just pull it out and plug it straight back in. Let it sit completely unpowered for at least 30 seconds. This allows the internal capacitors to drain fully, clearing any temporary firmware hangs. Plug it back in and wait 10 to 15 minutes.
- Inspect the Router Status Lights:
- Flashing White: The router is booting up and trying to establish a handshake with the dish.
- Solid White: The router is fully connected to the internet. On older models, this light may turn off after an hour of stable connection to minimise light pollution.
- Red Light: The router has power but cannot establish an internet connection from the dish. Double-check all physical cable runs.
- No Light: The router has no power. Verify your wall outlet is active or check your DC power supply connections.
For a comprehensive step-by-step assembly and startup checklist, refer to the How to Set Up Starlink: Step-by-Step Guide [2026]. If you are still seeing red lights or experiencing no-power scenarios, our specialised Starlink Troubleshooting Guide covers deeper hardware-level diagnostics.
Why Troubleshooting a Starlink Setup Often Starts with the App
The Starlink dish needs a clear, 100-degree view of the sky to maintain a stable connection. Because the satellites are constantly moving overhead, even a single overhanging tree branch can cause brief, highly annoying dropouts every few minutes.
Before permanently mounting your dish, download the official app and use the Check for Obstructions tool. This tool uses your phone's camera and augmented reality (AR) to scan the sky from your proposed mounting location.
Even minor obstructions translate to noticeable downtime per day. For smooth video calls and streaming, you want your obstruction level to be as close to 0% as possible. If you have trees or rooflines blocking the view, you will need to elevate the dish.
We highly recommend reading our guide on Tips to Navigate Around Dish Obstructions to learn how to position your setup for maximum sky clearance.
How to Fix the "WiFi Connected but No Internet" Glitch
It is incredibly frustrating when your phone or laptop shows a full Wi-Fi signal, but nothing will load. This "connected but no internet" glitch usually means your local Wi-Fi network is working perfectly, but the router cannot communicate with the wider Starlink satellite network.
To bypass the app and check what is happening locally, open a web browser on any connected device and type 192.168.100.1 into the address bar. This local diagnostics page is hosted directly on the hardware. It works even when you have zero internet access, allowing you to see if the dish is online, searching, or reporting physical cable errors.
If you are using your own third-party router or mesh system, this glitch often points to a DHCP conflict. To resolve this, you must enable Bypass Mode in the Starlink app settings. This turns off the built-in Starlink router's Wi-Fi signal and allows your custom router to handle all network traffic smoothly.
For a deeper look into isolating local network issues from satellite-side connection drops, check out When Your Starlink Acts Up: A Methodical Guide to Troubleshooting Your Own Connection.
Dealing with Slow Speeds, Intermittent Drops, and Weather Issues

Once your system is up and running, you might experience occasional slow speeds or brief dropouts. Understanding how environmental factors affect your dish will help you keep your connection rock-solid.
- Rain Fade: While Starlink is designed to handle typical weather, heavy rain or thick storm clouds can temporarily absorb and scatter the high-frequency satellite signals. This can reduce your speeds during severe downpours.
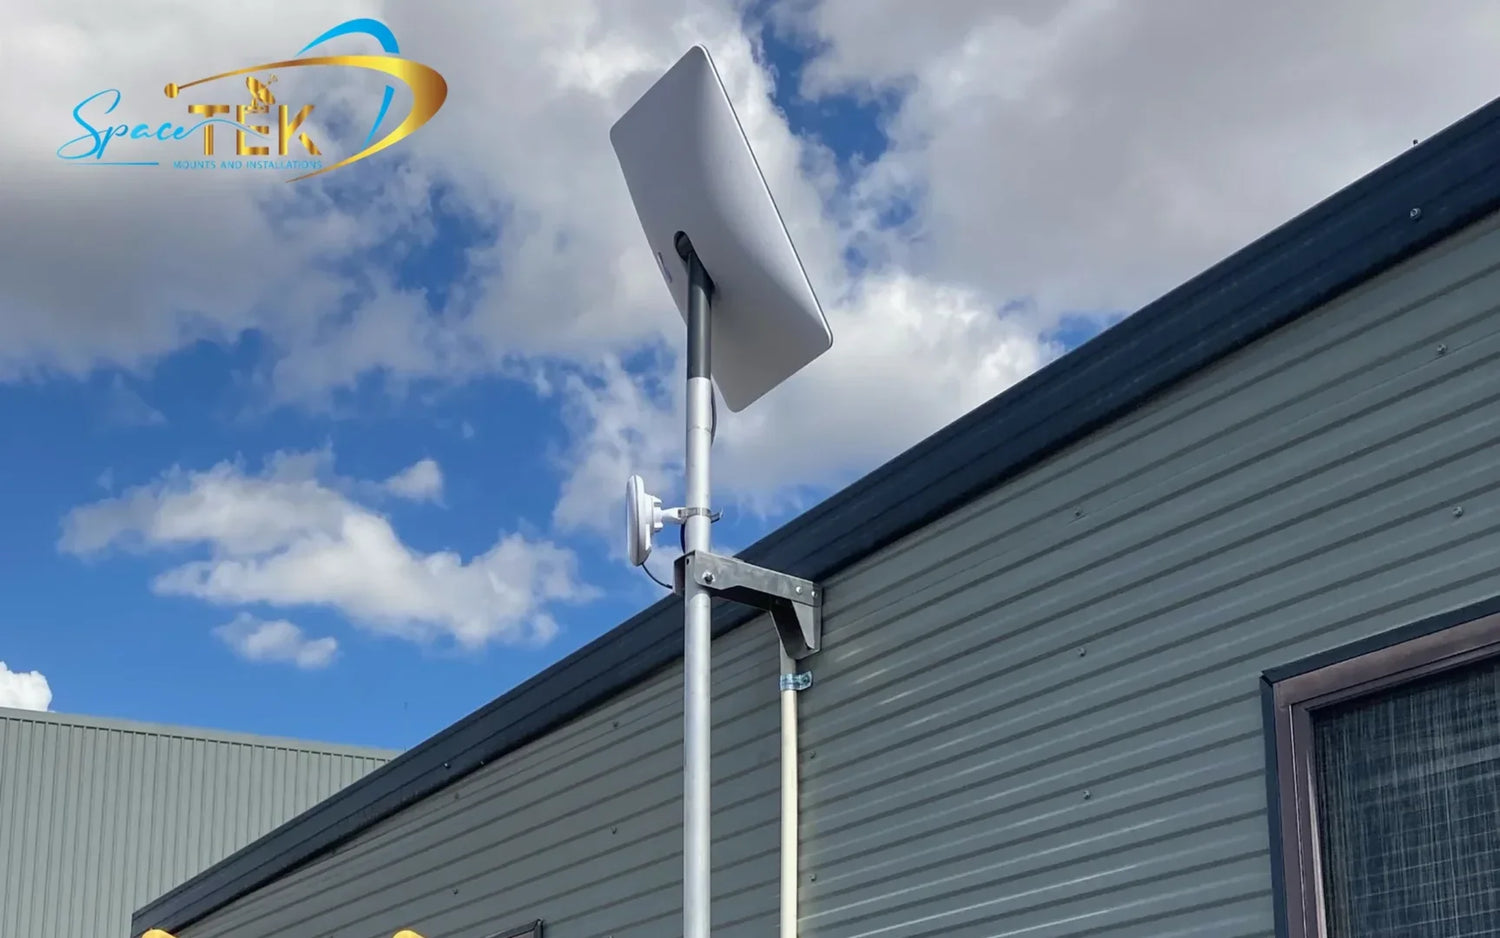
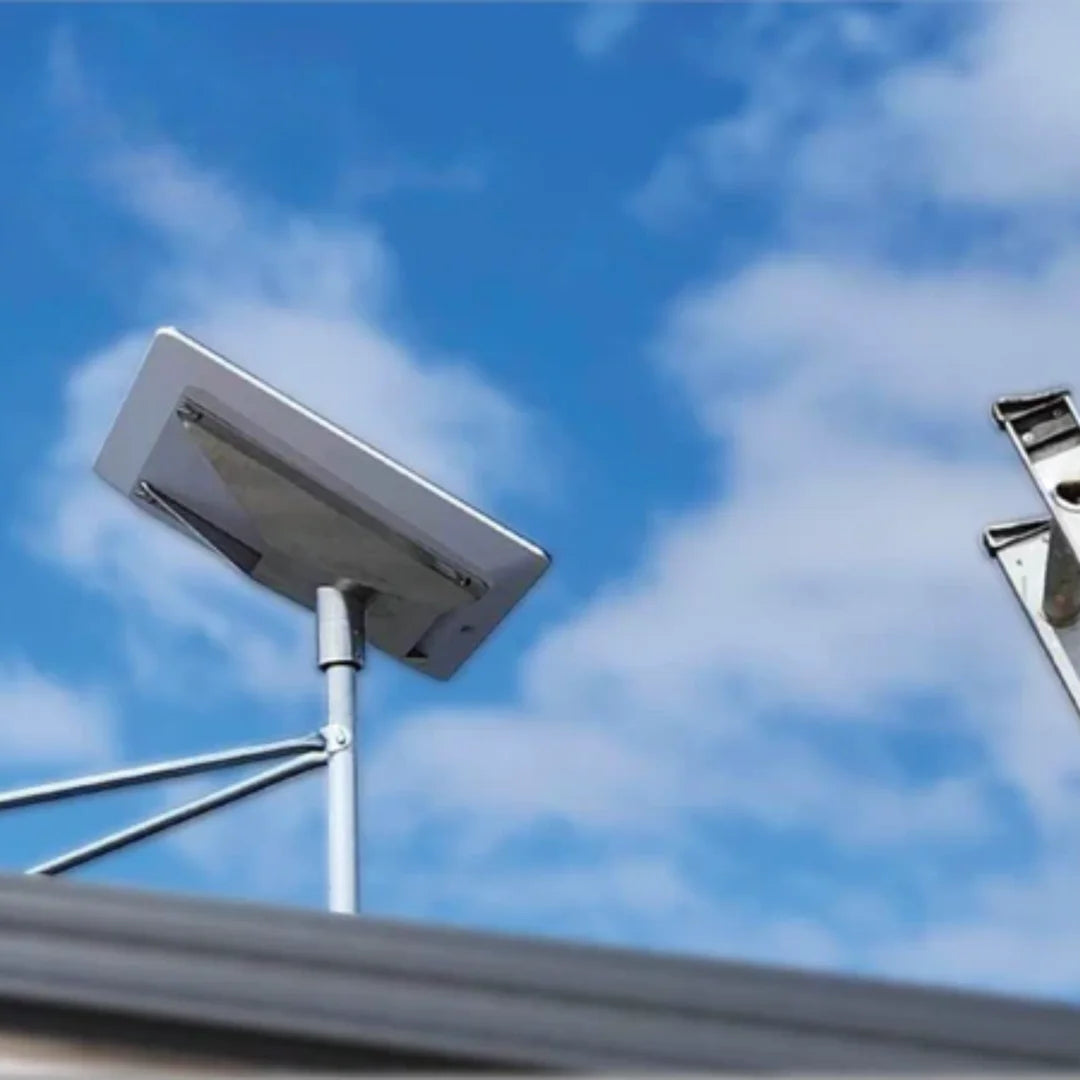
- Mast Sway: If your dish is mounted on a loose or flimsy pole, wind can cause it to sway. Because the satellite beam is highly focused, even minor movement can cause packet loss and brief dropouts. This is why using a heavy-duty, rust-resistant dish mount is absolutely critical.
- Cable Management: Never leave your cables loose or flapping in the wind. Rubbing against roof tiles can wear down the protective jacket, leading to water ingress and permanent hardware damage. Always secure your cables with UV-rated clips or route them through conduit.
For off-grid setups, caravans, and 4WD adventures, running your Starlink on a standard AC inverter is highly inefficient. Standard inverters waste valuable battery power converting DC to AC, only for the Starlink power brick to convert it back to DC.
To solve this, we recommend upgrading to our StarPower V2 or V3 DC power supplies. These precision-engineered setups run directly off your 12V or 24V battery system, offering significant DC-to-DC efficiency advantages over AC inverters by reducing overall power consumption and allowing you to bypass the power-hungry factory router entirely.
If you frequently experience signal drops during rough weather, take a look at our Troubleshooting Tips When Starlink Drops Out in Stormy Weather to learn how to weatherproof your connection.
When to Call in the Experts for Starlink Setup Troubleshooting
While most issues can be solved with a quick reboot or a physical cable check, some problems require professional assistance.
If you suspect a widespread network issue, check independent monitoring sites like Downdetector or look for regional outage alerts on the Starlink app. If there is a global or regional satellite outage, all you can do is wait for SpaceX to resolve it.
If your hardware is physically damaged, such as a cracked dish surface, a chewed cable, or a water-damaged router port, you will need to submit a support ticket through the Starlink app. Because Starlink does not have a customer support phone number, your ticket needs to be highly detailed. Include clear photos of your installation, screenshots of your app's obstruction map, and your speed test results to speed up their response time.
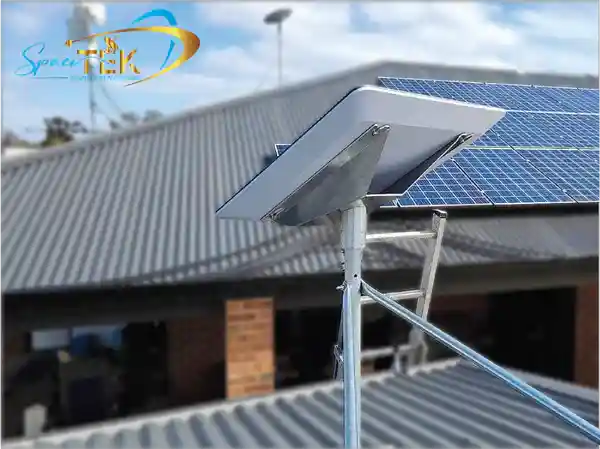
For permanent home installations, caravan mounting, or custom off-grid power integration, doing it yourself can sometimes be daunting. If you want to ensure your dish is safely mounted to withstand the harsh Australian climate, please Contact SpaceTek Australia. Our team can guide you toward the perfect heavy-duty, folded aluminium dish mounts and premium DC power accessories to get the job done right.
Frequently Asked Questions About Starlink Setup
How do I check for obstructions and what should the obstruction percentage be?
To check for obstructions, open the Starlink app and select the "Obstructions" tool. Use your phone's camera to scan the sky from your mounting spot. For a completely stable connection, your obstruction percentage should ideally be 0%. Any obstruction above 2% will cause noticeable drops, especially during real-time activities like video calling, gaming, or streaming.
How do I factory reset my Starlink router and when should I do it?
You should factory reset your router if you have forgotten your Wi-Fi password, if the Wi-Fi network name is not appearing, or if you are experiencing persistent local connection glitches.
- For Gen 3 (V4) routers: Press and hold the physical reset button on the bottom of the router for 20 seconds while it is powered on.
- For Gen 2 routers: Unplug the router from the wall and plug it back in 6 times in rapid succession, with a 2-3 second pause between each plug. The router will reboot and broadcast the default "STINKY" or "STARLINK" network name.
What should I do if my Starlink router shows a red light or no light?
If your router shows a red light, it means it has power but cannot talk to the dish. Unplug the system, inspect the dish cable plugs for bent pins or debris, and plug them back in firmly. If there is no light at all, verify your power outlet is working. If you are running an off-grid setup, consider upgrading to a StarPower DC-to-DC power supply to bypass fragile AC power bricks and ensure stable, direct power delivery.
Keeping Your Starlink Setup Reliable Long Term
Getting your Starlink system up and running shouldn't feel like rocket science. By following a methodical troubleshooting process, checking your physical cable runs, using the app to eliminate obstructions, and understanding your router's status lights, you can easily resolve almost any setup error on your own.
At SpaceTek Australia, we build heavy-duty, rust-resistant dish mounts and off-grid camping accessories designed specifically to handle tough Australian conditions. Whether you need a secure roof mount for your home, a mobile mounting solution for your caravan, or one of our high-efficiency StarPower DC power supplies to keep your off-grid setup running longer, we have you covered.
Keep your cables secure, keep your sky view clear, and enjoy your high-speed satellite internet!

Leave a comment
This site is protected by hCaptcha and the hCaptcha Privacy Policy and Terms of Service apply.