Why Is My Starlink So Slow?

Starlink poor performance is a common frustration for users across Australia, especially in rural and regional areas where reliable internet is critical. If you're dealing with buffering during video calls, lag while gaming, or speeds that drop well below what you expected, you're not on your own.
Quick Answer: Top 5 Causes of Starlink Poor Performance
- Network congestion – Peak usage times (around 6–11 pm) can reduce speeds by up to 50%.
- Physical obstructions – Trees, buildings, vehicles or rooflines blocking your dish's view.
- Weather interference – Heavy rain, storms or thick cloud cover disrupting signals.
- Wi‑Fi bottlenecks – Old routers, poor placement or weak coverage inside your home.
- Equipment or installation issues – Dish placement, overheating, loose mounts or outdated firmware.
Starlink's low-Earth-orbit satellite network offers impressive speeds, but it also faces unique challenges. Network congestion can slash speeds during busy evening hours. Weather can weaken signals. A poorly positioned dish or flimsy mount can cause constant dropouts.
Many Australian users report speeds that fluctuate wildly during the day. It’s not unusual to see anything from 10 Mbps to over 300 Mbps depending on time, weather and how many people are on the network.
The upside is that most Starlink poor performance issues can be improved with better setup, smarter troubleshooting and the right mounting hardware.
I'm Aaron Wroblewski, founder of SpaceTek Australia. I’ve spent more than 25 years working with satellite communications across remote Australian locations. Solid mounting, good placement and a tidy internal network consistently turn unreliable connections into stable, high-speed links.
A Step-by-Step Guide to Fixing Starlink Poor Performance
When your Starlink internet isn't performing as expected, it quickly becomes more than just annoying. For many Australians, it’s the only way to work remotely, run a business, stream sport or keep the kids entertained.
Below is a concise process to track down and fix Starlink poor performance.
Step 1: Work Out If It’s Starlink or Your Local Network
First, decide whether the problem is Starlink’s network or your own setup.
- Run several speed tests using speedtest.net at different times of day (morning, afternoon, peak evening). Compare these with the speeds Starlink lists for your plan.
- Use the Starlink app’s built-in speed test to see how the dish itself is performing.
If speeds plummet in the evening (roughly 6–11 pm) but are decent off-peak, network congestion is the likely cause. In congested areas, especially on Roam/Mobile plans, you may be deprioritised and see much slower speeds at busy times than on a Residential service.
To check if your internal Wi‑Fi is the bottleneck:
- Connect a laptop directly to the Starlink router via Ethernet (you may need an Ethernet adapter).
- Compare wired speeds with Wi‑Fi speeds in the same room.
If wired speeds are much faster, your Starlink link is probably fine and the issue is your home network.
Step 2: Fix Obstructions and Weather-Related Dropouts
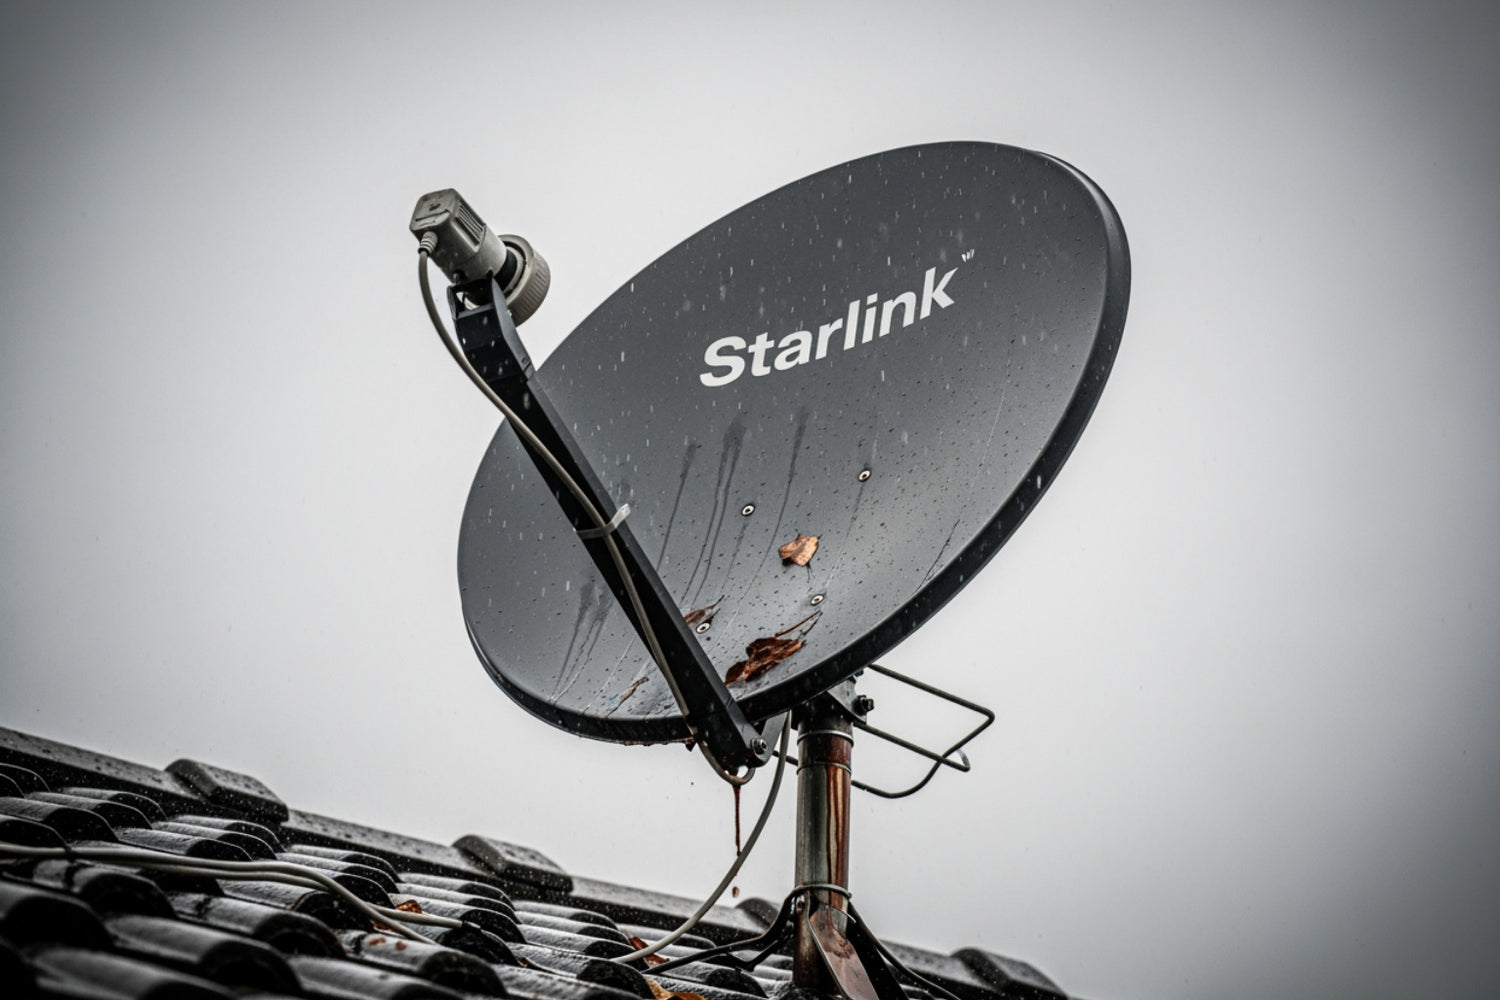
Starlink needs a clear view of the sky to maintain a reliable connection. Even small obstructions can cause Starlink poor performance, dropouts and high latency.
- Open the Starlink app and use Check for Obstructions.
- Walk around the proposed dish location and look for trees, sheds, eaves, caravans or hills that might block the view.
- Remember that seasonal growth can turn a "just clear" view into a blocked one in a few months.
If the app reports frequent obstruction events, you’ll usually need to raise or relocate the dish. A secure, elevated mount makes a big difference here.
Weather can also affect performance. Starlink normally handles light rain and cloud, but intense downpours, storms and very thick cloud can cause temporary slowdowns or outages. The dish will manage snow and frost melting automatically, but only if it’s securely mounted and not shifting in strong winds.
For fixed home installs, a rigid mount designed for Australian wind conditions helps keep the dish locked in place and reduces weather-related issues.
Step 3: Clean Up Your Internal Wi‑Fi Network
Your Starlink dish can be performing perfectly, but a weak Wi‑Fi setup inside the house can still feel like Starlink poor performance.
Key checks:
- Router placement – Put your Starlink router (or main mesh node) in a central, raised position. Avoid cupboards, behind TVs, or right next to thick brick or concrete walls.
- Router age – Older Wi‑Fi 4 gear can choke modern Starlink speeds. Aim for Wi‑Fi 5 or Wi‑Fi 6 hardware.
- Coverage – Larger homes, sheds and outbuildings are better served by a mesh Wi‑Fi system rather than a single router.
If you need better whole-property coverage, our guide to the best mesh systems for Starlink walks through options that integrate smoothly with the Starlink self-install kit and our mounts.
Also consider how many devices are online. Multiple 4K streams, cloud backups and game downloads will share your available bandwidth. Scheduling big downloads for off‑peak times can noticeably improve the experience for everyone else.
Step 4: Dealing with Latency Spikes, VPNs and Other Technical Quirks
Some Starlink issues are baked into how low‑Earth‑orbit satellite networks work.
Because satellites are constantly moving, your dish regularly hands over between them. Each handover can briefly increase latency and cause a small amount of packet loss. This usually isn’t noticeable for general browsing and streaming but can show up in fast‑paced online gaming or real‑time trading software.
VPNs can also introduce extra lag. If you must use a VPN:
- Pick a server in Australia or as close as possible to you.
- Try modern, efficient protocols such as WireGuard where supported.
Your traffic also passes through Starlink ground stations before hitting the wider internet. The further you are from a gateway, the higher your baseline latency. Starlink’s inter-satellite links are gradually improving this, but you’ll never match the latency of a high-quality fibre service in a capital city.
Finally, keep your Starlink equipment up to date. The system usually updates its own firmware, but it’s worth:
- Checking the Starlink app occasionally for update notices.
- Power‑cycling the router and dish if performance degrades over several days.
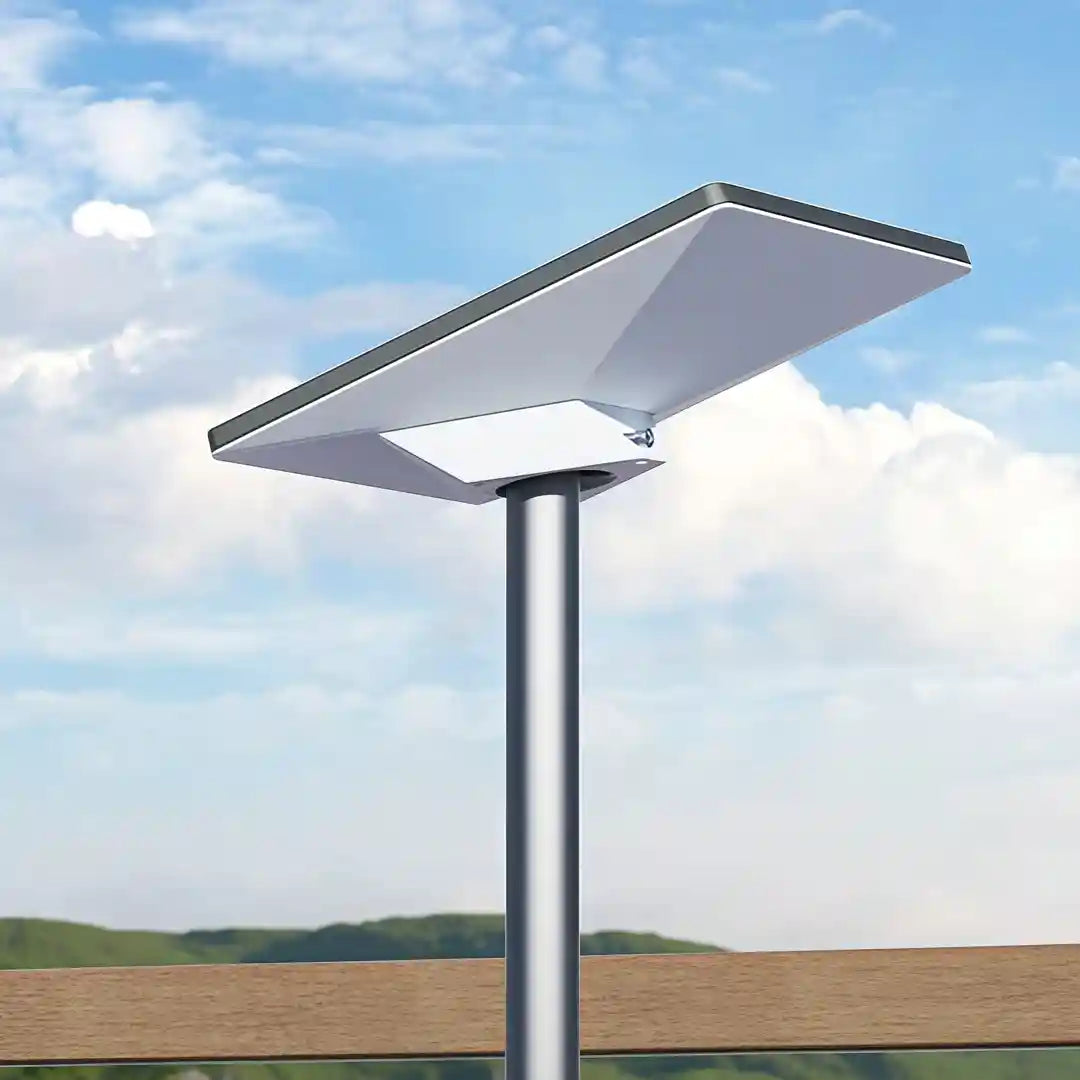
Step 5: Choose the Right Mounts and Accessories for Rock‑Solid Performance
A lot of recurring Starlink poor performance comes back to one simple thing: a dish that isn’t mounted high enough, rigid enough or in the right spot. This is where purpose-built hardware matters.
At SpaceTek Australia we focus on high-quality, weather-resistant mounting solutions that work with Starlink’s self-install kits and handle Australian extremes.
For Starlink Gen 2 (Standard rectangle dish)
If you’re on the widely used Gen 2 hardware, a solid mount is essential for long-term reliability on houses, sheds and rural properties.
- Our Gen 2 Dishy Mounts are built from rust-resistant aluminium and stainless steel for strength without unnecessary weight.
- Designs prioritise stability in high winds and driving rain, helping prevent micro-movements that cause dropouts.
- They’re compatible with the brackets and cables included in the standard self-install kit.
For Starlink Gen 3 (V4) and Newer Hardware
Newer dish designs need mounts shaped precisely to their form factor.
- Our Gen 3 / V4 Mounts & Accessories are engineered around the latest Starlink gear.
- We use high-grade aluminium and stainless hardware for corrosion resistance in coastal and outback environments.
- Brackets are designed to make cable routing, alignment and maintenance straightforward for DIY installers.
For Starlink Mini and Ultraportable Setups
Starlink Mini is built for portability, but it still benefits from a stable, well-thought-out mount.
- Our Starlink Mini solutions focus on compact, lightweight hardware you can pack easily.
- Options include low-profile mounts and adaptors that secure quickly to common surfaces without bulky tools.
- Materials are chosen for durability so your Mini setup survives repeated trips and rougher Australian conditions.
For RV, Caravans and Portability Use
Portable users often see Starlink poor performance simply because the dish is sitting too low on the ground or in the shade of a vehicle, annex or nearby trees.
- Our dedicated RV & Portability mounts are designed for caravans, 4WDs, utes and motorhomes.
- They prioritise quick setup and pack‑down, with secure clamps and brackets to keep the dish locked in while still being easy to remove.
- Rugged aluminium construction and stainless fasteners help resist rust, dust and vibration when you’re travelling off the bitumen.
Core Accessories
Alongside mounts, accessories like additional cables, adaptors and roof kits can tidy up your install, further reducing potential failure points. Explore our broader range of Starlink accessories and cables to support a clean, reliable setup.

Conclusion: From Frustration to Reliable Streaming
Starlink poor performance usually isn’t random. It almost always comes back to a mix of congestion, obstructions, weather, Wi‑Fi issues or installation quality.
By methodically checking speeds, clearing the dish’s view, tidying your internal network and choosing sturdy, well-designed mounts, you can turn an inconsistent Starlink connection into something you can rely on every day.
Correct installation is a big part of that. A secure, rust-resistant, weatherproof mount keeps your dish stable in Australian conditions and helps protect your investment over the long term.
SpaceTek provides secure, rust-resistant and user-friendly mounts that are built specifically for Australian homes, farms, caravans and remote sites. Our hardware is designed to work seamlessly with the standard self-install kits, using high-quality aluminium and stainless steel for reliability in harsh weather.
If you’re ready to improve your Starlink setup or need help choosing the right mounting solution for your dish and property, get in touch with our team for expert, local advice.

Leave a comment
This site is protected by hCaptcha and the hCaptcha Privacy Policy and Terms of Service apply.