
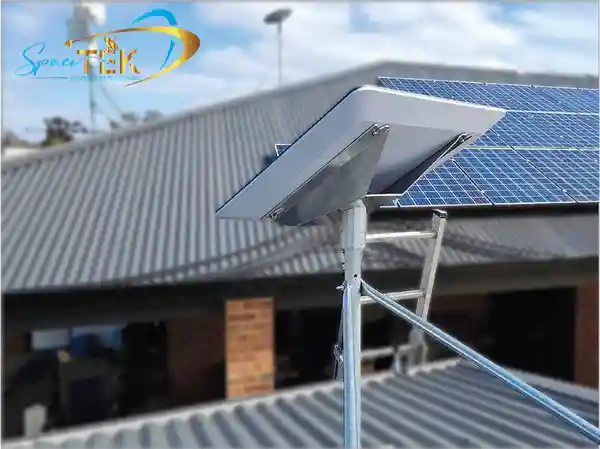
What Is "Dishy Starlink" and Why Does It Matter for Rural Connectivity?
Dishy Starlink is the high-tech, flat phased-array antenna terminal that connects users directly to SpaceX's low Earth orbit (LEO) satellite constellation, providing high-speed, low-latency broadband internet to rural and remote areas where traditional fibre or cable connections are unavailable. Officially nicknamed Dishy McFlatface, this compact, self-orientating user terminal is a game-changer for Australian connectivity, allowing regional homes and mobile travellers to access reliable internet previously deemed impossible.
Here is a quick summary of what it is and how it works:
- What it is: A compact, self-orientating user terminal that communicates with low Earth orbit (LEO) satellites to deliver broadband internet
- How it connects: It uses numerous small antennas arranged in a hexagonal pattern to electronically steer a beam toward passing satellites, requiring no moving parts after initial setup
- Where it connects to: Starlink satellites orbiting in low Earth orbit, delivering high-speed download rates with low latency
- How you manage it: Through the Starlink mobile app or, previously, a web portal at dishy.starlink.com (now discontinued)
- Power needs: The dish draws a noticeable amount of power continuously, which is a key consideration for off-grid and mobile use in Australia
For anyone living in rural or remote Australia, where cable and fibre internet simply do not reach, understanding your Dishy hardware is the first step to getting the most out of your connection. Whether you are trying to manage your dish settings, mount it securely in harsh outback conditions, or run it off solar and DC power, this guide covers everything you need to know.
What is the Dishy Starlink Hardware and How Does It Work?
To understand why a Dishy Starlink terminal performs so well compared to old-school satellite internet, we have to look at the engineering under the hood. Traditional satellite internet relies on massive spacecraft parked in geostationary orbit, tens of thousands of kilometres away. Because of that immense distance, signals take a long time to travel back and forth, resulting in laggy, high-latency connections.
Starlink flips this model on its head by deploying a constellation of thousands of small satellites in Low Earth Orbit (LEO). Because they are so much closer to the ground, latency drops significantly. However, because these satellites are orbiting at a blistering speed, they streak across the sky and disappear over the horizon in a matter of minutes.
This is where the genius of Dishy Starlink hardware comes into play. Instead of using a physical motor to constantly spin and track a satellite across the sky, Dishy uses a flat, state-of-the-art phased-array antenna. As explained in Medium's Dishy story, this design allows the terminal to steer its beam electronically in microseconds, seamlessly jumping from one passing satellite to the next without a single mechanical movement.
Inside the Phased Array Antenna
If you were to peek inside the outer plastic shell of the dish, you would find an incredibly complex piece of telecommunications hardware. A detailed Ars Technica's Dishy teardown revealed that the terminal is essentially a self-contained computer, featuring its own processor, memory, and a massive printed circuit board (PCB) covered in hundreds of microchips.
The defining feature of this board is the array of numerous tiny patch antennas arranged in a dense hexagonal pattern. By phase-shifting the signal across these individual antennas, the dish can focus a highly directional radio beam and steer it across a wide field of view.
To transmit data, the dish uses advanced modulation technology. This allows the system to pack more digital information into the radio waves, achieving high data rates. The system communicates using primary frequency bands, including the Ku Band for the critical link between your home terminal and the passing satellite, and the Ka Band reserved for high-capacity links between the satellites and the ground stations connected to the global internet backbone.
To protect this sensitive hardware from extreme weather, SpaceX engineers added a massive metal shield behind the PCB. This shield serves a dual purpose: it blocks unwanted radio frequency interference and acts as a giant heat sink, using thermally conductive pads to pull heat away from the processor and microchips.
Satellite Handoffs and Performance Metrics
Because LEO satellites move so quickly, your dish cannot stay locked onto a single spacecraft for long. In fact, Starlink performs satellite handoffs at highly structured, rapid intervals. That means your connection is silently switching to a new satellite multiple times every minute.
During real-world testing across several months, this rapid-fire handoff process has proven to be remarkably stable. Users regularly experience highly reliable performance metrics, including fast download speeds, solid upload speeds, and low latency that is fast enough for smooth video calling, online gaming, and seamless streaming.
While these speeds are incredibly impressive, they do require a completely clear view of the sky. Even a single overhanging tree branch can block the line-of-sight during a satellite handoff, causing a brief drop in your connection.
How Do You Manage Your Starlink Settings Today?
In the early days of Starlink, managing your system was relatively straightforward. You could sit down at a desktop computer, open a web browser, and type in a local IP address or domain to configure your network. Today, the management landscape looks very different.
Why Was the Dishy Starlink Web Portal Discontinued?
For years, every Starlink dish hosted a built-in web administration page accessible by typing dishy.starlink.com or the local IP address 192.168.100.1 into any web browser. This allowed users to check their connection status, view obstruction maps, and toggle basic settings directly from a computer without needing a smartphone.
However, in early 2024, Starlink quietly turned off access to this built-in web portal. If you try to visit the address today, you will find that the page has been completely stripped down, leaving nothing behind but a basic Starlink logo. The underlying JavaScript, fonts, and images are technically still present on the dish's internal storage, but the user-facing HTML interface is gone.
There were several reasons for this change:
- Outdated Software: The web portal had not been updated in years. In fact, even when connected to a modern Gen 3 (Standard V4) dish, the web portal still displayed outdated Gen 1 round dish graphics.
- Feature Gaps: Essential modern features, such as sleep mode scheduling and the manual alignment tools required for Gen 3 dishes, were never integrated into the web code.
- Mobile-First Strategy: Starlink has transitioned entirely to a mobile-first ecosystem, focusing all its engineering efforts on the official Starlink mobile app.
For advanced users and network administrators who prefer a web-based interface, the open-source community has stepped in to fill the gap. Projects like the open-dishy GitHub repository allow tech-savvy users to run a stand-alone local web server. This server communicates with the dish using its local gRPC API on TCP port 9201, effectively restoring the classic web interface for monitoring diagnostics and performance.
How to Access Your Dishy Starlink Settings in Bypass Mode
Many homeowners and caravanners prefer to bypass the basic Starlink router entirely and connect the dish directly to a high-end third-party router (such as a Peplink, UniFi, or travel router). When you enable Bypass Mode in the Starlink settings, the Starlink router disables its own Wi-Fi network and acts as a simple bridge, passing the public IP address directly to your own equipment.
However, enabling bypass mode can make it difficult to access your dish diagnostics. Because your third-party router is now managing the network, it may not automatically know how to route traffic to the dish's static management IP address (192.168.100.1).
To restore access to your dish settings while in bypass mode, you can use the following steps:
- Configure a Static Route: In your third-party router's administration panel, create a static route. Set the destination IP to 192.168.100.1, the subnet mask to 255.255.255.255 (or /32), and the gateway to your WAN interface. This tells your router to send any dish-bound traffic directly out of the internet port.
- Use the Mobile App Over Wi-Fi: Connect your smartphone to your third-party Wi-Fi network. Open the Starlink app. If the app prompts you to set up a new network, simply look for the option to skip or log into your account. The app will automatically detect the dish at 192.168.100.1 and allow you to view obstruction data and stow the dish.
- Use Desktop Alternatives: If you want to monitor your connection from a computer without using a phone, you can download third-party desktop tools like the Dishy Pilot app. This lightweight utility sits in your computer's menu bar, pulling real-time metrics (like speed, latency, and snow-melt status) directly from the dish over your local network.
Managing Multiple Dishes and Third-Party Routers
Because every single Starlink dish is hard-coded from the factory with the exact same management IP address (192.168.100.1), managing multiple dishes on a single network presents a unique challenge. If you connect two dishes to a dual-WAN router for redundancy or speed bonding, the router will experience an IP address conflict, and the Starlink app will only be able to communicate with one dish at a time.
This is a common issue for maritime vessels, emergency response teams, and high-end RV setups. To bypass this limitation, you can use specialised bonding software. As detailed in Speedify's multi-dish guide, their software can communicate with both dishes in parallel. This allows you to view side-by-side obstruction maps and run a dedicated alignment wizard to ensure both terminals are pointing at different, optimal slices of the sky to minimise handoff dropouts.
How to Install and Mount Your Starlink Dish for Optimal Performance
Getting a blazing-fast connection depends heavily on how and where you install your dish. A poor installation can lead to frequent dropouts, physical damage, or poor signal quality. For a complete step-by-step walkthrough, check out our guide on Starlink dish installation tips: Get connected fast and easy.
Before drilling any holes, always use the "Check for Obstructions" tool in the Starlink mobile app. This tool uses your phone's camera to scan the dome of the sky. Even a tiny obstruction like a gutter line, a solar panel edge, or a tree branch can block a satellite path and cause a drop in your internet connection.
Choosing the Right Dish Mounts for Your Setup
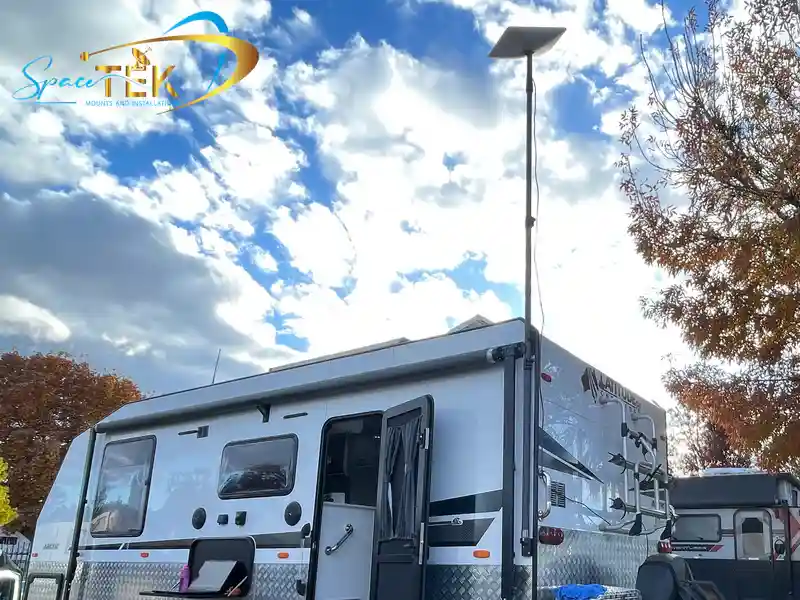
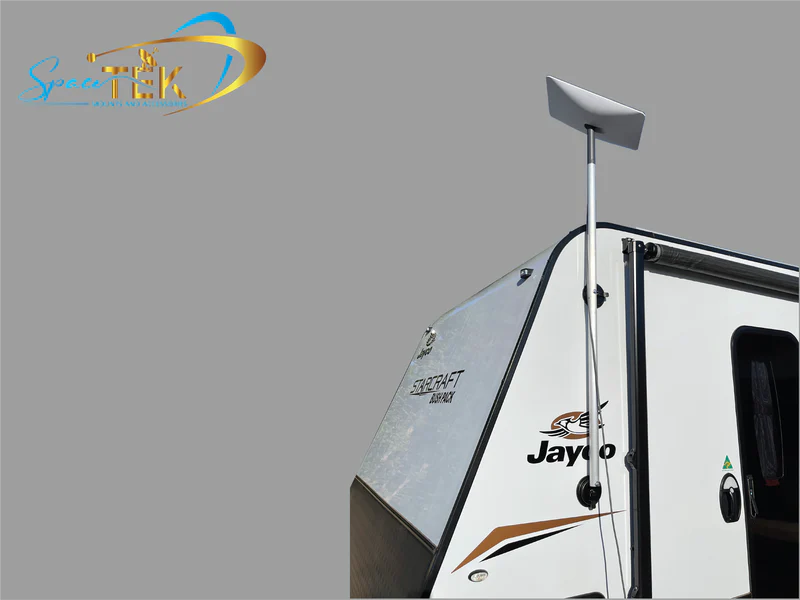
The temporary ground stand included in your Starlink kit is fine for a weekend camping trip, but it is not a permanent solution for your home, caravan, or 4WD. To keep your hardware safe from high winds, local wildlife, and extreme weather, you need high-quality, dedicated Starlink mounts.
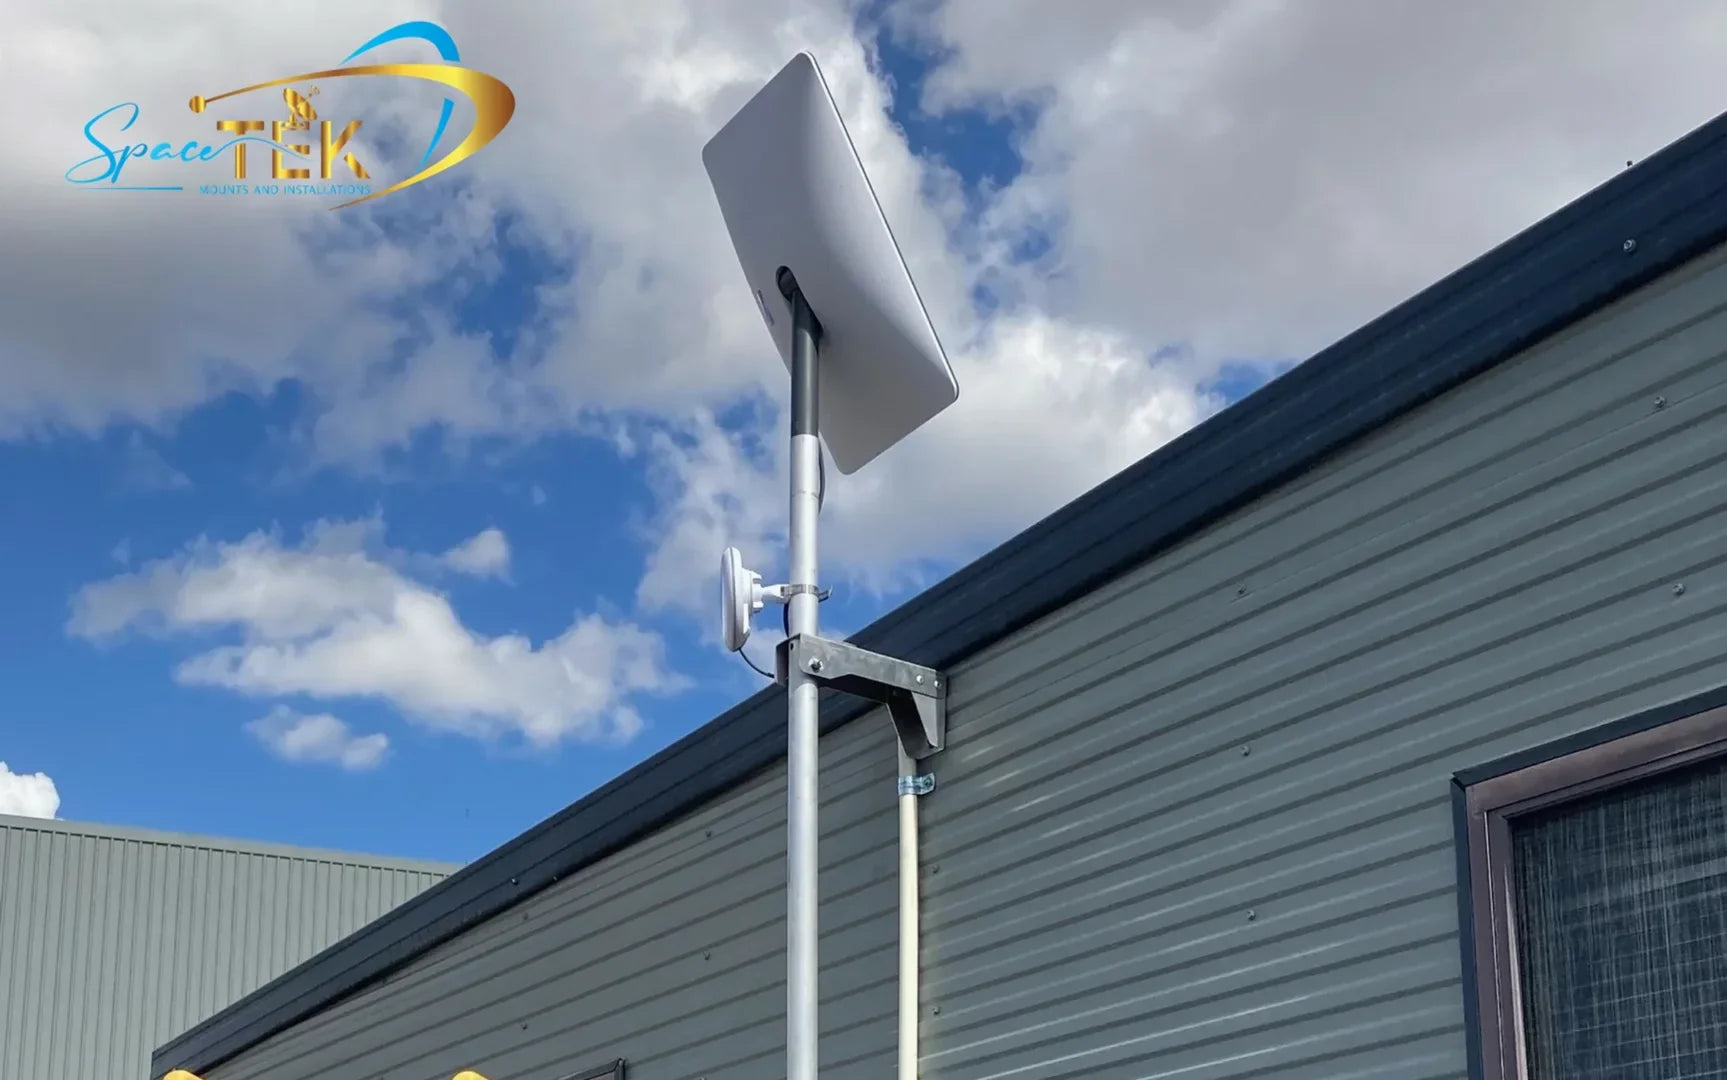
For a comprehensive look at your options, read our SpaceTek Starlink mounts complete guide. At SpaceTek Australia, we design and manufacture premium, heavy-duty dish mounts specifically tailored to survive the harsh Australian climate. Unlike cheap, brittle 3D-printed alternatives, our dish mounts are precision-machined or folded from structural-grade aluminium and reinforced composites.
Depending on your specific application, you will want to select the right style of Starlink mounts:
- Pivot Mounts: Perfect for slanted residential shingle or tin roofs, allowing you to easily adjust the mounting angle.
- Pipe Adapters: Ideal if you want to clamp your Starlink dish securely to an existing mast or pole.
- Wedge Mounts: Designed for flat surfaces, offering a fixed tilt that is perfect for caravans, commercial vehicles, and marine vessels because it allows rainwater to run off easily.
All of our Australian-designed dish mounts feature marine-grade rust resistance, ensuring your setup remains rock-solid whether you are facing coastal salt spray or outback dust storms.
Stowing and Aligning Your Dish
If you need to pack up your campsite, relocate your caravan, or perform maintenance on your roof, you must first stow your dish. Stowing folds the dish flat against its stem, protecting the internal drive gears from stripping during transport. If you are preparing for a trip, consult our guide to stowing your Starlink Dishy to ensure you do not damage the internal motors.
When it comes to pointing your dish, the process depends on which generation of hardware you own:
- Gen 2 (Actuated): This dish features internal motors. Once powered on, it will automatically rotate and tilt itself to find the best signal.
- Gen 3 (Standard V4): This model has no motors. It sits on a kickstand and requires you to manually align it. The Starlink app will guide you through this process with an on-screen compass tool. For tips on getting this angle perfect, read our guide on decoding Starlink dish angles to understand what is optimal for your connection.
Additionally, if you are using your system in an area with overnight frost or heavy rain, you can customise your snow melt or heating settings in the app to keep the face of the dish clear of water and debris.
Powering Your Starlink Off-Grid: DC Power vs AC Inverters
One of the biggest hurdles for off-grid travellers, campers, and remote homeowners is Starlink's continuous power consumption. A standard Starlink dish combined with its factory router draws a noticeable amount of power continuously. Running this system around the clock translates to a substantial daily energy draw.
If you are running your system through a traditional caravan battery setup, you would normally have to turn on an AC inverter just to plug in the Starlink power supply. This double-conversion process (converting DC battery power up to AC, only for the Starlink power brick to convert it back down to DC) wastes an enormous amount of energy, draining your batteries rapidly.
Bypassing the Router with DC-to-DC Power Supplies
The most efficient way to run your satellite internet off-grid is to bypass the factory AC router entirely and power the dish directly from your battery bank using a DC-to-DC power supply.
At SpaceTek Australia, we specialise in premium, high-efficiency power solutions. Our StarPower V2 and V3 DC power supplies are engineered specifically to run Starlink hardware directly from DC battery sources. By utilising these advanced DC-to-DC power supplies, you gain massive efficiency advantages over traditional AC inverters, drastically reducing your overall power consumption and saving precious battery capacity for your fridge, lights, and camp accessories.
If you are running the ultra-portable Starlink Mini, you can explore our SpaceTek Starlink Mini collection. Our custom DC-DC boosters, mobility mounts, and rugged suction mounts are designed to make mobile and off-grid setups as seamless and power-efficient as possible.
Frequently Asked Questions About Starlink Dish Management
Can I still use dishy.starlink.com to manage my dish?
No, the official built-in web portal at dishy.starlink.com has been discontinued and stripped of its features. To manage your dish, you must use the official Starlink mobile app on a smartphone or tablet. Alternatively, advanced users can use local open-source tools like open-dishy to host a private web interface that communicates with the dish via its local gRPC network port.
How do I manage two Starlink dishes at the same time?
Because every dish uses the identical default IP address (192.168.100.1), connecting two dishes to the same network causes an IP conflict. To manage and combine them successfully, you can use specialised network bonding software like Speedify's Starlink Control Center. This software allows you to view side-by-side obstruction maps and route traffic across both connections simultaneously.
What is the best way to power Starlink in an RV or caravan?
The most efficient method is to bypass the standard AC wall plug and use a dedicated DC-to-DC power supply, such as our StarPower V2 and V3 DC power supplies. This allows you to power a Dishy Starlink terminal directly from your vehicle's battery system, providing significant DC-to-DC efficiency advantages over inefficient AC inverters and significantly reducing your daily battery drain.
Getting the Most from Your Starlink Dish Setup
A Dishy Starlink terminal is an incredible piece of engineering, bringing high-speed, low-latency internet to the most remote corners of Australia. However, to get the absolute most out of your system, you need the right supporting hardware.
At SpaceTek Australia, we are dedicated to helping you build the ultimate satellite setup. Whether you need a rugged, rust-resistant dish mount designed to survive the harsh outback, or our ultra-efficient StarPower V2 and V3 DC power supplies to keep you connected off-grid with clear DC-to-DC efficiency advantages over AC inverters, we have you covered.
Ready to upgrade your setup? Explore our range of premium Aussie-designed Starlink mounts and accessories today, or get in touch with our team via our Contact Us page to find the perfect power or mounting solution for your next adventure.

Leave a comment
This site is protected by hCaptcha and the hCaptcha Privacy Policy and Terms of Service apply.