
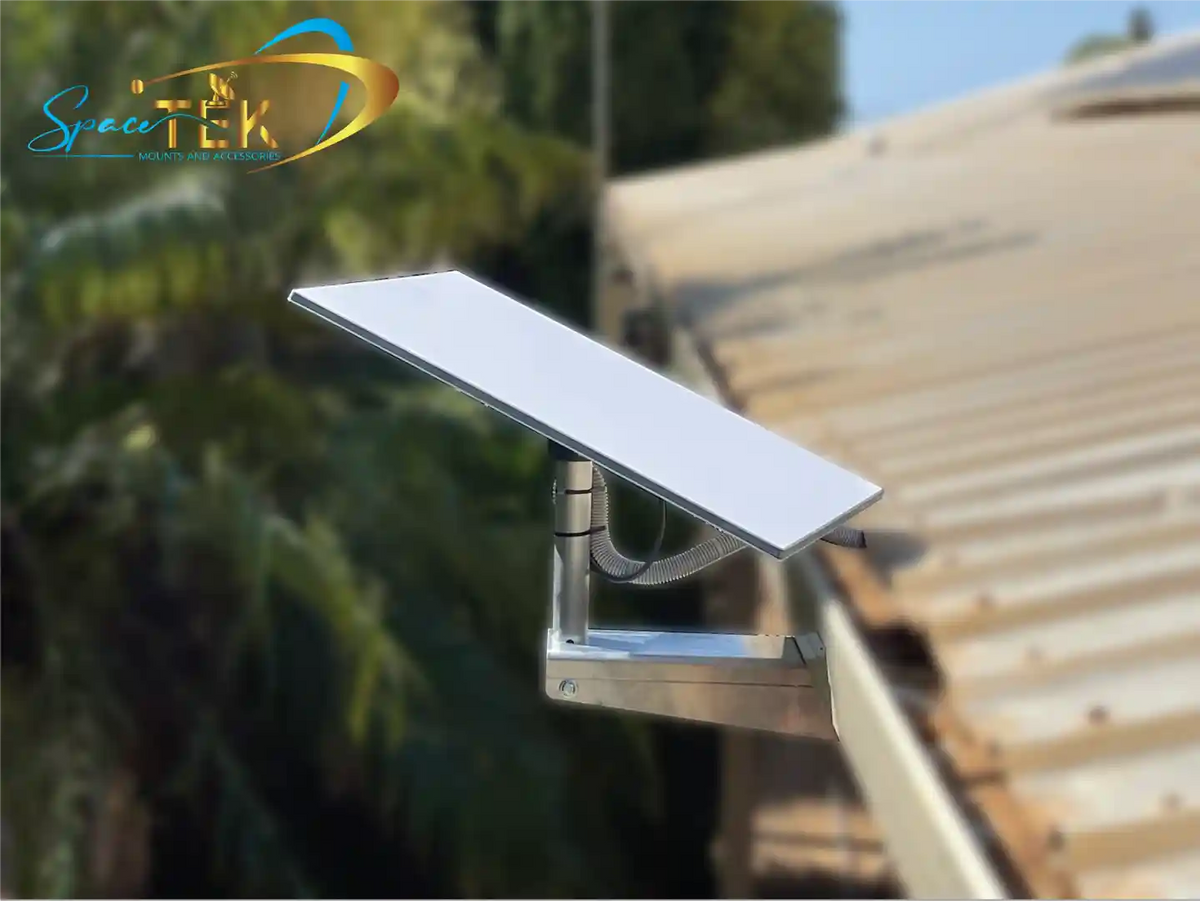
If your Starlink shows no internet connection, start with the Starlink app: check for outage alerts, confirm the router and dish are communicating, then power cycle the system before changing any hardware setup.
Key Takeaways
- Check the Starlink app first so you know whether the issue is a wider outage, a dish problem, or a local Wi-Fi fault.
- Reseat the dish cable at both ends, as a slightly loose connector can stop the router and dish from talking to each other.
- Power cycle the system before trying a factory reset, because many connection faults clear after a clean restart.
- Use the obstruction scanner if dropouts happen often, especially around trees, rooflines, or moving caravan setups.
- For off-grid installs, efficient DC-to-DC power can reduce battery drain and support more flexible custom setups; SpaceTek’s Starlink accessories are built for Australian conditions.
Step 1: Is It a Starlink Outage or a Local Connection Problem?
Before unscrewing fittings or climbing onto a roof, it helps to work out whether the fault is with Starlink’s satellite network or something in your own setup. That saves time and avoids resetting gear that was never the problem.
Starlink’s Low-Earth Orbit satellites move quickly across the sky, handing your connection between satellites as they pass overhead. Short dropouts can happen during handovers, but repeated no-internet warnings usually point to an obstruction, cable fault, router issue, or local Wi-Fi problem.
To check whether a wider issue is causing the drop:
- Open the Starlink app while connected to your Starlink router’s local network. If the dashboard shows Offline - Network Outage or Searching, the dish may be waiting for satellite lock or Starlink may be carrying out maintenance.
-
Check through a browser if the app is not responding. Open
dishy.starlink.comor192.168.100.1on a connected device to view the hardware status. - Cross-check the network status by reviewing local outage reports to see whether a wider service interruption is affecting your area.
If the app says the dish is online but your phone, laptop, or TV still says “No Internet Connection”, the issue is more likely to be in your Wi-Fi setup, cabling, router configuration, or power supply.
Quick Diagnostic Checklist for a Starlink No Internet Connection
When a device reports a connection error, use this simple checklist to narrow down where the break is.
- Identify the disconnect type: If the app says “Router Unreachable”, your phone cannot talk to the router. If the app reaches the router but says “Starlink Disconnected”, the router cannot talk to the dish.
- Read the app alerts: Look for clear warnings such as Poor Cable Connection, Mast Obstruction, Overheating, or Account Inactive.
- Test another device: Check whether the problem affects every device or only one phone, tablet, laptop, or smart TV.
- Turn off VPNs temporarily: VPNs and privacy relays can block local router information, which may make the app show a false disconnected warning even when the satellite link is working.
Step 2: What Do the Router Lights and Cables Tell You?
Hardware indicators and physical connections give you some of the fastest clues when troubleshooting a Starlink no internet connection. Start here before changing advanced settings.
How to Read Starlink Router Status Lights
Starlink routers and power supplies use status lights to show what the system is doing. The exact light location depends on your hardware generation, but the patterns are still useful when you are chasing a fault.
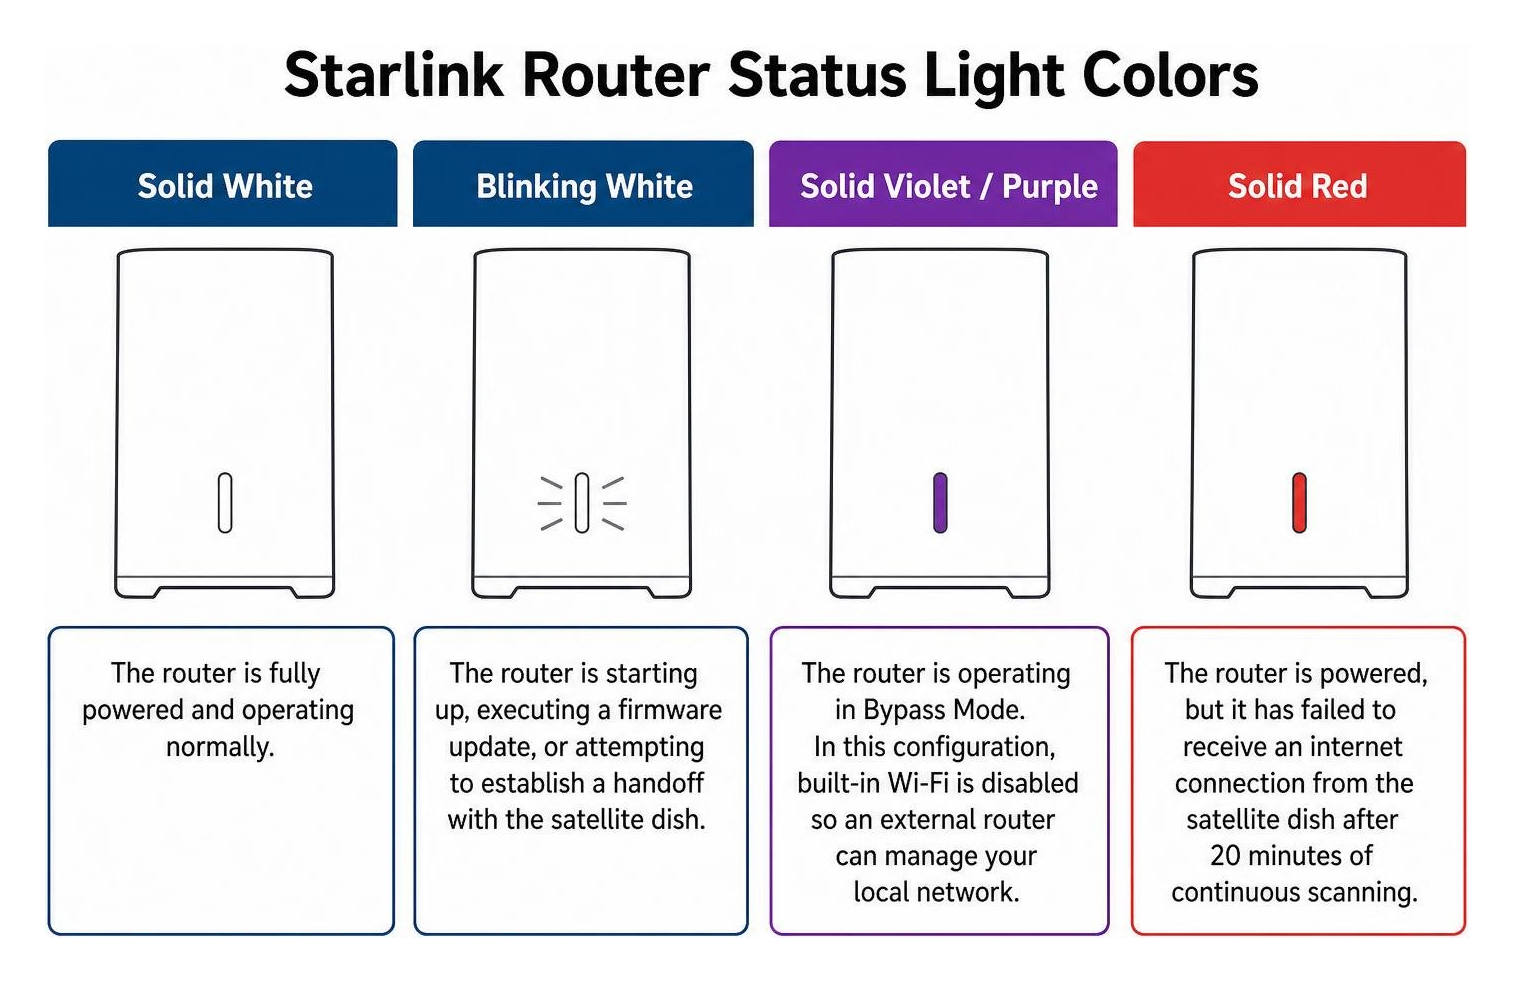
- Solid white: The router is powered and operating normally. On some newer hardware, the light may turn off after the system has been running for a while, so no light does not always mean no power.
- Blinking white: The router is starting up, updating, or trying to establish a connection with the dish.
- Solid violet or purple: The router is in Bypass Mode, which turns off the built-in Wi-Fi so an external router can manage the network.
- Solid red: The router has power but has not received an internet connection from the dish after an extended period of scanning.
If you see a persistent red light or an unexpected bypass-mode state, our guide to Starlink power supply lights explains the common warning patterns in more detail.
How to Check Starlink Cables for Hidden Damage
A loose connector, damaged cable jacket, or moisture in a plug can completely interrupt the signal between the dish and router. It only takes one poorly seated connector to make the whole system look offline.
When checking your cable run, look at these points:
- Connector seating: Press the connector firmly into the socket at both the dish and router until it sits flush. For weather-sealed connectors, make sure the locking tab is fully engaged.
- Cable sheathing: Look for sharp bends, crushed sections, tight cable ties, chew marks, or abrasion along outdoor runs.
- Moisture or corrosion: Unplug the cable, inspect the contacts, and dry any moisture before reconnecting. Keep seals clean and properly seated so rain and coastal air are less likely to cause corrosion.
For more help identifying wiring and signal issues, see our guide to Starlink poor performance.
Step 3: How Do You Power Cycle or Reset Starlink Properly?
If the router or dish has locked up after a power interruption, storm, or software update, a clean restart is often enough to bring the connection back.
To perform a clean power cycle:
- Disconnect the main power cord from the wall outlet or turn off the power supply.
- Wait at least 30 seconds so the router and dish can fully discharge.
- Reconnect the power firmly.
- Give the dish several minutes to re-orient, scan the sky, and reconnect.
When Should You Factory Reset Starlink?
If a standard power cycle does not restore internet, a factory reset can clear corrupted settings and return the router to its default setup.
Use the reset method that matches your hardware:
- Gen 2 router: Rapidly unplug and replug the power cable 6 times, leaving a short pause between each cycle. After the final reconnection, the router will reboot and reset its Wi-Fi settings.
- Gen 3 or Starlink Mini: Press and hold the physical reset button on the rear access panel until the status light flashes white, then release it.
- App reset: If the app can still reach the router, open Settings > Router > Factory Reset and confirm.
After a factory reset, your system will broadcast its default Wi-Fi network. Connect your phone to that network, open the Starlink app, then set a fresh Wi-Fi name and password.
If your installation keeps losing power or dropping out in a vehicle, caravan, or off-grid setup, our guide on how to fix Starlink power issues can help you narrow down the cause.
Step 4: Is the Dish Blocked, Stowed, or Moving Around?
Starlink needs a wide, clear view of the sky to maintain a reliable connection as satellites pass overhead. Even a small obstruction from a tree branch, roofline, awning, or nearby structure can cause regular dropouts during calls, streaming, or work sessions.
To check for obstructions:
- Open the Starlink app and select Obstructions.
- Follow the prompts to scan the sky with your phone camera.
- Review the obstruction map and look for red areas that show blocked sections of sky.
- Move or raise the dish if trees, rooflines, caravan awnings, or nearby structures are blocking the view.
Physical dish movement can also interrupt service in tough Australian conditions:
- Snow and ice: In alpine or winter conditions, enable Snow Melt mode in the Starlink app. If snow builds up faster than it melts, gently clear the face with a soft-bristle brush and avoid scraping the dish surface.
- Stuck dish motors: If a Gen 2 dish looks stuck or remains in stow mode, open Settings > Starlink > Stow. Wait a couple of minutes, then select Unstow to let the dish recalibrate.
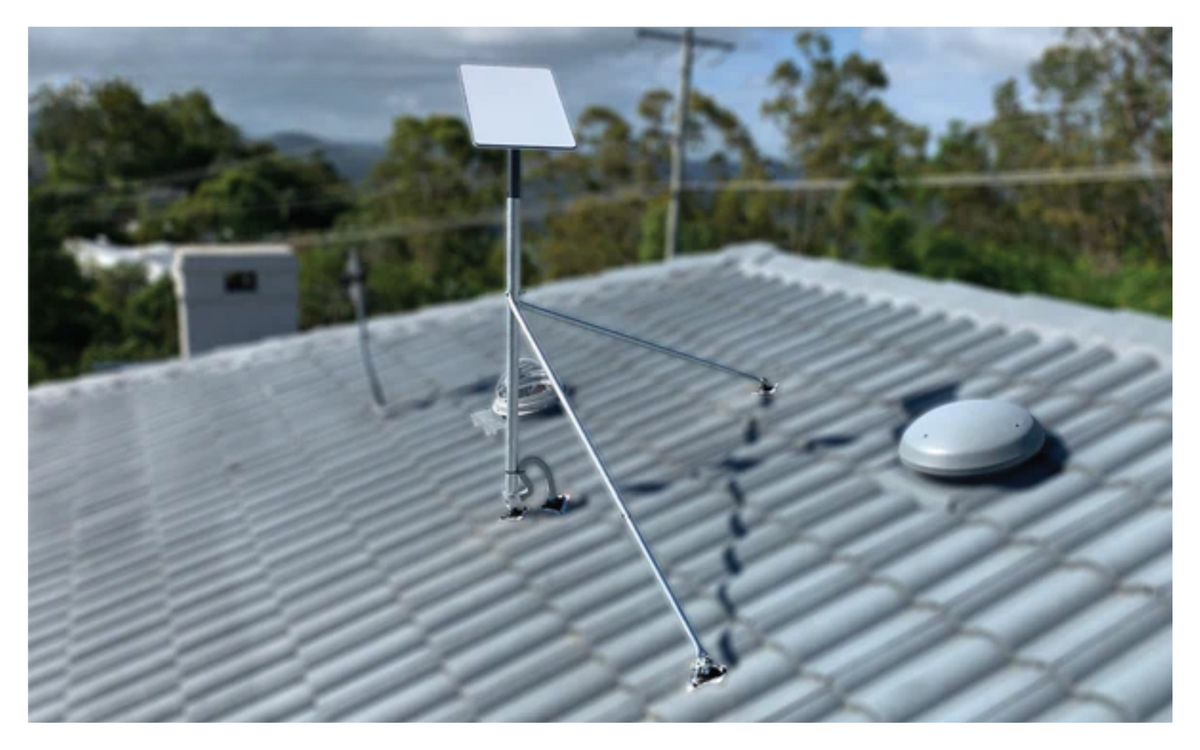
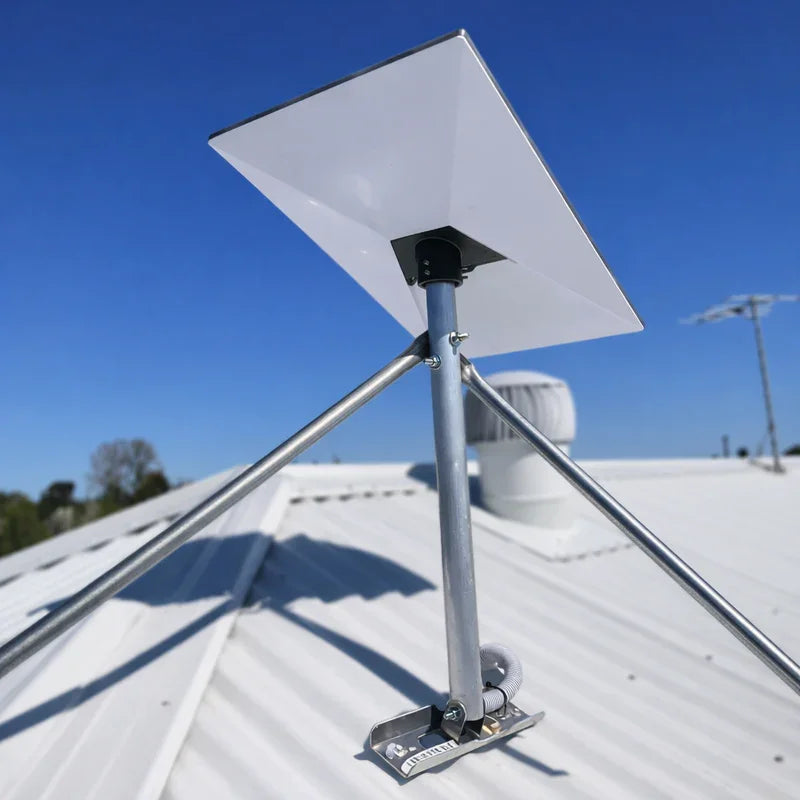
- Mast sway: A dish mounted on an unstable pole or thin pipe can move in gusty weather, which shifts it away from the best satellite path. A rigid Starlink mount helps keep the dish steady and aligned.
Step 5: Could One Device or Router Setting Be the Problem?
Sometimes the dish and router are fine, but one phone, laptop, smart TV, or mesh router keeps showing “Connected, no internet”. In that case, the fix is usually local to the device or router settings.
When one device keeps dropping out, check these settings.
How Do You Fix iPhone or iPad Connection Drops?
Apple devices can occasionally struggle with network handshakes on combined dual-band Wi-Fi networks.
- Toggle Flight Mode: Turn Flight Mode on for 10 seconds, then turn it off to force the device to request a fresh network connection.
- Split the 2.4GHz and 5GHz bands: In the Starlink app, go to Settings > Wi-Fi and turn on Split 2.4GHz and 5GHz Networks. Put older devices on 2.4GHz and newer, high-demand devices on 5GHz.
- Disable Private Wi-Fi Address temporarily: Go to iOS Settings > Wi-Fi, tap the information icon next to your Starlink network, and turn off Private Wi-Fi Address if local handshakes keep failing.
What If Bypass Mode or a Mesh Router Is Causing Issues?
If you use an external router or mesh system with Starlink, one wrong setting can cut off web access.
- Exit unintended Bypass Mode: If Bypass Mode was turned on without an external router connected, the built-in Starlink Wi-Fi will shut down. A hardware factory reset is usually needed to bring it back.
-
Check the static route: When using Starlink in bypass mode, set a static route in the external router so you can still reach
192.168.100.1for dish information and controls.
Why Does DC-to-DC Power Matter for Mobile Starlink Setups?
For caravan, camping, and off-grid setups, running Starlink through a standard AC inverter can waste valuable battery capacity because power is converted more than once.
SpaceTek’s StarPower V2 and V3 DC power supplies use direct DC-to-DC conversion, which is far better suited to mobile and off-grid installs than a standard AC inverter. This setup offers higher efficiency, lower draw, and the ability to bypass the Starlink router for custom router or compact camping setups.
Frequently Asked Questions About Starlink Connectivity
Why does my Starlink show no internet even though Wi-Fi is connected?
This happens when your phone, laptop, or TV connects to the Starlink router, but the router cannot send or receive data through the dish or satellite network.
Common causes include a loose dish cable, temporary satellite handover gaps, VPN conflicts, physical sky obstructions, or an inactive account. Check the dish-to-router cable first, then review the Statistics tab in the Starlink app.
What should I do if my Starlink dish is not moving or is stuck in stow mode?
If your actuated Gen 2 Starlink dish will not tilt or stays flat in stow mode, work through these steps:
- Open the Starlink app and check for obstruction or temperature alerts.
- Go to Starlink > Unstow in the app settings.
- If the dish still does not move, disconnect power for 30 seconds to restart the motor controls.
- Check around the dish neck for debris, ice, or mount interference. Do not force the dish by hand, as that can damage the internal gears.
How long does Starlink support take to respond to connectivity tickets?
Starlink support response times can vary depending on demand. To make your ticket easier to assess, include app debug logs, clear photos of the dish, cable connectors, and sky view, plus a short list of the troubleshooting steps you have already tried.
Keep Your Starlink Connection Stable in Australian Conditions
A dropped satellite connection is frustrating, but most Starlink no internet connection problems can be narrowed down with a simple process: check for outages, inspect router lights and cables, power cycle the system, clear obstructions, then test device and router settings.
For Australian homes, caravans, worksites, and off-grid trips, installation stability matters. SpaceTek Australia specialises in Australian-designed Starlink accessories, premium dish mounts, direct DC power solutions, and mobile Starlink gear built for local conditions.
Our precision-machined folded aluminium dish mounts and reinforced composite fittings help reduce mast sway in heavy wind, while our StarPower DC-to-DC converters avoid the waste of AC inverter setups by offering higher efficiency, lower draw, and the ability to bypass the Starlink router for custom setups.
Explore SpaceTek’s rugged Starlink accessories to build a satellite setup that stays connected wherever your travels take you.

Leave a comment
This site is protected by hCaptcha and the hCaptcha Privacy Policy and Terms of Service apply.