
Why Most Starlink Problems Are Easier to Fix Than You Think
Starlink connection issues are usually easier to sort than they first look. Start with the basics, give the system time to reconnect, and use the Starlink app to narrow down whether the issue is power, cabling, obstructions, weather, or WiFi coverage.
Key Takeaways
- Reboot your Starlink properly by unplugging it for 30 seconds, then allow 15 to 30 minutes for the system to reconnect.
- Use the Starlink app to check for obstructions, alerts, visibility issues, and performance patterns before assuming there is a hardware fault.
- Inspect every cable connection carefully, especially after storms, strong wind, or recent installation work.
- Keep the dish securely mounted with a clear view of the sky to reduce dropouts caused by movement or obstruction.
- If the problem continues after the basics, contact SpaceTek Australia for help choosing the right Starlink mount, cable, or accessory for your setup.
Most Starlink problems come down to a handful of practical issues: loose cables, blocked sky view, unstable mounting, weather, power interruptions, or WiFi coverage inside the home. The trick is not to jump straight to worst-case thinking. Work through the simple checks first and you will often find the cause without needing a technician.
Whether your dish went offline after a storm, your router is showing "Starlink unplugged", or you have just moved into a new property and cannot get a stable connection, this guide walks you through the likely causes in plain English. It is written for Australian homes, farms, caravans, sheds, and remote properties where Starlink often does the heavy lifting.
I'm Aaron Wroblewski, founder of SpaceTek Australia, with over 25 years of experience in IT and remote communications, including satellite systems. Starlink troubleshooting is something I have helped plenty of Australian customers work through, so let's get your connection back up and running.
What Should You Check First When Starlink Stops Working?

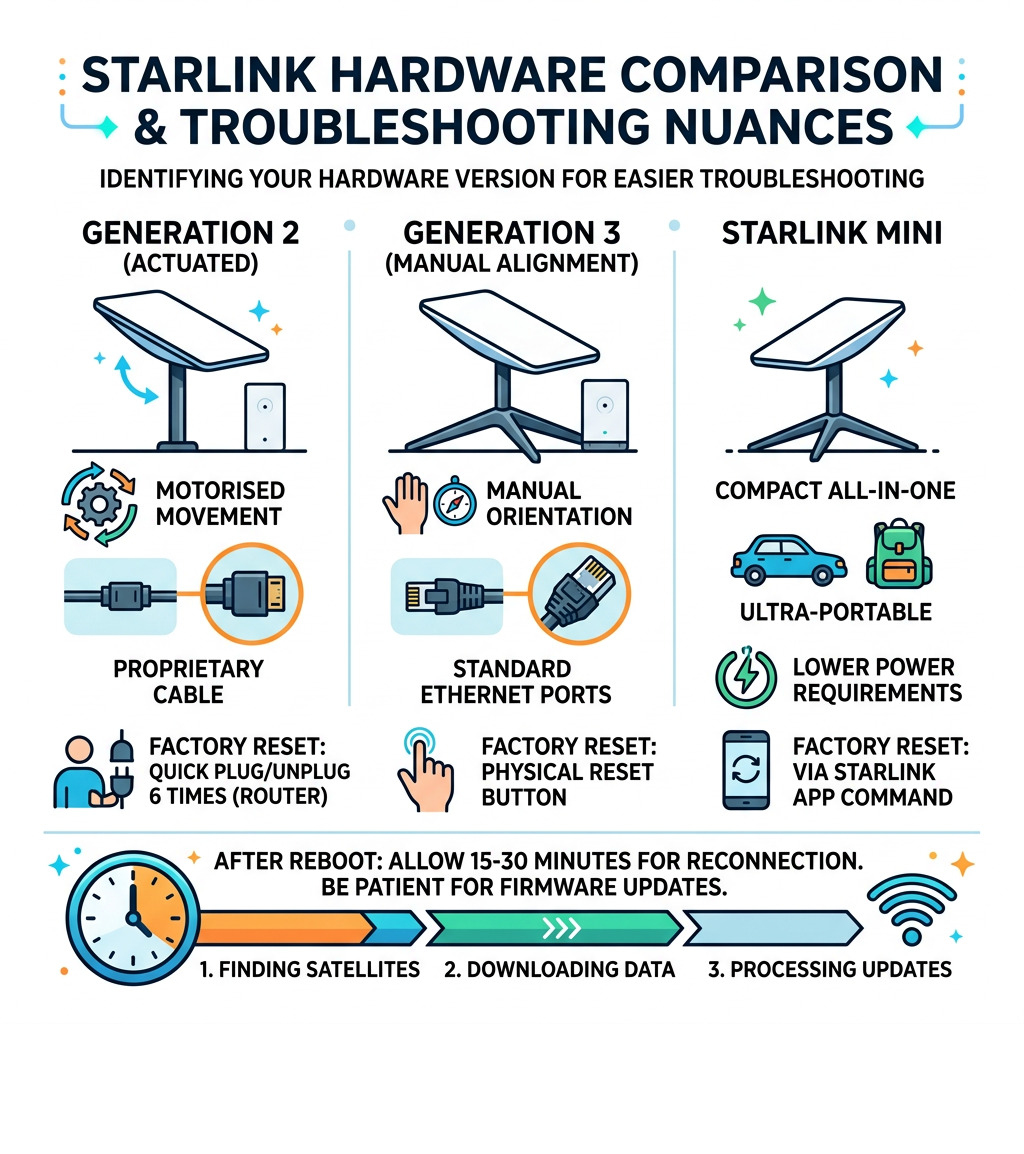
When we talk about Starlink troubleshooting, the first step is working out which hardware version you are using. In Australia, many customers are using Gen 2, Gen 3, or Starlink Mini kits, and each one has slightly different connectors, reset methods, and installation needs.
A common mistake is expecting a quick power cycle to fix everything instantly. It can help, but Starlink still needs time to find satellites, load network data, and complete any software updates. After a reboot, give it at least 15 to 30 minutes before assuming something is broken. If the kit has been powered off for weeks, allow longer so it can catch up properly.
To troubleshoot your Starlink internet problems easily, start with a proper power cycle. Unplug the router from the wall for 30 seconds, plug it back in, then wait while the system reconnects. For a factory reset, follow the reset method for your exact Starlink model in the app or Starlink support guide.
What Do Starlink App Alerts Mean?
The Starlink app is your best mate when things go wrong. Understanding the main status messages can save you a lot of mucking around.
- Offline - Booting: The system is starting up. This is normal after a power cycle, so give it time.
- Searching: The dish is powered and working but cannot find a satellite. This often points to obstruction, poor positioning, or a temporary local outage.
- Disconnected: The router cannot see the dish. This is often a physical cable or connection issue.
- Starlink Unplugged or Rebooting: This usually points to a loose connection at the router, power supply, or cable end.
If dropouts happen every few minutes, obstructions may be the issue. If the graph flatlines, you may be dealing with power, cabling, or hardware trouble.
How Do You Fix Cable Connections and Hardware Faults?
Cable issues are one of the most common causes of Starlink dropouts. The connectors used in some kits can be sensitive, and even a slightly loose cable can make the app show a disconnected or poor connection warning.
Make sure each cable is seated firmly. In Australia’s harsh conditions, dust, moisture, heat, and UV exposure can all create problems if external cable runs are not protected. A waterproof bulkhead connector can help protect suitable external cable pass-throughs from moisture and corrosion.
For Starlink Mini users, be careful with non-official third-party cables because they may affect weather resistance if they are not designed for the kit. Where possible, use suitable Starlink Mini cables that are made for outdoor and portable use.
How Do Weather and Obstructions Affect Starlink?
Starlink needs a clear view of the sky to work well. Even one overhanging branch can cause annoying intermittent dropouts, especially if the dish only loses signal for a few seconds at a time. Trees also grow, so a spot that worked perfectly a year or two ago may not be ideal anymore.
Australian weather can play a part too. Starlink is designed to handle rain, but heavy downpours and intense storms can still weaken the signal until the weather eases. In colder areas such as the Tasmanian highlands or the Australian Alps, check that snow melt settings are appropriate if ice build-up is likely.
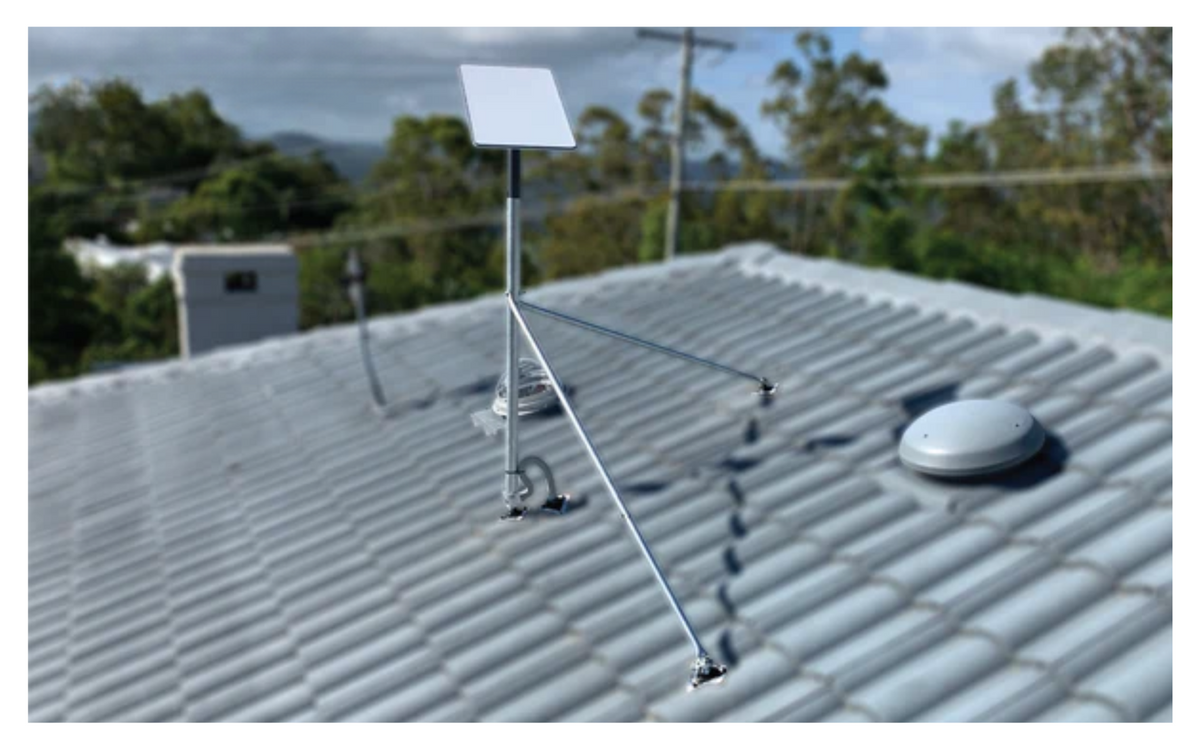
Stability matters just as much as sky view. If your dish mount moves around in strong wind, the connection can suffer. A secure, well-positioned Starlink roof mount helps keep the dish stable through rough Australian conditions.
How Can You Improve Starlink Performance After It Reconnects?

If your Starlink is online but still feels slow or patchy, the problem may be inside the home rather than at the dish. WiFi interference, thick walls, distance from the router, and poor router placement can all make a healthy Starlink service feel unreliable.
How Can You Improve WiFi Coverage at Home?
The standard Starlink router is handy, but it has limits. If you have a larger home, a long farmhouse layout, brick walls, a shed office, or a separate granny flat, the WiFi signal may struggle before the satellite service does.
To improve performance, work through this quick checklist:
- Split the WiFi bands in the app if your setup supports it, then use 5GHz for nearby devices and 2.4GHz for devices further away.
- Place the router as centrally as possible, away from metal appliances, thick walls, and enclosed cabinets.
- Use bypass mode with a suitable Ethernet connection if you need a dedicated mesh system for wider coverage.
- Consider a UPS if your property has frequent power dips, as stable power can help prevent repeated rebooting and reconnecting.
For WiFi troubleshooting on the Mini, avoid placing the unit against metal covers or surfaces that can block the integrated antenna. Portable setups are handy, but placement still makes a big difference.
When Should You Contact Support About Starlink Troubleshooting?
If you have reseated the cables, performed the correct reset for your model, checked for obstructions, and ruled out WiFi placement, it may be time to contact Starlink support.
Before opening a ticket, go to the Advanced section of the app and check the debug data. Then collect the useful details support may ask for:
- The steps you have already tried.
- Clear photos of the installation and cable ends.
- A screenshot of the obstruction map.
- Notes about when the dropouts happen, such as during storms, after wind, or at certain times of day.
Hardware failures are not the first thing to assume, but they can happen. Sometimes a system develops dropouts after years of service because cables, connectors, or exposed parts have been worn down by heat, UV, wind, or moisture. Good photos and clear notes will make the support process much easier.
Why Does a Secure Starlink Mount Matter?
Effective Starlink troubleshooting starts with a solid foundation. Many of the issues we see at SpaceTek Australia come from temporary installs, loose cable runs, or dish mounts that are not suited to long-term Australian conditions.
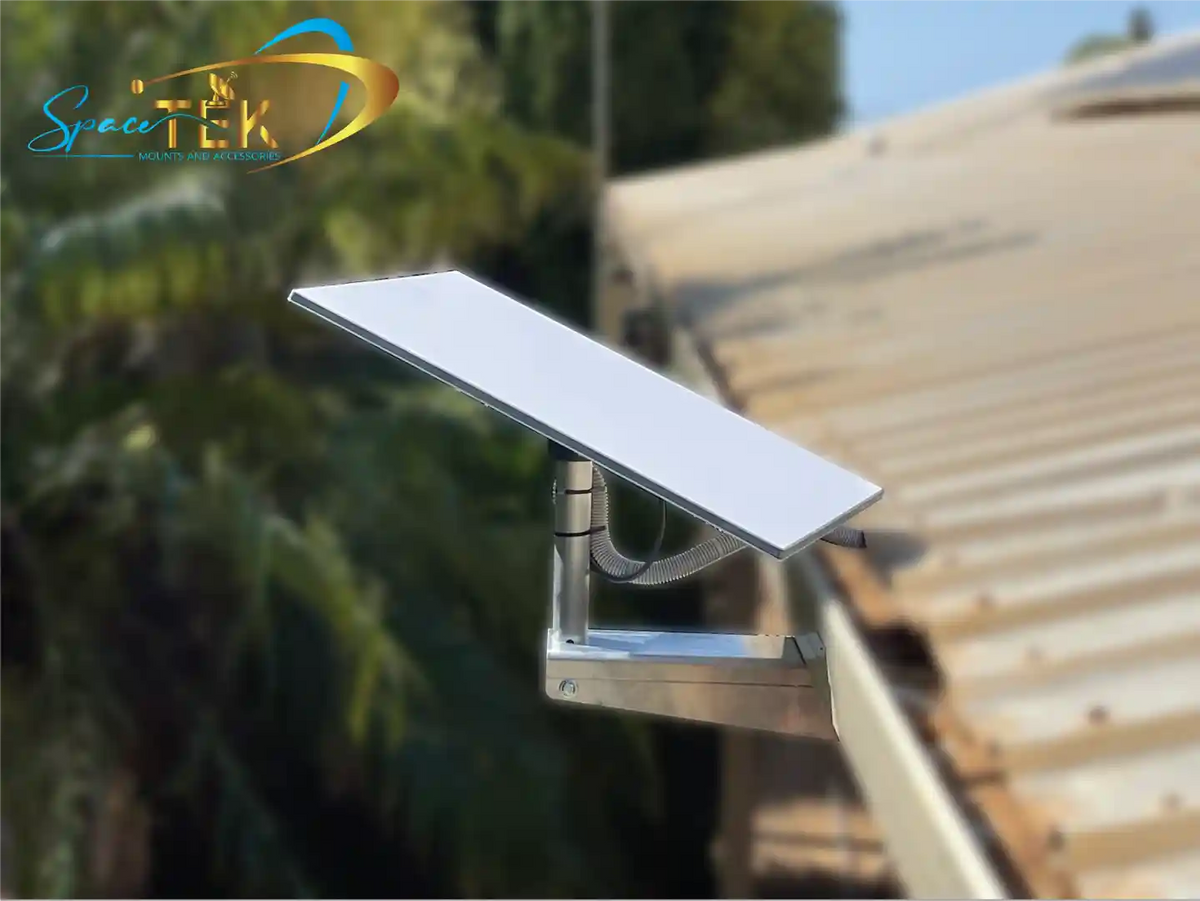
SpaceTek Australia provides Starlink mounts, cable protection, and accessories designed for local homes, farms, touring setups, and remote properties. A properly secured dish with protected cabling gives your Starlink the best chance of staying stable through wind, rain, heat, and everyday use.
If you are still stuck, or you want help choosing the right mounting solution for your property, contact SpaceTek Australia. Our team can help you get the most out of your Starlink setup without overcomplicating the fix.


Leave a comment
This site is protected by hCaptcha and the hCaptcha Privacy Policy and Terms of Service apply.