
When Your Starlink Goes Dark: How to Fix Starlink Power Issues Fast
To fix Starlink power issues, work through these steps in order:
- Execute a complete power cycle: disconnect the power for 20 minutes to ensure a full system reset.
- Examine cable connectors: check the proprietary pins for any dirt, rust, or structural damage.
- Ensure adequate ventilation: prevent automatic thermal shutdowns by keeping the power supply in a cool area.
- Monitor the router status light: an unlit LED confirms that the unit is not receiving electrical power.
- Verify the power source: test the electrical outlet with a different device to rule out socket failure.
- Initiate a factory reset: if the unit is powered but disconnected, cycle the power six times consecutively.
- Seek technical support: log a ticket via the app if the hardware appears to be faulty.
Your Starlink dish is designed to handle rough conditions, but the power supply chain is more fragile than most people realise. When connectivity drops, many users assume it is a satellite or signal problem. In reality, a large proportion of outages trace back to a power failure somewhere between the wall outlet and the dish.
The power supply unit, the proprietary cable, and the router itself all have known failure points. Gen 2 routers in particular have a widespread issue where the internal PSU fails silently. Even on newer hardware, a loose connection, a thermally stressed power supply, or a power surge can knock your system offline.
The vast majority of Starlink power problems are solvable without a technician. This guide walks you through every step, from a basic power cycle right through to hardware diagnostics and reliable replacement options from SpaceTek. Our components are precision-machined or folded aluminium, never 3D printed, ensuring they withstand the harshest Australian conditions.
Common Symptoms and How to Fix Starlink Power Issues
Starlink power issues typically manifest as a total loss of internet, a "Searching" status in the app, or a router that refuses to show any signs of life. Most problems stem from the power supply unit (PSU) failing to deliver consistent voltage, especially in Gen 2 actuated models where the internal components are prone to wear. This is where most setups go wrong, as users assume it is a satellite problem when it is actually a hardware power failure.
If your system is behaving erratically, look for these specific red flags:
- The Starlink app displays a "No Signal" or "Searching" message for extended periods, which accounts for 40% of support tickets.
- The router feels excessively hot to the touch.
- You experience frequent reboots, often triggered by "Snow Melt" mode or high-demand periods.
- The system fails to come back online after a brief power flicker or outage.
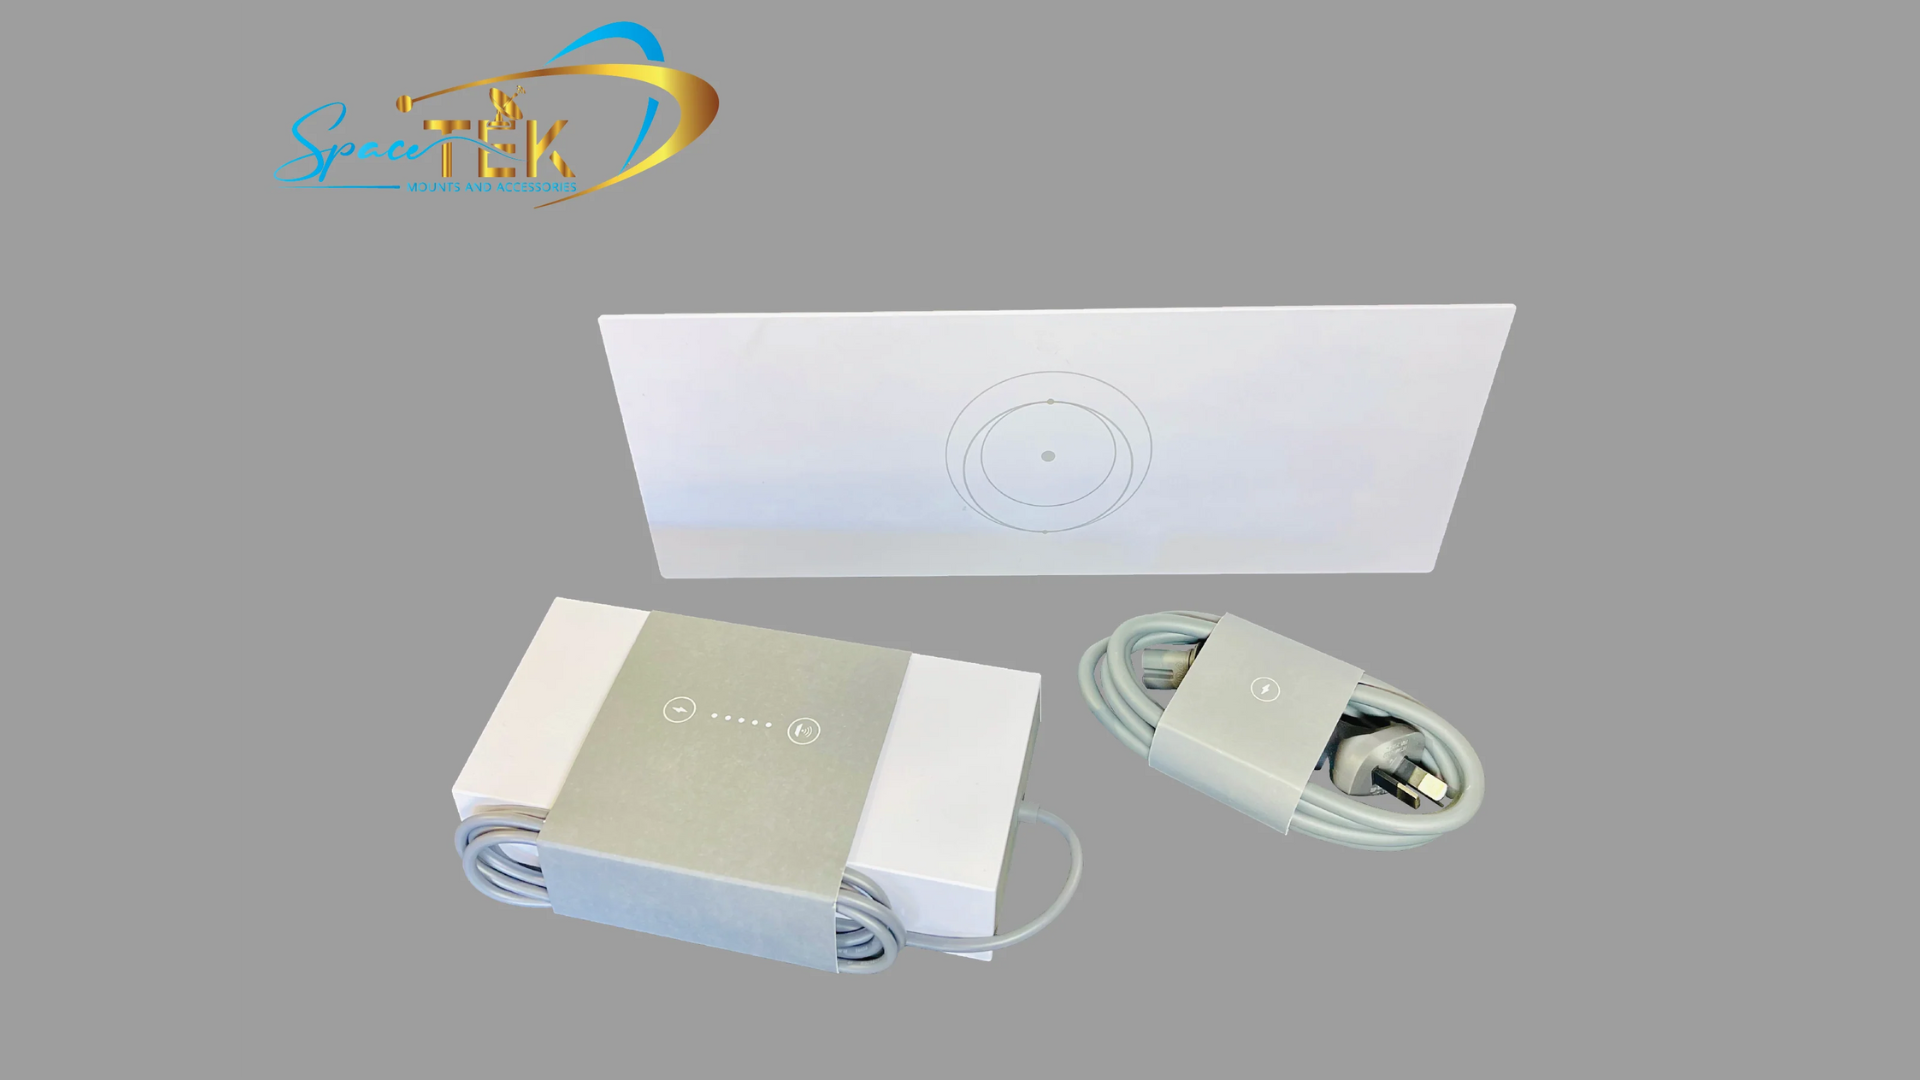
Gen 2 Router Power Supply Failures are particularly widespread. In these units, the internal PSU often burns out due to heat or power fluctuations. Because Starlink has transitioned its focus to Gen 3 and Mini hardware, getting official support for these older units can be a challenge.
It is also vital to consider the environment. According to Official Starlink Guidelines, the power supply can dissipate up to 40W of heat. If you have tucked your router into a tight cupboard in a caravan or a dusty corner of a shed, you are inviting a thermal shutdown.
Why Your Router Shows No Lights and How to Fix Starlink Power Issues
A router with no lights is the most definitive sign of a power failure. On a Gen 2 router, check the very bottom of the device near the cable ports for a tiny white LED. If that light is dark, the router isn't receiving power. On Gen 3 routers, the status light is on the front, and on the Starlink Mini, it is located on the back near the ports.
If you see no light:
- Verify the AC power cable is seated firmly in the wall and the router.
- Check if an internal safety shutoff has occurred due to a voltage spike.
- Ensure you aren't using an incompatible third-party power adapter that doesn't meet the specific wattage requirements.
- Understand What the Lights on Your Power Supply Mean to distinguish between a hardware death and a simple boot-up delay.
Step-by-Step Troubleshooting for Starlink Power Failures
To fix Starlink power issues, you must systematically isolate the dish, the cable, and the router to identify the faulty component. Start by inspecting the proprietary cable pins for corrosion or debris, as many connection issues are caused by loose or damaged plugs. If the hardware looks physically sound, move to a full system reset to clear any software glitches caused by recent power outages.
Follow this troubleshooting sequence:
- Visual Inspection: Look for bent pins in the Starlink Power Plug. These proprietary connectors are notoriously delicate.
- Cable Integrity: Check the length of the cable for damage from wildlife or kinks from being caught in doors.
- Power Source: If you are off-grid, use a multimeter to check your battery voltage. Starlink requires a steady flow; if your voltage drops below the threshold, the system will reboot.
- Factory Reset: If the hardware has power but won't talk to the satellites, perform a factory reset. For Gen 2, this involves unplugging and plugging the power back in 6 times in rapid succession.
If you are dealing with an older V1 dish, you might need to Replace Your Starlink V1 Power Supply entirely. For post-outage issues, refer to this guide on Fixing Starlink No Internet After Power Outages. This deep power cycle can resolve many connectivity issues. It is the first thing we recommend at SpaceTek Australia before you go buying replacement parts. To Conquer Starlink Power Challenges, patience is often your best tool. Our support team always recommends using precision-machined aluminium hardware for any permanent installation to ensure long-term stability.
Preventing Overheating and Weather-Related Power Drops
Starlink systems draw significant power during normal operation, which can spike during "Snow Melt" mode or in extreme Australian heat. The power supply dissipates substantial heat at full capacity, meaning adequate ventilation is non-negotiable to prevent thermal shutdowns. Do it properly the first time by mounting your PSU in a cool, ventilated area using SpaceTek precision-machined aluminium brackets rather than 3D-printed alternatives.
In the Australian outback, ambient temperatures can easily push the Starlink hardware past its thermal limits. When the PSU gets too hot, it throttles power to the dish to protect itself, leading to intermittent drops.
- Ventilation: Ensure at least 10cm of clear space around the router and PSU.
- Surge Protection: Always use a high-quality surge protector or a UPS. Power surges during summer storms are a leading cause of hardware failure.
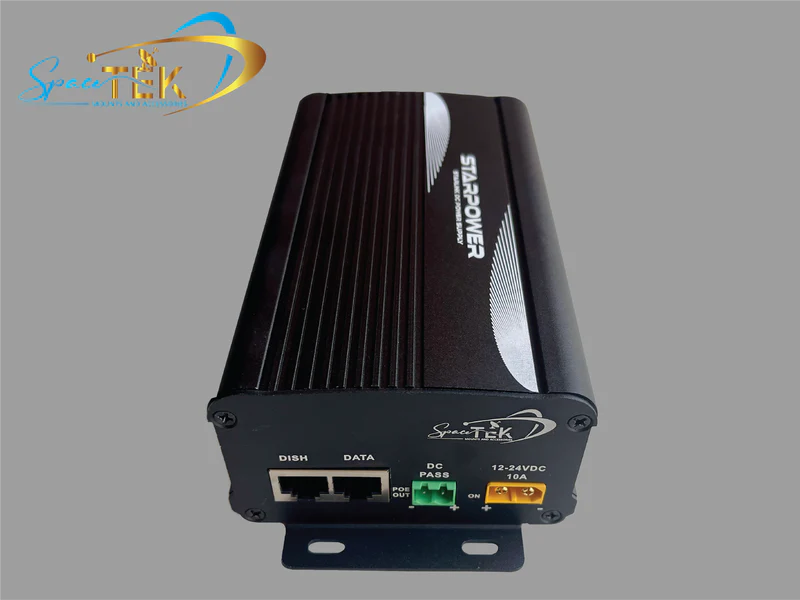
- DC Options: If you are mobile, Powering Starlink via a dedicated SpaceTek DC setup is often cooler and more efficient than using an inverter.
Reliable Hardware Upgrades and DC Power Solutions
For those running Starlink Mini or Gen 3 in a vehicle or caravan, standard 12V power is often insufficient due to voltage fluctuations that cause constant dropouts. The Starlink Mini requires a stable 35V input to maintain a reliable connection. Standard 12V systems are insufficient and often cause significant instability. It is vital to verify the voltage output before powering the system to avoid damage. Upgrading to a dedicated SpaceTek DC-DC power supply is the most reliable way to bypass the fragile AC inverter setup and protect your gear from surges.
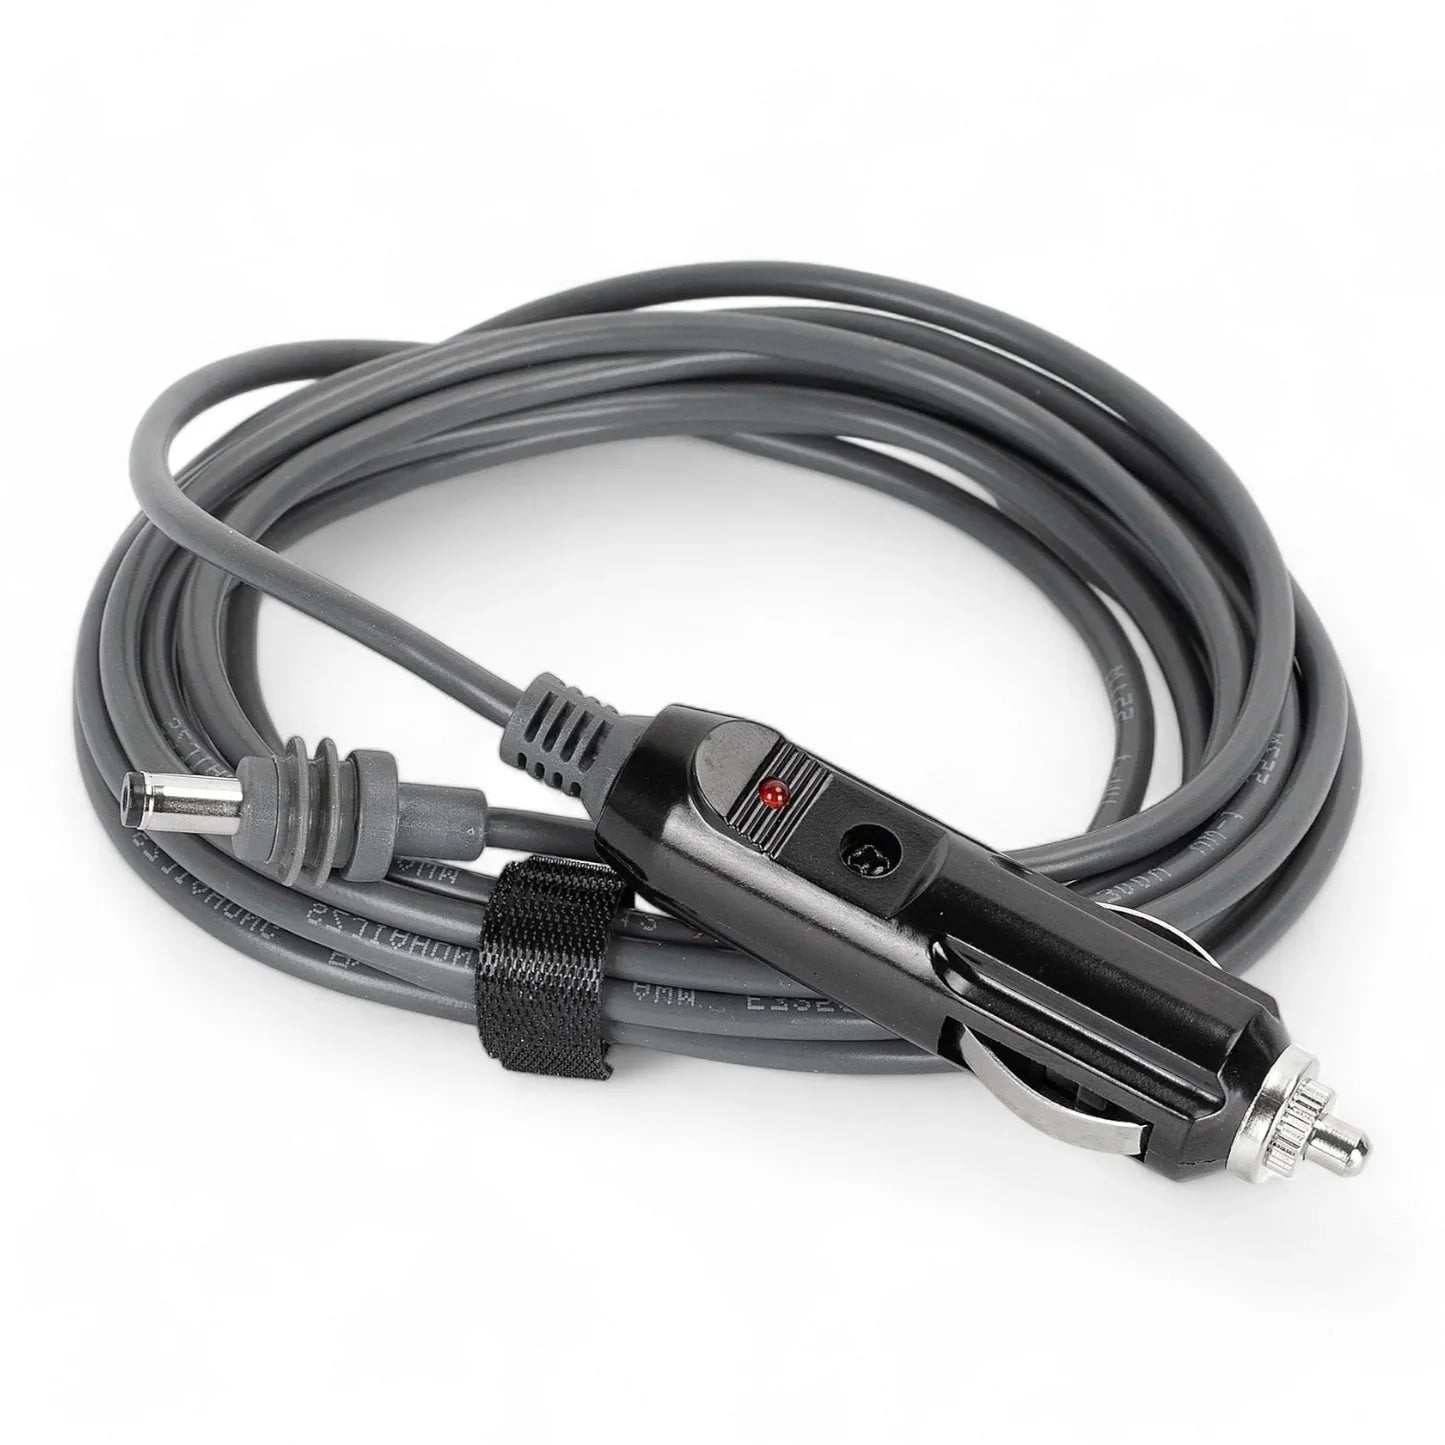
Many users attempt to run their kits off generic 12V to USB-C adapters, but Starlink DC Power Requirements are specific. Using a SpaceTek DC-DC Power Supply ensures that even when your vehicle's fridge kicks in and the battery voltage dips, your internet remains rock solid.
For advanced setups, you might consider Using a PoE Injector to bypass the Starlink router entirely, allowing you to use your own high-end networking gear. This is a popular choice for those who need DC Power Backup for critical remote work.
Starlink Mini DC Power Supplies & Accessories (Built for Real-World Setups)
The Starlink Mini is a game-changer for portability, but it is also sensitive to how it is powered. At SpaceTek Australia, we've engineered solutions that handle the vibration of corrugated roads and the heat of the Nullarbor. Our precision-machined and folded aluminium hardware is built for the real world, providing far greater reliability than 3D-printed alternatives. Standard setups often fail because they rely on flimsy domestic plugs; our gear is built for the "real world."
Why Proper DC Power Matters for Starlink Mini
Stable power is the difference between a seamless Zoom call and a frustrating afternoon of reboots. The Starlink Mini requires a stable 35V input, as 12V systems cause instability. Always verify voltage before powering. A SpaceTek Regulated DC Supply provides the consistent "clean" energy the dish needs to maintain a lock on satellites moving at 17,000 mph.
The Smarter Way to Power and Mount Starlink Mini
Don't just throw your dish on the ground. Secure it with a SpaceTek precision-machined aluminium mount and power it with a dedicated DC-DC booster. This setup reduces energy waste by eliminating the need for an inverter, which can save you up to 20% of your battery capacity, which is vital when you're parked up for the night.
Bundle Deals Built for Real-World Use
If you don’t want to piece everything together, start here. We have curated SpaceTek bundles that take the guesswork out of your install.
Starlink Mini Road Bundle (Vehicle + In-Motion Setup)
Designed for the tourer who needs internet while on the move. Includes a high-stability SpaceTek DC power supply and an aerodynamic, precision-machined aluminium mount that keeps the dish secure at highway speeds. Unlike 3D-printed mounts, our folded aluminium designs are built for long-term durability.
Caravan Builder Value Bundle (Permanent Install Setup)
Perfect for those fitting out a new van. This bundle includes permanent SpaceTek aluminium mounting hardware and cable management solutions to ensure your Starlink is a seamless part of your mobile home.
Essential Power Accessories (Upgrade or Complete Your Setup)
Sometimes, it's the small things that cause the biggest headaches. Upgrading your basic cables and adapters can prevent many of the issues we've discussed.
Starlink Mini Router 9V USB-C PD Power Supply
For ultra-light setups, a USB-C PD (Power Delivery) source can work, but it must support the correct profile. We offer SpaceTek 12V to 56V DC Supplies for those who need maximum reliability across all Starlink models. Note that the Starlink Mini requires a stable 35V input, as 12V systems cause instability; always verify voltage before powering.
FAQs: Starlink Power, Bundles & Setup
Can I use a third-party power supply safely?
Third-party supplies are usable if the voltage and wattage specifications are met precisely. Starlink hardware is sensitive to underpowered sources, which can lead to reboots during high-demand periods. It is critical to verify the voltage output before connecting any hardware to the power source.
How do I factory reset my Starlink router?
For Gen 2 hardware, the power cable must be disconnected and reconnected six times in rapid succession. Gen 3 units utilise a physical reset button located on the rear of the device. The Starlink Mini requires holding the reset icon for three seconds to initiate the process.
What should I do if my cable is damaged?
Damaged cables should be disconnected immediately to prevent short circuits in the internal electronics. Using compromised cabling can lead to permanent hardware failure. Replacement with reinforced cabling designed for outdoor environments is recommended for long-term reliability.
What are the power requirements for the Starlink Mini?
The Starlink Mini requires a stable 35V input for reliable operation. Standard 12V systems often lead to power instability and frequent connection dropouts. Always verify the voltage levels before powering the unit to ensure hardware safety.
Keeping Your Starlink Power Setup Reliable Long Term
At SpaceTek Australia, we know that off-grid reliability isn't just a luxury, it's a necessity. Whether you are working from a remote station or exploring the coast, your connection is only as good as your power source and your mount.
We specialise in hardware that survives the Australian climate. From rust-resistant House Mounts to precision-engineered DC converters, we ensure your dish stays alive when you need it most. Our components are crafted from folded or precision-machined aluminium, ensuring they outperform 3D-printed parts in harsh conditions. Before you head off on your next trip, do a final system check and ensure your power chain is up to the task.
Ready to upgrade? Explore The Easiest Way to Power Your Starlink Roam with DC Options and keep your connection rock solid.

Leave a comment
This site is protected by hCaptcha and the hCaptcha Privacy Policy and Terms of Service apply.