
Why Do Starlink Power Supply Issues Knock Out Your Connection?
Starlink power supply problems usually come down to unstable DC power, tired cabling, router handshaking issues, or a firmware change that suddenly upsets a setup that used to work fine. If your dish keeps dropping out in a caravan, boat, or off-grid setup, start with power delivery, then work through the cable and router settings.
Key Takeaways
- Unstable DC voltage can make the dish reboot or lose connection, especially during start-up or heavy load.
- Damaged, loose, or poorly seated cables can trigger a “Cable Not Connected” message even when the dish itself is fine.
- Third-party routers can struggle after firmware changes if the WAN port fails to negotiate cleanly with the Starlink dish.
- Direct DC-to-DC power is usually a better off-grid option than running through an AC inverter because it is more efficient, has lower draw, and can support custom router setups.
- A methodical check of power, cabling, PoE hardware, and router settings is the fastest way to narrow down the real cause.
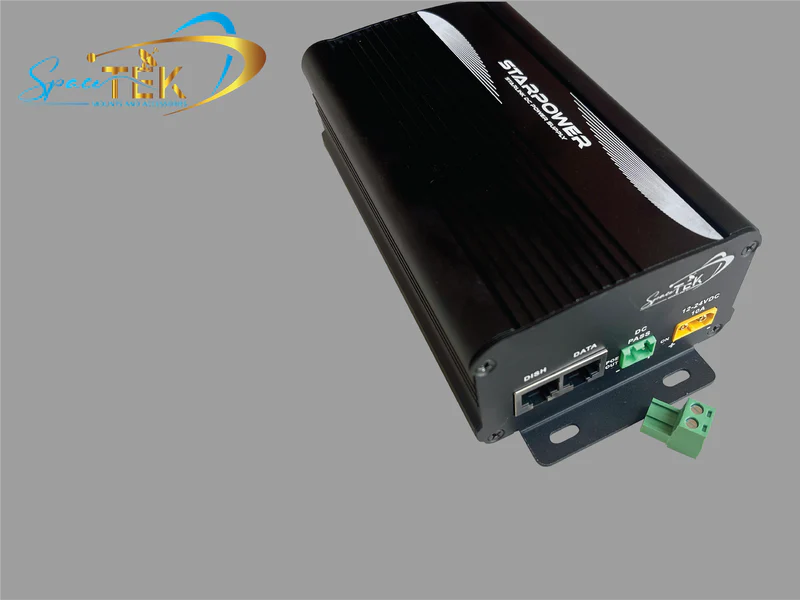
If you run Starlink off a battery system in a caravan, boat, or off-grid setup, power delivery is usually the first place to investigate. A purpose-built StarPower DC supply can help provide steadier DC-to-DC power than a traditional AC inverter, which is especially useful when you want a cleaner mobile setup without relying on the standard Starlink router.
This guide walks through the common causes in plain English, with practical checks you can do before replacing expensive gear or waiting on support.
Why Does Your Router Say “Cable Not Connected” with Starlink?
There is nothing quite like pulling into a quiet campsite, switching on your setup, and seeing “Cable Not Connected” on your router. It is one of the more common problems Starlink users run into when they pair the dish with a third-party router or a custom DC power setup.
At its core, this error means your router and the Starlink dish have lost physical or electrical communication. It might sound like a broken plug, but the cause is often linked to Starlink power supply problems. When the dish does not receive steady, clean power, its internal network connection can shut down or reboot, so the router thinks the cable has been unplugged.
Several things can cause that frustrating drop in connection:
- Physical connection drops: Starlink’s proprietary connectors, especially on Gen 2 rectangular dishes, can be fussy if they are not seated properly. Dust, moisture, or vibration on rough tracks can be enough to interrupt the connection.
- WAN port negotiation failures: The dish and your third-party router need to agree on a connection speed. If power dips or the port handshake gets messy, the router may report the cable as disconnected.
- Cable degradation: Starlink cables can cop plenty of sun, wind, movement, and tight bends in caravan installations. Internal copper fatigue or water ingress can ruin the signal.
When this happens, it is easy to assume the dish has failed. Before you go that far, work through the basics and use SpaceTek’s guide to fix Starlink power issues so you can separate a true hardware fault from a power or setup problem.
How Can You Diagnose Starlink Power Supply Problems and Hardware Wear?
When your system has worked well for months and suddenly starts throwing connection errors, you are usually dealing with hardware wear, a power delivery issue, or a silent firmware update. The trick is to test one part at a time rather than replacing parts at random.
In plenty of real-world mobile setups, the fix turns out to be simpler than expected. A router restart, a short dish power-down, or reseating the cable can temporarily clear the error and point you toward the next thing to check.

To isolate the root cause of the drop-out, work through these steps in order:
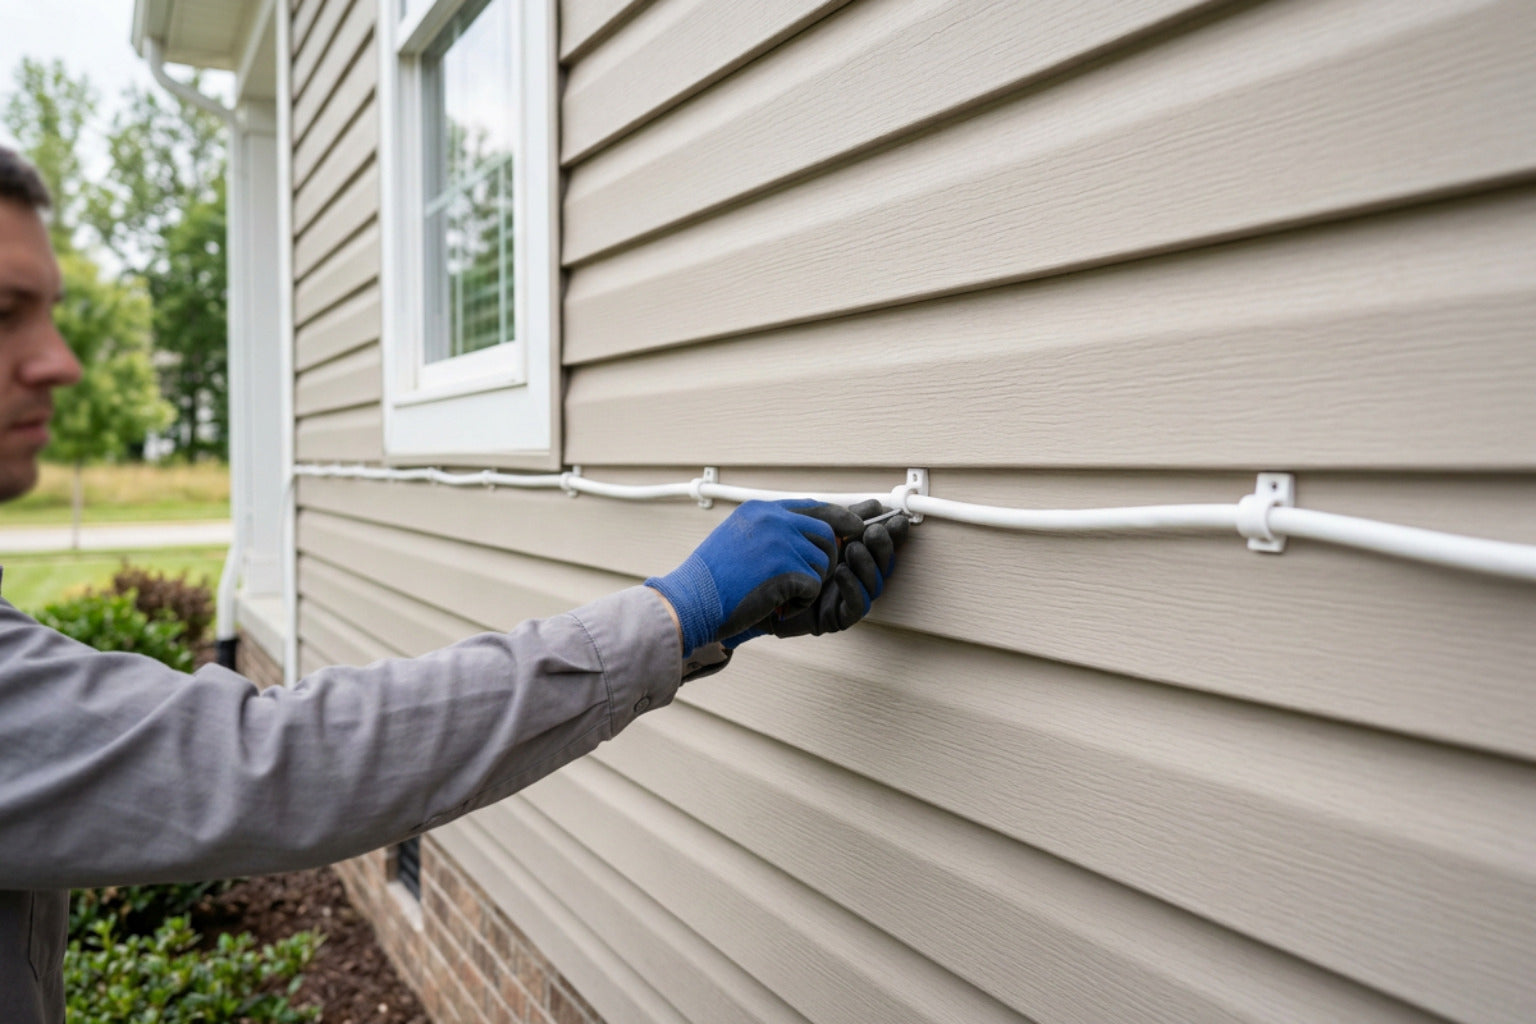
- Inspect the physical cable: Check the full length of the Starlink cable for kinks, cuts, crushed sections, tight bends, corrosion, debris, or bent pins.
- Test with the original router: If you normally use a third-party router, reconnect the original Starlink router temporarily. If it works, your dish and cable are likely okay, and the issue may sit with router settings or power delivery.
- Check voltage under load: If you are running a custom DC setup, measure the voltage entering the PoE injector while the dish starts up. A noticeable drop during start-up can point to a weak power supply.
- Bypass custom power hardware: If possible, run the dish through the standard AC setup briefly. If the error disappears, the custom PoE injector, step-up converter, or wiring needs closer attention.
For a broader breakdown across dish models, SpaceTek’s Starlink power supply guide can help you narrow down where the fault is likely to be.
How Do Custom DC-to-DC Setups Cause Starlink Power Supply Problems?
For off-grid travellers, caravan owners, and boat users, running Starlink directly from a low-voltage battery bank is the ideal setup. Bypassing the standard AC arrangement can save power and simplify your gear, but if it is not done properly, it can also become the source of Starlink power supply problems.
When you run Starlink through a traditional AC inverter, your battery power is converted up to AC, then converted back down again for the Starlink system. That double conversion wastes energy and drains batteries faster than it needs to.
A direct DC-to-DC setup gives you practical advantages:
- Better efficiency: Direct DC-to-DC power avoids the waste of running through an AC inverter, so your battery lasts longer off-grid.
- Lower standby draw: You do not need to keep a larger inverter running just to stay online.
- Cleaner custom setup: It lets you bypass the standard Starlink router and run your own efficient third-party router where the installation calls for it.
The challenge is that Starlink dishes can be demanding when they start up, search for satellites, or work harder in poor conditions. If the DC-to-DC system cannot handle those load changes, voltage can sag, the dish can reboot, and your connection can drop out. A dedicated StarPower DC supply is designed to provide steadier DC-to-DC power for mobile Starlink setups, giving you a more reliable option than a generic inverter-based arrangement. If you are planning an off-grid installation, it is worth reviewing how to power your Starlink with a StarPower 12V/24V DC supply before choosing parts.
How Should You Troubleshoot Step-Up Converters and PoE Injectors?
If you are building a custom DC setup, the two parts to pay close attention to are the step-up converter and the Power over Ethernet, or PoE, injector. In plain English, the converter helps lift battery power to what the dish needs, while the PoE injector sends power and data through the cable.
Cheap, unbranded step-up converters are a common source of custom Starlink failures. They might look strong enough on paper, but some sag under load when the dish starts up or the transmitter works harder. When that happens, the dish can crash and your router may show “Cable Not Connected”.
Your PoE injector matters too. Starlink terminals need a robust power-over-cable setup, and many standard networking switches or low-grade injectors are not built for this type of load. If the injector cannot deliver stable power, intermittent reboots are a real possibility.
Cable termination and grounding also deserve a careful look. The Starlink cable carries both data and DC power, so if you splice it or convert it to standard RJ45 plugs, use quality shielded connectors and make sure the drain wire is properly bonded to the metal housing. Poor grounding or messy cable work can create electrical noise that looks like a cable disconnection to the router.
For custom installations, keep the setup simple, use purpose-built hardware where possible, and avoid guessing with cheap electrical parts that were never designed for mobile satellite internet.
How Do Starlink Firmware Updates Affect Third-Party Routers?
Sometimes, your custom power setup can be electrically sound and your connection can still drop out overnight. When that happens, a silent Starlink firmware update may be the reason.
Starlink can push updates automatically to its dishes. These updates are meant to improve performance, but they can occasionally change how the dish’s WAN port behaves. In some setups, that change can affect the handshake between the dish and a third-party router.
Before a compatibility fix lands, users may see “Cable Not Connected” errors across multiple setups that had worked fine for months. In that situation, the issue may not be a worn-out cable or a dead dish. It may be a change in how the dish negotiates its ethernet link with the router.
If you suspect a firmware update has caused the problem, take the third-party router out of the equation for testing. Reconnect the original Starlink router, disable Bypass mode if needed, or run a temporary double NAT setup. It is not always the neatest long-term arrangement, but it can keep you online while you wait for a router compatibility update or another Starlink update.
If you use the compact Starlink Mini, the setup is a little different because the router is integrated. SpaceTek’s Starlink Mini power supply guide explains how to keep that portable model powered efficiently in mobile and camping setups.
How Can Port Settings Fix Firmware-Related Starlink Power Supply Problems?
When firmware changes disrupt the automatic link negotiation between your dish and a third-party router, you may be able to work around it through your router’s WAN port settings.
Routers usually use auto-negotiation to choose the connection speed for a cable. If a firmware issue or power dip disrupts that process, the port can get stuck trying to negotiate and eventually report “Cable Not Connected”.
Try these software adjustments on your third-party router:
- Set a fixed port speed: This can reduce maximum speed, but it may bypass the auto-negotiation problem and stabilise the connection.
- Adjust the MTU setting: MTU means Maximum Transmission Unit, or the largest packet size your router sends at once. If it is set poorly, the connection can stall under load and look like a cable fault.
- Power cycle in sequence: After a firmware change, unplug the dish power supply briefly, let the dish boot fully, then restart the third-party router so the two devices can establish a clean handshake.
Frequently Asked Questions About Starlink Power Supply Problems
The technical side of custom Starlink power can feel a bit fiddly, especially when you are trying to stay connected on the road or at a remote site. These are the questions that come up most often.
What Voltage Is Required for Custom Starlink PoE Setups?
For standard dishes, a stable high-voltage DC supply is required at the PoE injector. Exact electrical figures should come from the relevant SpaceTek specifications or your specific hardware documentation. In general terms, the goal is simple: give the dish steady, clean power at the injector so it does not reboot when demand changes.
Does MTU Size Affect Starlink Connection Status?
Yes, an incorrect MTU size can cause intermittent connection drops that feel like a physical cable issue. MTU is the largest packet size your router sends at once. If the setting is not right for the network path, traffic can stall under load and make the connection look unstable.
How Do I Temporarily Bypass a Starlink Firmware Bug?
If a recent firmware update has broken your third-party router integration, the easiest workaround is to test with the original Starlink router again. Disable Bypass mode if needed, connect your third-party router behind it, and use that temporary setup until a compatibility fix is available.
How Do You Keep Your Starlink Setup Reliable Off-Grid?
Fixing Starlink power supply problems is mostly about understanding how power and data work together. Whether you are dealing with a firmware hiccup, a loose proprietary plug, or voltage sag in a caravan setup, a calm, step-by-step check will usually get you closer to the real cause.
If your dish travels with you around Australia, physical stability matters just as much as electrical reliability. Corrugated roads, heavy winds, salt air, and rough campsites can all punish a poorly secured setup.
At SpaceTek Australia, we design and manufacture premium, heavy-duty Starlink mounts built for harsh Australian conditions. Our components are precision-machined from folded aluminium and reinforced composites, so they are strong, rust-resistant, and built to last. Explore SpaceTek Australia’s Starlink mounts to keep your dish secure, stable, and properly positioned for your next trip.

Leave a comment
This site is protected by hCaptcha and the hCaptcha Privacy Policy and Terms of Service apply.