
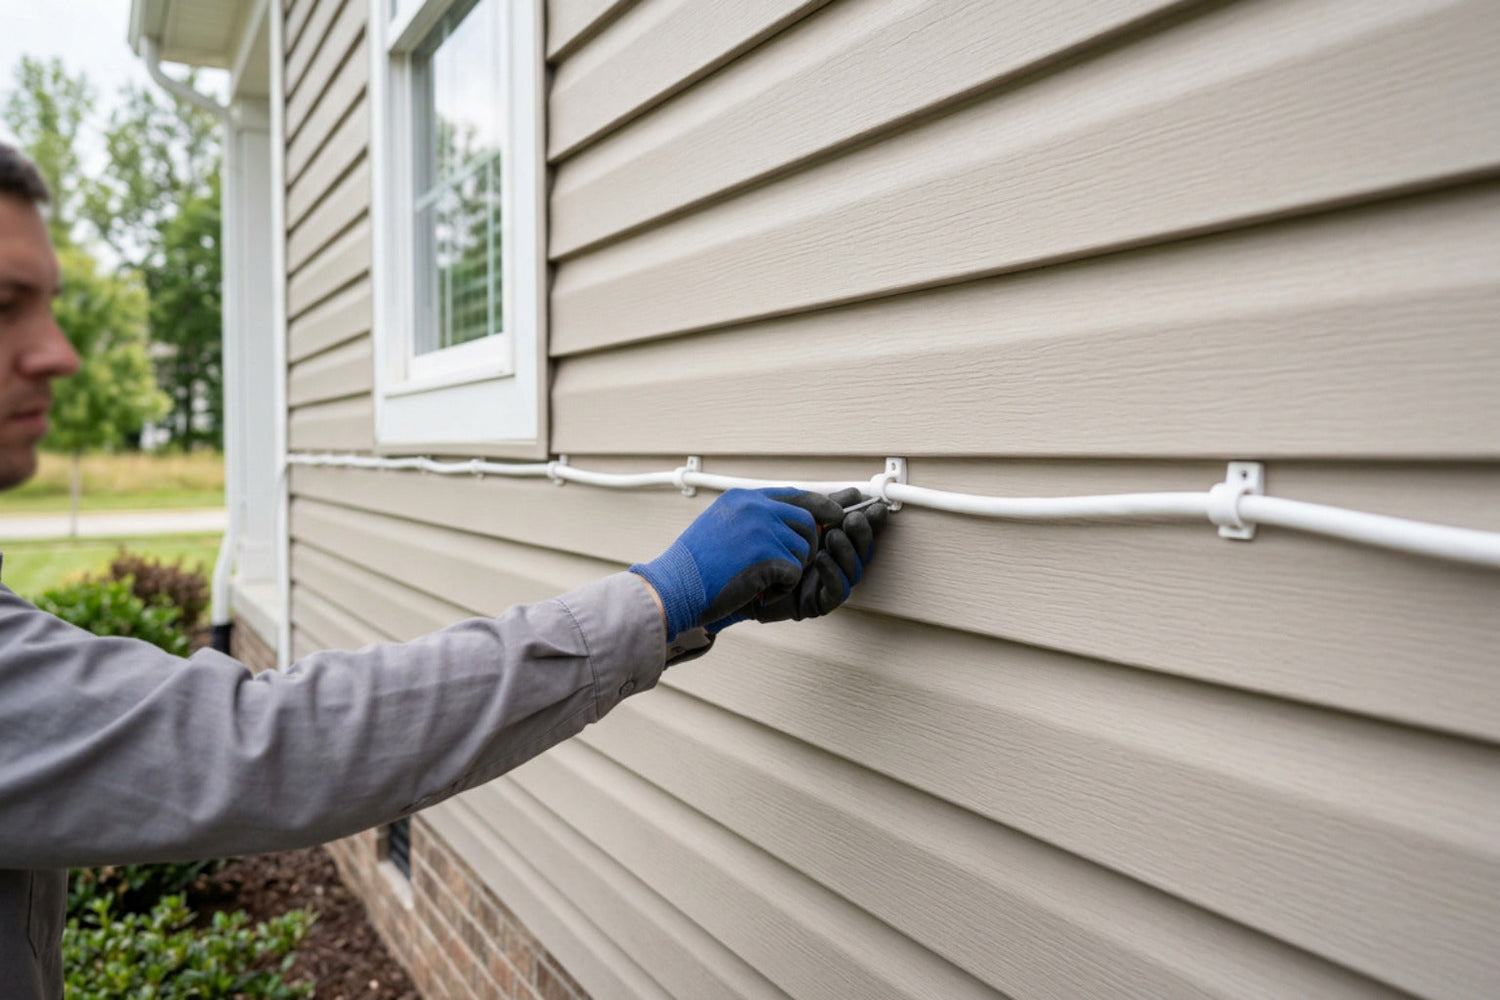
Starlink cable routing clips keep your dish cable tidy, supported, and protected from rubbing, wind movement, and accidental pulls around your home, shed, caravan, or remote setup.
Key Takeaways
- Choose cable clips that match the outside diameter of your Starlink cable so the cable is held securely without being pinched.
- Screw-in clips are usually the most reliable choice for permanent outdoor runs on walls, eaves, fascia boards, and sheds.
- Adhesive mounts and clamp-style options can suit caravans, 4WDs, and temporary setups when drilling is not ideal.
- Good cable routing helps prevent sagging, sharp bends, water tracking, and strain on the dish or router connector.
- For Australian conditions, prioritise UV-stabilised materials, corrosion-resistant fixings, and neat weatherproofing.
What Are Starlink Cable Routing Clips Used For?
Starlink cable routing clips are specialised fasteners that secure the satellite dish cable neatly along exterior walls, eaves, baseboards, roof structures, caravans, or touring setups. The right clips help prevent sagging, rubbing, physical damage, and signal disruption while keeping the installation tidy and easy to inspect.
For most home, farm, caravan, and remote-property installs, choose clips that suit the cable size, mounting surface, and level of weather exposure. Screw-in clips are generally the dependable option for long exterior runs, especially where wind, rain, UV, and movement are part of the job.
A well-routed cable is a small detail with a big job. It protects the connection between your Starlink dish and router without pinching the cable or forcing it around sharp corners.
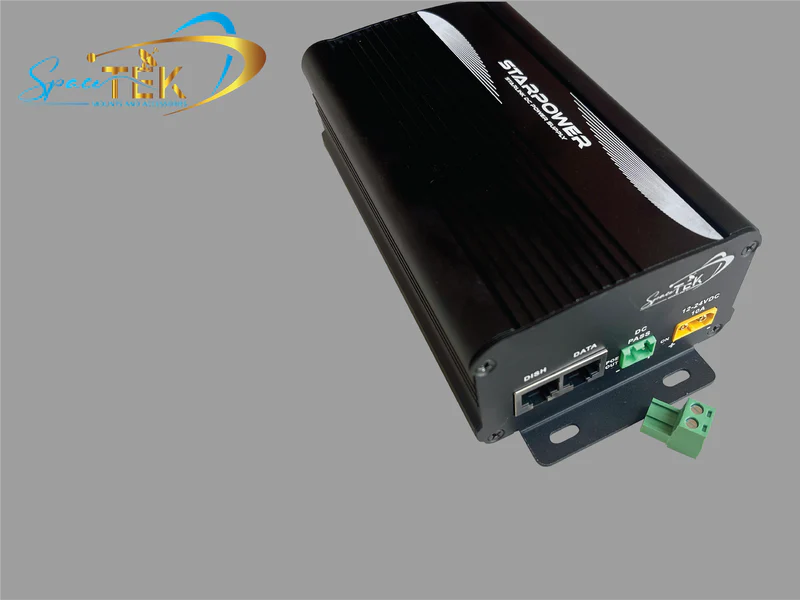
SpaceTek Australia focuses on Australian-designed Starlink accessories, DC power solutions, and mobile Starlink mounts for people who need reliable connectivity beyond the city limits. When powering off-grid setups, StarPower V2 and V3 DC power supplies offer distinct DC-to-DC efficiency advantages over AC inverters due to higher efficiency, lower draw, and the ability to bypass the Starlink router for custom configurations. This guide walks you through compatible clip styles and what to consider before fastening a cable to your home, shed, vehicle, or campsite setup.
Why Does Proper Cable Routing Matter for Starlink Installations?
When you invest in satellite internet, the first things you usually think about are a clear view of the sky and the right Starlink mount for your roof, shed, caravan, or touring setup. Cable management can feel like a small afterthought, but it has a big impact on how tidy and durable the installation feels day to day.
Out in the Australian elements, an unsecured cable can be exposed to wind sway, UV, rain, and physical strain. Over time, constant movement against tin roof edges, brickwork, or timber cladding can wear away the outer protective jacket and increase the risk of moisture getting where it should not.
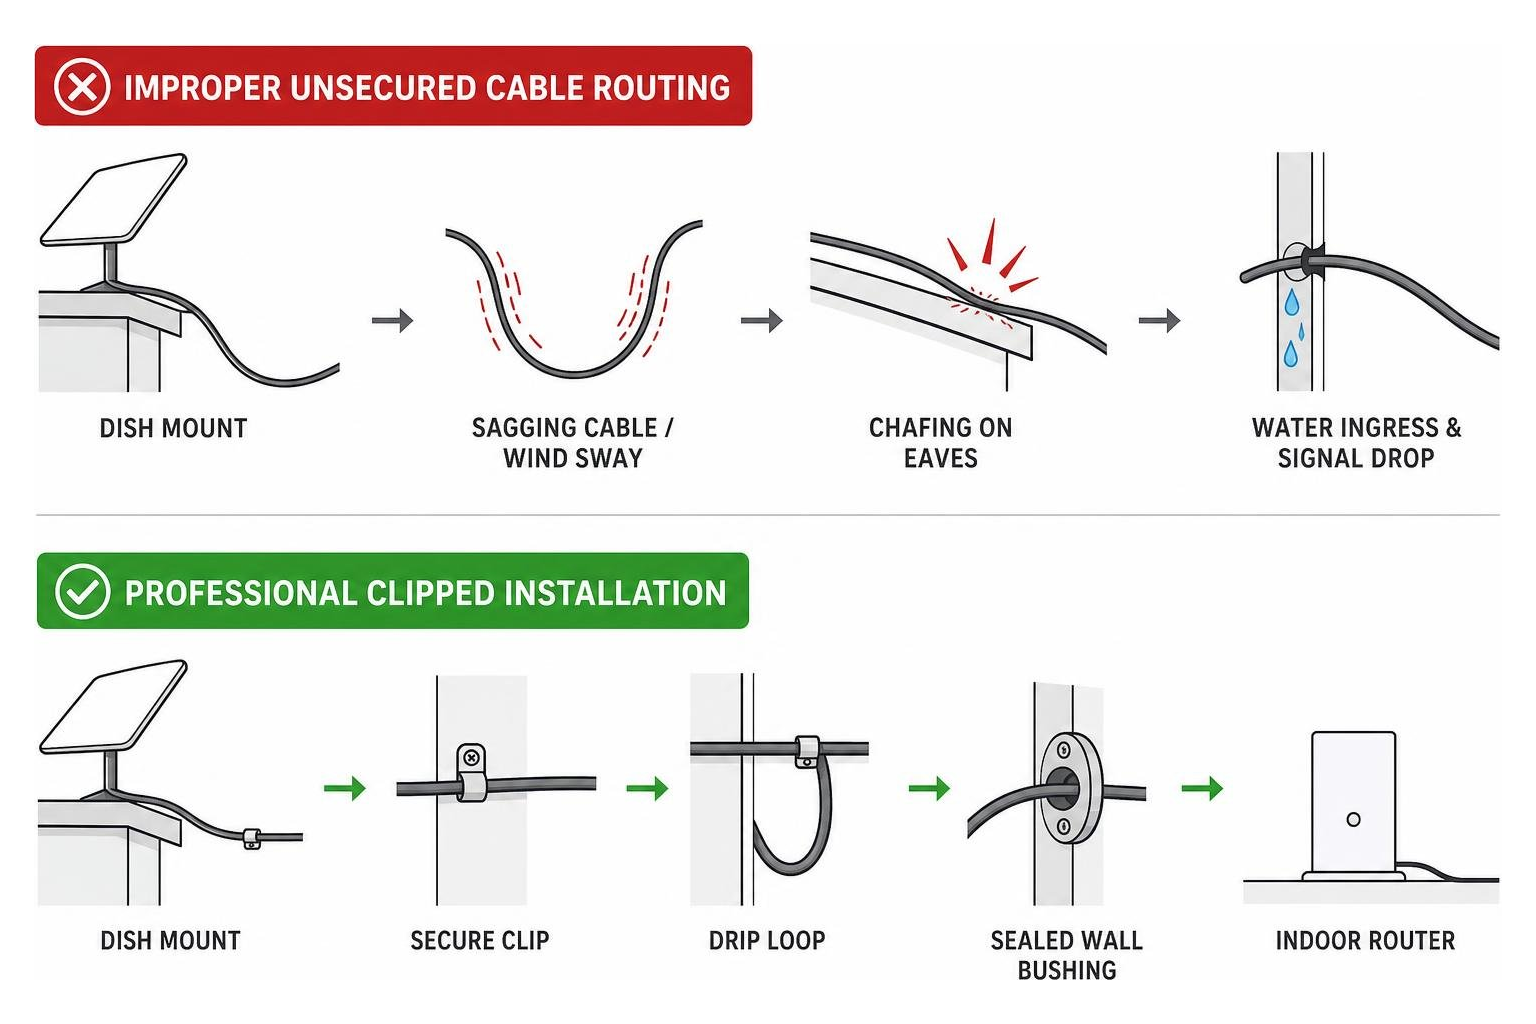
Beyond protecting the outer jacket, good starlink cable routing clips provide useful strain relief at key stress points. The plug connector attached to your dish or router is not designed to carry the weight of a long cable hanging from it, so clipping the cable properly helps take that load off the connector.
To keep the cable in good shape, avoid extreme tension, sharp bends, and crushing pressure. A neat clipped path keeps the cable supported, reduces sagging across open spans, and makes the whole installation easier to check later. For more installation context, see the overlooked step in Starlink mounting: cable management.
How Do You Choose the Best Starlink Cable Routing Clips?
Choosing the right clips starts with three simple questions: where is the cable running, what surface are you fixing into, and how exposed will the cable be to sun, wind, rain, dust, and movement?
Standard Starlink satellite cables vary in outside diameter depending on the dish generation, so avoid guessing with generic clips. Hardware designed for thicker coaxial TV cable may leave the Starlink cable loose, while clips made for thin low-voltage wire may squeeze the jacket too tightly.

In Australian conditions, weather resistance matters. Cheap plastics can become brittle in harsh sunlight, while better outdoor clips use UV-stabilised polymers, reinforced composite materials, or corrosion-resistant stainless steel fixings for longer-term performance.
When Are Screw-In Starlink Cable Routing Clips Best?
For exterior cladding, timber eaves, brickwork, and exposed fascia boards, screw-in cable clips usually offer the strongest and neatest hold. Unlike nail-in clips, which can loosen over time in hard timber or mortar, screw-fastened clips are easier to control and more secure for permanent outdoor runs.
Some clip designs include integrated internal ridges that help hold the cable in place without crushing the conductors. The goal is a firm hold, not a clamp that bites so hard it damages the jacket.
When attaching screw-in clips to masonry, brick, or concrete, use suitable wall anchors and pre-drill clean pilot holes. That helps prevent surface damage and gives the fastener a stronger hold in the substrate.
When Do Adhesive Mounts or Heavy-Duty Clamps Make More Sense?
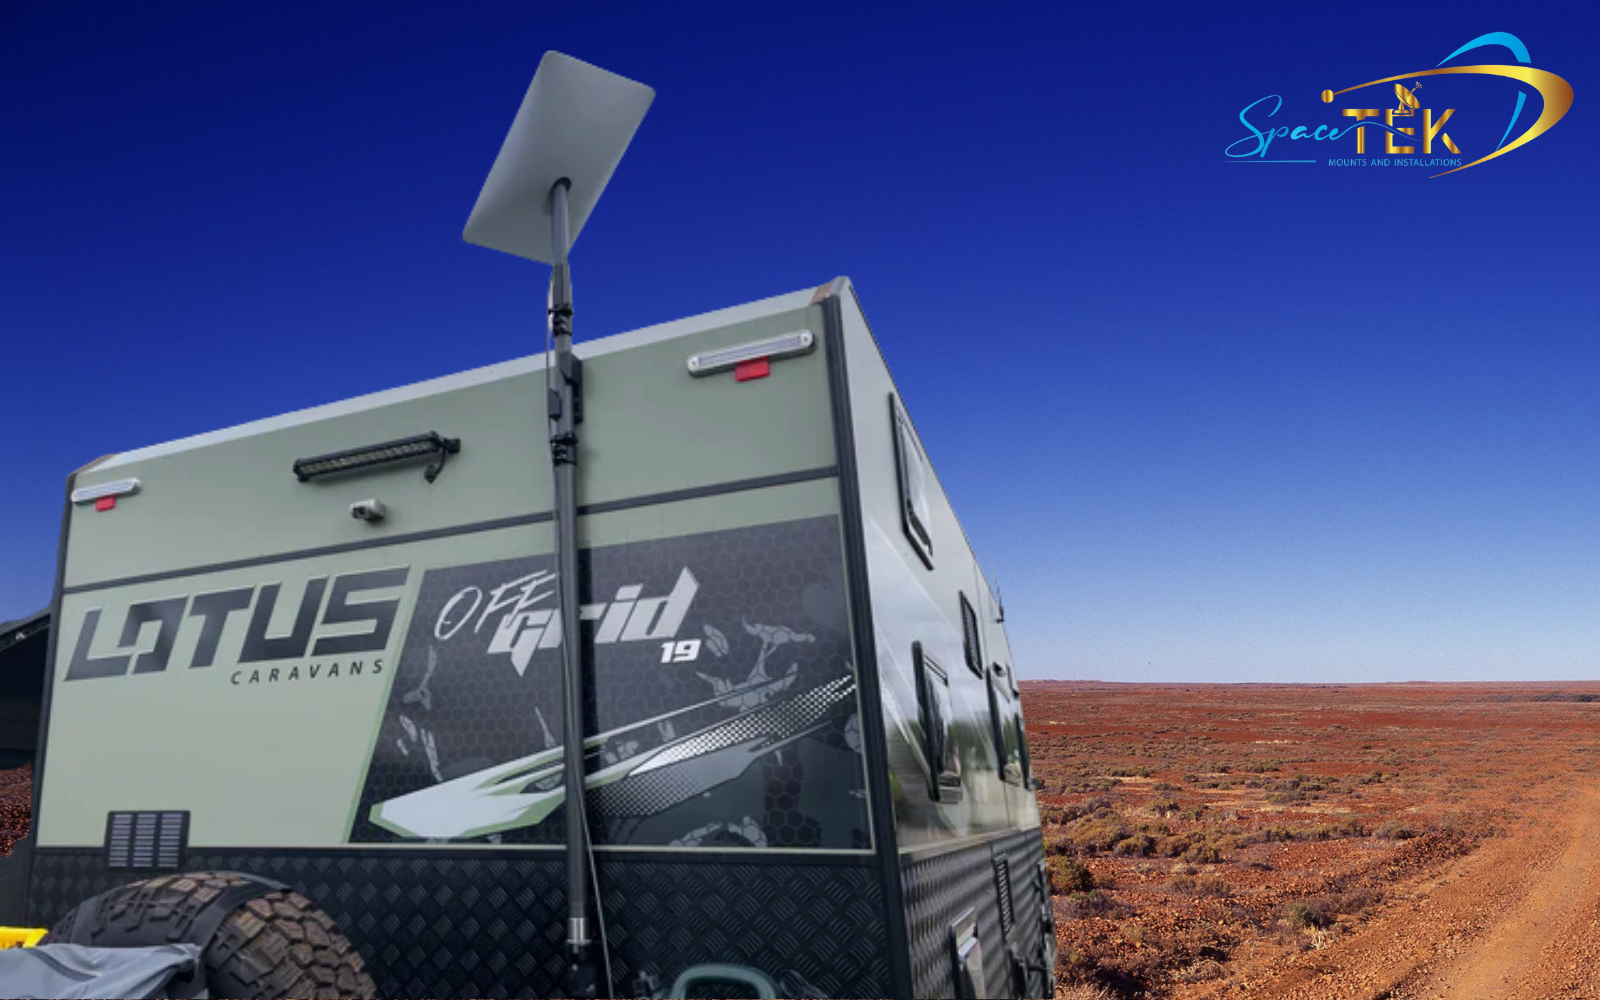
Screw-in clips are usually the best choice for permanent homes and sheds, but adhesive-backed mounts and mechanical clamps can be handy for caravans, 4WDs, roof racks, poles, and temporary touring setups where drilling holes is not ideal.
Screw-in cable clips suit timber, brick, masonry, and exterior siding because they offer strong holding power for permanent wall routing.
Adhesive cable mounts work best on smooth sheet metal, fibreglass, and glass. They are useful for interior caravan cabinetry, vehicle trim, or smoother protected surfaces, but direct heat and sunlight can reduce adhesive life over time.
Heavy-duty mechanical clamps suit vehicle roof racks, poles, and tubing. They hold by clamping around an existing structure, which can be useful for off-road and temporary Starlink setups.
For maximum reliability when touring off-road, use screw-in or clamp-style clips for long exterior runs. Keep adhesive clips for clean, protected interior cable paths where heat, dust, and weather exposure are lower.
How Do You Install Starlink Cable Routing Clips Neatly?
Installing starlink cable routing clips cleanly starts with planning the route before you drill, drive a screw, or feed the cable through a wall. A few extra minutes with a tape measure can save unnecessary holes and help keep the cable protected from strain.
Before beginning, refer to official guidance such as the official cable routing kit guide so you understand basic clearance and routing requirements.
How Should You Prepare the Cable Path and Penetration Point?
Start by mapping the shortest practical path from your roof Starlink mount or wall Starlink mount to your indoor router location. Avoid sharp gutter corners, hot flues, high-traffic areas, and places where boots, tools, or camping gear could catch the cable.
When preparing to drill through an exterior wall, follow these steps:
- Check for hidden utilities: Use a reliable stud finder and wire detector to make sure the wall entry point is clear of timber studs, electrical wiring, and plumbing pipes.
- Select the proper drill bit: Check your Starlink cable connector size before drilling, then use a hole size that allows the connector to pass through without force. Use a sharp spade bit for timber or a masonry bit for brick and concrete.
- Drill at a downward angle: Drill so the hole slopes slightly down towards the outside. This helps stop rainwater from tracking along the cable and into the wall cavity.
- Wear safety gear: Use protective goggles, a dust mask, and gloves when drilling through brick, fibre cement sheeting, or concrete.
For help choosing a fuller hardware package, see the Starlink cable management kit guide.
How Should You Fasten Clips and Weatherproof the Penetration?
Once your wall penetration hole is drilled and cleared of debris, use this checklist to secure the cable and seal the entry point:
- Set sensible cable clip spacing: For horizontal and vertical exterior runs, space clips closely enough that the cable does not sag or catch wind. Avoid placing them so close together that the run looks cluttered.
- Form a drip loop: Just before the cable enters the wall, create a gentle downward loop below the entry point. This helps rainwater drip off the lowest part of the loop instead of following the cable into the wall.
- Pre-drill pilot holes: When securing screw clips into timber or composite trim, pre-drill small pilot holes to reduce splitting and make the screws easier to seat neatly.
- Fit weather seals and silicone: Use suitable wall grommets, bushings, and exterior neutral-cure silicone sealant to help block wind, rain, insects, and dust.
- Avoid over-tightening: Fasten each clip firmly enough to hold the cable, but do not tighten so hard that the clip pinches into the outer jacket.
For more on cable handling, plug care, and jacket protection, read the detailed guide to Starlink satellite cable.
What Else Should You Know About Starlink Cable Routing?
How Large Should the Wall Hole Be for a Starlink Cable?
The correct wall penetration size depends on your Starlink cable and connector generation, so check the current cable and official installation guidance before drilling. The hole should be large enough for the connector to pass through cleanly without being squeezed, twisted, or forced.
Never force the connector through a smaller hole. Squeezing the plug housing can damage the connector and create connection issues that are much harder to fix later.
What Tools Do You Need to Install Screw-In Cable Routing Clips?
For a typical exterior wall cable clipping job, it is worth having these basics ready:
- Cordless drill and driver set
- Drill bits suited to the wall material and any cable penetration
- Pilot drill bits matched to your clip screws and wall anchors
- Stud finder with electrical cable detection
- Driver bit matched to your clip fasteners
- Exterior neutral-cure silicone sealant and suitable wall grommets
- Safety gear, including goggles, dust mask, and work gloves
Can Starlink Cables Be Buried or Left Exposed to Weather?
Standard Starlink dish cables are designed for outdoor exposure, but they should still be protected from abrasion, crushing, and long-term standing water. They should not be treated as a direct-burial cable unless the specific cable documentation says so.
If you need to run a cable underground across a lawn, driveway, or shed path, route it through suitable electrical conduit. Conduit helps protect the cable from moisture, ground movement, tools, lawn equipment, and accidental crushing.
How Do You Keep Your Starlink Setup Reliable for the Long Haul?
Taking the time to route and fasten your satellite cabling properly turns a messy DIY setup into a cleaner, more reliable installation. Durable starlink cable routing clips, sensible spacing, drip loops, and weatherproof wall penetrations all help protect the cable from wind, UV, abrasion, and water intrusion.
At SpaceTek Australia, we build tough precision-machined and folded aluminium dish mounts designed for Australia's harsh conditions. Whether you are setting up a permanent residential Starlink mount, a remote shed connection, or Starlink Mini gear for an off-road caravan trip, tidy cable management helps your connection stay rock-solid wherever you travel.
Looking for weather-resistant Starlink mounts, custom DC power setups, or robust touring gear? SpaceTek's StarPower V2 and V3 DC power supplies offer significant DC-to-DC efficiency advantages over AC inverters due to higher efficiency, lower power draw, and the ability to bypass the Starlink router for custom installations. Explore the Starlink cable management solutions range to build a clean, reliable setup.

Leave a comment
This site is protected by hCaptcha and the hCaptcha Privacy Policy and Terms of Service apply.