
What Is Starlink Cable Management and Why Does It Matter?
Starlink cable management is the process of planning, routing, protecting, and storing the cables that connect your Starlink dish to your router and power supply to ensure a stable connection, a clean installation, and long-lasting equipment. Proper management prevents water damage, signal drop-outs, and expensive repairs caused by environmental wear or wildlife.
Here are the core cable management solutions every Starlink owner should know:
- Route cables through walls using a 19.05mm (¾") hole with a silicone grommet and weatherproof sealant
- Always create a drip loop before any wall or roof entry point to stop water tracking inside
- Run outdoor cable runs through UV-resistant conduit to protect against sun, weather, and wildlife
- Secure cables every 30–50 cm using UV-resistant clips or zip ties
- Coil excess cable in a loose figure-eight pattern and secure with Velcro straps
- Match your approach to your Starlink generation: Gen 2 uses a proprietary connector while Gen 3 uses standard RJ45
For Aussie users especially, the stakes are higher than most. Harsh UV, coastal salt air, and local wildlife like cockatoos and possums can destroy an unprotected cable run faster than you'd think. A bit of planning upfront saves a lot of frustration and cost down the track.
This guide covers everything you need: wall routing, outdoor protection, RV setups, generation-specific differences, and the right accessories to get it all sorted properly.
Why Is Proper Starlink Cable Management Critical for Your Connection?
Many people treat cable management as an afterthought, just a bit of cleanup once the dish is safely mounted. In reality, how you route, secure, and protect your cable is the absolute foundation of a reliable high-speed connection.
Without proper Starlink cable management, your setup is exposed to a range of environmental and physical threats. The heavy-duty cable that runs from your dish to your router carries both critical high-frequency data and power using Power over Ethernet (PoE). This dual role makes it highly sensitive to physical stress and environmental wear.
In Australia, the elements are notoriously tough on outdoor electronics. Unprotected cables left loose on roofs or dangling down walls face extreme UV exposure, which can make the outer PVC jacket brittle and prone to cracking within just a few seasons. Once the jacket cracks, moisture creeps in, leading to corrosion and immediate signal degradation.
Then there is the local wildlife. Cockatoos, galahs, possums, and rats love nothing more than chewing on exposed, dangling cables. A single bite can slice through the internal copper conductors, instantly knocking your system offline.
Physical stress is another silent killer of Starlink setups. Wind can cause loose cables to flap constantly against the edges of metal roofs or gutters, slowly wearing away the insulation. Furthermore, if a cable is pulled too tight or bent around sharp corners, it pinches the internal twisted pairs of wires, causing packet loss and mysterious drop-outs that are incredibly frustrating to diagnose.
Investing a little extra effort into protecting your cable run saves you from having to buy expensive replacement cables and climbing back onto your roof. For a deeper dive into why this phase of your installation is so crucial, check out our guide on the overlooked step in Starlink mounting: cable management.
How Do You Route Starlink Cables Through Walls Safely?
Routing your Starlink cable from the great outdoors into your living room or office requires a clear plan. You cannot simply pinch the cable in a window frame or slide it through a door jamb. This will crush the internal wires and ruin your connection. You must run the cable through a dedicated, weatherproof wall penetration.
When drilling through an exterior wall, the goal is to make the smallest hole possible while still allowing the connector to pass through safely. Because Starlink cables fold relatively flat, the maximum diameter needed to fit the cable through a wall is exactly 19.05mm (¾”).
The routing process differs slightly depending on your wall material:
- Standard Timber and Weatherboard Walls: A standard spade bit is perfect for drilling through timber, plasterboard, or weatherboard. Always use a stud finder first to ensure you do not drill into structural studs, electrical wiring, or plumbing.
- Masonry, Brick, or Hard Stucco Walls: You will need a hammer drill and a masonry drill bit. Because brick and concrete are highly abrasive, take your time and wear safety goggles, gloves, and a dust mask.
To ensure a clean, watertight installation, follow this sequence:
- Locate and Drill: Select a spot that aligns with where you want your router to sit inside. Drill the hole at a slight downward angle from the inside pointing out. This natural slope prevents rainwater from running down the hole toward your interior wall.
- Route from the Outside In: Always feed the cable from the outside of the building to the inside. This ensures you do not jam the connector or place unnecessary tension on the cable during the pull. Refer to the official Starlink cable instructions for specific safety warnings.
- Install Wall Bushing Grommets: Use high-quality silicone wall grommets to line the drilled hole. Grommets protect the cable from the sharp, abrasive edges of the drywall or brick, seal the opening against dust and insects, and prevent moisture from seeping into your wall cavity.
- Create a Drip Loop: Before the cable enters the wall grommet on the outside of your home, let the cable loop down slightly below the entry hole before curving back up into the wall. This simple loop forces rainwater to pool and drip off the bottom of the curve rather than tracking along the cable directly into your home.
- Seal the Entry: Once the cable is in place, apply a generous amount of neutral-cure exterior silicone sealant around the exterior grommet to guarantee a completely weatherproof seal.
Essential Tools for Starlink Cable Management Wall Entry
To complete a professional wall entry, you need the right tools on hand before you start drilling. Having a proper toolkit ensures you do not damage your home or your expensive Starlink hardware.
We recommend gathering the following items:
- A high-quality drill: A standard drill for wood/plaster, or a hammer drill if you are tackling double-brick or masonry.
- The correct drill bits: A 19.05mm (¾”) or 25.4mm (1") spade bit for timber walls, and a matching masonry bit for brick.
- Silicone wall grommets: Flexible silicone grommets protect the cable and seal the hole beautifully.
- Neutral-cure silicone sealant: Excellent for weatherproofing without corroding plastic cable jackets.
- UV-resistant wall clips: Essential for securing the cable neatly along your exterior walls every 30 to 50 cm.
- Heavy-duty cable ties: Perfect for bundling any neat coils of cable.
Using high-quality materials prevents the common pitfalls of DIY routing, such as water damage, pest intrusion, or cable chafing. For a complete breakdown of compatible cable accessories, read our Starlink cables: complete guide 2026.
What Are the Best Practices for Mobile and RV Setups?
For grey nomads, campers, and off-grid adventurers, managing your Starlink setup on the road presents a unique set of challenges. Unlike a fixed residential installation where you set and forget, an RV setup requires you to deploy and pack down your dish regularly.
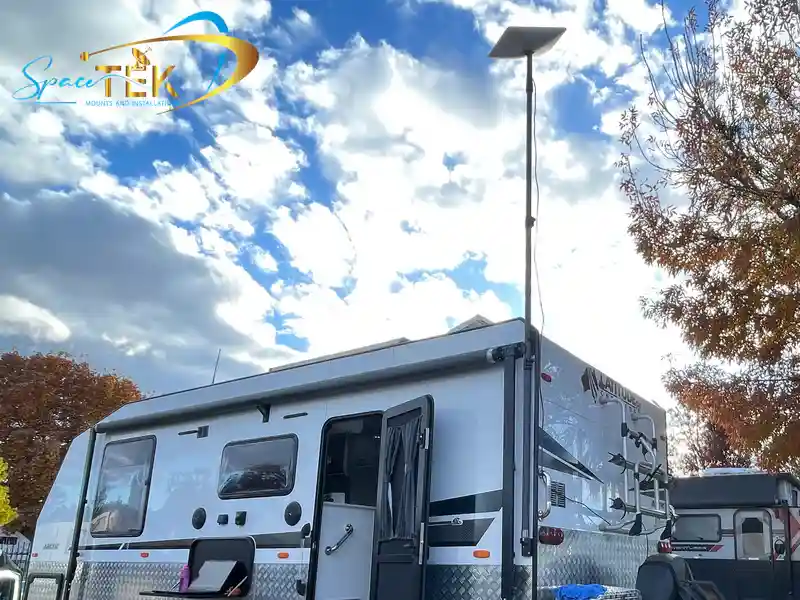
When routing your cable into an RV or caravan, permanent and temporary entry methods both have their places:
- Waterproof bulkhead connectors: This is an excellent option for permanent installations. Installing a waterproof RJ45 bulkhead connector on the exterior wall of your caravan allows you to plug your outdoor cable directly into the side of your van, keeping the interior runs completely sealed and permanent.
- Slide-out seals: If you prefer not to drill holes in your caravan, routing the cable through the rubber weather seals of a slide-out is a popular temporary method. Many caravan owners run their cables this way for years without leaks, provided they make sure the cable is not pinched or crushed when the slide-out is operated.
- Cable clams and cord grips: These marine-grade fittings are perfect for running a cable through a caravan roof or storage bay. They compress tightly around the cable jacket to provide a completely watertight seal while offering excellent strain relief.
When packing up, always follow a consistent routine. Unplug the cable carefully, inspect the connectors for dirt or moisture, and store the cable securely to prevent it from bouncing around in your storage bays during transit. For a comprehensive look at setting up your caravan for mobile internet, check out the Starlink RV cable routing guide for reliable installs.
Managing Excess Length With a Starlink Cable Management Reel
The standard Starlink cable is 23 metres long, which is fantastic when you need to clear tall trees at a campsite, but it leaves you with a massive pile of excess cable when the dish is mounted right next to your caravan. Managing this excess length is crucial for keeping your campsite tidy and preventing trip hazards.
Never wrap your Starlink cable tightly around your hand and elbow like a standard extension cord. This tight coiling twists the internal conductors, leading to kinks and eventual cable failure.
Instead, use these best practices for storing and managing excess length:
- The figure-eight pattern: Lay the cable on the ground in a loose figure-eight pattern. This technique neutralises the natural twist of the cable, allowing it to lie completely flat without kinking when you pull it back out. Secure the loose bundle with soft Velcro straps rather than tight plastic zip ties.
- Use a cable reel: A compact, dedicated cable reel is an excellent storage solution for mobile users. When winding your cable onto a reel, find the middle of the lead first, protect the centre bend with a short piece of conduit, and wind it onto the reel doubled-up.
- Keep your connectors free: Leave about one metre of cable free at each end of the reel. This allows you to connect your dish and router without having to unwind the entire length of the cable if you are parked close to your setup.
Powering Your Off-Grid Setup With Direct DC Power
One of the biggest game-changers for mobile and off-grid Starlink users is moving away from standard AC power. Running your Starlink system through a traditional 240V inverter is highly inefficient, as converting your caravan’s 12V or 24V DC battery power to 240V AC, only for the Starlink power supply to convert it back down to DC, wastes a significant amount of energy.
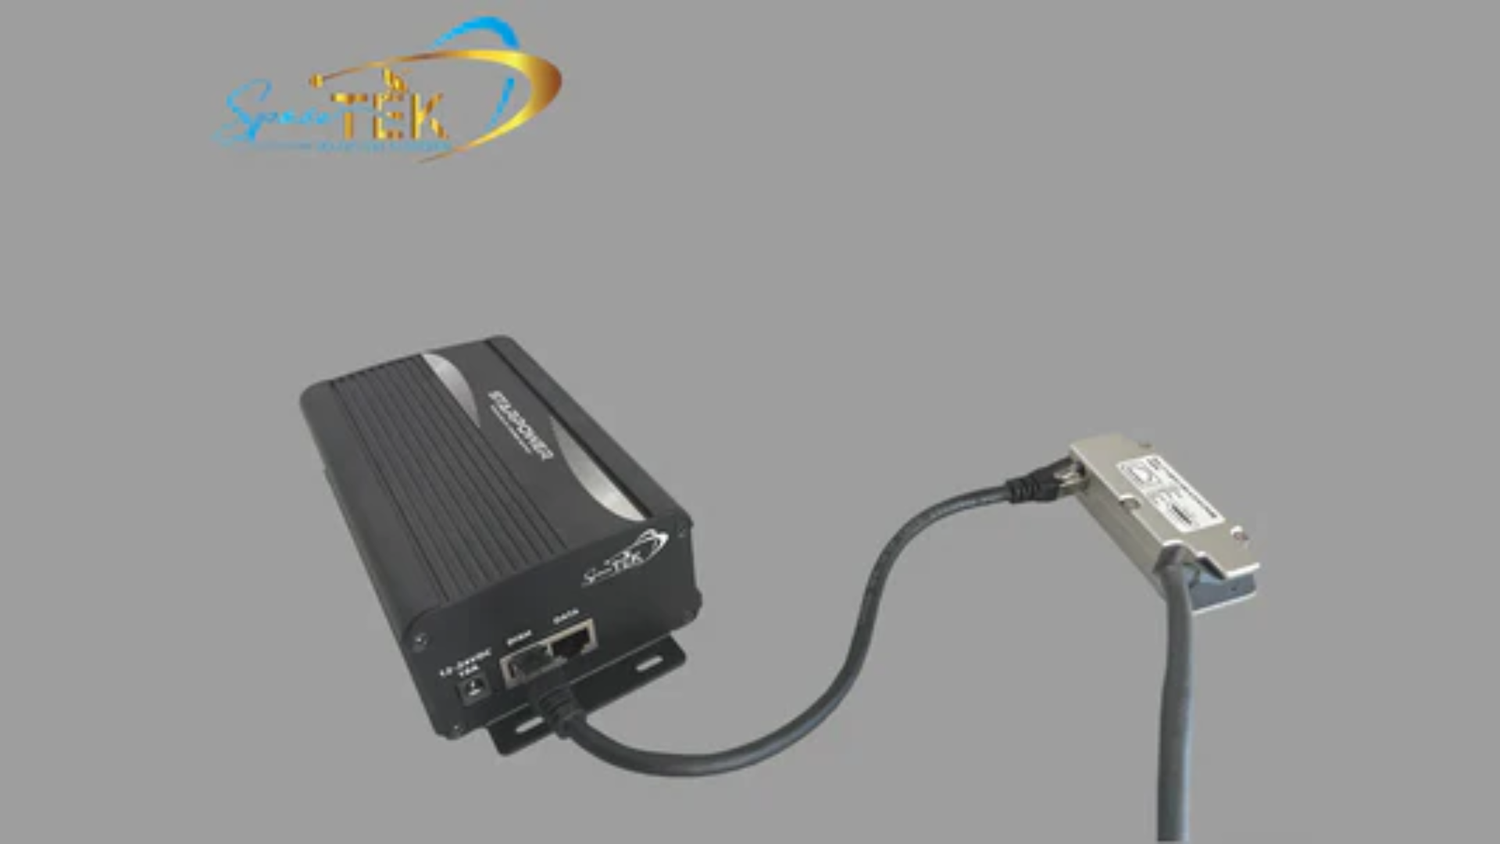
At SpaceTek Australia, we specialise in premium, highly efficient off-grid power gear designed to solve this exact problem. Bypassing the standard Starlink router and power supply in favour of a direct DC-to-DC setup drastically reduces your power consumption.
Our range of StarPower V2 and V3 DC power supplies allows you to power your Starlink dish directly from your caravan’s battery system. Key benefits of upgrading to a direct DC system include:
- Maximum energy efficiency: Our StarPower V2 and V3 DC power supplies offer significant DC-to-DC efficiency advantages over traditional AC inverters by eliminating the power loss associated with running a large inverter.
- Lower battery draw: Bypassing the standard router and using a high-efficiency DC-to-DC booster significantly lowers your overall battery consumption, keeping your batteries charged for longer.
- Custom router setup: Direct DC power supplies let you use your own high-performance 12V travel router, giving you better Wi-Fi range and advanced networking control inside your van.
- Clean installation: Minimises cable clutter by removing bulky AC power bricks and replacing them with compact, professionally engineered DC power modules.
How Do Cable Requirements Differ Between Starlink Generations?
As Starlink hardware has evolved, the cables and connectors used to power the systems have changed dramatically. Understanding which generation you own is essential for choosing the right Starlink cable management accessories.
- Starlink Gen 2 (Actuated): This system uses custom, proprietary connectors at both the dish and router ends. These plugs are notorious for being fragile and difficult to route. Because of their unique shape, they require a 19.05mm wall hole and must be handled with extreme care to avoid bending the delicate pins.
- Starlink Gen 3 (Standard V4): Gen 3 represents a massive leap forward by switching to standard, shielded RJ45 connectors. This change makes cable management and custom routing significantly easier. The cable is essentially a high-quality, weather-resistant Cat6 Ethernet cable, meaning you can use standard RJ45 tools, wall plates, and couplers. For more details on this cable, see our guide on the Gen 3 Starlink cable.
- Starlink Mini: Designed for ultimate portability, the Starlink Mini features a built-in router directly inside the dish. Because of this, you only need to manage a DC power cable rather than a heavy-duty data cable. The Mini is incredibly efficient and can be powered via USB-C PD or direct DC connections, making it the ultimate lightweight camping companion.
Protecting Fragile Connectors During Starlink Cable Management
Regardless of which Starlink generation you use, the connectors are the most vulnerable part of the system. Dirt, moisture, and physical tension are the leading causes of connector failure.
To protect your connections, always apply proper strain relief. Never let the weight of a long vertical cable run hang directly from the connector port on your dish or router. Secure the cable to your mount or wall within 15 to 30 cm of the connection point using a UV-resistant clip or a loose zip tie. This ensures that any wind load or physical pulling forces are absorbed by the structure rather than the plug.
Additionally, maintain a gentle curve on your cable runs. Never force your Starlink cable into sharp 90-degree turns. Always maintain a minimum bend radius of 50mm (2 inches). Bending the cable too sharply damages the internal copper shielding and leads to performance issues. When it comes time to pack up or service your system, make sure you know how to unplug a Starlink Gen 3 cable safely without stressing the locking tabs.
Frequently Asked Questions About Starlink Cable Management
Can I Bury My Starlink Cable Directly in the Ground?
No, you should never bury your Starlink cable directly in the dirt. The standard Starlink cable is not rated for direct burial or continuous submersion in water. Over time, soil moisture, acidic ground conditions, and burrowing pests will eat through the outer PVC jacket, ruining your connection.
If you need to run your cable underground to clear an obstacle or keep your lawn tidy, always run it through heavy-duty, UV-resistant PVC electrical conduit. Glue all conduit joints securely to prevent water ingress, and bury the conduit at a safe depth, usually 300mm to 450mm down, to avoid accidental damage from lawnmowers or garden spades.
What Is the Maximum Length I Can Run a Starlink Cable?
The standard Starlink cable supplied with your kit is 23 metres, or 15 metres for the Gen 3 and Mini. If you need a longer run to clear obstructions like tall trees or buildings, Starlink offers an official 46-metre replacement cable.
We do not recommend extending your dish-to-router cable beyond 46 metres. Because Starlink uses Power over Ethernet (PoE) to send high-voltage DC power up to the dish, extending the cable further causes a significant voltage drop. This power loss can cause your dish to reboot constantly, fail to melt snow, or lose its connection entirely during heavy rain or peak usage.
How Do I Protect My Starlink Cable From Australian Wildlife?
Aussie wildlife is uniquely tough on outdoor cabling. Cockatoos, galahs, and rodents love to chew on soft plastic, and an exposed Starlink cable is an easy target.
The absolute best defense against wildlife damage is to run all exposed outdoor cable sections through UV-resistant conduit or heavy-duty split-loom tubing. Ensure the conduit runs all the way from your roof mount directly to your wall entry point, leaving no vulnerable gaps for curious beaks or teeth to access.
Building a Reliable Starlink Cable Setup
Taking the time to plan and execute proper Starlink cable management is the single best way to protect your investment and guarantee a lightning-fast, rock-solid internet connection. Whether you are routing a permanent cable run through a brick wall at home or deploying a portable setup at a remote campsite, using the right techniques, like drip loops, conduit, and gentle bend radiuses, makes all the difference.
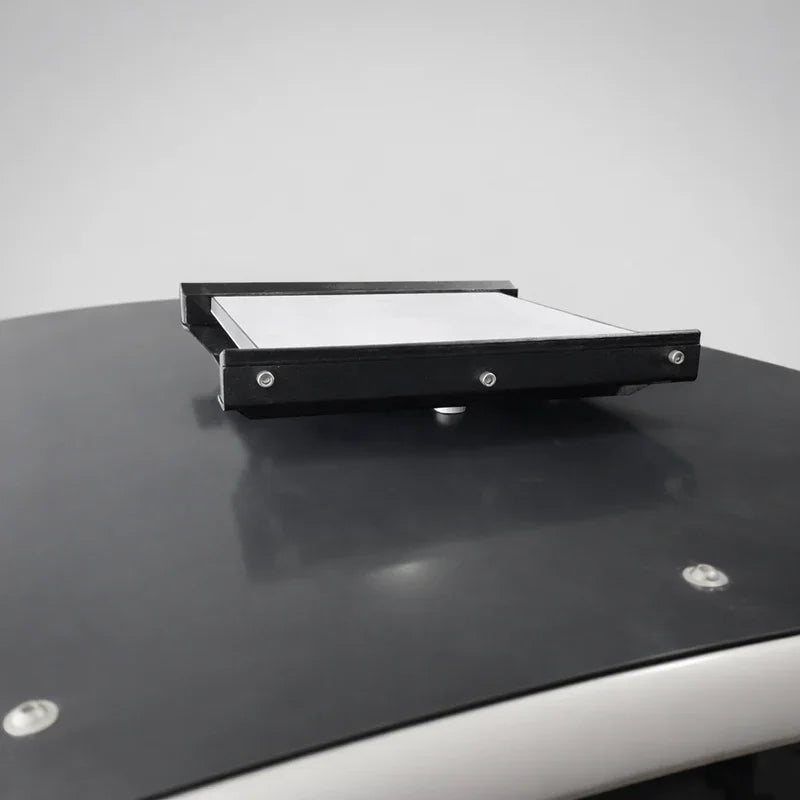
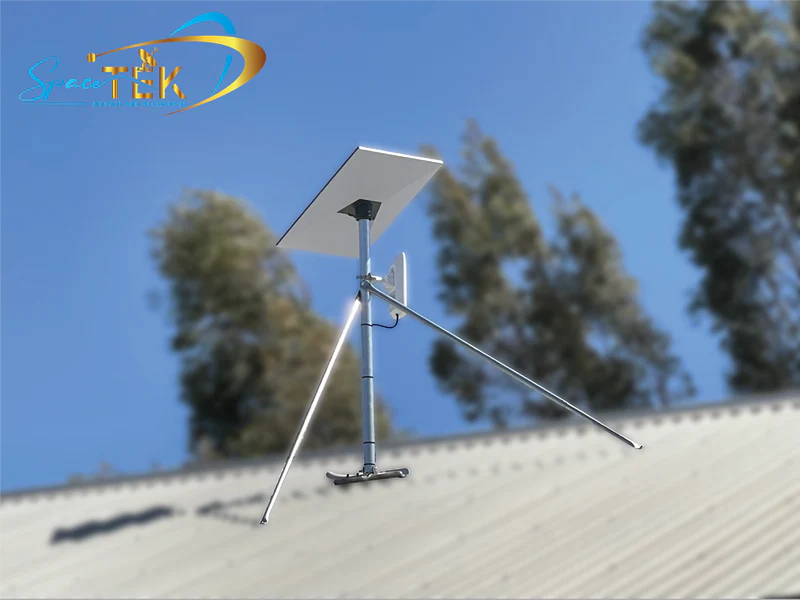
At SpaceTek Australia, we are dedicated to helping you get the absolute most out of your satellite internet setup. We design and manufacture premium, high-quality dish mounts and Starlink mounts specifically engineered to withstand the harshest Australian conditions. Our Starlink mounts are precision-machined or folded from heavy-duty, rust-resistant aluminium and reinforced composites, never cheaply 3D printed, ensuring your dish remains secure and stable for the long haul.
If you are ready to upgrade your off-grid power setup with our high-efficiency StarPower V2 and V3 DC systems, or if you need expert advice on choosing the perfect Starlink mounts for your home or caravan, we are here to help. Contact SpaceTek Australia today to chat with our local team and get your connection sorted the right way.

Leave a comment
This site is protected by hCaptcha and the hCaptcha Privacy Policy and Terms of Service apply.