Why Proper Mounting Makes All the Difference for Your Starlink Connection
Mounting Starlink dish hardware correctly is the foundation of reliable satellite internet, particularly in Australia's diverse and challenging conditions. Whether connecting a remote homestead, establishing internet for a rural community, or ensuring connectivity for caravan trips, the mounting method directly impacts signal quality, connection stability, and equipment longevity.
Quick mounting essentials for Starlink dish installation:
- Choose a clear location: Use the Starlink app to find the best spot with an unobstructed sky view.
- Select appropriate mounting hardware: Match the mount to the roof type (tile, metal, wall, or portable).
- Secure installation: Fasten to structural beams and apply proper weatherproofing.
- Test and align: Verify signal strength and connection stability after installation.
From the rugged Outback to coastal regions, mounting Starlink dish installations face unique Australian challenges. Extreme temperatures, seasonal storms, and varying roof styles require mounting solutions engineered for local conditions.
The difference between a standard installation and a professional-grade mount becomes evident during harsh weather. A properly mounted dish maintains consistent connectivity when facing high winds, intense UV exposure, or sudden temperature changes common across remote Australia and its communities.
As the founder of SpaceTek Australia, Aaron Wroblewski brings over 25 years of experience in satellite communications. This expertise has led to the development of mounting systems specifically designed for reliable mounting Starlink dish installations that withstand Australia's unique conditions.
Step-by-Step Guide: Mounting Your Starlink Dish with SpaceTek Solutions
Properly mounting your Starlink dish is a straightforward process with the right guidance. This guide details the essential steps for a secure and reliable installation, whether for a home in remote Australia or a business in a regional community.
Step 1: Selecting the Best Location
An optimal location is critical for a strong satellite signal. The primary goal is to find a position with an unobstructed view of the sky.
- Use the Starlink app's obstruction checker: This tool uses your phone's camera to scan the sky and identify potential signal blockers like trees, buildings, or power lines.
- Ensure a clear field of view: The dish requires a wide, 100-degree field of view. Even small, moving branches can cause intermittent signal loss.
- Consider Australian environmental factors: In remote areas, large trees, rock formations, or roof structures can create blind spots. The highest practical point on a property, such as the roof peak, is often the best choice.
- Allow for movement: The Starlink dish adjusts its position automatically and needs adequate clearance to rotate without obstruction.
For more detailed guidance, our resource on Starlink installation and alignment offers further insights for Australian conditions.
Step 2: Choosing the Right SpaceTek Mount
After identifying the location, select a mount designed for your specific needs and Australian conditions.
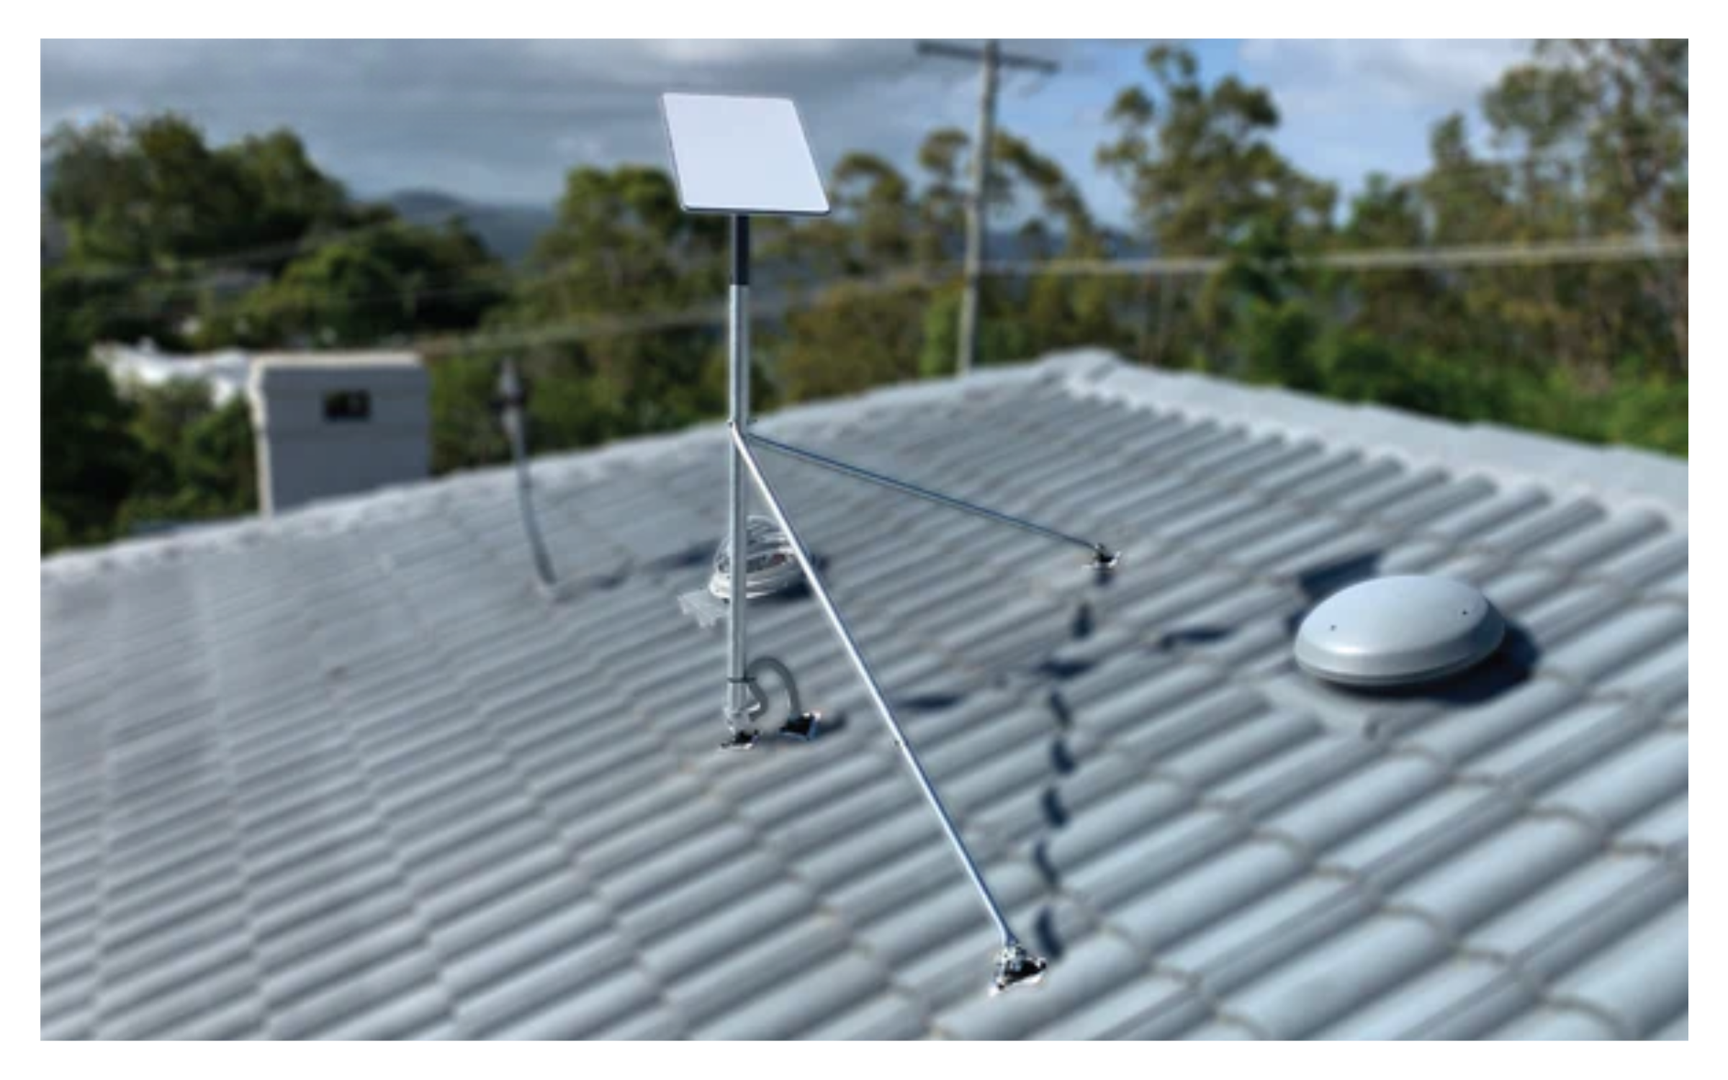
- For tile roofs: Our Tile Roof - Starlink Mount Roof Kit for Gen 3 (V4) provides a secure, weatherproof solution that protects your roof's integrity.
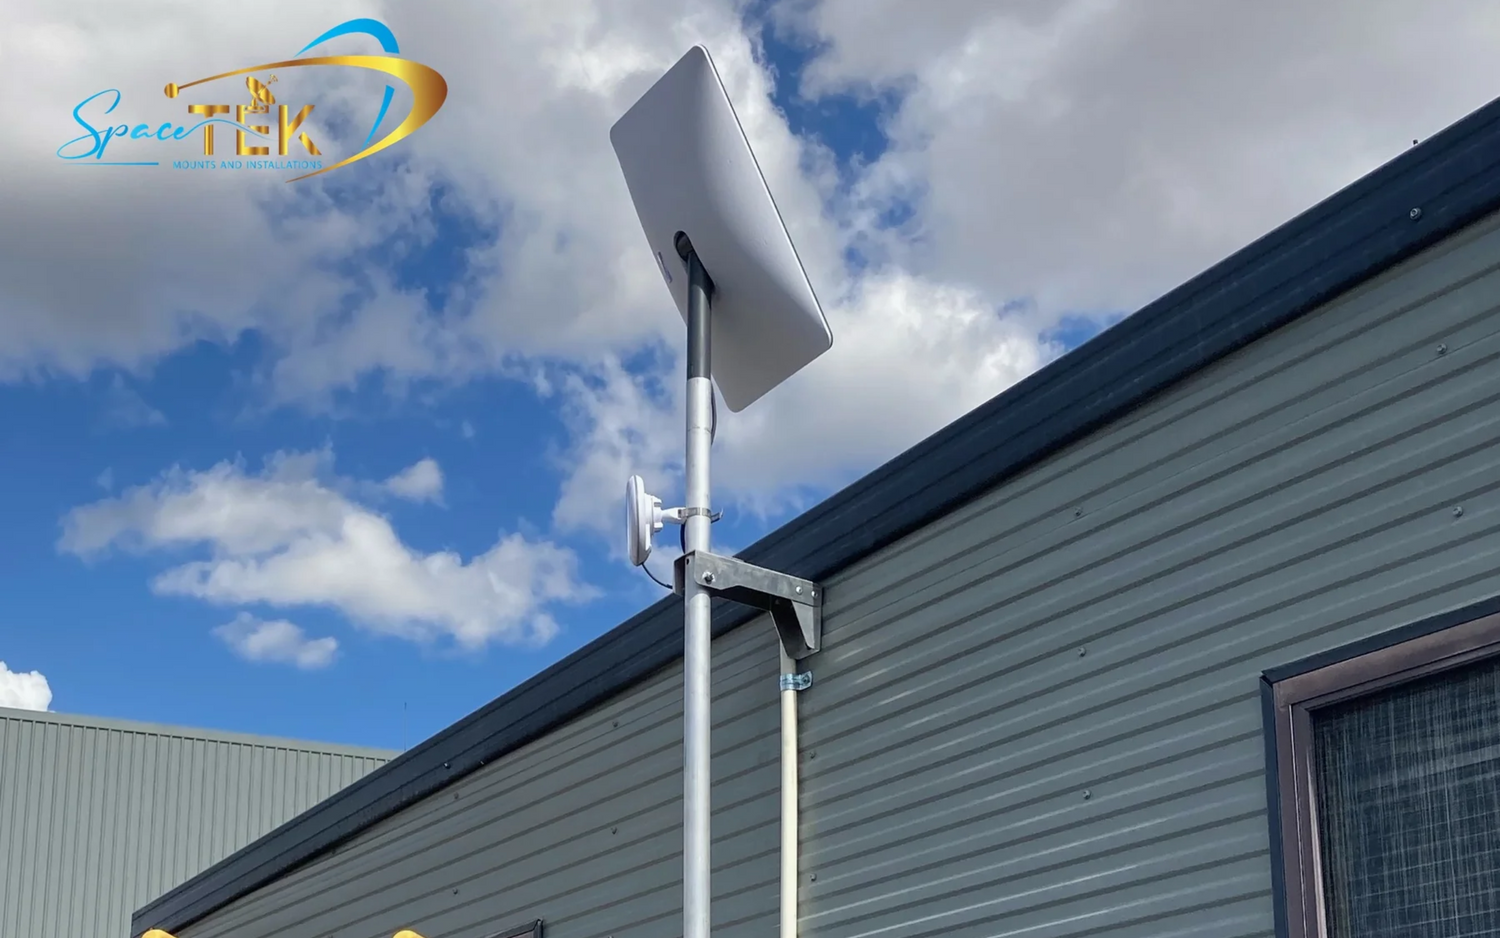
- For walls or eaves: The Roof Mount for Starlink - Wall / Eave Mount - Gen 2 is a versatile option for attaching to fascia boards or walls, helping to clear eaves and other obstructions.
- For mobile use: The Starlink RV Compatible Suction Cap Mount is ideal for caravans and motorhomes, offering a secure grip on smooth surfaces for quick setup.
- For in-motion connectivity: The Starlink Mini - In Motion Mount allows the Starlink Mini to maintain a connection while a vehicle is moving, perfect for commercial or overland use.
Every SpaceTek mount is constructed from high-grade, rust-resistant materials to withstand Australia's harsh climate, from tropical humidity to coastal salt air.
Step 3: Secure and Weatherproof Installation
A professional-quality installation requires attention to structural security and weatherproofing.
- Anchor to structural beams: Always fasten permanent mounts directly into rafters or beams using appropriate lag bolts or screws to withstand high winds.
- Create watertight seals: Weatherproof all penetration points. Apply silicone sealant inside pilot holes before inserting screws and again over screw heads and around the mount base.
- Route cables correctly: Use drip loops (U-shaped bends) to direct water away from entry points. Drill cable entry holes at a slight downward angle from inside to outside.
- Protect cables from UV damage: Use UV-resistant clips to secure cables. For long, exposed runs, consider using a conduit for added protection against Australia's intense sun.
Our guide on avoiding DIY Starlink mounting mistakes offers more professional tips.
Essential Tools for Mounting Your Starlink Dish
Having the right tools ensures a safe and efficient installation. Key items include:
- Drill with impact driver capability and appropriate drill bits (e.g., 6mm for pilot holes).
- Hex socket set (9/16 inch is common for lag screws).
- Level to ensure the mount is straight for proper alignment.
- Marker for marking hole locations.
- Weatherproofing supplies: High-grade outdoor silicone sealant and a sealant gun.
- Cable clips or ties for a tidy installation.
- Safety equipment: Ladder, safety glasses, gloves, and appropriate footwear.
Finalising Your Setup and Ensuring Longevity
Completing the installation process correctly is crucial for the long-term performance and reliability of your Starlink system, especially in Australia's demanding climate.
Post-Installation Checks
These final verification steps ensure your connection is optimised for reliable service.
- Verify with the Starlink app: After powering on the dish, allow it several minutes to self-orient. Open the app's status screen to check for real-time signal strength and any detected obstructions. Green indicators signify a strong connection.
- Test the connection: Connect multiple devices (smartphones, laptops) to the network and run speed tests. Stream video or download a large file to confirm performance under typical usage conditions. This is vital for users in remote Australia who depend on stable internet.
- Inspect the physical installation: Visually check that all mounting bolts are tight and the mount is secure. Examine the silicone sealant at all penetration points to confirm it has cured and formed a complete weather barrier. Ensure cable routing is secure, with gentle curves and no sharp bends or chafing points.
SpaceTek Accessories for Tough Australian Conditions
SpaceTek mounting solutions are engineered to withstand Australia's severe weather, from the cyclonic winds in the north to the extreme heat of the interior.
Our mounts are built with high-grade, rust-resistant materials chosen to resist salt air, UV radiation, and extreme temperature shifts. This ensures long-term structural integrity and maintains the precise alignment of your dish, preventing signal dropouts caused by movement or vibration during high winds.
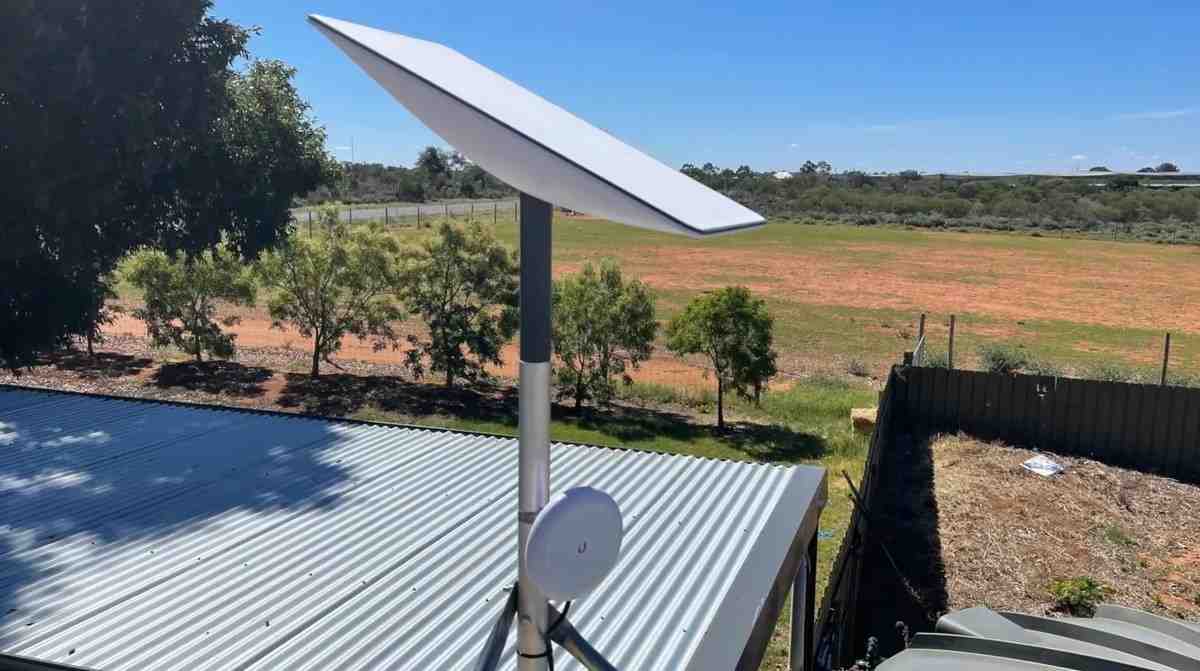
We offer solutions for Australia's diverse roof types, from tile to corrugated iron, ensuring a secure attachment that distributes loads correctly without compromising your building's weatherproofing. This reliability is essential for remote communities where maintenance access can be limited.
While our mounts are designed for straightforward installation, professional assistance may be beneficial for complex roof types or for those who prefer an expert installation. You can find a professional installer for your needs through our network.
For guidance on selecting the best mount for your specific property and conditions, contact SpaceTek for expert advice. Our team understands the unique challenges of mounting Starlink dish hardware across Australia.
Reliable Internet Starts with the Right Accessories
Correctly mounting Starlink dish hardware is the key to changing your internet service into a reliable, high-performance connection. This is especially true for users in remote Australia and regional communities, where stable connectivity is essential.
The foundation of dependable Starlink performance is quality mounting hardware engineered for Australian environments. SpaceTek's mounting systems are designed and manufactured to withstand local conditions, using rust-resistant materials that resist coastal salt spray, intense UV radiation, and extreme temperatures.
Bridging the Digital Divide
For remote Australia, reliable internet is critical infrastructure, enabling access to telehealth, distance education, and economic opportunities. The Australian Government continues to support improved regional connectivity, and SpaceTek's robust mounting solutions complement these efforts by ensuring Starlink installations perform optimally in the most challenging environments.
Your Next Steps
Explore SpaceTek's complete range of Starlink mounting solutions to find the ideal fit for your installation. Our products, from the Tile Roof Mount Kit to the RV Compatible Suction Cap Mount, are designed to deliver professional-grade results and years of reliable service.
For personalised advice on selecting the right mounting solution for your location and requirements, please contact SpaceTek. Our team has the expertise to guide you toward the perfect solution for durable, long-lasting connectivity.
Leave a comment
This site is protected by hCaptcha and the hCaptcha Privacy Policy and Terms of Service apply.