
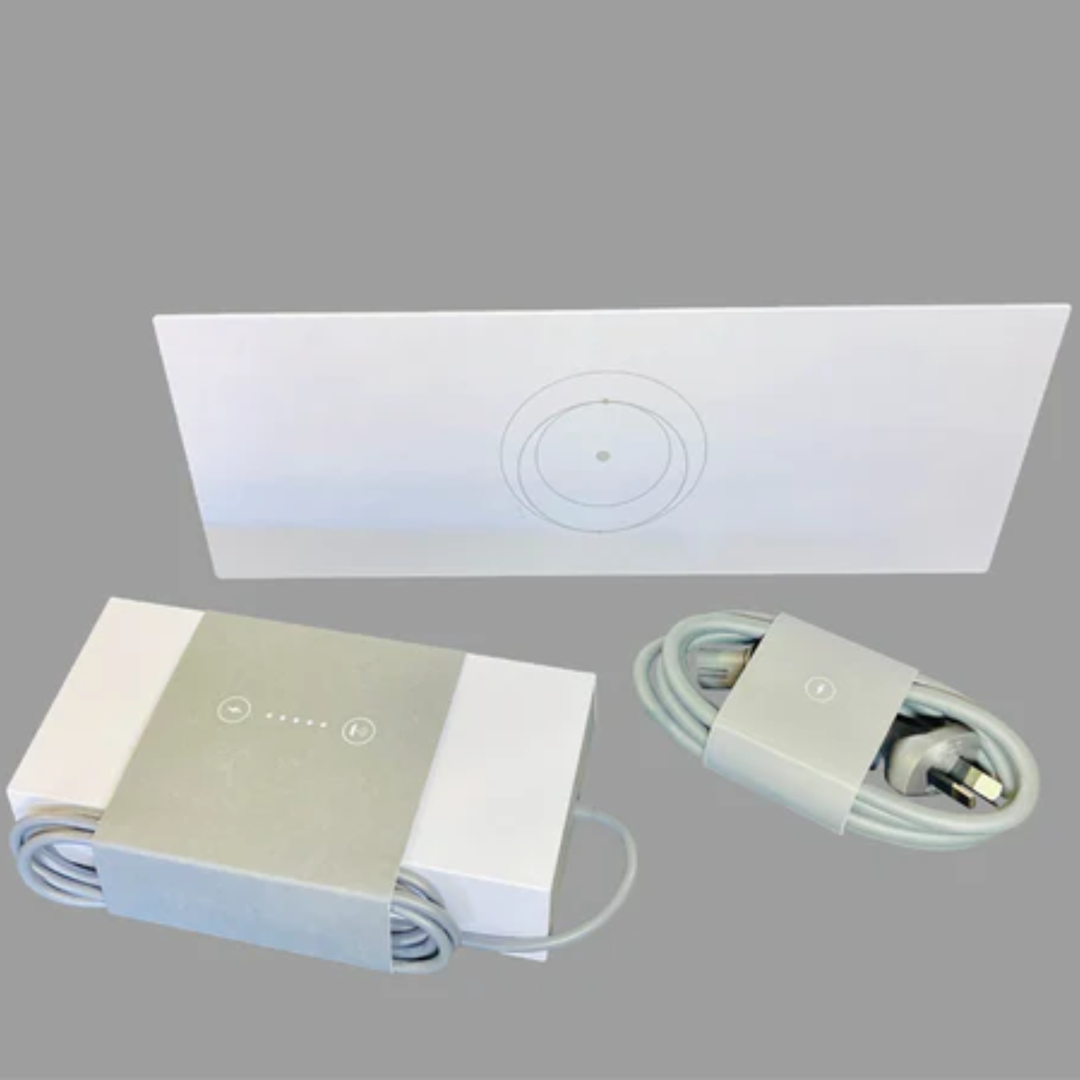
Which mesh system works best with Starlink?
The best mesh system for Starlink depends on your existing router, the rooms that need coverage and the network features you want. Compatible Starlink mesh equipment offers setup through the Starlink app. A separate third-party system can offer different controls, but its connection and configuration must suit the kit.

Mesh can improve local coverage; it does not increase the speed delivered by the satellite connection. First check that service works normally near the main router. If the problem is weak WiFi in other rooms, compare extension options. If it is poor service everywhere, investigate the Starlink connection before buying more nodes.
This October 2026 guide compares the two approaches without assuming that one product will cover every home, workshop or rural property.
Compare the network you need
Building layout, walls, interference and node placement affect coverage. More equipment does not automatically solve those constraints, and a shared network name does not guarantee uninterrupted roaming on every device.
| Consideration | Compatible Starlink mesh | Separate third-party mesh |
|---|---|---|
| Setup | Starlink app and supported hardware | Manufacturer's app and configuration |
| Compatibility | Check the main router and node models | Check the Starlink Ethernet connection and selected system |
| Controls | Features available through Starlink | Product-specific features; verify before buying |
| Connection between nodes | Wireless or supported wired arrangement | Depends on the selected system |
| Coverage | Test in the actual building | Test in the actual building |
The connection between nodes is often called backhaul. Wireless backhaul depends on the radio path between units. A supported wired connection can avoid that particular wireless link, but still depends on the cable, ports, configuration and equipment. It does not guarantee zero loss or a particular internet speed.
For a separate building, plan the connection with someone who can assess the site. Do not treat indoor mesh advice as instructions to run ordinary Ethernet between buildings or bury it outdoors.
Check official and third-party options
Compatible Starlink mesh equipment
Starlink's current mesh setup guide covers supported Router 3, Gen 2 and Router Mini configurations. Check compatibility with the main router before ordering: Gen 1 routers and third-party mesh systems do not pair as Starlink mesh nodes.
Using a Router 3 as a replacement main router is a different arrangement from pairing it as a wireless node. The Router 3 setup guide distinguishes those connections. Do not infer that every Starlink generation supports the same wireless pairing simply because a Router 3 can be used in a documented replacement configuration.
A separate third-party mesh network
SpaceTek currently lists the D-Link AQUILA PRO AI Wi-Fi 6 mesh system as a networking option. Check the exact pack, required Starlink Ethernet connection and manufacturer instructions. The listing explicitly notes that coverage depends on the building and placement; it is not a replacement power supply for the dish.
If a third-party router will handle routing, review Starlink's bypass-mode guidance and the third-party configuration instructions. Bypass disables the Starlink router's WiFi, and a factory reset is required to leave bypass mode. It is not a universal first step for every networking arrangement and is not used to add ordinary Starlink mesh nodes.
Compare features you will actually use, total hardware cost, support and installation needs. Check current availability rather than assuming an older router listing is still stocked.
Set up and test the chosen arrangement
For compatible wireless Starlink mesh, get the main connection working first. Connect your phone to the existing Starlink WiFi, power the additional node in a suitable nearby location and follow the app's new-node pairing prompt.

Start roughly one or two rooms apart, then test. Starlink recommends direct connections from nodes to the main router where practical and warns that more than three mesh nodes can reduce performance. Avoid hiding units in cupboards or placing them at the far end of an existing dead zone.
For a wired Router 3 node, follow the port diagram in the official mesh guide. The input connection and the additional LAN ports have different roles; do not assume any port can be used interchangeably.
For third-party hardware, follow its own instructions. Test the same work areas before and after setup, including any devices that previously lost connection. Change one position or setting at a time. If pairing fails, use the model-specific troubleshooting guidance; do not apply a generic rapid power-cycle reset to every model.
Questions to resolve before buying
Will mesh make the internet faster?
It can improve performance where weak local WiFi is the limiting factor. It cannot create additional satellite capacity or remove obstructions at the dish. Test beside the main router as well as in the weak room to distinguish the two.
Is a Router 3 a wireless mesh node for a Gen 1 router?
No. Starlink's mesh troubleshooting guide excludes the Gen 1 router from direct mesh compatibility. A documented Router 3 replacement configuration is a separate setup; use the instructions for that kit.
Must third-party equipment always use bypass mode?
The correct configuration depends on which device performs routing and which product mode you intend to use. Check both manufacturers' instructions before changing it. Enabling bypass turns off Starlink WiFi, so it should be a planned configuration change.
How many nodes should I buy?
Begin with the coverage problem and a proposed placement plan. Test before adding more. A larger pack is not proof of better coverage, and separate buildings may need a different connection design.
Do I need a different dish power supply for mesh?
Mesh networking and dish power are separate requirements. Do not substitute power hardware or bypass a required router based on general mesh advice. Use the power arrangement specified for the exact kit.
Choose a system you can verify in your home
Record the Starlink kit and router models, the rooms that lose coverage and any existing network cabling. Use those details to compare compatible options and plan a test before making a permanent installation.
SpaceTek's WiFi and networking range shows current products. For advice, contact the team with the model and a description of the area you need to connect.
The useful result is better service in the places you actually use. Confirm that improvement with the chosen equipment rather than relying on a whole-property or buffer-free guarantee.

Leave a comment
This site is protected by hCaptcha and the hCaptcha Privacy Policy and Terms of Service apply.