
How far apart should Starlink mesh routers be?
There is no single distance in metres that works in every home. Starlink recommends placing wireless mesh nodes roughly one or two rooms apart, with a useful connection back to the main router. Walls, layout and the position of the equipment affect the result.
Use that guidance as a starting point, then test the rooms where you need service. A coverage-area figure on a product sheet is not a guaranteed radius through walls or a promise that a separate shed will be connected.
This guide, reviewed in October 2026, explains how to choose and test a practical mesh-node position before buying more equipment.
Separate local Wi-Fi coverage from the internet connection
A mesh node extends your local network. The link from your device to that node and the link back to the main router both need to work. A node placed where the main router's signal is already weak can inherit that problem.
Check the connection beside the main router first. If internet access is poor there too, investigate the service or equipment status before assuming that distance to a mesh node is the cause. Moving indoor networking equipment will not remove an obstruction in the dish's view of the sky.
For a useful comparison, use the same device in the same room before and after moving a node. Note whether the problem is a lost Wi-Fi connection, slow internet or an interruption affecting every device. Those observations point to different next steps.
Find a position with a useful link back to the router
Starlink's Wi-Fi placement guidance recommends a central, open location rather than hiding the router in a cupboard or placing it on the floor. Dense walls, large appliances and other obstructions can affect the wireless link.
The mesh setup guide recommends a direct connection from each node to the main router where possible. Chaining nodes through one another can reduce performance. More than three mesh nodes can also make performance worse, so adding hardware is not automatically an improvement.
Try a location closer to the main router before pushing a node to the far edge of coverage. Check the Network screen to understand how the node connects, and test your actual workspace after each move. Keep access to a suitable power outlet in mind when choosing a permanent position.
Test range before committing to the installation
Use a simple comparison:
- Pick the room and task that currently fail, such as a video call at your desk.
- Record the result with the existing setup and note the device you used.
- Pair one compatible node, following the instructions for that model.
- Try an intermediate position with a usable connection to the main router.
- Repeat the same task in the same room. If the result remains poor, move the node closer and compare again.
The Starlink app's advanced speed test can help distinguish the local Wi-Fi connection from the available internet connection. Keep the test device still while testing. Avoid interpreting a single changed speed result as proof when the location, device and time have all changed.
If a wireless link cannot serve the required room reliably, discuss a wired connection with an appropriate installer. A detached building needs its own assessment of distance, route and equipment; do not assume that placing an indoor router outdoors or burying a cable is a suitable solution.
Common questions about Starlink mesh distance
Does Wi-Fi 6 guarantee longer range?
No. The Gen 3 specifications describe that router's Wi-Fi 6 hardware, but the standard alone does not establish a working distance through your particular walls. Test the installed combination of router, node and device.
Should I put the node inside the dead zone?
Start closer to the main router, where the node can receive a useful signal, then check whether it serves the target room. The furthest possible position is not necessarily the most useful one.
Will the device always switch to the nearest node?
Do not assume a guaranteed, interruption-free handover from a coverage diagram. Check how your actual device behaves while moving through the rooms you use.
Can I use the Gen 3 router outside?
Its specification sheet describes it as configured for indoor use. A water-resistance rating does not replace the stated installation conditions. For an outdoor area or a second building, ask for an appropriate network design.
Will a dish mount solve weak indoor Wi-Fi?
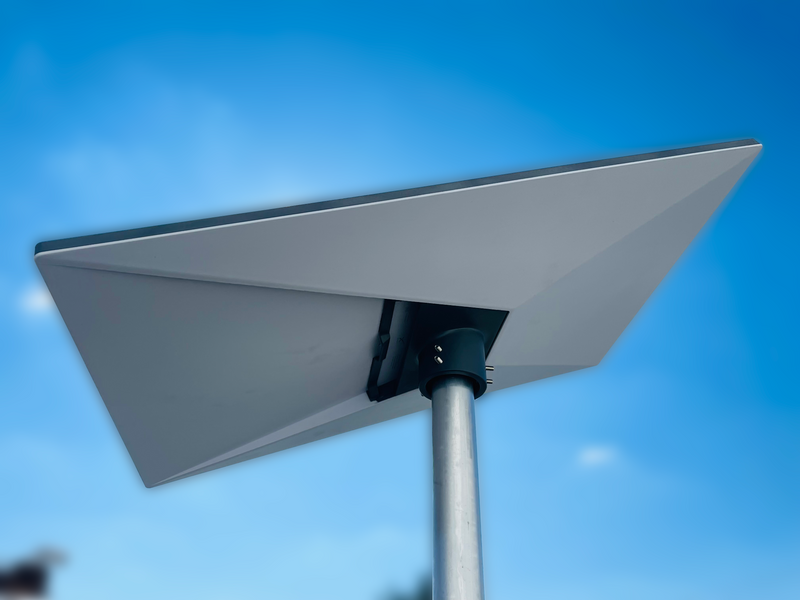
A suitable dish mount serves the installation of the terminal. It does not substitute for planning the router-to-node connection inside the home.
Choose the useful distance, not the maximum distance
A successful layout serves the rooms you need with a stable link back to the main router. Start with one node, compare positions and keep notes before expanding the network further.
For pairing instructions, use Starlink's guide for your exact router. For SpaceTek hardware questions, contact the team with the model, building layout and intended location. These details help establish whether repositioning, a compatible node or a planned wired connection is the appropriate next step.


Leave a comment
This site is protected by hCaptcha and the hCaptcha Privacy Policy and Terms of Service apply.