
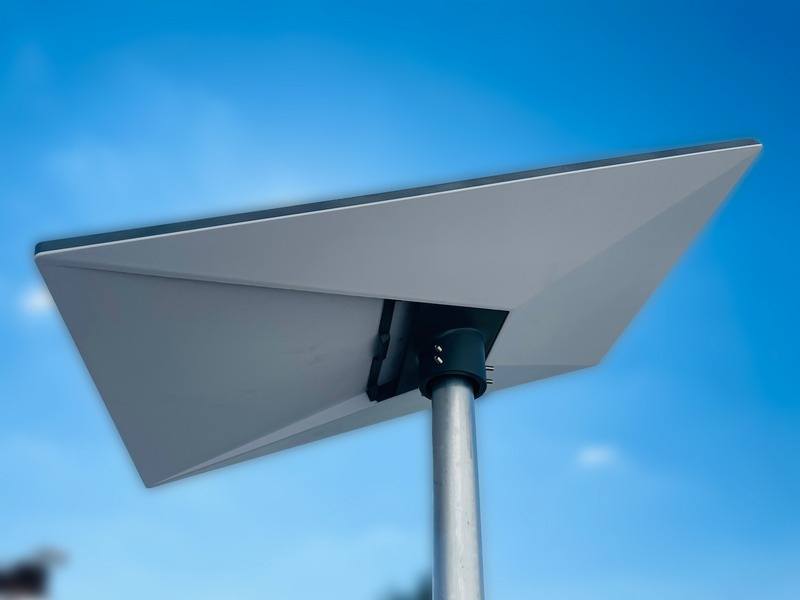
Can you get Starlink in Australia?
Yes. Start by entering your service address on Starlink's Australian website. The options shown for that address are more useful than a general claim that satellite coverage reaches your region: they tell you which plans and hardware offers you can actually order.
Before paying, check that you have a suitable installation location. Trees, nearby buildings and other obstructions can interrupt the connection. The Starlink app helps you assess the view of the sky.
This guide, reviewed in October 2026, takes you through availability, costs, plan choice and initial setup. Prices and offers can change, so use the current order summary for your own address rather than an old article's quoted price.
Check availability and the complete cost
Use your full service address when comparing options. If the property is difficult to locate, confirm the location in the ordering flow before proceeding. Do not assume an offer available to a nearby town also applies to your property.
Build your budget from the actual offer:
- The equipment charge and any shipping charge.
- The recurring service price and when billing begins.
- Any installation work, mount or additional compatible cable you need.
- The terms applying to a promotion, equipment return or cancellation.
- Power and any backup arrangements appropriate to your location.
If checkout offers different ways to obtain the hardware, compare the total cost over the period you expect to use it and read the ownership and return conditions. This guide does not assume that a rental option, discount or particular trial period is available to everyone.
Keep a copy of the offer and order confirmation so you can refer to the terms you accepted. A low advertised starting price alone may not describe your complete setup cost.
Decide whether it suits your internet needs
Consider what is currently failing at your property: availability, download capacity, upload capacity, responsiveness or Wi-Fi coverage inside the building. These are different problems. Replacing the external connection does not automatically fix a weak wireless signal in a distant room.
Compare the services available at your address against your normal use, including video calls, backups and how many people are online together. Avoid treating an advertised maximum or someone else's speed test as the result you will receive.
Starlink's weather guidance acknowledges that severe conditions can affect the connection. A suitable mount and clear sky view do not guarantee uninterrupted service during storms or a power failure.
For work that cannot tolerate an interruption, decide what you would do if the connection stopped. Keep that requirement separate from choosing a mounting accessory. Record your own connection performance after installation rather than relying on a nationwide comparison alone.
Choose a plan for home or travel
Starlink's Residential plan guidance describes service for a fixed, registered location. Available plans and promotions can differ by address.
If you need to move between locations, compare the current Roam options. Check the data allowance, destination restrictions and any pause or standby conditions in the plan offered to you. Do not assume that travel use is unrestricted everywhere.
Using the terminal while a vehicle is moving adds another requirement. Read Starlink's in-motion guidance and confirm the plan, hardware, location and installation are suitable. Residential service does not allow in-motion use. A vehicle mount alone does not grant that permission.
For caravans or off-grid properties, identify the exact kit before buying power accessories. Different Starlink models use different equipment; a product advertised for one generation is not automatically suitable for another. Arrange appropriate professional help for a vehicle or fixed electrical installation.
Plan the location and follow your kit's setup guide
Use the instructions for the kit you actually receive. For example, the Standard kit setup guide describes its components, app setup and alignment. Other kits can have different cables, ports and power arrangements.
- Assess a safe, accessible proposed location with the app's obstruction tool before committing to a permanent mount.
- Identify the supplied components and follow that kit's connection instructions. Do not improvise cable or power substitutions.
- Complete the app's setup process and follow its alignment prompts. Use those prompts rather than a blanket instruction to point every dish north or south.
- Set your network name and password, then check that your devices connect.
- Check the app for alerts and connection information before arranging permanent placement.
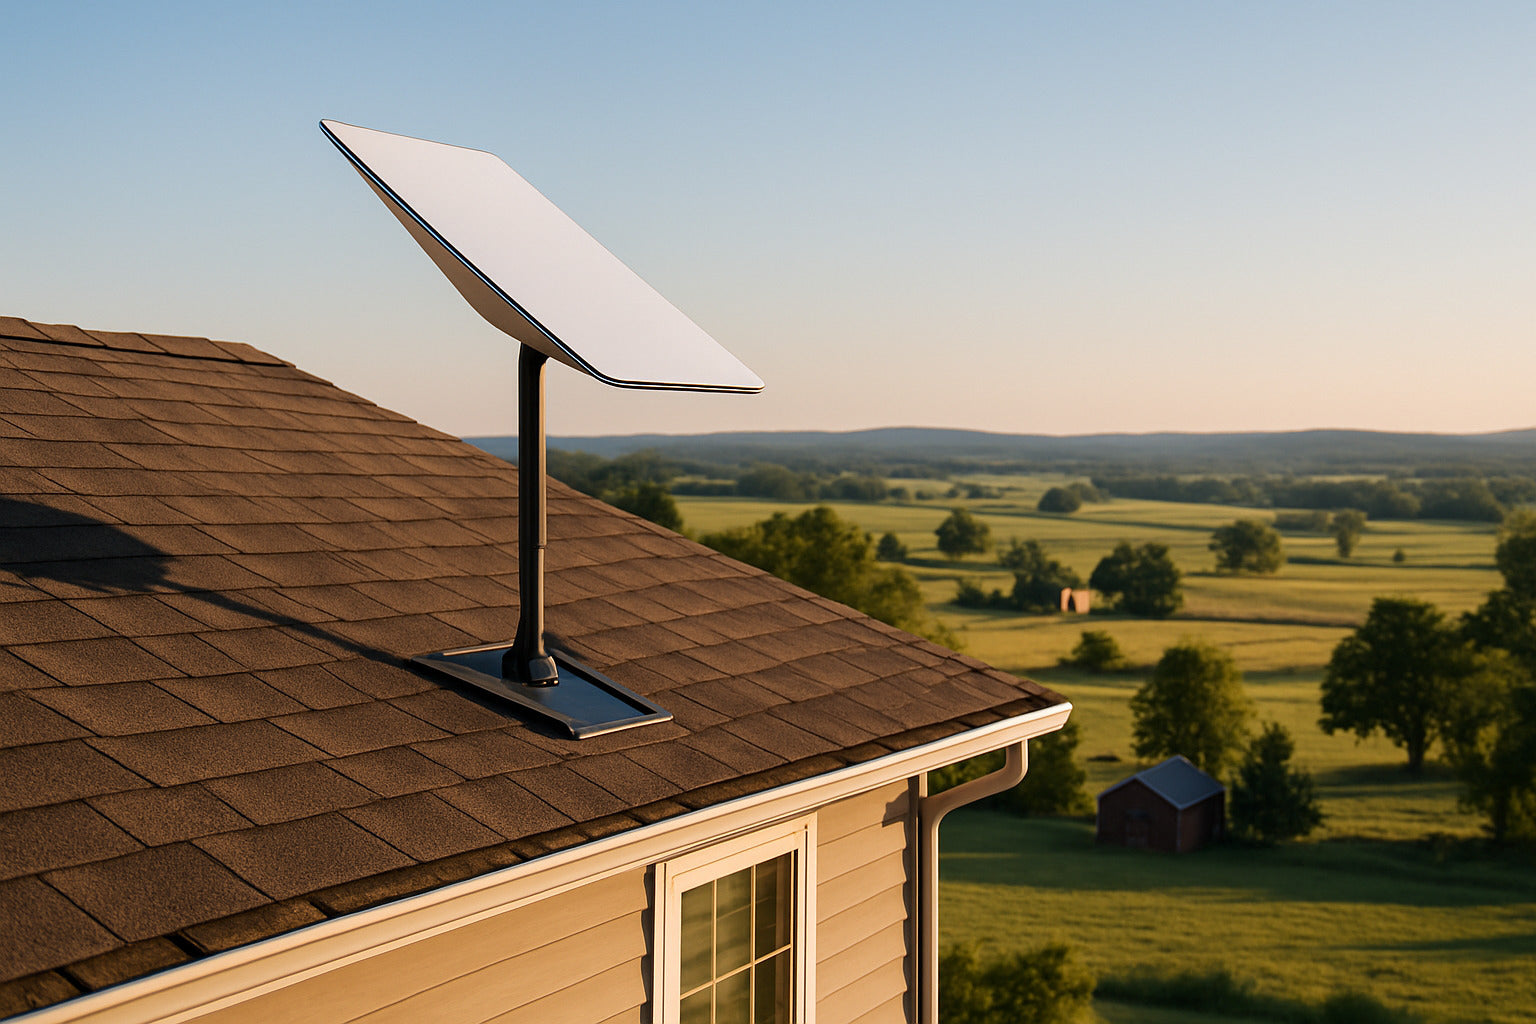
If roof access, building penetrations or an uncertain supporting structure are involved, use an appropriate installer. A product's compatibility with the dish does not prove that the roof or vehicle can support it. Plan the cable route and indoor equipment locations before buying additional hardware.
Common questions before you order
Which direction should the dish face?
Follow the alignment instructions for your exact kit and location. Do not use a general compass direction from an article as a replacement for the app and manufacturer guidance.
Which plan is cheapest?
Compare the options currently offered at your address against the data and mobility you need. Include equipment, installation and any promotional conditions when working out the total. The lowest monthly figure may not meet your use case.
Will a stronger mount improve my internet speed?
A mount helps position and secure the terminal appropriately. It cannot, by itself, guarantee higher speeds or resolve a service outage. Check the cause of a problem before buying accessories.
Where should I ask for help?
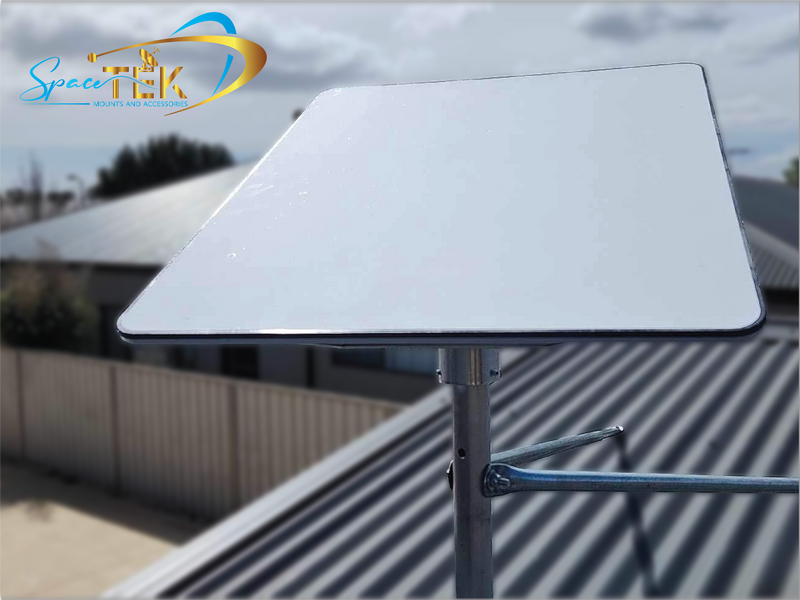
Use Starlink support for account, service and kit setup questions. For SpaceTek accessory fit, provide the exact dish model and intended mounting surface when you contact SpaceTek. Distinguishing the two questions makes it easier to get the right advice.
Start with your address and intended use
The practical sequence is to confirm the offer at your address, choose a plan that permits your intended use, check the installation location and follow the supplied kit's instructions. Decide on mounting and power accessories from those facts.
Once connected, check how the setup performs in the places where you actually use it. Keep the order details and installation information available for support. If something is not working, investigate the specific issue before changing hardware or assuming that a more expensive mount is the answer.

Leave a comment
This site is protected by hCaptcha and the hCaptcha Privacy Policy and Terms of Service apply.