Why Proper Starlink Install Tips Make All the Difference
Starlink install tips are key to open uping reliable, high-speed internet, especially in remote parts of Australia. Proper Dishy placement from the start prevents frustrating dropouts and ensures the best possible connection.
Essential Starlink Install Tips for Success:
- Find a clear 110-degree sky view using the Starlink app's "Check for Obstructions" tool.
- Mount high and secure on a roof, pole, or wall; avoid ground placement.
- Route cables carefully to protect them from weather.
- Use quality, rust-resistant mounting hardware suited for Australian conditions.
- Allow 12+ hours for your Dishy to align and map obstructions.
- Test multiple locations with a temporary setup before permanent installation.
Up to 75% of connectivity issues stem from improper installation and signal obstruction. While professional help can reduce weather-related problems by 50%, you can tackle this yourself and save hundreds. These strategies will help you avoid common pitfalls, whether you're setting up for a rural property, caravan, or remote office.
I'm Aaron Wroblewski, founder of SpaceTek Australia. With over 25 years in satellite communications, I know that success comes down to proven Starlink install tips and quality mounts designed for our harsh climate. Let's get you connected.
Your Ultimate Guide to Starlink Install Tips
Just received your Starlink kit? You're not alone in wanting to escape slow rural internet. With mobile data up to 90% slower in rural Australia, Starlink is a game-changer. But getting top speeds requires more than just plugging it in. Proper preparation is the difference between success and disappointment.
Pre-Installation Prep: What's in the Box and What You'll Need
Knowing what each component does will save you headaches later. Your kit contains the main components to get started: the Starlink dish (or "Dishy"), a router, and the necessary cables. The included basic mount is often only suitable for temporary setups.
While Starlink is designed for self-installation, the right tools make it smoother and safer. Prioritise safety gear like gloves, safety glasses, and sturdy boots, especially if working at height. A sturdy ladder is crucial for roof access. For permanent installs, you'll need a drill, appropriate screws and fasteners, a measuring tape, and cable ties. Don't forget weatherproof sealant if drilling through walls to prevent water damage.
The Golden Rule: Finding the Perfect Spot for Your Dishy
Finding an unobstructed view of the sky is the most critical step. Your Starlink dish needs a clear line of sight to its satellites, requiring at least a 110-degree obstacle-free zone. Trees, buildings, or power lines blocking the view will kill your signal. Up to 75% of connectivity issues stem from signal obstruction.
The Starlink app is your best friend here. Before permanent mounting, use the "Check for Obstructions" tool. This augmented reality feature lets you scan potential spots with your phone's camera, showing where obstructions might cause problems.
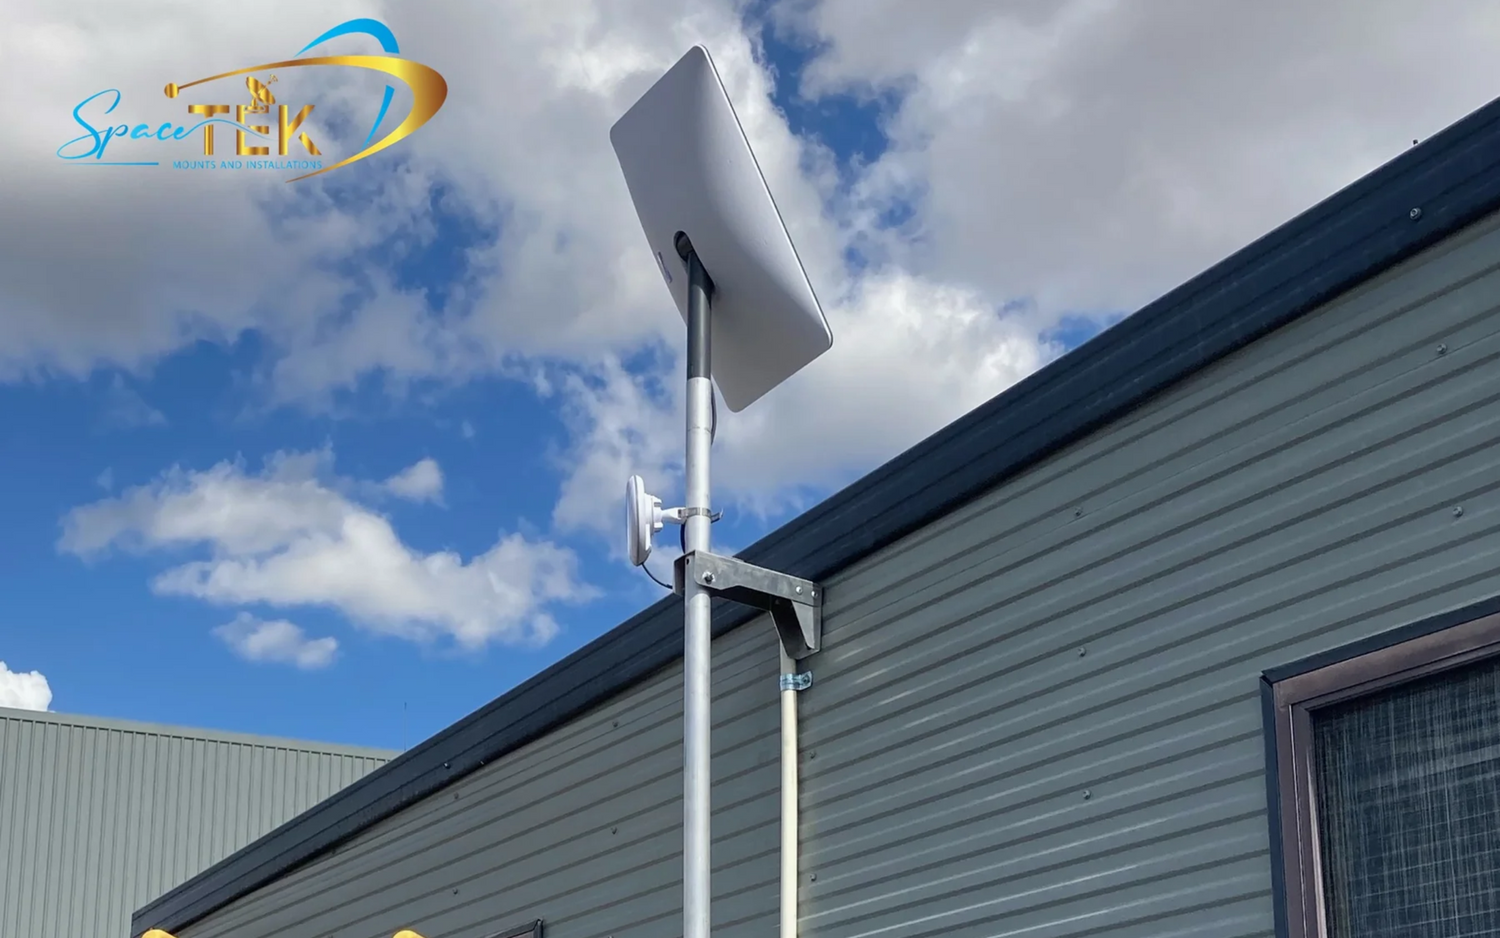
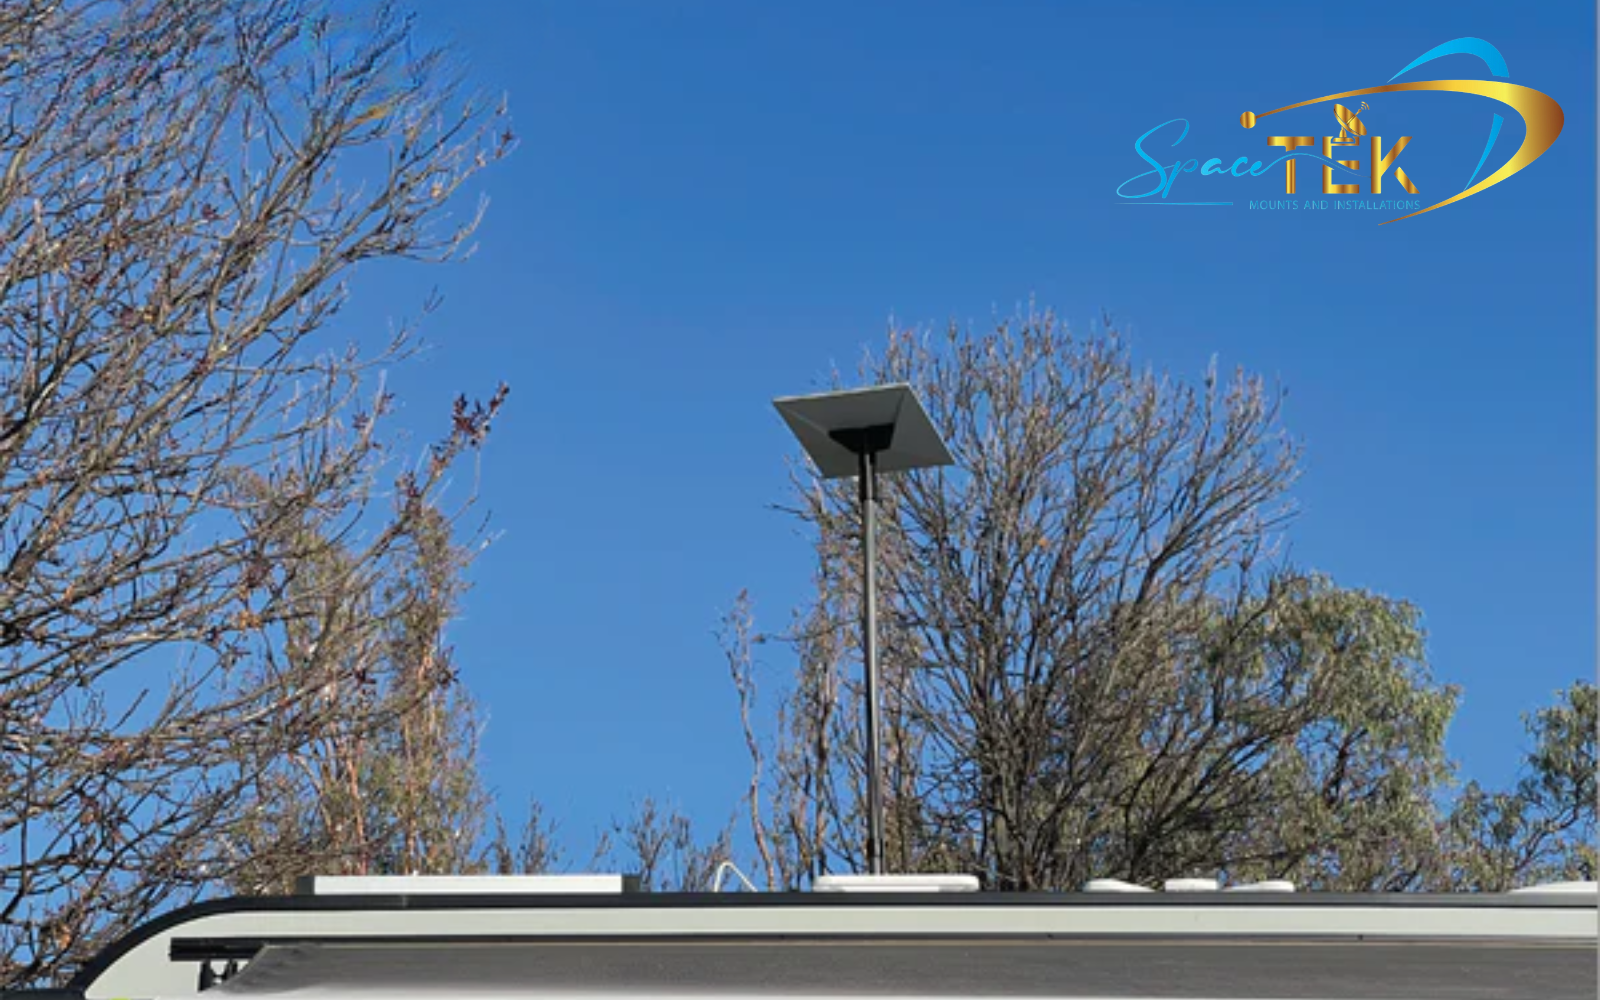
Roof mounting is often the best solution as height clears most ground-level obstacles. Pole mounting is great for open areas, while wall mounting can be perfect if a wall offers enough height and clearance. Different environments require different approaches. Rural areas offer space for pole mounts, while urban settings often need roof or high wall mounts. In remote Australia, durability is paramount, demanding robust, rust-resistant solutions.
For more guidance, see our article: Starlink Installation Guide: Where Should You Set Up Your Dish.
Mounting and Cabling: A Secure Foundation for Your Connection
With the perfect spot found, a rock-solid installation is key. A stable, well-protected setup ensures consistent performance and protects your investment from Australia's harsh weather.
For situations where drilling isn't an option, non-penetrating mounts use ballast to stay put. SpaceTek offers a range of durable mounts designed for Australian conditions, including options for various roof types, walls, and poles.
Long-term stability requires quality hardware. In Australia's climate, your mounting hardware must be tough. Stainless steel components resist rust and corrosion, which is crucial near the coast where salt spray can destroy inferior metals.
Proper cable management protects your investment. Route cables from the router outward to the dish. Specialised cable routing kits can provide the right drill bits and grommets. Secure cables with clips or ties to prevent wind and UV damage. For exposed cables, use UV-resistant conduit.
For help choosing durable hardware, see our guide: How to Find Durable Starlink Mounts for Harsh Aussie Conditions.
Powering Up and Getting Online: The Final Steps
With your Dishy mounted and cables routed, you're ready to power up the system. The physical connections are simple: connect the Starlink cable from the dish to the router, then connect the power supply to the router and a power outlet.
Most dishes align themselves automatically. Some models will physically move to find satellites, while others use the app's alignment tool to guide you.
Network configuration is done via the Starlink app. Connect to the default "STARLINK" Wi-Fi network, open the app, and follow the prompts to set your network name and password.
Be patient during initial setup. It can take up to 20 minutes for activation and up to 12 hours for optimal performance as the system updates and maps obstructions. Let it run overnight for the best results.
For detailed instructions, visit Starlink's support page: How do I set up Starlink?.
Essential Starlink Install Tips for Troubleshooting
Even with a perfect setup, issues can arise. Knowing how to diagnose common problems can save you hours of frustration.
The app's status messages point to specific problems: "Offline - Disconnected" usually means a loose cable, while "Offline - Searching" often indicates an obstruction. "Offline - Booting" just means the system is starting up.
Start with the basics: check that all cables are secure, verify there are no new obstructions, and try rebooting the system by unplugging it for a minute. Allow the system at least 12 hours to recalibrate after power outages or relocations. Also, ensure nothing is blocking the dish surface.
For more help, our article Troubleshoot Your Starlink Internet Problems Easily covers common issues and solutions.
DIY vs. Professional: More Starlink Install Tips
Choosing between a DIY installation and hiring a professional depends on your comfort with heights, site complexity, and budget.
Professional installation has clear advantages, especially for complex sites. Installers can identify the optimal placement and have the safety training for working at heights. DIY installations have a 2.5% injury rate from falls, making safety a real concern. Professionals can also reduce weather-related performance issues by up to 50% with expert mounting and weatherproofing.
DIY installation saves money and gives you control. Starlink is designed for self-installation, and with proper preparation, most people can achieve great results.
Consider your situation. Simple ground-level or single-storey roof installs are often fine for DIY, but complex multi-storey situations may warrant professional help.
If you're considering a pro, our guide How to Get Starlink Installed: Local Services Explained can help you find qualified installers.
Ready to Connect? Final Thoughts on Your Starlink Setup
A correct Starlink installation is the foundation for a transformative internet experience. By following these Starlink install tips, you're just steps away from the reliable, high-speed connectivity that changes how you work, learn, and connect.
Remember the essentials: a clear 110-degree sky view is non-negotiable, and mounting your Dishy high is almost always best. Use the Starlink app's "Check for Obstructions" tool before committing to a location, and allow the system 12 hours to map its environment after setup.
Prioritise safety, especially when working at heights. If you're not comfortable, hiring a professional is the safest choice. For long-term reliability in Australia's challenging climate, investing in quality, rust-resistant mounting hardware is a decision that pays for itself. Cheap mounts are often the first to fail in harsh weather.
At SpaceTek Australia, we understand these challenges. Our custom-designed mounts are built specifically for Australian conditions, ensuring your Dishy stays secure and your internet stays fast. These Starlink install tips will help you avoid common pitfalls and get connected properly from day one.
Ready to take your Starlink setup to the next level? Explore all your options with our comprehensive guide: Open up Your Internet: Starlink Installation Options and Requirements. Your perfect internet connection is just a proper installation away.

Leave a comment
This site is protected by hCaptcha and the hCaptcha Privacy Policy and Terms of Service apply.