Why a Proper Mount Transforms Your Starlink RV Experience
A Starlink RV mounting kit is essential for securing your satellite dish whilst travelling around Australia's vast landscapes. Here's what you need to know:
Key Features to Look For:
- Compatible with Gen 2 or Gen 3 Starlink dishes
- Rust-resistant aluminium construction for Australian conditions
- Quick-release mechanisms for easy storage
- Anti-theft security features
- 12V DC power conversion capability
More and more RVers are finding that leaving their $500 Starlink dish on the ground creates real problems. As one frustrated traveller noted, ground placement "invites theft, animal interference, and weather damage" - issues that proper mounting completely eliminates.
Why Mounting Matters for Australian RVers
Remote travel across Australia demands reliable internet for navigation, weather updates, and staying connected with family. Yet many RVers struggle with unstable connections, theft concerns, and damaged equipment simply because they haven't invested in a proper mounting system.
The right Starlink RV mounting kit solves multiple problems at once. It lifts your dish for better satellite visibility, secures expensive equipment from theft, and withstands the harsh Australian climate that can destroy cheaper alternatives.
I'm Aaron Wroblewski, founder of SpaceTek Australia, with over 25 years of experience designing satellite mounting solutions for Australian conditions. Throughout my career developing Starlink RV mounting kit solutions, I've seen how the right mount transforms unreliable connections into consistent, high-speed internet for remote travellers.
Why RVers Need a Starlink RV Mounting Kit
Picture this: you've just driven six hours through the heart of Australia to reach that perfect remote campsite. You're eager to check weather updates, upload photos, or simply let family know you've arrived safely. But when you place your Starlink dish on the ground and fire it up, you're met with frustratingly slow speeds or, worse, no connection at all.
This scenario plays out daily across Australia's vast landscapes, and it's entirely preventable with the right approach to mounting your Starlink equipment.
The Ground Placement Problem
When you leave your $500 Starlink dish sitting on the ground, you're essentially rolling the dice with your most valuable piece of communication equipment. Beyond the obvious theft-proofing concerns—and yes, Starlink dishes are increasingly targeted by opportunistic thieves at popular camping spots—ground placement creates a host of technical problems that compromise your internet experience.
Australia's unpredictable weather patterns make wind stability absolutely critical. A sudden gust can topple your dish, potentially damaging both the hardware and your connection to the outside world. I've heard countless stories from travellers who've returned from a bushwalk to find their dish blown over and their evening plans derailed.
Elevation Equals Performance
The physics are simple: the higher your dish sits, the clearer its view of the sky becomes. Ground-level placement often means battling obstructions from trees, neighbouring caravans, or even parts of your own RV. A quality Starlink RV mounting kit lifts your dish above these obstacles, dramatically improving signal quality and connection reliability.
This clear sky view becomes even more crucial when you're camping in Australia's heavily forested areas or crowded caravan parks. Every metre of elevation can mean the difference between buffering videos and seamless streaming.
Professional Cable Management Matters
Proper mounting systems don't just secure your dish—they protect your investment through intelligent cable management. Ground-based setups inevitably result in cables being stepped on, run over by vehicles, or damaged by curious wildlife. Quality mounts include integrated cable routing that keeps your expensive Starlink cables safe and organised.
Starlink in Australia: A Game-Changer for Remote Travel
Starlink for Remote Australia has revolutionised how we explore this incredible continent. With coverage extending to previously unreachable locations, grey nomads and remote workers can now venture further than ever before. However, maximising this technology requires more than just plugging in your dish—it demands proper mounting solutions designed for Australian conditions.
Starlink for Remote Communities across Australia has proven that elevation and stability aren't just nice-to-haves—they're essential for reliable connectivity. The same principles that help isolated towns maintain consistent internet apply directly to RV installations.
The reality is straightforward: without a proper mounting system, you're not extracting full value from your Starlink investment. Ground placement might suffice for occasional use, but serious travellers who depend on consistent connectivity need mounting solutions engineered for Australia's challenging conditions.
More info about Starlink RV Mounts
Choosing the Right Starlink RV Mounting Kit
Finding the ideal Starlink RV mounting kit is easier when you focus on three things: your dish generation, how you travel, and the surfaces available on your van or caravan.
Dish generations
• Gen 2 (round, motorised) – heavier and needs a rock-solid base.
• Gen 3 (flat) – lighter, lower profile, but it does need the right adapter plate.
Mounting options that work in Australia
• Ladder mounts – bolt straight to the common 1-inch RV ladder; set-up from ground level.
• Roof suction pads – semi-permanent with no holes in the roof.
• Magnetic bases – ideal for steel roofs, lightning-fast deployment.
• Hitch receivers or flagpoles – useful when your RV has no ladder or roof space.
What to look for
• Quick-release so you can pack up in under a minute.
• Marine-grade aluminium and stainless fasteners.
• Built-in cable management and 12 V DC conversion route.
Starlink RV mounting kit Compatibility Checklist
Before you click “add to cart” confirm:
- Your mount lists Gen 2, Gen 3 or both.
- Ladder tubing or hitch size matches your rig.
- The kit has a 12 V path if you’ll run from batteries.
- In-motion hardware rating if you plan to upgrade later.
Starlink RV mounting kit Mounting Locations Compared
Ladder – best balance of height, price and theft resistance.
Roof – top performance but needs safe access and anti-theft plan.
Hitch receiver – flexible and transferable, but blocks the tow bar.
Flagpole – ultimate height yet requires guy ropes and extra space.
Ground tripod – cheapest and portable, but exposed to wind and theft.
Pick the solution that matches your travel style, not just the cheapest sticker price.
Top Starlink RV Mounting Kits for 2025
After field-testing dozens of systems from the Kimberley to the Great Ocean Road, these five SpaceTek solutions stood up to real Australian conditions:
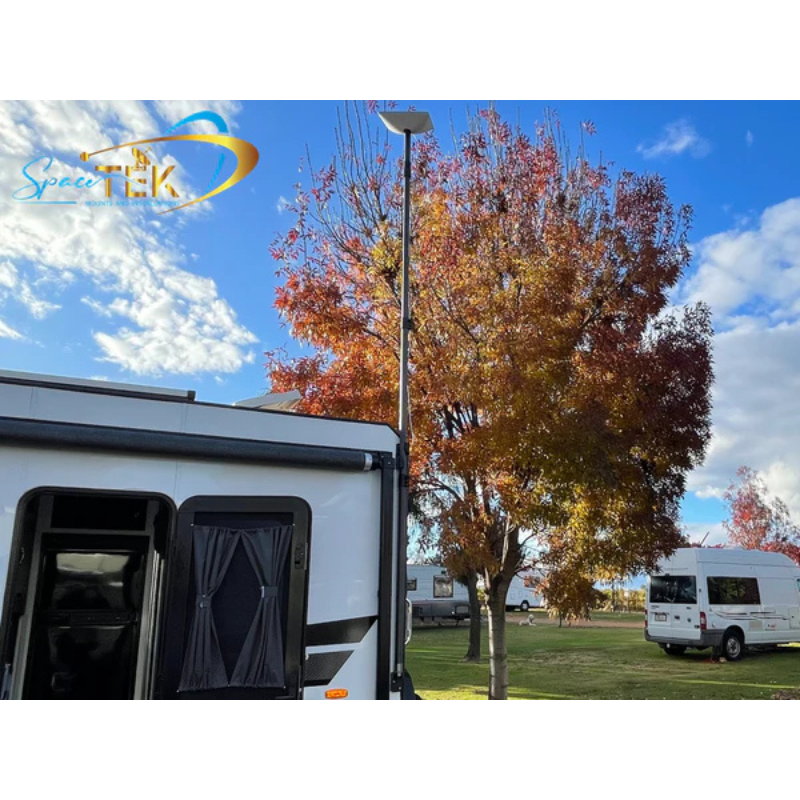
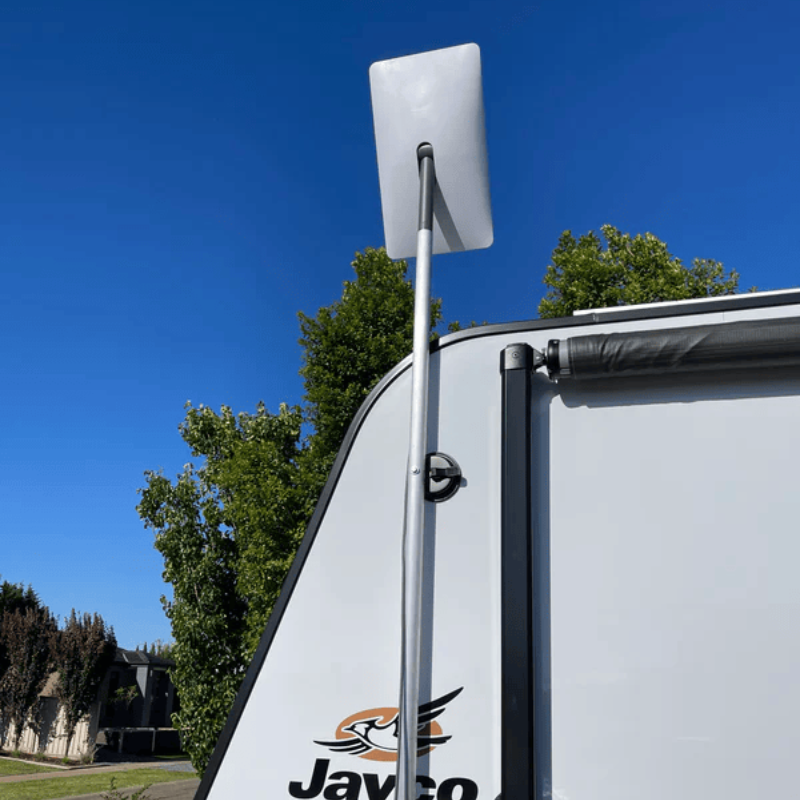
Starlink RV Compatible Suction Cap Mount – SpaceTek’s versatile suction cap mount attaches securely to any smooth caravan or RV wall. The adjustable safety hook bracket supports your Starlink terminal, while the suction caps provide a strong, no-drill hold. Easy to reposition for the best sky view and designed for quick setup and removal—no holes, no leaks. Learn more
Carbon Fibre Telescopic RV Mount for Starlink Gen 2 – Ultra-light 1.5 kg carbon fibre pole, adjustable from 1 m to 3 m for optimal signal. Secure top and bottom brackets ensure rock-solid mounting on your RV, with quick setup and easy portability. View product
Step-by-Step Installation Guide
You don’t need a tradie ticket—just patience, the right tools and solid ladder safety.
- Prep tools: cordless drill (5 mm & 9 mm bits), 13 mm/14 mm sockets, spirit level, cable ties and silicone.
- Use the Starlink app’s obstruction tool to find the clearest patch of sky. Mark the mounting spot with pencil.
- Remove the dish kickstand, clean the surface, then drill pilot holes.
- Bolt the mount down, torquing only to the spec in the instructions—no more stripped threads.
- Feed the cable through the built-in channel, leaving a small service loop. Seal any roof penetrations with silicone.
- Click the dish into place and lock it. Add the padlock or collar included in your Starlink RV mounting kit.
- Power up, run the Starlink app again and confirm “No obstructions” and stable signal. If the quick-release feels stiff, re-align and re-tighten.
The entire process usually fits into a leisurely Saturday morning—faster once you’ve done it a couple of times. For full installation specs, the official guide lives at Starlink Support.
Tips to Optimise Starlink Performance on the Road
Getting the most from your Starlink RV mounting kit goes well beyond just bolting the dish to your RV. After years of helping Australian travellers optimise their satellite internet setups, I've learned that small adjustments in how you position, protect, and power your system can make the difference between frustrating dropouts and rock-solid connectivity across our vast continent.
Strategic Campsite Selection Makes All the Difference
When you're pulling into a new campsite after a long day's drive, it's tempting to grab the first available spot—especially if it's got lovely shade from towering gums or she-oaks. But here's the thing: those same trees that provide blessed relief from the Australian sun will absolutely murder your internet speeds.
Sky clearance beats almost every other consideration when it comes to satellite performance. That postcard-perfect spot nestled between river red gums might look ideal, but you'll spend your evening watching spinning loading wheels instead of streaming your favourite shows or video-calling the grandkids.
Instead, look up before you look around. Open areas like coastal camping grounds, cleared farmland, or desert camps typically deliver outstanding Starlink performance because they offer unobstructed views to the northern sky—particularly important for Australian installations. Beach camping often provides the ultimate setup since you've got complete sky clearance over the water.
Mountain valleys can be tricky unless your mounting system can achieve serious elevation. This is where investing in a quality Starlink RV mounting kit with good height capability really pays dividends—sometimes an extra metre of elevation transforms a marginal campsite into one with excellent connectivity.
Weatherproofing Your Investment
Australian weather can be harsh and unpredictable, but your Starlink system needs to handle whatever nature throws at it. Heavy downpours will temporarily disrupt satellite signals, though proper mounting minimises these interruptions significantly.
The key is ensuring your dish sheds water quickly by maintaining proper tilt angles. Completely flat installations often struggle during heavy rain because water pools on the surface, creating ongoing signal issues even after the rain stops. A quality mounting system maintains the optimal angle automatically.
Dust storms present unique challenges that most international Starlink guides never mention. After experiencing a proper outback dust storm, your dish might look like it's been buried in red dirt. Regular cleaning becomes essential in dusty environments, and having protective covers for extended stops can save you considerable maintenance hassle.
Secure Storage While Driving
Never, ever attempt to drive with your Starlink dish deployed. The aerodynamic forces at highway speeds will destroy the dish and potentially damage your RV's roof or mounting points. I've seen the aftermath of this mistake, and it's not pretty—or cheap to fix.
Develop a rock-solid pre-departure routine that includes dish removal and secure storage. Consider investing in dedicated storage solutions that protect the dish from road vibration and impact damage during travel. A few minutes of careful packing can save you hundreds of dollars in replacement costs.
Understanding In-Motion Service Requirements
Many RVers ask about using Starlink while driving, and whilst it's technically possible, it requires specific hardware and significantly more expensive service plans. The specialised hardware designed for vehicle installation costs considerably more than standard dishes, and the Mobile Priority service plans can run several times the cost of standard Roam service.
Most Australian RVers find better value in stopping for internet access rather than paying premium prices for in-motion capability. Plan your travel days around connectivity needs—drive during periods when you don't need internet, then stop for extended online sessions when you reach camp.

Professional Cable Management Pays Long-Term Dividends
Proper cable routing protects your investment and dramatically improves system reliability. Use service loops at connection points to prevent strain damage, and secure cables every 30 centimetres to eliminate wind-induced vibration that can damage connections over time.
For permanent installations, consider upgrading to heavy-duty cables. The standard cables work perfectly for portable setups, but they may not withstand the constant flexing and temperature cycling of permanent RV installations across Australia's diverse climate zones.
Performance Monitoring and Troubleshooting
The Starlink app provides detailed performance statistics that help you identify problems before they become serious headaches. Monitor signal strength regularly, pay attention to obstruction warnings, and track data usage patterns to understand your system's behaviour.
Sudden performance drops often indicate mounting problems, cable damage, or new obstructions that weren't there yesterday. Keeping detailed logs of performance at different campsites helps you build knowledge about which locations and mounting configurations work best for your specific travel patterns and equipment setup.
More info about RV Roof Revolution
Frequently Asked Questions about Starlink RV Mounting Kits
Do I need a different mount for Gen 3?
Yes. The flat Gen 3 dish uses a new attachment plate. Most current SpaceTek mounts ship with dual adapters, but always double-check before ordering.
Can I leave the dish up while driving?
No. Portable dishes are rated for stationary use only. Even “in-motion” hardware needs a totally different install and the pricier Mobile Priority plan. Pack the dish away before rolling out; quick-release hardware means it takes under a minute.
How do I protect my dish from theft?
Choose a mount with a locking collar and hardened pins, add an AirTag in the slot provided, and insure the hardware under your RV policy. Situational awareness is still your best defence—if you wouldn’t leave a $500 phone on the picnic table, don’t leave the dish there either.
Connectivity Without Compromise
The freedom to explore Australia's vast landscapes shouldn't mean sacrificing reliable internet connectivity. From the red dirt roads of the Kimberley to the pristine beaches of the Great Ocean Road, your Starlink RV mounting kit becomes the foundation for staying connected wherever your trips take you.
Changing Remote Australia Connectivity
Remote Australia presents challenges that would break lesser mounting systems. The relentless sun that bakes the outback, sudden storm fronts that bring 100km/h winds, and the isolation where equipment failure means days without communication—these aren't just inconveniences, they're real challenges that demand proper solutions.
Starlink for Remote Australia has opened up possibilities that seemed impossible just a few years ago. High-speed internet from cattle stations in the Northern Territory to remote mining camps in Western Australia. But here's the thing—this technology only works when it's properly mounted and protected.
I've seen too many travellers return from remote trips with stories of damaged equipment, stolen dishes, or frustrating connection problems that could have been completely avoided with proper mounting. The ground-based setup that works fine in your suburban driveway becomes a liability when you're camped beside a salt lake in South Australia or dealing with tropical storms in Far North Queensland.
Building Systems That Last
Quality mounting isn't just about immediate performance—it's about creating systems that serve you reliably for years of trips. When you invest in professional-grade mounting solutions, you're protecting expensive equipment whilst ensuring consistent performance that lets you focus on what matters most: exploring this incredible country.
The difference between a good trip and a great trip often comes down to the small details. Having reliable internet for weather updates when storm clouds gather. Being able to steer confidently through unfamiliar territory. Staying connected with family when you're weeks into a remote trip. These things matter, and they all depend on having a mounting system that works flawlessly.
Your 2025 Upgrade Path
As we move into 2025, Starlink technology continues evolving rapidly. New dish designs, improved service plans, and improved capabilities are changing what's possible for RV internet. The mounting systems you choose now need to be flexible enough to adapt to these changes whilst robust enough to handle whatever Australian conditions throw at them.
Starlink for Remote Communities across Australia are finding what RVers have known for years—proper mounting makes all the difference between frustrating connectivity and reliable high-speed internet that transforms how you live and work.
Expert Support When You Need It Most
At SpaceTek Australia, we've spent over two decades helping Australians stay connected in challenging conditions. Our team understands that when you're 500 kilometres from the nearest town, you need equipment that works and support from people who understand your situation.
Whether you're planning your first extended remote trip or you're a seasoned grey nomad looking to upgrade your setup, we're here to help. Our mounting solutions are designed specifically for Australian conditions, tested in real-world scenarios, and backed by comprehensive support that doesn't end when you drive away.
More info about accessories & portability
Ready to transform your remote connectivity experience? Don't let poor mounting compromise your Australian trips. Contact our team today to discuss how the right Starlink RV mounting kit can give you reliable internet wherever your travels take you across this amazing continent.

Leave a comment
This site is protected by hCaptcha and the hCaptcha Privacy Policy and Terms of Service apply.