
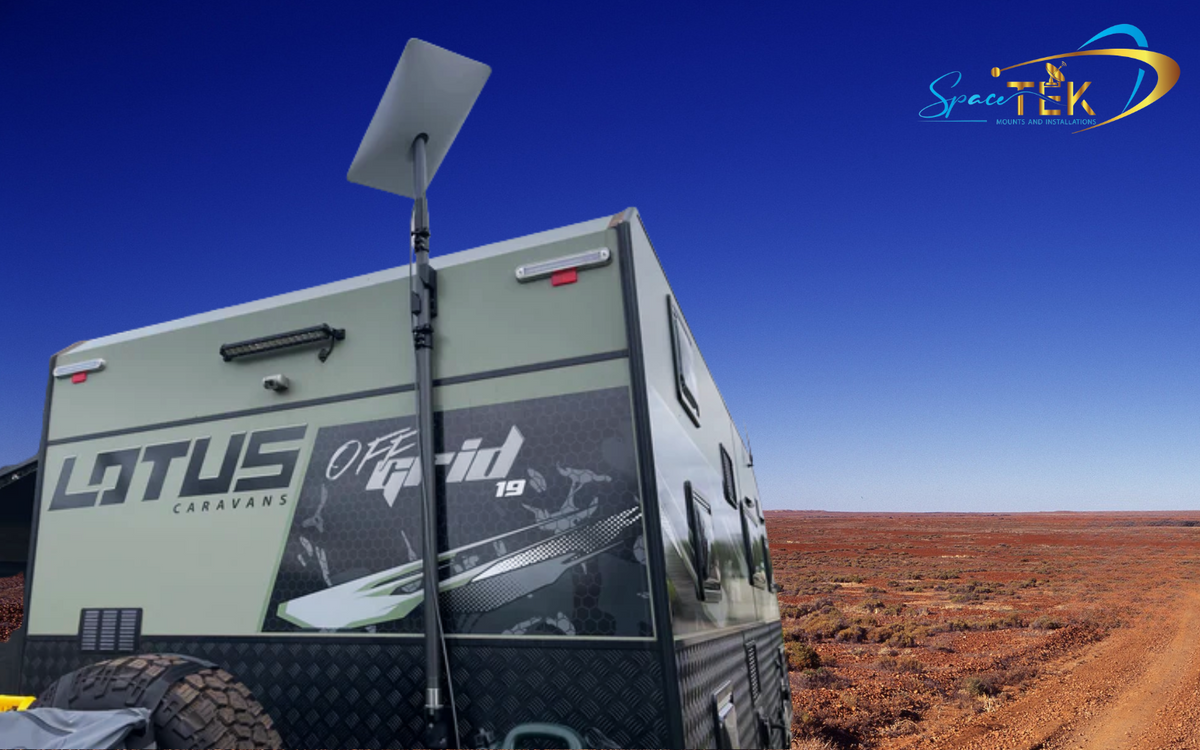
Why the Right Weatherproof Dish Mount Makes or Breaks Your Connection
Weatherproof dish mounts are heavy-duty mounting systems that keep your satellite dish or Starlink antenna securely fixed through rain, heat, wind, UV exposure, and coastal corrosion. If you want reliable internet through a rough Australian summer storm, the mount underneath your dish matters just as much as the dish itself.
Key Takeaways
- Choose a weatherproof dish mount that suits your roof type, wind region, and installation location.
- Hot-dip galvanised steel, stainless steel, and precision-machined aluminium are the strongest material choices for Australian conditions.
- Gutter mounts can reduce roof access risks, while roof, wall, pole, and ballasted mounts suit different homes and properties.
- Cable glands, weatherproof boots, drip loops, and proper sealing are essential for keeping water out.
- For cyclonic, coastal, rural, or off-grid locations, use hardware that is genuinely built for harsh Australian weather.
Here is a quick overview of the main types of dish mounts:
- Roof mounts: Fixed directly to the roof structure for a strong, permanent setup.
- Wall mounts: Attached to an exterior wall, which can help avoid roof penetrations.
- Pole mounts: Elevate the dish on a standalone pole, making them useful for open ground or rural properties.
- Gutter mounts: Clamp to the fascia or gutter line for ladder-only installation without walking on the roof.
- Non-penetrating ballasted mounts: Weighted platforms for flat roofs where drilling is not suitable.
For most Australian homes, a hot-dip galvanised or precision-machined aluminium mount rated for your local wind region is the sensible starting point.
Living rurally in Australia means dealing with conditions that can chew through a budget mount in one wet season. Intense UV, salt-laden coastal air, tropical downpours, and cyclonic winds are not rare edge cases here. They are the conditions many Australian homes and properties need to plan for.
The mount is the foundation of your entire satellite setup. A dish that shifts even slightly in the wind, or corrodes loose over a couple of summers, can struggle to hold a reliable signal. If you work remotely, run a business from a rural property, or rely on Starlink for everyday connectivity, that is more than a minor nuisance.
Australian wind classifications include cyclonic regions where ordinary domestic hardware may not be suitable. Choosing a mount that is genuinely rated for your region, rather than one that is simply marketed as heavy duty, is the difference between a setup that lasts and one that lets you down after the first serious storm.
This guide walks you through mount types, materials, roof sealing, weatherproofing accessories, and the common installation mistakes that let water in.
Why Do Weatherproof Dish Mounts Matter in Harsh Australian Conditions?
When you mount a satellite dish on your roof, you are effectively putting up a small sail. The dish catches the wind and transfers that force through the mount into the roof structure. If the mount is flimsy, the dish can wobble, causing packet loss, high latency, and frequent dropouts. Over time, constant vibration can also loosen fixings and create paths for rainwater to get into the roof cavity.
How Should You Think About Wind Ratings and Cyclone Regions?
Australia has wind regions that range from calmer inland areas through to severe cyclonic coastal zones. Standard domestic hardware may be fine in sheltered non-cyclonic areas, but northern Western Australia, the Northern Territory, and Far North Queensland need a much tougher approach.
To survive these locations, a mount needs heavy-duty construction, secure fixing points, and materials that can handle repeated wind loading. Some specialised gutter mounts are designed for cyclonic conditions, while standard heavy-duty mounts may only suit non-cyclonic areas. If you want to understand what wind can do to a Starlink setup, the SpaceTek guide on can Starlink mounts survive winds explains the engineering limits that matter.
What Materials Last Best Against UV and Salt Spray?
Wind is only part of the problem. The Australian sun is harsh, and coastal salt spray is highly corrosive. UV exposure can make cheap plastics and low-grade coatings brittle, while salt air can quickly attack ordinary steel hardware.
For long-term outdoor use, look for these materials:
- Hot-dip galvanised steel: Steel coated in a thick layer of zinc to help protect against rust in wet and humid conditions.
- Stainless steel: A strong corrosion-resistant option, especially where salt exposure is a concern.
- Precision-machined or folded aluminium: A lightweight, rust-resistant choice that holds up well in harsh outdoor conditions.
SpaceTek Australia uses precision-machined or folded aluminium/reinforced composite components for premium Starlink mounts built for Australian weather. For a closer look at material choice, see the rust-resistant satellite mounts guide.
Which Weatherproof Dish Mount Type Suits Your Property?
Choosing the right mounting style depends on your roof profile, building materials, wind exposure, and how much you want to minimise roof penetrations.
Are Gutter Mounts Better Than Roof-Penetrating Mounts?
Gutter mounts have become popular because they can support a ladder-only installation. That means the installer can work from the roof edge instead of walking across the roof surface, which helps reduce fall risk and avoids unnecessary stress on fragile tiles.
- Gutter mounts: These systems clamp securely to the fascia or gutter line. They are designed to suit common Australian roof construction, including timber rafter spacing and compatible metal-frame setups when the right adapter kit is used.
- Roof-penetrating mounts: These are fixed through roof sheeting or tiles into the structure underneath. They can be very strong, but they need careful drilling, correct fixings, and proper sealing to prevent leaks.
When Do Non-Penetrating Ballasted Mounts Make Sense?
If you are renting, or if your property has a flat concrete or membrane roof, drilling holes may not be an option. In those cases, a non-penetrating ballasted mount can be a practical solution.
These mounts use a heavy-duty frame that sits on the roof surface. Weight is added to hold the dish steady against wind without piercing the roof membrane. For the right flat-roof setup, that can mean reliable positioning with less risk of water ingress.
How Do You Keep a Dish Mount Watertight on Different Roof Types?
Any time you drive a screw through a roof, you create a possible leak point. The right sealing method depends on whether you are working with metal roofing, tiles, or another roof profile.
How Do You Install Weatherproof Dish Mounts on Metal Roofs?
Metal roofs expand and contract as temperatures change, so the mounting system needs to handle movement without breaking the waterproof seal.
For exposed-fastener metal roofs, a specialised strut-based mounting kit can create a strong, weather-tight connection while preserving the roof panels. The key is to use the right fixings and avoid damaging the seal while tightening them.
When installing on metal roofs, follow these steps:
- Pre-assemble the hardware: Confirm bolt lengths and alignments on the ground before climbing the ladder.
- Use self-piercing screws with EPDM washers: High-quality screws with stainless steel caps and EPDM rubber washers create a long-lasting, watertight barrier when compressed correctly.
- Avoid impact drivers: High torque can strip metal threads or crush the EPDM washer, so use a standard drill or screw gun with an adjustable clutch instead.
How Should Tile Roofs Be Sealed?
Tile roofs need a different approach. Drilling directly through clay or concrete tiles can crack them and create leaks. A better method is to use a mount that fixes into the timber rafter underneath, with the tile sitting back over the top.
To make this setup weatherproof, focus on:
- Flashing kits: Lead or flexible aluminium flashing helps guide water away from the penetration point.
- Neutral-cure silicone: UV-resistant neutral-cure silicone can be used around penetration points as a secondary seal. Avoid acid-cure silicone because it can corrode metal roof components over time.
What Accessories Help Weatherproof the Whole Installation?
A weatherproof mount is only part of the job. Cable entry points, connectors, and power-related accessories also need protection, because water can travel along cables and find its way inside.
To protect your system from moisture, consider these essentials:
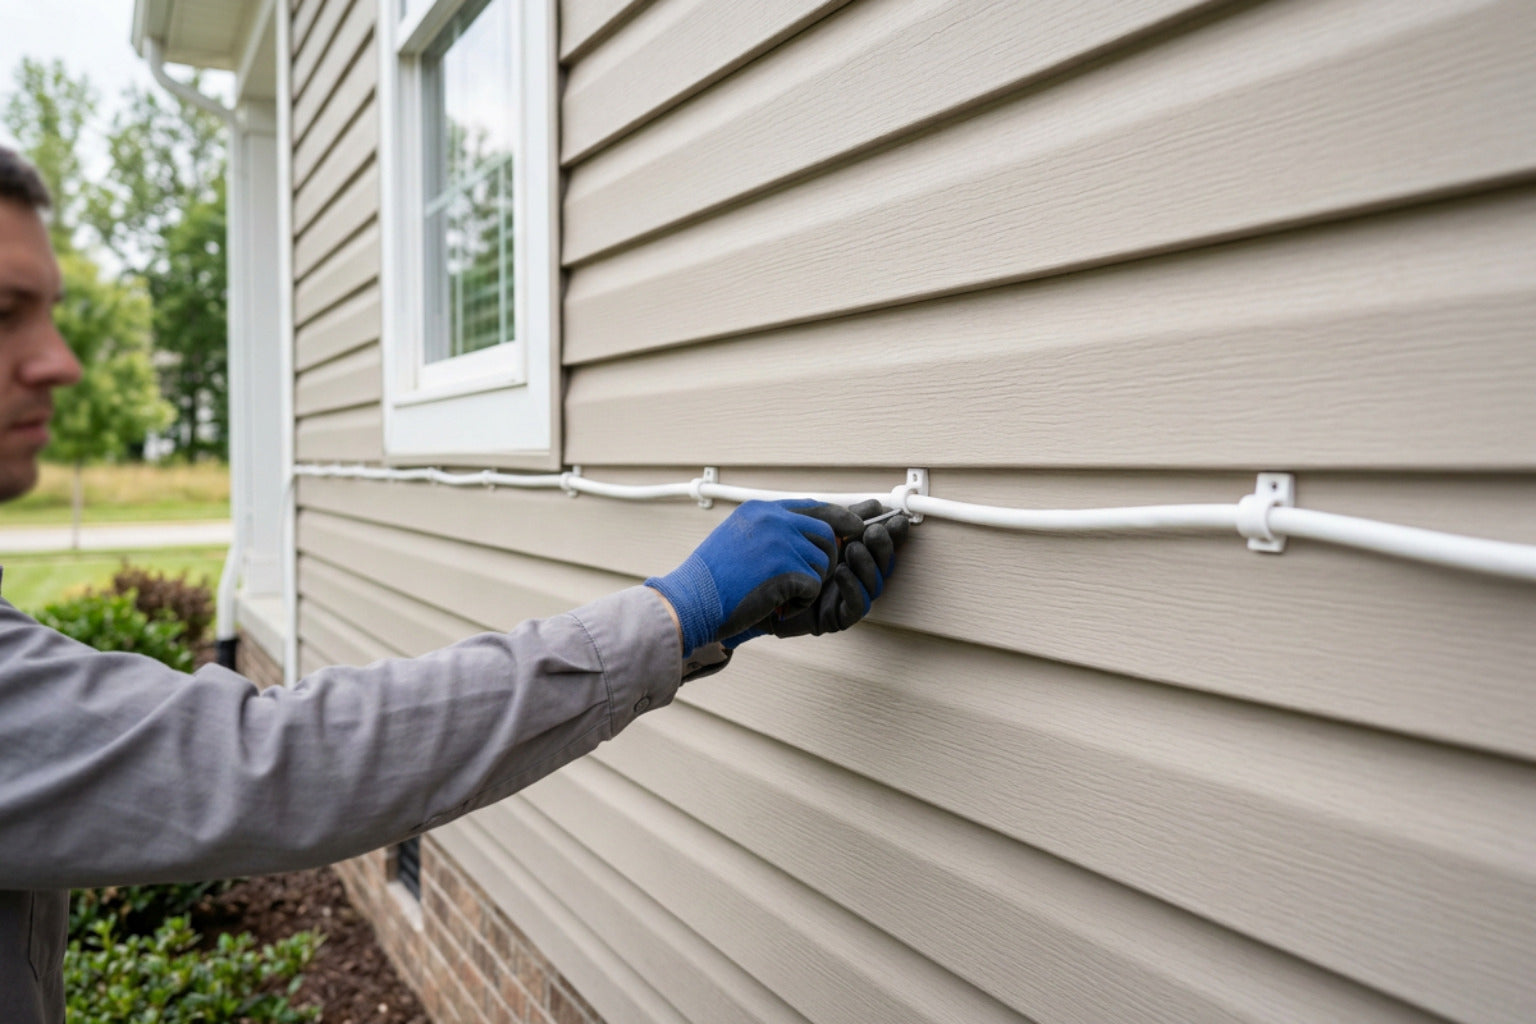
- Cable glands and entry plates: Use a dedicated cable gland or weatherproof entry plate when routing a satellite cable through an external wall.
- Weatherproof boots: Flexible rubber boots help protect dish connection points from driving rain.
- Drip loops: Leave a small downward loop in the cable before it enters a wall or gland so rainwater drips off before it reaches the entry point.
If you are running a Starlink setup off-grid, cable protection becomes even more important. SpaceTek StarPower V2 and V3 DC power supplies are designed for efficient, reliable DC-to-DC power, with lower draw and the ability to bypass the Starlink router for custom setups. Keeping external cabling dry and secure helps the whole system perform reliably. For more practical setup advice, read how Starlink accessories can weatherproof your setup.
Frequently Asked Questions About Weatherproof Dish Mounts
Are There Weatherproof Dish Mounts Designed for Starlink?
Yes. Universal mounts can work with the right adapters, but purpose-built Starlink mounts usually offer better fitment, stronger positioning, and more reliable weather protection.
Starlink hardware has changed over time:
- Gen 2: Actuated, meaning the dish can move and tilt, so the mount needs to allow for that movement.
- Gen 3: Static and non-actuated, so it needs a mount that holds the dish at a fixed angle.
- Starlink Mini: Compact and portable, making it better suited to travel, camping, and off-grid mounting options.
SpaceTek custom mounts are precision-machined from high-grade aluminium or made from folded aluminium/reinforced composite. They are built for extreme wind loads, strong UV exposure, and Australian outdoor conditions. For more on what sets local designs apart, read Starlink mounting kits for harsh climates.
What Installation Mistakes Cause Leaks?
If you are doing a DIY installation, avoid these common mistakes:
- Over-tightening roof screws: Too much force can crack roof tiles, strip metal threads, or damage the EPDM rubber washers that help keep water out.
- Skipping EPDM washers: Cheap substitutes or missing washers can create leaks quickly.
- Relying only on silicone sealant: Silicone is a secondary line of defence, not the main structural seal.
- Forgetting the drip loop: Without a drip loop, rainwater can follow the cable into the wall instead of dripping away outside.
Which Materials Are Best for Coastal Homes?
If you live close to the ocean, salt spray can quickly corrode standard steel hardware.
- Aluminium: A strong all-round option because it does not rust and stays relatively lightweight.
- Stainless steel: Durable and corrosion-resistant, although it may still need occasional cleaning in salty environments.
- Hot-dip galvanised steel: Offers strong long-term protection, with the zinc coating helping protect the steel beneath.
Build a Weatherproof Starlink Setup That Lasts
A high-quality weatherproof mount is one of the simplest ways to protect your satellite connection from harsh Australian conditions. Whether you need a gutter mount to avoid walking on the roof, a ballasted setup for a flat surface, or a Starlink mount built for cyclonic wind regions, the right materials and sealing method can save you plenty of headaches later.
SpaceTek Australia designs and manufactures premium, rust-resistant Starlink mounts and accessories for local conditions, including mounts, cables, StarPower DC power supplies, and Starlink Mini off-grid gear. If you are planning a reliable setup from the ground up, explore the SpaceTek Starlink mounts complete guide and choose the gear that suits your property.


Leave a comment
This site is protected by hCaptcha and the hCaptcha Privacy Policy and Terms of Service apply.