
Opening High-Speed Internet from Your Apartment Balcony
A Starlink balcony mount can transform your apartment into a connected hub, delivering high-speed satellite internet to urban and remote Australians. For those in city apartments or regional towns without roof access, mounting Starlink on a balcony is a practical and effective solution.
Quick Answer for Starlink Balcony Mount Installation:
- Planning: Use the Starlink app to find a position with a clear view, free of obstructions.
- Mount selection: Choose an adjustable, rust-resistant mount designed for Australian conditions.
- Installation: Securely attach the mount to balcony railings and manage cables neatly.
- Testing: Use the Starlink app to verify signal strength and connection stability.
- Maintenance: Periodically check that the mount is secure and the dish's view is clear.
Apartment dwellers in Australia face unique internet challenges. From coastal salt air that corrodes standard hardware to limited broadband infrastructure in remote areas, the need for a robust satellite solution is clear. A clear field of view is critical for Starlink, making proper balcony placement essential for performance.
Balcony installations offer a significant advantage over roof-mounted systems, which may require professional help and landlord approval. Many balconies naturally provide the clear view of the northern sky that Starlink requires in Australia.
However, Australian conditions demand specialised mounting hardware that can resist corrosion, withstand high winds, and attach securely to various railing types. Standard mounts often fail, leading to poor connectivity and safety risks.
SpaceTek Australia was founded by Aaron Wroblewski, a specialist with over 25 years of experience in satellite communications. A proper Starlink balcony mount is crucial for Australian users, and SpaceTek mounting systems are designed specifically for Australia’s harsh climate to deliver dependable, long-term connectivity.

Handy Starlink balcony mount resources:
- SpaceTek Starlink cables and accessories
- Comprehensive guide to SpaceTek Starlink mounts and adapters
Step-by-Step Guide: Installing Your Starlink Balcony Mount
At SpaceTek Australia, we provide robust, purpose-built solutions for Starlink installations, particularly for challenging scenarios like balcony mounting. This guide outlines the essential steps for a secure, stable, and high-performing Starlink balcony mount installation.
Step 1: Planning the Ideal Location for Your Starlink Balcony Mount
Proper placement is the most critical step for optimal Starlink performance. The dish needs a clear, unobstructed view of the satellite constellation. In urban areas with tall buildings or regions with dense trees, this can be a challenge.
Start by using the Starlink app's integrated obstruction checker. This tool helps you scan your surroundings to identify potential blockages. In Australia, the dish requires an unobstructed view of the northern sky. Any obstacle, such as a neighbouring building, a large tree, or even your balcony's overhang, can degrade signal quality.
Also, consider wind and weather. Coastal areas have corrosive salt air, and many regions experience strong winds. While the Starlink dish is weather-resistant, the mount must be robust. Select a location that minimises exposure to extreme winds. Our SpaceTek mounts are engineered for these Australian conditions, providing necessary stability and durability.
For more details, consult our guide: More information: Ideal Starlink installation locations in Australia.
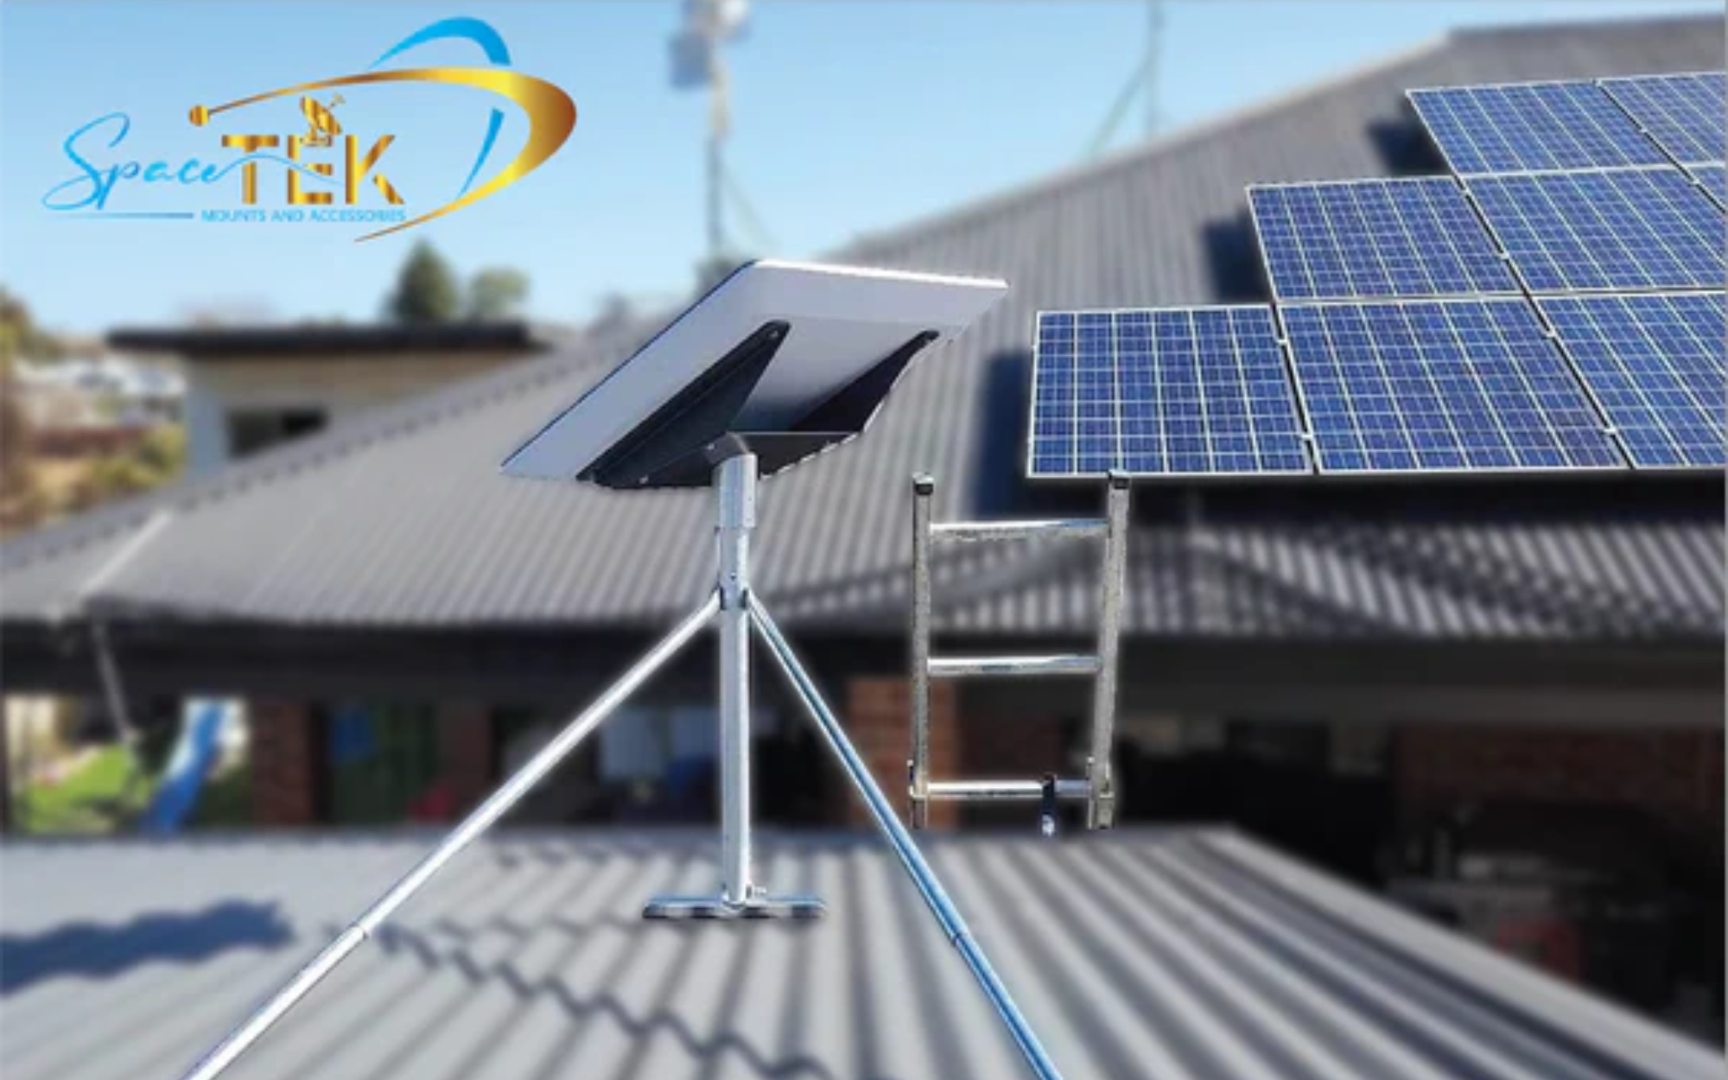
Step 2: Selecting the Right SpaceTek Balcony Mount for Your Needs
After identifying the best location, choose a mount that fits your balcony and can withstand local environmental conditions. Standard hardware often fails in Australia's demanding climates.
At SpaceTek Australia, we engineer balcony and railing mounts specifically for the Australian climate. Our products prioritise rust resistance and weatherproofing to ensure long-term durability. We offer various options to suit different balcony railings, ensuring a secure and stable installation. A robust mount is essential to prevent movement in high winds, which maintains signal integrity and protects your equipment.
For a full overview of our mounting solutions, see our guide: Comprehensive guide to SpaceTek Starlink mounts and adapters.
Step 3: Secure Installation—Tools, Safety, and Best Practices
A secure installation is vital for performance and safety. While Starlink installation is generally straightforward, balcony mounting requires careful attention to detail.
Required Tools and Safety Equipment:
- SpaceTek Balcony Mount kit
- Adjustable wrench or spanner set
- Spirit level
- Cable ties or clips
- Personal Protective Equipment (PPE): Gloves, safety glasses, and appropriate footwear.
Step-by-Step Installation Instructions:
- Unpack and Inspect: Familiarise yourself with the SpaceTek Balcony Mount components and instructions.
- Assemble Mount: Assemble the main parts of the mount as per the diagram.
- Position Mount: Place the mount on the selected railing section for the clearest sky view.
- Secure Clamps: Loosely fit the clamps and bolts around the railing.
- Level and Tighten: Use a spirit level to ensure the mast is vertical. Tighten all bolts evenly and firmly.
- Attach Starlink Dish: Insert the Starlink dish into the mount's receptacle until it clicks securely.
- Cable Management: Route the Starlink cable neatly, securing it with cable ties to prevent snagging.
- Indoor Connection: Run the cable indoors to the Starlink router and power supply.
- Power Up: Connect and power on the system.
Installation Tips:
- Check Compatibility: Verify your railing dimensions against the mount’s specifications.
- Wind Load: In areas with extreme winds, consider tethering the mount for extra security.
- Building Rules: Always check with your building management or strata committee about rules for external installations. Our non-penetrating mounts are often more easily approved.
For more tips, review our article: 7 Clever Ways to Avoid DIY Starlink Mounting Mistakes.
Step 4: Final Checks and Performance Optimisation
After mounting your dish, verify its performance and optimise the settings for the best internet experience.
Testing Your Connection:
The Starlink app is your primary tool. Once powered on, the dish will self-orient.
- Check Status: Open the app and confirm your Starlink is online. If not, re-check your placement and mounting.
- Obstruction Report: Review the obstruction report in the app. Even small adjustments to the mount's position can improve the field of view.
Running Speed Tests:
Once connected, run speed tests using the Starlink app and third-party websites to assess download, upload, and latency performance.
Adjusting for Optimal Signal:
If performance is below expectations, slight adjustments to the mount's position along the railing can often clear minor obstructions and improve signal strength.
Troubleshooting Common Issues:
- Intermittent Connection: Usually caused by obstructions. Use the app's obstruction map to identify blockages.
- Slow Speeds: Can be caused by obstructions or router placement. Ensure your router is optimally positioned indoors.
- "Motors Stuck" Alert: Indicates a physical obstruction is preventing the dish from moving. Check for anything blocking its path.
For more detailed tips, refer to our guide: Starlink Dish Installation Tips: Get Connected Fast and Easy.
Starlink in Australia: Solutions for Apartments, Remote Homes, and Communities
Starlink is revolutionising internet access across Australia, from Melbourne's high-rises to remote Northern Territory cattle stations. At SpaceTek Australia, our Starlink balcony mount solutions are enabling Australians who previously faced unreliable internet to get connected.
Urban Connectivity Challenges
City apartment dwellers often struggle with poor internet due to building signal shadows, old infrastructure, and restrictions on roof installations. Our SpaceTek balcony mounts overcome these issues by providing secure, non-permanent mounting options that work within apartment constraints. A Starlink balcony mount is versatile enough for any Sydney or Brisbane high-rise, adapting to different balcony designs while ensuring a clear sky view.
Remote Australia's Connectivity Revolution
For remote homes and communities, our mounts are more than a convenience; they are a lifeline to essential services, education, and economic opportunities. In areas where traditional broadband is non-existent, a Starlink balcony mount offers the flexibility needed for diverse property types. Homesteads with unique architecture or corrugated iron roofs can benefit from a balcony or verandah installation, avoiding the complexities of roof mounting.
Supporting Remote Communities
Community centres, schools, and health clinics in remote areas are adopting Starlink, and our mounts are key to these successful installations. Reliability is paramount when the nearest technician is hours away. Our rust-resistant, weatherproof mounts ensure consistent performance with minimal maintenance, which is vital for telehealth, distance education, and emergency communications.
Australian-Engineered for Australian Conditions
Our commitment is to provide reliable internet for all Australians. We understand that Australia's climate—from tropical cyclones to desert heat—demands specialised hardware. Our SpaceTek mounts are engineered with carefully selected materials to withstand coastal salt air, extreme temperatures, and intense UV radiation, ensuring long-term performance anywhere in the country.
Starlink for Remote Australia and Remote Communities
Australia's vast geography poses significant challenges for internet connectivity, especially in remote regions where traditional infrastructure is absent. For cattle stations, mining communities, and remote coastal towns, reliable internet has often been out of reach.
Starlink changes this by delivering high-speed broadband via satellite, bypassing the need for ground infrastructure. However, its effectiveness in these environments hinges on a proper installation, making the right mounting solution critical.
Overcoming Installation Challenges in Remote Locations
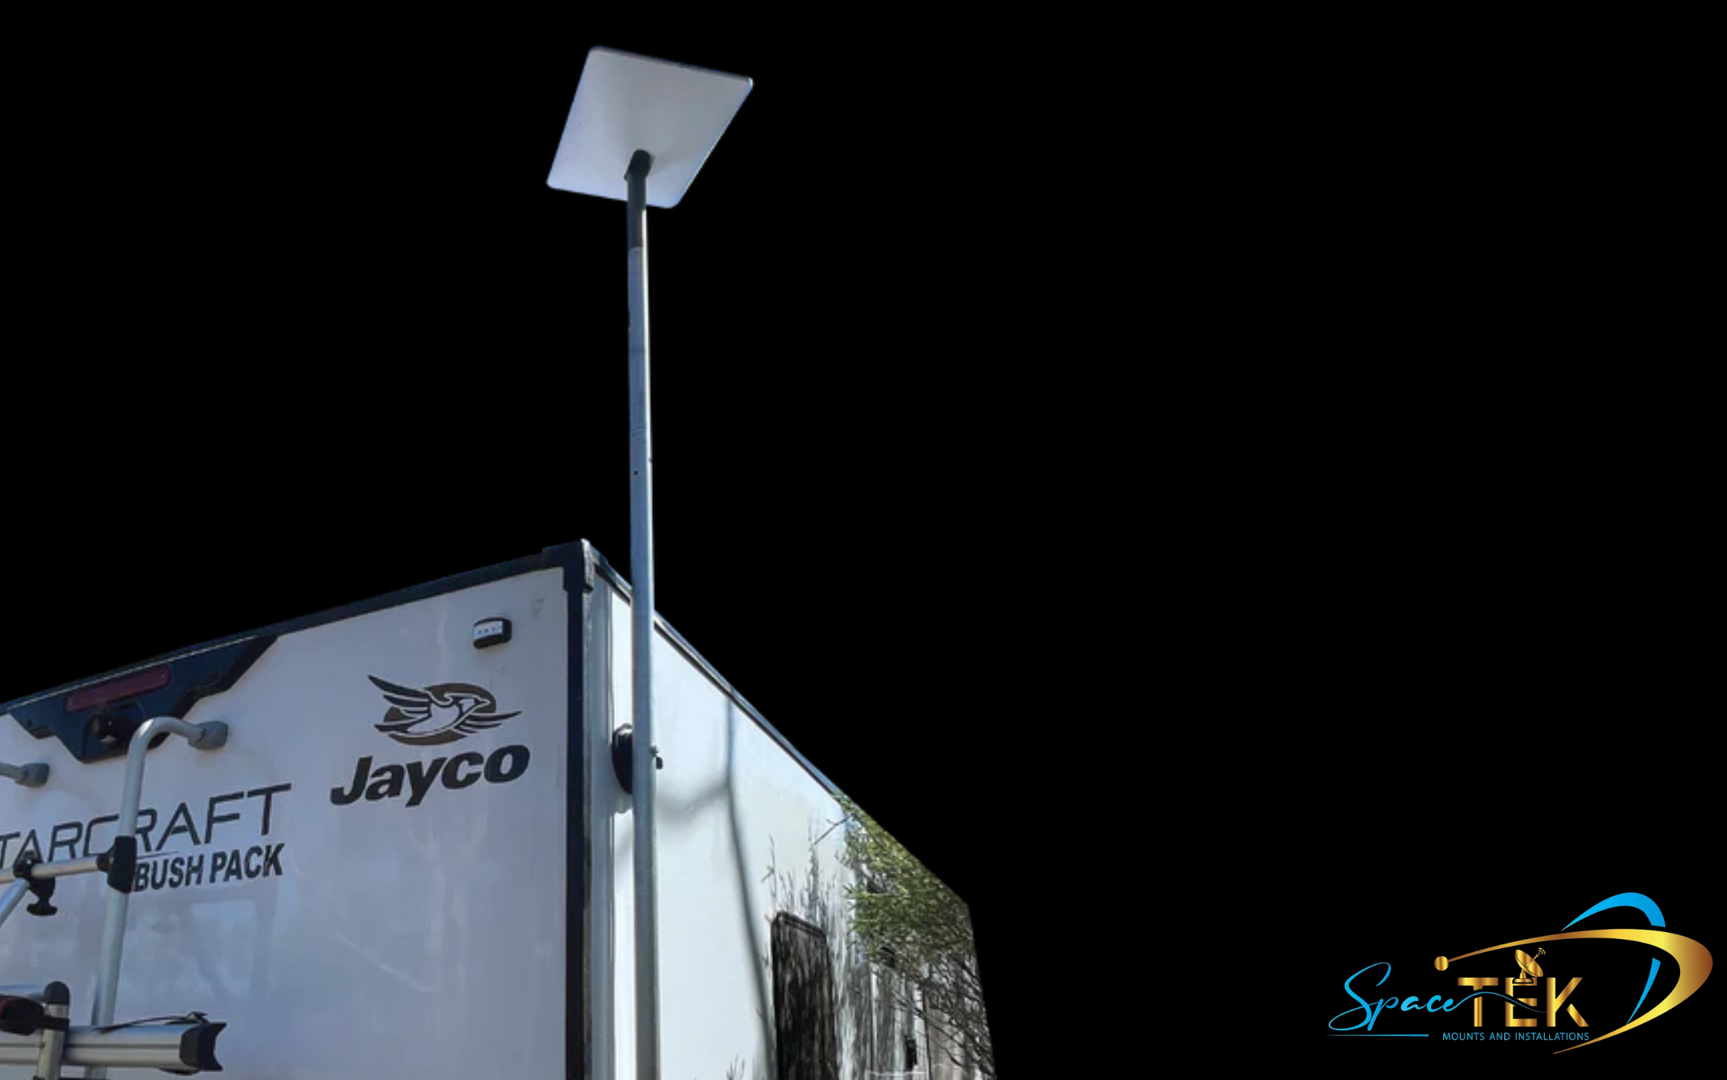
Remote locations present unique installation problems. Dense forests can block sky views, rocky terrain can make ground poles impractical, and extreme weather demands durable hardware. SpaceTek's engineered mounts provide the stability required for these demanding environments. Our pole mounts can raise a dish above a tree line, while our Starlink balcony mount solutions are perfect for liftd structures like mining accommodation or homestead verandahs.
Built for Australia's Harshest Conditions
The importance of robust, weatherproof accessories cannot be overstated. Extreme outback temperatures, corrosive coastal salt air, and intense UV radiation can destroy standard hardware. Our mounting solutions are designed and tested for these Australian realities, using rust-resistant materials and UV-stable coatings to ensure longevity and performance.
Connecting Communities That Matter
For remote communities, reliable internet is a lifeline. It enables telehealth consultations, distance education for children, and allows local businesses to operate in a global market. The foundation of this connectivity is a securely mounted Starlink dish. Our solutions ensure that once installed, the system continues to deliver the dependable performance these communities rely on, bridging the digital divide and connecting remote Australians to the world.
Rugged Accessories for Tough Australian Conditions
Australia's climate demands more than standard mounting hardware. From tropical humidity and coastal salt spray to desert heat and extreme temperature shifts, your Starlink balcony mount must be built to withstand conditions that would quickly destroy inferior products.
At SpaceTek Australia, we have seen how cheap accessories fail in our environment. Standard steel rusts, plastic becomes brittle under UV radiation, and poor designs loosen over time. That is why every SpaceTek product is rigorously tested to perform in Australian conditions.
Built to Last
Our mounts use marine-grade stainless steel and treated aluminium alloys to resist corrosion and maintain strength after years of exposure to the elements. This ensures your Starlink system stays securely mounted and performs optimally. The adjustable clamping systems are designed to fit diverse Australian balcony railings, from heritage ironwork to modern glass, ensuring a secure fit without damaging your property.
Complete, Integrated Solutions
A Starlink balcony mount is part of a complete system. We offer a comprehensive range of accessories, from weatherproof cable management to specialised adapters, all designed to work together seamlessly. Whether you face narrow railings or building restrictions, our complete range of Starlink mounting solutions has an option for your scenario.
We focus on the details that matter, like durable SpaceTek cables and accessories that protect your investment from the harsh Australian environment. Every component is selected for longevity, because a failed part can mean a total loss of connection.
Expert Support When You Need It
Choosing the right accessories is straightforward with our help. Our experienced team understands the challenges facing Australian Starlink users. When you contact our expert team, you access decades of combined experience in satellite communications. We provide personalised advice to help you find the optimal solution for your specific needs.
Leave a comment
This site is protected by hCaptcha and the hCaptcha Privacy Policy and Terms of Service apply.