
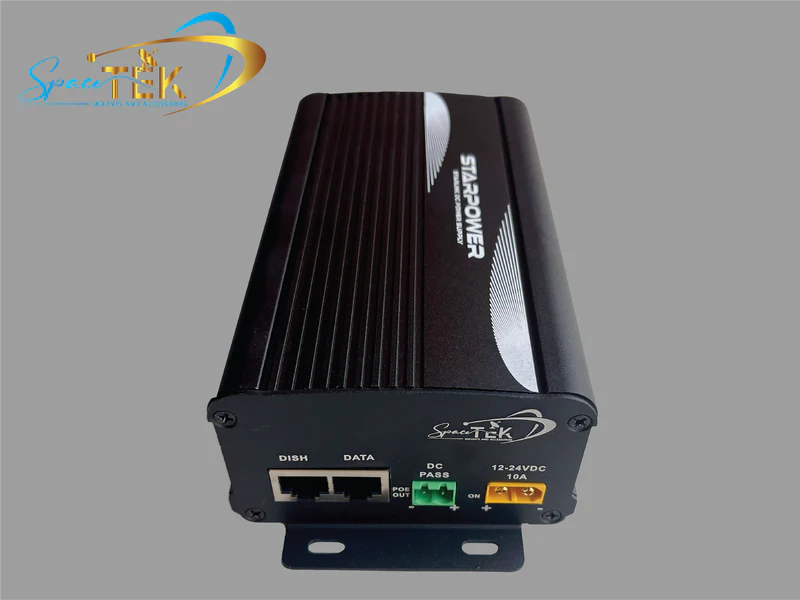
What Starlink Power Supply Voltage Do You Need?
Most standard Starlink setups need a clean, regulated higher-voltage DC supply matched to the dish generation, while Starlink Mini is designed for a broader low-voltage DC input range. In plain English, the right Starlink power supply voltage depends on whether you are running Gen 1, Gen 2, Gen 3 / V4, Mini, or a Performance kit.
Key Takeaways
- Match the power supply to your exact Starlink generation before plugging anything in.
- Standard and Performance Starlink terminals need stable, regulated DC power, not a random networking PoE switch.
- Starlink Mini is the simplest option for many caravan, camping, and touring setups because it is designed for direct DC use.
- Direct DC-to-DC power is usually the smarter off-grid choice than an AC inverter because it reduces conversion waste, lowers draw, and can bypass the Starlink router in custom setups.
- For a deeper local setup guide, start with SpaceTek's Starlink Standard DC-DC Power Supply Guide, and cross-check your exact hardware against Starlink's official DC-DC power supply specifications before wiring anything in.
How Do You Match Starlink Power Supply Voltage Across Generations?
Each generation handles power a bit differently, so it is worth checking your hardware before buying or building anything:
- Gen 1 round dish: Uses an external power brick and is sensitive to poor regulation when adapted for mobile use.
- Gen 2 standard actuated dish: Uses proprietary PoE through the standard router or a compatible purpose-built DC power setup.
- Gen 3 / V4 standard dish: Uses an external supply feeding the router, with the dish managing power internally.
- Starlink Mini: Has an integrated router and native DC input support, which makes it a tidy option for lightweight touring.
- Performance kit: Is built for higher-demand applications and needs robust power management, especially with longer cable runs.
If you are choosing parts for a caravan, 4WD, shed, or remote site, keep it simple: identify the dish generation first, then choose a regulated supply made for that setup. This also saves a lot of mucking around later, because the right supply, cable layout, and connector choice all depend on the terminal you have in front of you.
Why Is Starlink PoE Different From Normal Networking Gear?
Standard network switches are made for normal data gear, not a Starlink terminal. Starlink uses proprietary power delivery, which means the cable wiring, power behaviour, and startup process are not the same as everyday commercial PoE.
That matters because plugging a Starlink dish into the wrong switch or injector can stop it from powering up properly, and in the worst case may damage gear. If you are building a custom setup, use purpose-made Starlink DC power hardware rather than trying to improvise with standard networking equipment.
Why Is Direct DC Power Better Than Using an AC Inverter?
For off-grid Starlink setups, direct DC-to-DC power is generally the cleaner and more efficient option than running through an AC inverter. It avoids unnecessary power conversion, reduces battery drain, and can let custom setups bypass the Starlink router where the hardware supports it.
Using an inverter means your battery power is converted up to AC, then converted back down again for the Starlink system. That extra step creates heat, wastes stored battery capacity, and adds another device that can fail when you are parked up away from mains power.
How Does DC-to-DC Power Help in a Caravan or 4WD?
A proper DC-to-DC setup keeps power delivery steadier while your battery voltage rises and falls during normal touring use. That is handy when a fridge cycles, lights are running, or the vehicle is charging and resting throughout the day. It also means the Starlink system is not relying on a general-purpose inverter to do a job that dedicated DC hardware can usually handle more neatly.
It also keeps the setup neater. Instead of carrying an inverter and the factory AC gear, you can use a dedicated StarPower DC power supply where it suits the Starlink generation. For more practical setup advice, read SpaceTek Australia's Starlink 12V Power Guide.
What Should You Check Before Wiring Starlink to DC Power?
A good DC setup is not just about the power supply. The wiring needs to suit the job too:
- Cable thickness: Long DC cable runs can lose voltage, so use suitable automotive cable for the distance and load.
- Fuse protection: Fit an appropriate fuse close to the battery to protect the circuit.
- Stable regulation: Use a quality DC-to-DC supply so the dish is not affected by normal battery sag.
- Correct polarity: Check positive and negative connections before powering up.
- Weather protection: Seal exterior joins and pass-through points so dust, rain, and corrosion do not creep in.
If any part of the setup feels like a workaround, pause before powering it up. A little extra care with cable routing, fusing, and weather protection is much easier than diagnosing random dropouts once you are already on the road.
How Do Starlink Power Designs Change Between Terminal Revisions?
Starlink terminals have changed quite a bit over the years, especially in how they accept and manage power. The practical takeaway is simple: do not assume a power setup for one generation will suit another.
If you are checking the technical side, Starlink's official DC-DC power supply specifications are the safest reference point before matching parts to a standard dish setup.
What Happens Inside Gen 2 and Gen 3 Terminals?
- Gen 2 standard actuated terminals: Take proprietary high-voltage DC power through the dish cable, then step it down internally for the electronics.
- Gen 3 / V4 standard terminals: Use a different power layout, with external supply hardware and internal regulation doing the heavy lifting.
That is why generation-specific gear matters. A tidy DC setup should provide stable, compatible power without forcing the terminal to deal with dips, wiring loss, or mismatched connectors. If you are comparing advice online, check which Starlink generation the advice was written for before copying the setup. A tip that works well on one terminal can be a poor fit for another.
How Can You Spot Starlink Power Problems?
Power issues usually show up as dropouts, random reboots, or a dish that gets stuck in a startup loop. If the voltage drops under load, the terminal may reset to protect its internal electronics.
What Are the Common Signs of Voltage Drop?
- The dish reboots again and again: This often points to voltage sag during startup or higher-demand operation.
- Dropouts happen during speed tests: Heavy upload or download activity can expose weak wiring or poor regulation.
- Cold-weather heating causes instability: Heating functions can increase demand, so undersized wiring or fusing may struggle.
- Gear cuts out inside hot cupboards: Poor airflow can make power supplies run hot and behave unpredictably.
If this sounds familiar, check the basics first: cable length, cable thickness, fusing, polarity, and whether the power supply is actually made for your Starlink generation. SpaceTek Australia's Fix Starlink Power Issues guide is a useful next read if you are chasing random reboots or connection drops.
It is worth testing the setup while the dish is actually working, not just while it is sitting idle. Many weak installations look fine at first, then fall over when the terminal starts drawing more power during real use.
What Do People Usually Ask About Starlink Voltage?
Can You Run a Starlink Mini Directly From a Vehicle Battery?
Yes, Starlink Mini is designed for direct DC use, which makes it much easier to run from a touring power setup than larger standard terminals. For best results, keep the supply stable and avoid relying on loose or under-rated wiring.
What Happens if Starlink Gets Low Input Voltage?
Low input voltage can cause instability because the terminal may not receive clean power when demand rises. In everyday terms, that can mean dropouts, reboots, or slower recovery after the dish tries to reconnect.
Can Third-Party DC Power Gear Affect Warranty?
Non-invasive, plug-and-play power gear is the safer path because it avoids cutting cables or modifying the dish. Any permanent wiring modification can create warranty risk, so keep the setup reversible wherever possible.
Why Does Starlink Use Higher Voltage Instead of Simple Low-Voltage DC?
Higher voltage helps move power through longer, lighter cables with less loss. That is why standard Starlink terminals use a different power approach from smaller DC-native gear like Starlink Mini.
What Should You Do Before Buying Starlink Power Gear?
Check your Starlink generation, how you plan to mount the dish, where the power supply will sit, and whether the setup needs to handle dust, rain, vibration, or long periods away from mains power. That gives you a much clearer brief before choosing accessories.
Ready to Make Your Off-Grid Starlink Setup More Reliable?
Clean, stable DC power makes a big difference when you rely on Starlink away from home. A well-matched DC-to-DC setup can reduce inverter waste, help avoid reboot cycles, and keep the installation simpler for touring, camping, and remote work.
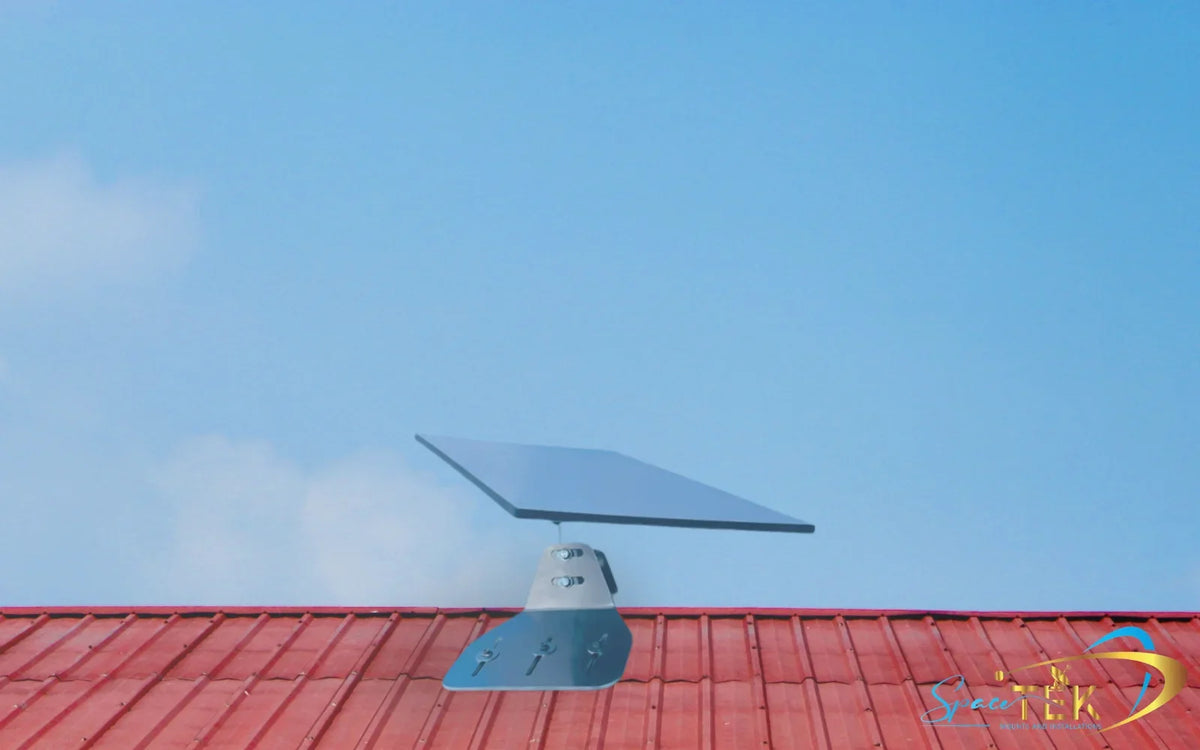
For the physical setup, pair the right power supply with secure, weather-ready hardware. SpaceTek makes precision-machined aluminium and reinforced composite gear for demanding Australian conditions, including rugged Starlink mounts and off-grid accessories for mobile setups. You can browse RV and Caravan Starlink Accessories when you are ready to sort the hardware around your power system.
The goal is not to overcomplicate the build. It is to give the dish steady power, protect the wiring, and keep the physical setup secure enough for corrugations, weather, and everyday travel.


Leave a comment
This site is protected by hCaptcha and the hCaptcha Privacy Policy and Terms of Service apply.