Why Choosing the Right Satellite Mount Matters for Australian Homes
What to check in satellite mounts comes down to a few critical factors that directly impact your internet reliability and hardware longevity:
- Material quality – Look for marine-grade aluminium, stainless steel, or carbon fibre to resist rust and UV damage
- Wind resistance – Ensure the mount is rated for Australian wind loads and has secure locking mechanisms
- Compatibility – Verify it suits your specific Starlink model (Mini, Gen 2, Gen 3) and mounting location (roof, wall, pole, RV)
- Installation ease – Check for clear instructions, included hardware, and proper cable management features
- Weather sealing – Confirm it prevents water ingress and handles extreme temperatures
Your satellite dish might deliver blazing-fast internet. But without a robust mount, that connection won't last.
Australian conditions are unforgiving. Coastal salt spray, inland heat, and sudden storms can destroy poorly chosen mounts in months.
A weak mount leads to signal drop-outs. It can also void your warranty and cost you hundreds in replacement hardware.
The good news? Checking a few key factors before you buy saves you time, money, and frustration.
This guide walks you through exactly what to check in satellite mounts to ensure your Starlink stays secure and performs optimally in Australian conditions. I'm Aaron Wroblewski, founder of SpaceTek Australia, with over 25 years of experience in remote communications and satellite systems, and I've spent years helping Australians understand what to check in satellite mounts to avoid common installation headaches. Let's explore the details.
Basic what to check in satellite mounts glossary:
The Ultimate Checklist: What to Check in Satellite Mounts for Australian Conditions
When you're ready to secure your Starlink dish, don't just grab the first mount you find online. Australia's unique climate—from blistering sun to salt-laden coastal winds—demands mounts that can genuinely handle the challenge. We've created this comprehensive guide on what to check in satellite mounts to help you make a confident, informed choice that keeps your connection stable for years to come.
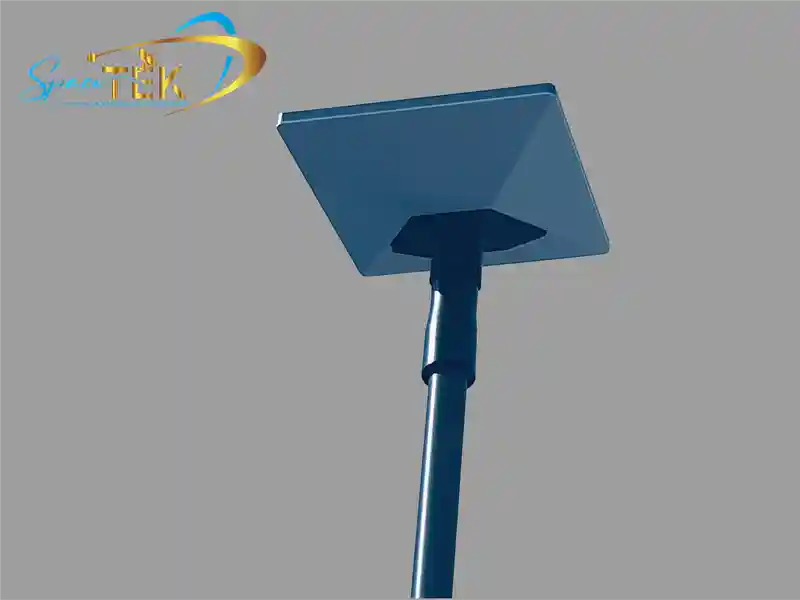
Material and Durability: Built to Last in the Aussie Climate
Your mount's material isn't just a technical detail—it's the difference between a mount that lasts a decade and one that rusts out in eighteen months. Australia's weather doesn't play favourites, and a poorly chosen material will show its weakness quickly.
While many basic mounts use galvanised steel or standard aluminium, these materials often struggle with our conditions. For genuine longevity, you want marine-grade aluminium or 316 stainless steel. These materials naturally resist corrosion, which is absolutely critical if you're anywhere near the coast. Salt air is relentless, and cheaper materials simply can't stand up to it.
The protective finish matters just as much as the base material. A quality powder coating provides an extra shield against UV radiation, moisture, and general wear. It's not just about looks—that coating is working hard to extend your mount's life. When considering what to check in satellite mounts, always verify both the material specification and the finish quality.
When you're evaluating a mount, look for clear material specifications that state marine-grade aluminium or 316 stainless steel. The finish should be thick and even, with no thin spots or rough patches. Quality mounts feel substantial in your hands—that weight indicates proper material thickness. Check the fasteners too; they should be stainless steel, not zinc-plated or plain steel that'll rust within months.
Stability and Security: Wind Resistance and Weight Capacity
Your Starlink dish acts like a sail when the wind picks up. Without a mount that can handle the force, you'll face dropped connections, misalignment, or in worst-case scenarios, a dish that becomes airborne. Understanding stability and security is essential when figuring out what to check in satellite mounts.
The two critical specifications here are wind resistance rating and weight capacity. Your mount needs to be engineered specifically for high-wind conditions, which are common right across Australia. For an independent reference on our country's wind patterns, see the Bureau of Meteorology's overview of wind and gusts across Australia.
We put our mounts through rigorous strength testing because we know Australian conditions demand it. Features like reinforced brackets, wide base plates that distribute load evenly, and secure locking mechanisms that prevent any slippage are non-negotiable. Some quality mounts also include vibration dampening, which helps maintain signal integrity even when there's minor movement from wind gusts.
Warranty protection is another consideration—damage from windstorms typically isn't covered under standard equipment warranties, which tells you everything you need to know about the importance of proper mounting. Your mount is your primary defence against weather-related damage. If you're uncomfortable with any part of the installation process, we recommend contacting a professional installer.
For practical strategies on protecting your mount from wind, installation technique matters too. But it all starts with a mount that has the foundational strength to handle the job. Our high-duty mounts for reliability are specifically designed for Australian conditions, and we detail how we test our mounts for strength so you can see exactly what goes into them.
Always verify that the mount's weight capacity significantly exceeds your dish's weight. You want a healthy safety margin, not a mount that's just barely adequate.
Choosing the Right Mount for Your Location and Dish
Satellite internet's flexibility is brilliant, but it means there's no universal mounting solution. Your installation location and specific dish model will guide your choice—and this is where understanding what to check in satellite mounts becomes very practical.
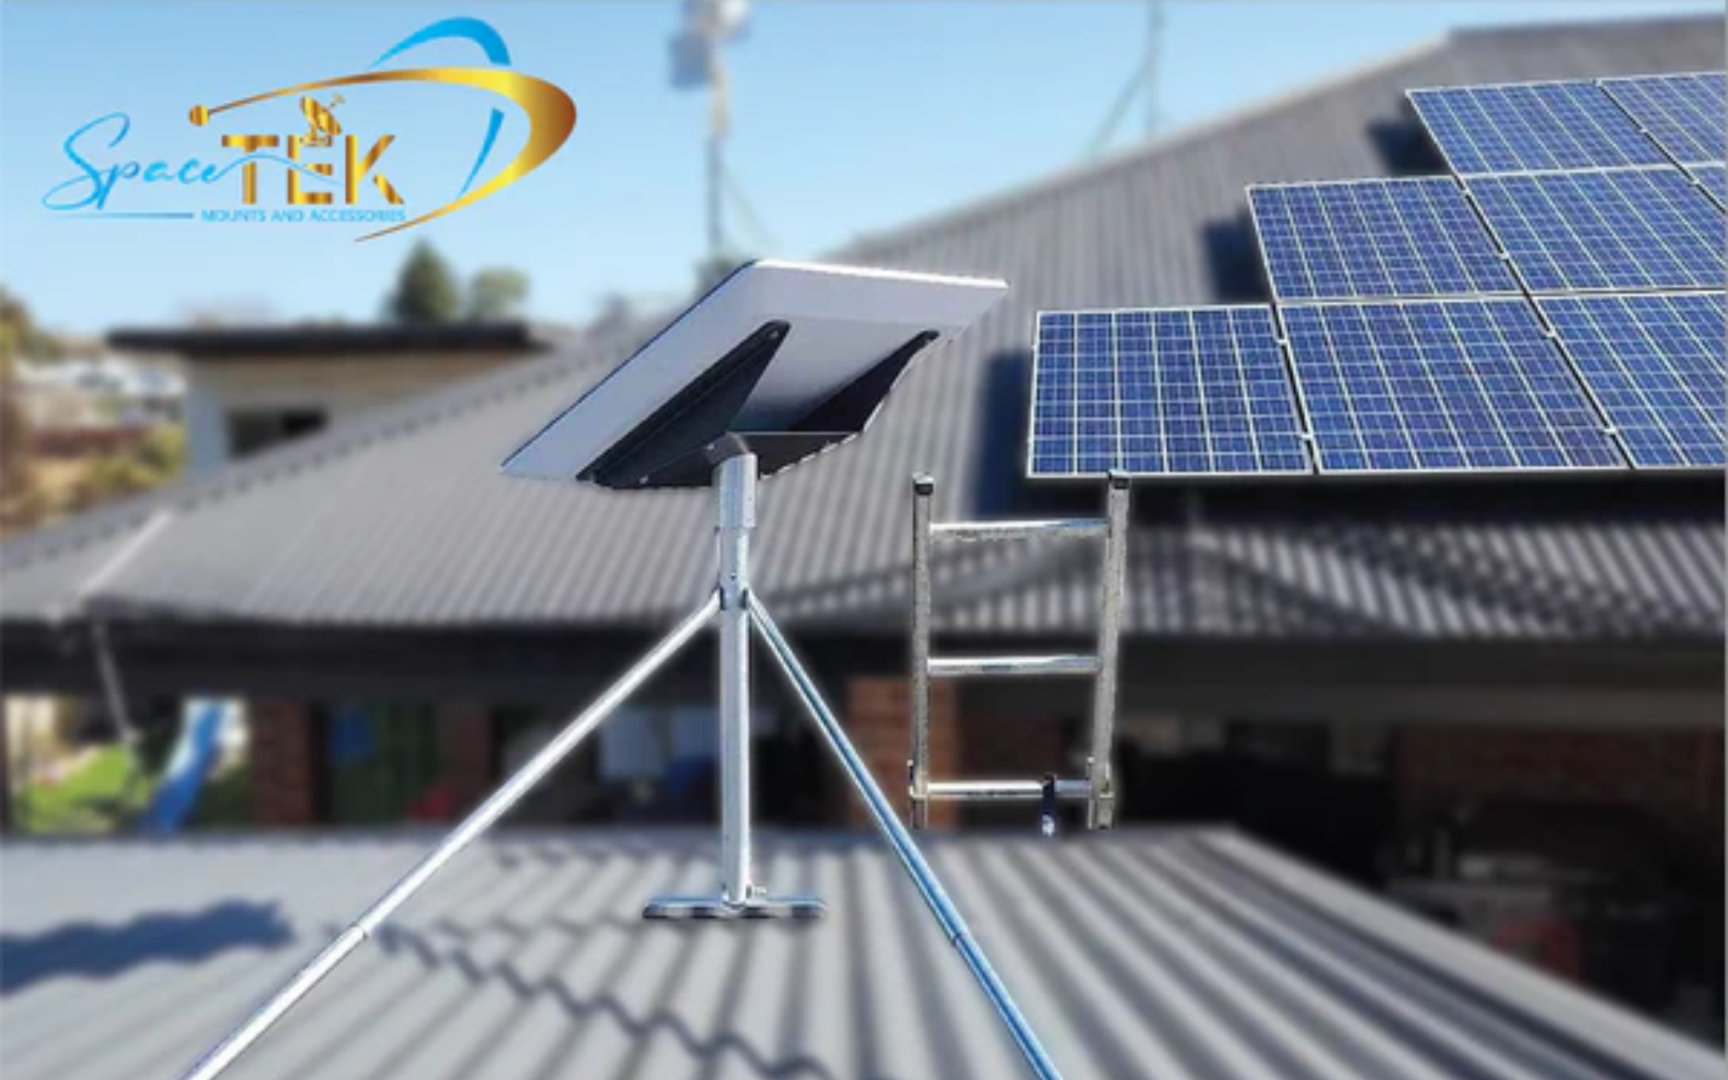
Roof mounts are often the best choice for achieving clear line of sight over trees or neighbouring buildings. Long wall mounts work well with roofs that have significant overhangs, while short wall mounts suit shallower eaves. For slanted roofs, pivot mounts ensure your dish sits vertically—though they're best suited to shingled roofs rather than tile or slate. Flashing mounts provide watertight protection when used with pivot mounts, and ridgeline mounts offer a no-drill option that uses ballast for stability on most rooftops. For detailed guidance, check out choosing a mount for your roof type and our guide to Gen 3 roof mount kits.
Wall mounts provide easy access and work well when roof mounting isn't practical. Just make sure your wall structure can handle both the weight and wind load—and watch out for roof overhangs that might obstruct your signal.
Pole mounts excel at getting your dish above ground-level obstacles. Ground pole mounts offer significant height (up to 50 inches with some models), while pipe adapter mounts let you attach to existing poles without drilling, as long as the pole diameter is suitable.
RV and portable mounts are designed for adventurers who need connectivity on the move. These include everything from suction cup mounts to mast adapters and roof rack solutions, letting you stay online on the go without sacrificing stability.
Compatibility with your specific dish model isn't optional—it's essential. Whether you have a Starlink Mini, Gen 2, or Gen 3, your mount must be designed to work with your exact hardware. Always look for explicit compatibility statements in product descriptions.
Starlink Mini Mounts: Compact Solutions for Small Spaces
The Starlink Mini is all about portability, but it still needs a solid foundation. When selecting a mount for your Mini, prioritise lightweight, space-saving designs that don't compromise on stability. Our range of Starlink Mini mounts delivers easy installation and secure attachment, perfect for balconies, small roofs, or taking with you on adventures. Browse Starlink Mini mounts.
Gen 2 Mounts: Versatile Options for Most Homes
The Gen 2 Starlink dish (Standard Actuated) is widespread across Australia, and it deserves a mount that provides secure, stable performance for permanent installations. Our Gen 2 mounts ensure proper compatibility and optimal performance for this popular model.
Gen 3 Mounts: Built for the Latest Starlink Hardware
The latest Gen 3 V4 dish represents Starlink's newest technology, and it requires mounts specifically engineered for its form factor. These mounts offer improved stability and future-proof your setup. Explore our Gen 3 mounts to find the perfect match for your cutting-edge hardware.

RV and Portable Mounts: Stay Connected Anywhere
For caravanning and road-tripping across Australia's incredible landscapes, portability is everything. Mobility mounts offer quick setup and takedown, keeping you connected wherever the road takes you. Our portable and RV mounts are built tough for Australian adventures.
Key Installation Factors: What to Check in Satellite Mounts Before You Buy
Even the most robust mount can fail if installation is complicated or incomplete. When considering what to check in satellite mounts, don't overlook the practical aspects of actually getting it installed.
We've all experienced that sinking feeling when a product arrives with confusing instructions or missing hardware. To avoid this frustration, look for mounts that prioritise ease of assembly with clear, step-by-step instructions and include all necessary hardware. This transforms what could be a weekend-long headache into a straightforward afternoon project.
Adjustability features are crucial for optimal performance. Your mount should allow precise aiming of your dish—Starlink satellites require accurate pointing to maintain connection. Look for mounts offering 180° or 360° swivel capabilities and tilt adjustments that make fine-tuning simple.
Don't underestimate cable management. A well-designed mount includes provisions for neat, secure cable routing that prevents wind damage and trip hazards. This also helps avoid water ingress where cables enter your home or vehicle. Proper drilling and sealing are essential—always seal drilled holes thoroughly with silicone sealant to prevent water intrusion and damage.
Consider what tools you'll need. Does the mount require specialised equipment, or can you install it with common household tools? We design our mounts for straightforward installation, helping you avoid common DIY mistakes that can compromise your setup. For a quick overview of mounting choices by roof type, see our guide to choosing a mount for your roof type.
Securing Your Connection: Final Checks and Expert Advice
You've made it this far, and that tells me you're serious about getting your Starlink setup right the first time. Smart move. The difference between a mount that lasts five years and one that fails in five months often comes down to the careful checks you make before you buy.
Your Quick Reference: What to Check in Satellite Mounts at a Glance
When you're comparing mounts, keep this essential checklist handy. Start with the material specification – you want to see terms like marine-grade aluminium, 316 stainless steel, or carbon fibre clearly stated. If it's just listed as "metal" or "aluminium" without specifics, that's a red flag. The wind rating should be clearly documented, especially if you're in a high-wind area. Don't assume all mounts are created equal here.
Next, verify dish compatibility explicitly. Your mount must match your specific Starlink model, whether that's Mini, Gen 2, or Gen 3. A mount designed for Gen 2 won't necessarily work safely with Gen 3, despite what some sellers might suggest. Consider your mounting location suitability carefully – a roof mount designed for tiles won't work on Colorbond, and a wall mount needs to account for eave overhangs.
Look for stability features like secure locking mechanisms, reinforced brackets, and a weight capacity that exceeds your dish's weight by a comfortable margin. The adjustability factor matters too – you need enough movement to aim your dish precisely without creating weak points that wobble in wind. Check what's actually included in the box: stainless steel bolts, weather seals, and all mounting hardware should come standard. Finally, confirm the instructions are clear and the mount offers practical cable management solutions to keep everything neat and protected.
Making the Right Choice for Uninterrupted Connectivity
Here's the truth: a quality satellite mount isn't an expense, it's an investment. It's the difference between checking your internet every time the wind picks up and forgetting your dish is even there. When you choose wisely, your Starlink maintains its precise alignment through storms, heat waves, and everything the Australian climate throws at it.
At SpaceTek Australia, we've spent years perfecting mounts that handle our unique conditions. We understand what it means to rely on satellite internet – whether you're running a business from regional Queensland, home-schooling in rural Victoria, or exploring the red centre in your caravan. Our mounts are built here, tested here, and designed specifically for the challenges Australian homes and travellers face.
The optimal mount protects your hardware investment, maximises your signal strength, and simply works year after year without demanding your attention. That's the kind of reliability we build into every product, using marine-grade materials and rust-resistant finishes that won't let you down.
If you're still weighing your options or have questions about which mount suits your specific situation best, we're here to help. Our team has handled installations from Broome to Hobart, and we've probably seen a scenario similar to yours. Get in touch with our team for personalised advice, and explore where to shop for the best mounts to see our full range. Your connection matters, and we're here to make sure it stays rock solid.

Leave a comment
This site is protected by hCaptcha and the hCaptcha Privacy Policy and Terms of Service apply.