Why Your Router's Home Matters
Starlink router placement can mean the difference between blazing-fast internet and frustratingly slow speeds. The right spot ensures strong Wi-Fi coverage, while poor placement can create dead zones and dropped connections.
Quick Answer: Optimal Starlink Router Placement
- Central location: Place it in the middle of your home.
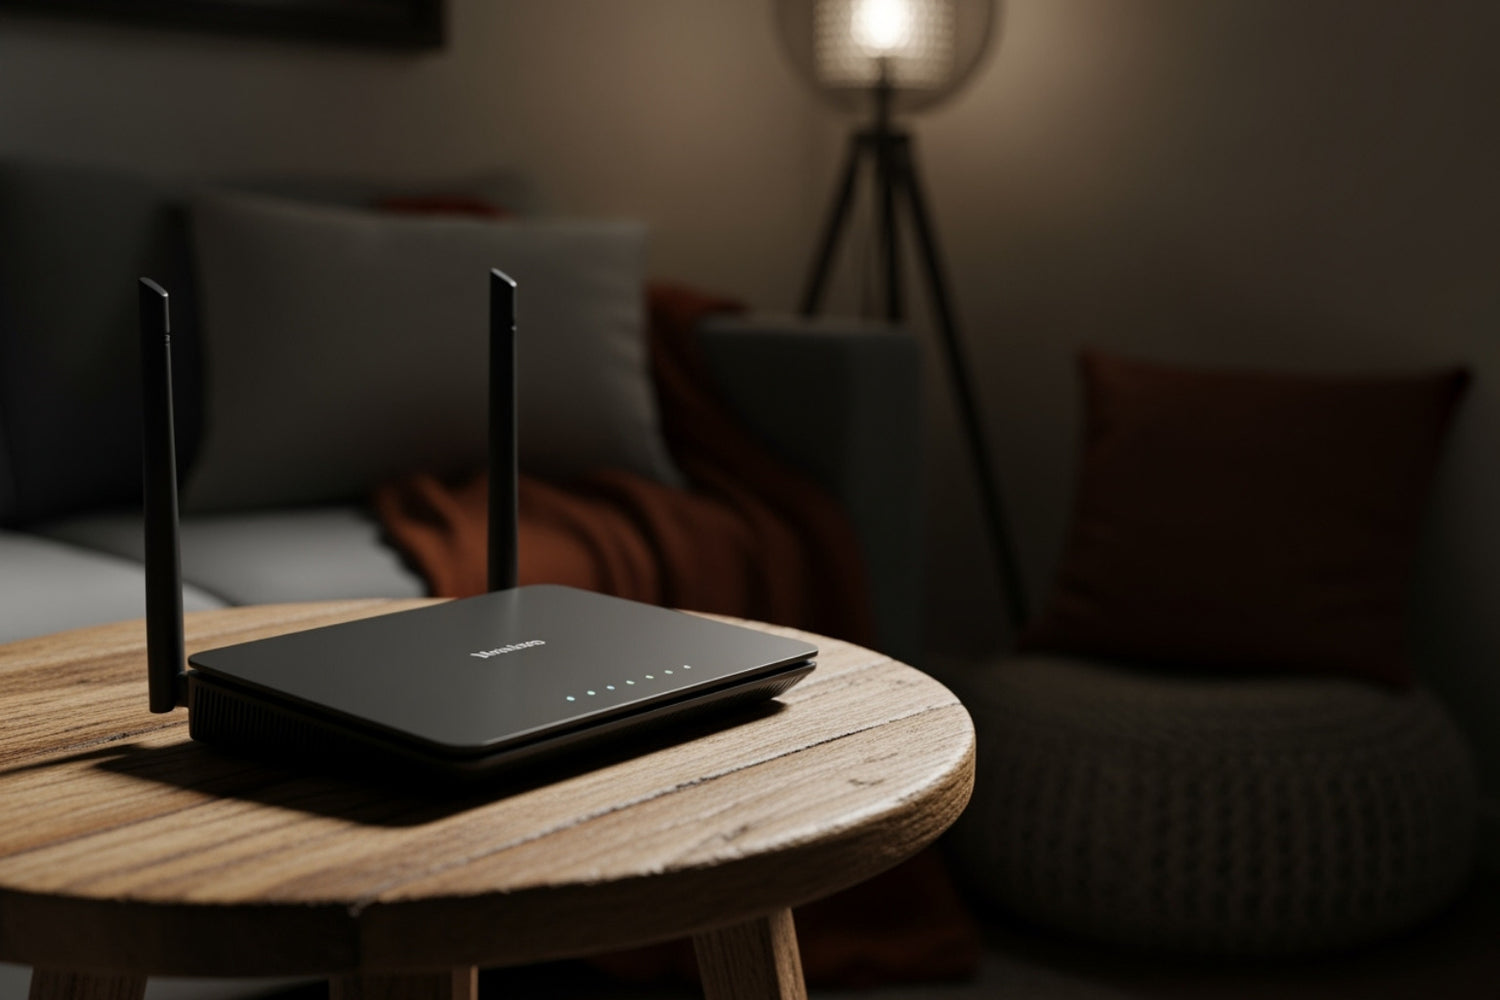
- Liftd position: Use a shelf or table, never the floor.
- Upright orientation: Keep the router standing vertically.
- Open space: Avoid cabinets, closets, or enclosed areas.
- Away from interference: Keep it away from microwaves and thick walls.
- Room spacing: Best performance is 1-2 rooms away from your devices.
Getting placement wrong is a common issue. For example, one user saw speeds jump from 71 Mbps to over 200 Mbps simply by moving their router from the basement to a high shelf.
Your Starlink system has two parts: the dish (Dishy) that connects to satellites and the router that creates your home Wi-Fi network. While Dishy needs a clear sky view, your router needs the right indoor spot to broadcast a strong, reliable signal.
With over 25 years in satellite systems, I've seen proper router placement transform poor connectivity into excellent performance. Understanding these fundamentals can save you from the headache of weak signals and dead zones.

Mastering Your In-Home Starlink Router Placement
You've got your Starlink dish perfectly positioned, but getting that blazing-fast connection to reach every corner of your home is the next challenge. Starlink router placement is the secret to exceptional whole-home connectivity.
Finding the "Sweet Spot": Ideal Locations and Positions
Your router is the heart of your home network and needs a central position to pump Wi-Fi effectively throughout your space. Place it in the most central part of your home, ideally where your family uses devices most. This gives the signal the shortest, clearest path to all corners of your property. You'll get the strongest connection when your router is in the same room or just 1-2 rooms away.
Height also makes a huge difference. Wi-Fi signals travel best with an unobstructed path, so get that router off the ground. Placing your router at least halfway up the room on a hard, flat surface like a table or shelf beats leaving it on the floor every time. Some users report speeds of 250-300 Mbps with their router positioned in an attic space.
Finally, keep it upright. The Starlink router's internal antennas are positioned to broadcast optimally when it stands vertically on its base. Tipping it over handicaps your signal strength.
For multi-storey homes, a central location on the main floor often works best. The golden rule is to avoid the basement at all costs, as it's surrounded by signal-blocking materials like concrete and brick.
These guidelines are an excellent starting point, but don't be afraid to experiment to find what works best for your unique space.
Common Placement Mistakes That Kill Your Wi-Fi Speed
The temptation to hide your router is real, but "out of sight" often means "out of signal strength."
Hiding your router in cabinets or closets traps Wi-Fi waves. Media consoles and other enclosed spaces act as barriers, so your router needs open space to communicate effectively.
Placing the router on the floor is a classic mistake. It forces the signal to broadcast through furniture and carpet, with much of it being absorbed before it reaches your devices.
The basement blunder is perhaps the most devastating mistake. Basements are typically surrounded by concrete and brick, which are brilliant at blocking Wi-Fi signals.
Thick walls made of dense materials like concrete, brick, and metal are signal stoppers. If your router is against a thick load-bearing wall, the signal won't penetrate effectively.
Crowding your router with other electronics can also interfere with performance. Give your router some personal space, especially away from other devices that emit radio frequencies.
Understanding and Dodging Wi-Fi Interference
Understanding what blocks or interferes with your signal is crucial for mastering Starlink router placement.
Dense materials are your signal's worst enemies. Concrete, brick, and metal objects like refrigerators can block or reflect signals, creating dead zones. Water is another signal absorber, so large fish tanks can dampen your connection. Older homes with thick plaster walls and metal lath also pose a challenge.
Household appliances can be signal bullies. Microwaves are notorious troublemakers for the 2.4GHz band. Older cordless phones and baby monitors can also create interference. The solution is to keep your router at least 20 feet away from major appliances and other interference sources.
Your Starlink router broadcasts on two frequency bands: 2.4GHz and 5GHz.
- The 2.4GHz band is like a marathon runner: it has a longer range and penetrates walls better, but it's slower and more prone to interference.
- The 5GHz band is a sprinter: it offers faster speeds but has a shorter range and struggles more with obstacles.
For more detailed strategies, check out our guide on Boosting Starlink WiFi: Simple Steps for Better Connectivity.
Extending Your Signal with a Mesh System
Even with perfect Starlink router placement, large homes or buildings with dense walls can have dead zones. This is where a mesh system becomes your connectivity superhero.
A mesh system uses additional nodes that work with your main router to create one seamless, unified network. This eliminates dead zones and ensures your devices automatically connect to the strongest signal as you move around.
Strategic node placement is key. Keep nodes within 1-2 rooms of each other to maintain a strong connection between them, and avoid placing them behind multiple concrete walls or large metal appliances. For best performance, line of sight between nodes is ideal.
A wired mesh connection (using Ethernet) offers the best performance and stability. Wireless mesh is simpler to set up and often more than adequate for most homes.
The same placement principles apply to mesh nodes: keep them liftd, in open spaces, and away from interference. A mesh system is the perfect solution to ensure your high-speed Starlink connection reaches every corner of a large space.
Conclusion: Get the Most from Your Starlink
Proper Starlink router placement is essential to open uping the full potential of your satellite internet. It's not just a minor tweak; it's a fundamental step for achieving a fast and reliable connection.
Final Tips and Next Steps
Remember the golden rules: a central, liftd position is always best, and avoiding signal blockers like concrete walls and metal appliances is critical. For larger homes, a mesh system is an excellent way to eliminate dead zones.
Most importantly, experimentation is key. Every home is unique, so move your router around, test your speeds, and find the sweet spot that works for you.
For more advanced users, Bypass Mode allows you to use your own third-party router or mesh system. This turns off the Starlink router's Wi-Fi, letting your preferred equipment take over. You can find guidance on this in the Starlink support pages and explore more options in our guide to Mesh WiFi Solutions.
Getting your router placement right is just as important as positioning your Dishy. With these tips and a willingness to experiment, you can transform your Starlink connection from good to brilliant.
Leave a comment
This site is protected by hCaptcha and the hCaptcha Privacy Policy and Terms of Service apply.