Why Starlink Mount Kits Matter More Than You Think
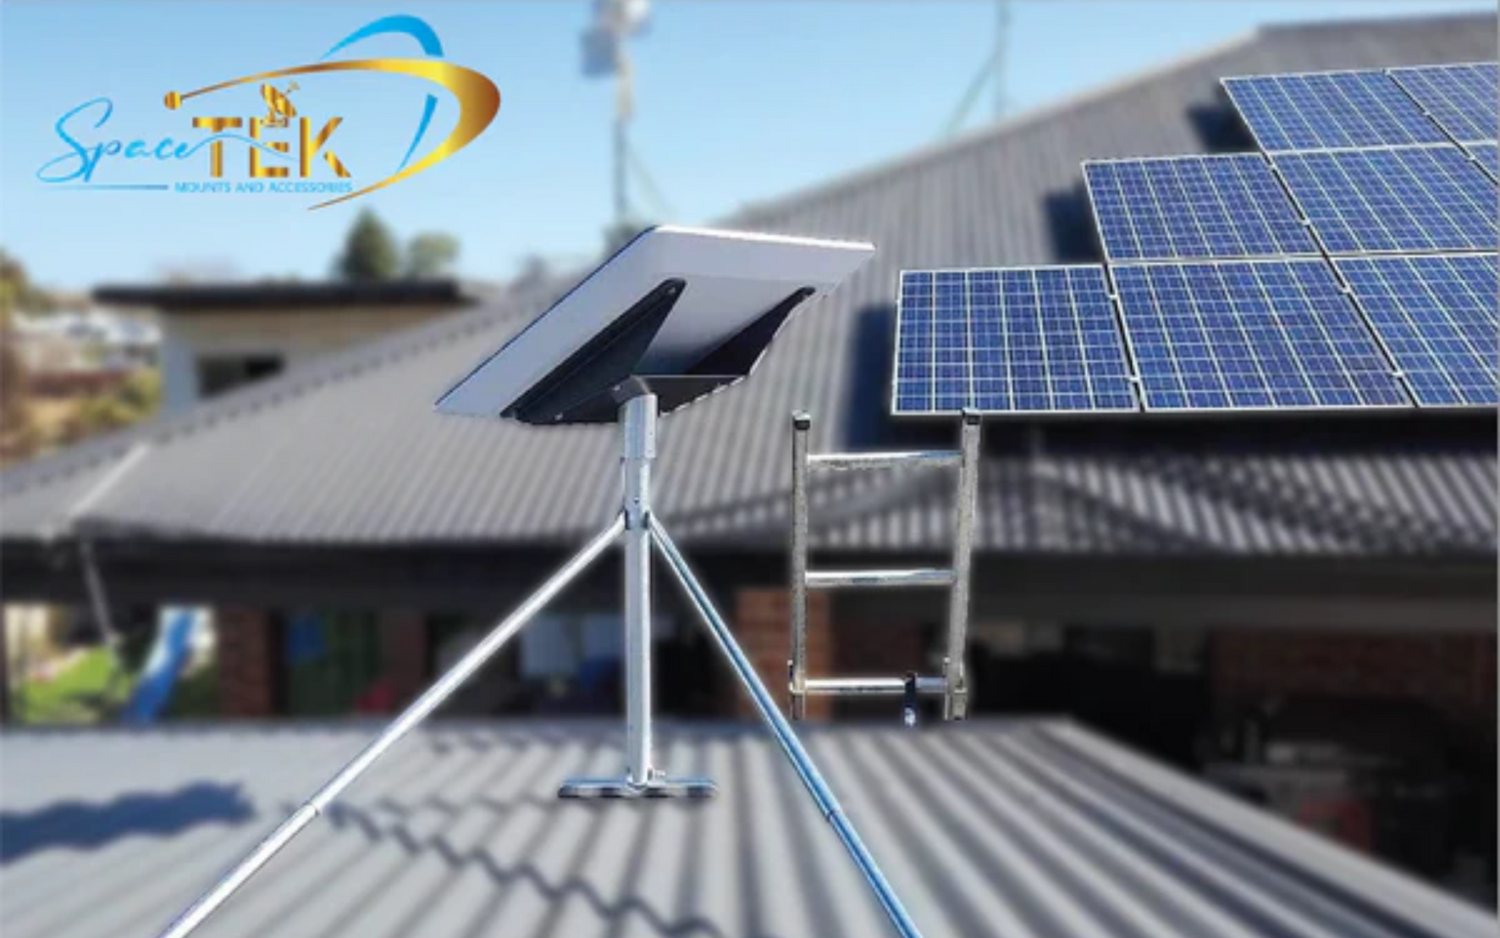
Starlink mount kits securely position your dish for a clear view of the sky, stable speeds, and fewer dropouts. The X-Frame Base in the box is for testing only. For permanent installs, you need a mount that elevates the dish, resists wind, and stands up to Australian weather.
Common mount types:
- Wall mounts – for exterior walls near rooflines (clear 4–12" eaves)
- Roof mounts – for slanted or flat roofs, including non-penetrating options
- Pole mounts – ground or fence-post installs (up to ~50" elevation)
- Pipe adapters – attach to existing metal poles (31–63.5 mm diameter)
- RV/mobile mounts – for vehicles, caravans and portable rigs
Key features to look for:
- Materials: aluminium, stainless steel, and (for lightweight options) carbon fibre
- Weather rating: wind resistance to 80+ kph
- Compatibility: match Gen 2, Gen 3, Mini or High Performance
- Installation: drilling vs non-penetrating; DIY-ready with Starlink self‑install kits
Common mistake: leaving the dish at ground level. It invites obstructions (trees, sheds, vehicles) and wind movement that disrupts the signal. Elevation and solid fixing are essential.
I’m Aaron Wroblewski, founder of SpaceTek Australia. After 25+ years in satellite communications, I’ve seen how the right mount turns a good Starlink setup into a great one—especially on tin and tile roofs across rural and coastal areas.
Helpful reads:
- DIY Starlink mounting mistakes to avoid
- Where should I install my Starlink?
- Protecting your Starlink mount from wind
A Comprehensive Guide to Starlink Mount Kits
Choosing the right mount is the difference between always‑on connectivity and a dish that shifts, drops out, or needs constant adjustment. Install a purpose-built mount once, and your Starlink will simply work.
Beyond the Box: The Standard Base Is Temporary
The included X‑Frame Base is for short-term testing. It doesn’t provide the elevation or wind resistance needed for long-term reliability. If you’re asking Do I need a special mount or can I use what’s in the box? — the answer is yes, you do.
Picking the Right Permanent Mount

- Wall mounts: Simple, sturdy, and ideal near rooflines. Choose short/standard/long arms to clear 2–12" eaves.
- Roof mounts: Pivot mounts suit pitched roofs; ridgeline mounts add height without penetrations (ballasted, up to ~80 kph). Flashing mounts give a watertight seal where penetrations are required.
- Pole mounts: Great when wall/roof access is limited or trees are a challenge.
- Pipe adapters: Reuse existing poles (31–63.5 mm) for faster installs.
All options above are compatible with Starlink self‑install kits and can be DIY. For a quick comparison, see Wall, eave or pole: which Starlink mount is right for you?
Compatibility Check: Match the Dish Generation
- Gen 2 (Standard Actuated): Requires mounts that accommodate the actuated design.
- Gen 3 (Standard): Newer form factor; use mounts designed for its dimensions and weight.
- Mini: Ultra‑compact and portable; needs dedicated fittings.
- High Performance: Larger surface area; requires heavy‑duty mounting.
Use our guide to avoid mismatch issues: Compatible Starlink mounts and adapters
Dedicated sections by device
Starlink Mini
- Lightweight, travel‑friendly mount options: suction, clamp and roof‑rack fittings.
- Ideal for camping, 4x4 and temporary sites.
- Pairs well with compact poles, including carbon fibre options for low weight.
Gen 2 (Standard Actuated)
- Wall, roof and pole kits designed for the actuated mechanism.
- Solid elevation plus corrosion‑resistant fasteners for coastal installs.
- Excellent for permanent home or shed installs.
Gen 3 (Standard)
- Mounts shaped for the refined Gen 3 profile to minimise movement in wind.
- Flexible options for suburban roofs or rural blocks.
- Easy integration with your router’s Ethernet ports for wired devices.
RV and Portability
- Mobility mounts create waterproof seals and allow an ~8° angle when space is tight.
- Power your system efficiently with a dedicated DC-DC power supply to avoid inverter losses — no inverter required.
- Great for caravans, motorhomes, utes and boats.
Built for Australian Conditions
Materials matter. We use 6061‑T5 aluminium and 316 stainless steel for year‑round corrosion resistance. Where weight matters, carbon fibre mounting components can reduce load without sacrificing strength. Many mounts are wind‑rated to 80+ kph; customers report stable performance through severe storms. UV‑stable components resist brittleness under harsh sun.
For deeper detail, see:
Securing Your Signal and Finalising Your Setup
A clean install locks in performance. Focus on the basics and you’ll avoid 90% of issues.
Installation essentials
- Drilling: Wall, pivot and flashing mounts need accurate drilling; ridgeline and some pipe adapters offer drill‑free options. Measure twice, drill once.
- Weatherproofing: Use flashing where required and seals on mobile mounts. Don’t skip this — sudden downpours will find any gap.
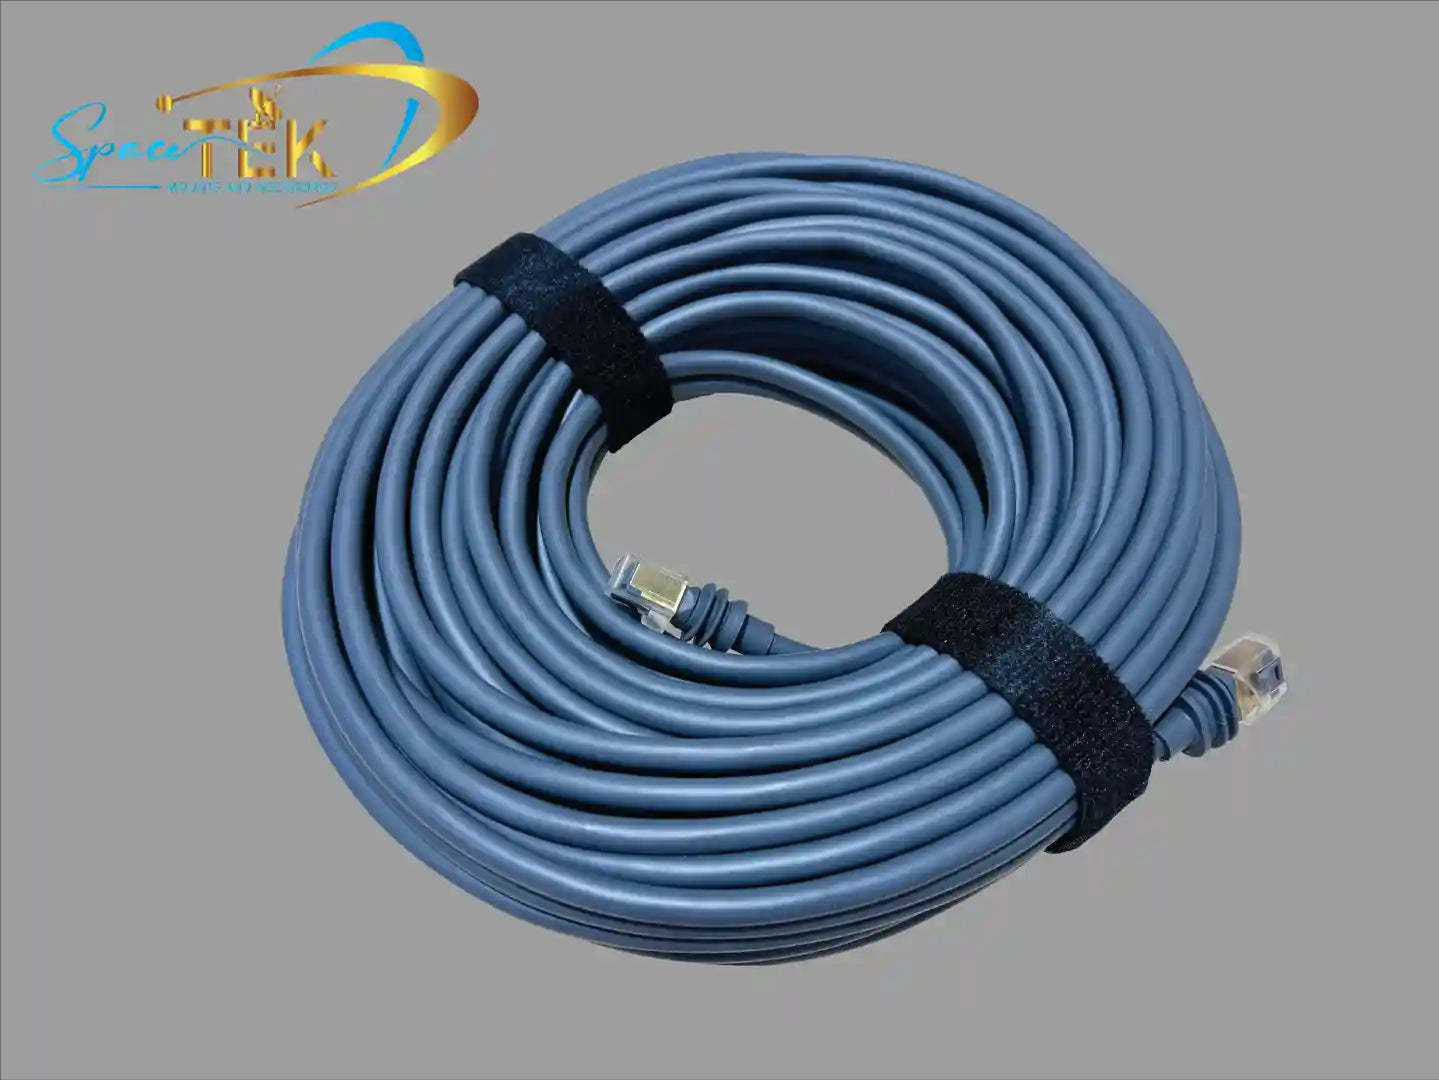
- Cable management: Clip and protect the Starlink cable. Avoid sharp bends and wind flap.
- Power: In vehicles or off‑grid, use a DC‑DC supply to avoid inverter losses — see our Starlink accessories guide.
- Networking: For direct wiring, use the Ethernet LAN ports on your router or add adapters where needed.
The SpaceTek difference
SpaceTek mounts are designed and tested in Australia for tin and tile roofs, sheds, and mobile rigs. We prioritise:
- Reliability: Correct elevation and secure fixing keep your dish locked on.
- Materials: 6061‑T5 aluminium, 316 stainless steel and optional carbon fibre for low weight/high strength.
- Weather resistance: Built to handle wind, UV and coastal corrosion.
- Compatibility: Works with Starlink self‑install kits and common DIY tools.
Wrap‑up and next steps
The right mount + correct installation = stable, fast Starlink. SpaceTek provides secure, rust‑resistant, user‑friendly mounts built for Australian conditions — from suburban homes to remote outstations and mobile setups. Explore the range and resources below:
If you’d like tailored advice for your roof type, location or caravan setup, contact us. Not sure where to start? Grab a few photos and get in touch — we’ll help you choose the right kit the first time.

Leave a comment
This site is protected by hCaptcha and the hCaptcha Privacy Policy and Terms of Service apply.