What Is the Best Way to Mount Starlink on an RV?

Starlink mounts for RV setups come in three main types, each suited to a different travel style:
- Magnetic roof mounts — temporary, tool-free, ideal for short stays and flexible deployment
- In-motion roof rack mounts — permanent or semi-permanent, engineered for highway speeds and vibration resistance
- Telescopic pole mounts — height-adjustable, best for obstructed campsites or dense bush settings
The right choice depends on how you travel, your roof type, and whether you want a permanent or removable setup.
Getting reliable satellite internet on the road sounds simple — until you're parked at a remote outback campsite, trees blocking your signal, wind picking up, and your dish sliding off a budget magnetic pad.
For Australian travellers, the stakes are higher. Harsh UV, salt air, corrugated dirt tracks, and extreme heat put mounting hardware under real stress.
That's where material quality and engineering make the difference between a dish that stays put and one that doesn't.
SpaceTek Australia designs and manufactures Starlink mounting solutions specifically for Australian conditions — from coastal caravanning to outback off-road adventures. Whether you're after a quick magnetic setup for weekend trips or a precision-engineered in-motion mount for full-time travel, there's a solution built for your rig.
This guide breaks down every major mount type, what to look for, and how to choose the right one for your setup.

Types of Starlink RV Mounts Explained
Choosing the right hardware begins with understanding the specific Starlink generation you own. Currently, most RV users are deploying the Gen 2 (Standard Actuated), the newer Gen 3 (Standard), or the ultra-portable Starlink Mini. Each has a different physical footprint, which dictates the type of mount required.
For those seeking a comprehensive overview of how these systems integrate with a mobile lifestyle, our Starlink RV mount complete guide offers a deep dive into the engineering requirements for each dish type. Generally, mounts fall into three categories: flat mounts (for aerodynamics), pole mounts (for height), and magnetic or suction mounts (for versatility).
Flat mounts are increasingly popular for the Gen 3 and Mini models because these dishes do not have internal motors. By mounting them flat against an RV roof, you reduce wind drag and the risk of damage from low-hanging branches. Pole mounts, including ladder and hitch options, remain the go-to for users who need to clear the roofline of their van to find a clear patch of sky.
1. Magnetic Starlink mounts for RV
Magnetic mounts represent the ultimate in flexible deployment. We have engineered these solutions for travellers who want a secure mount that can be installed or removed in seconds without drilling holes into their precious caravan roof.

Our robust magnetic roof mount for the Starlink Mini is a prime example of this technology. It utilises oversized 87mm earth magnets that provide incredible holding power on any ferrous surface.
Key features of this setup include:
- Four oversized 87mm earth magnets for maximum grip.
- Heavy-duty powder-coated metal construction to resist rust.
- An integrated carry handle for easy transport.
- Vibration-resistant design specifically for corrugated roads.
These mounts are ideal for those who prefer to keep their dish on the ground or a portable tripod during some stops but want the option to stick it to the roof when space is tight.
Shop the Robust Magnetic Roof Mount for Starlink Mini, Powder-Coated Metal, 87mm Earth Magnets
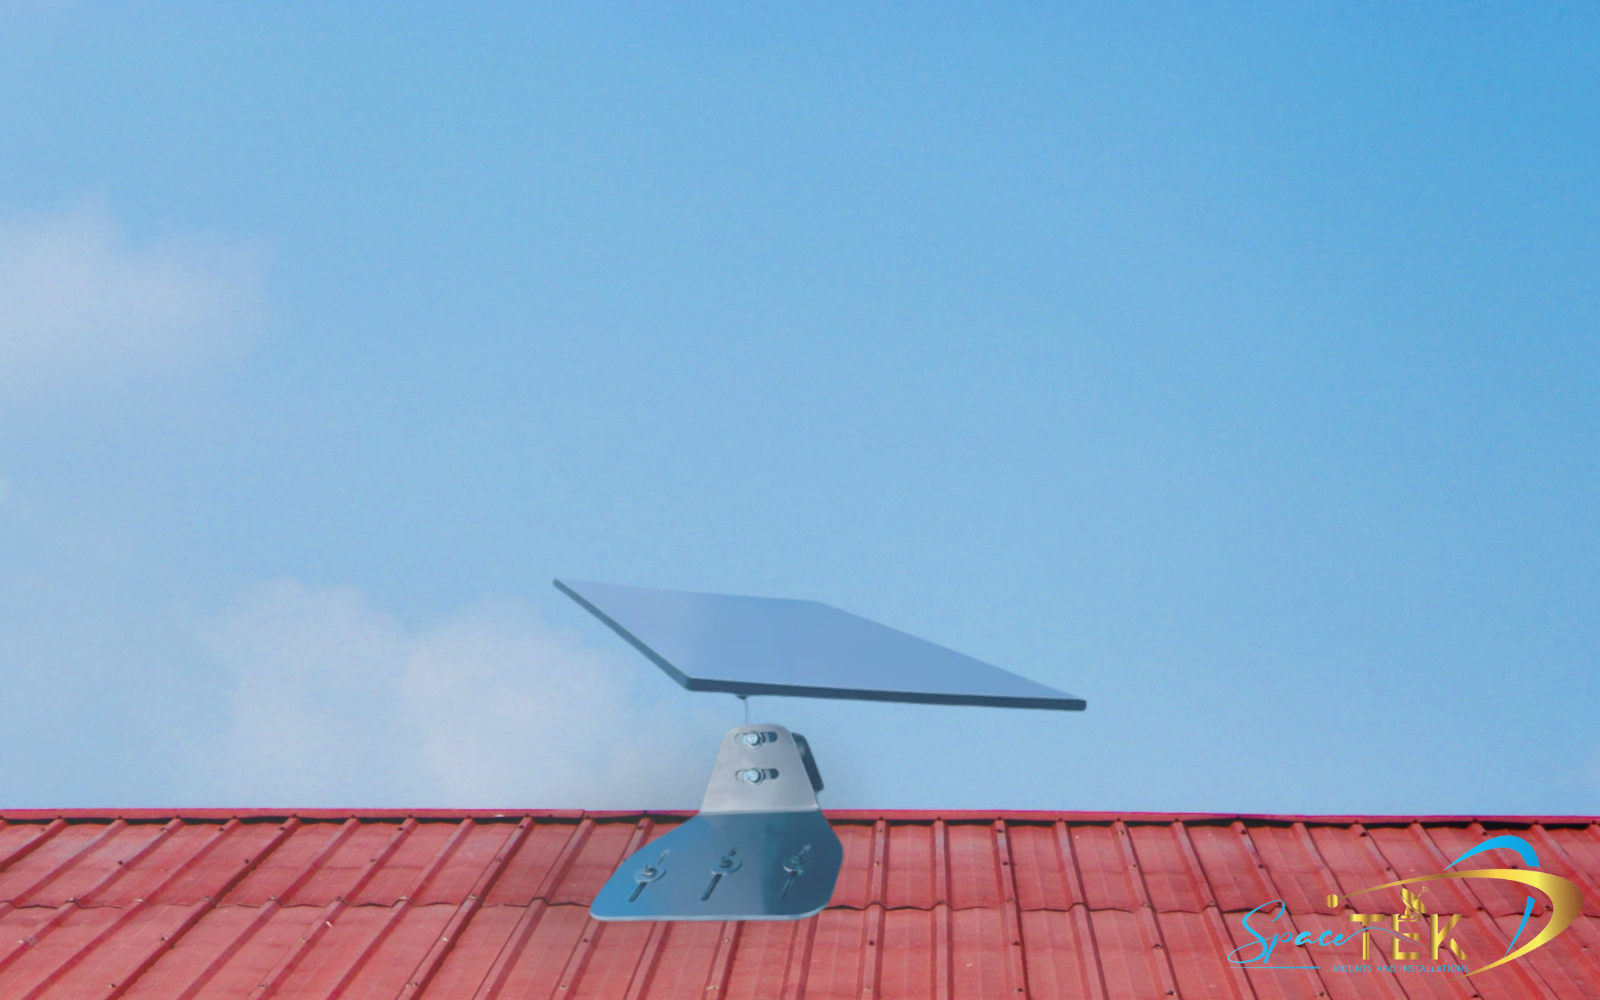
2. In-Motion Starlink mounts for RV
For the dedicated nomad, an in-motion mount is often the preferred choice. These are permanent or semi-permanent installations designed to keep the dish securely attached while the vehicle is travelling at highway speeds.
We offer specialised aluminium in-motion mounts for both the Starlink Mini and the Gen 3 Standard dish. These mounts are laser-cut and folded from high-grade aluminium, then powder-coated to withstand the salt air of the Australian coast.
The design typically features an 8-degree tilt or a completely flat profile. This low-profile approach is critical for aerodynamics; it minimizes lift and drag, which protects both the dish and your fuel economy. Our Starlink mount for van complete guide explains how these mounts use the dish's own hardware to "click" into place, providing a seamless, factory-look finish.

Shop the Starlink Gen 3 In Motion Powder-Coated Aluminium Vehicle Mount
Shop the Starlink Mini Vehicle In-Motion Mount
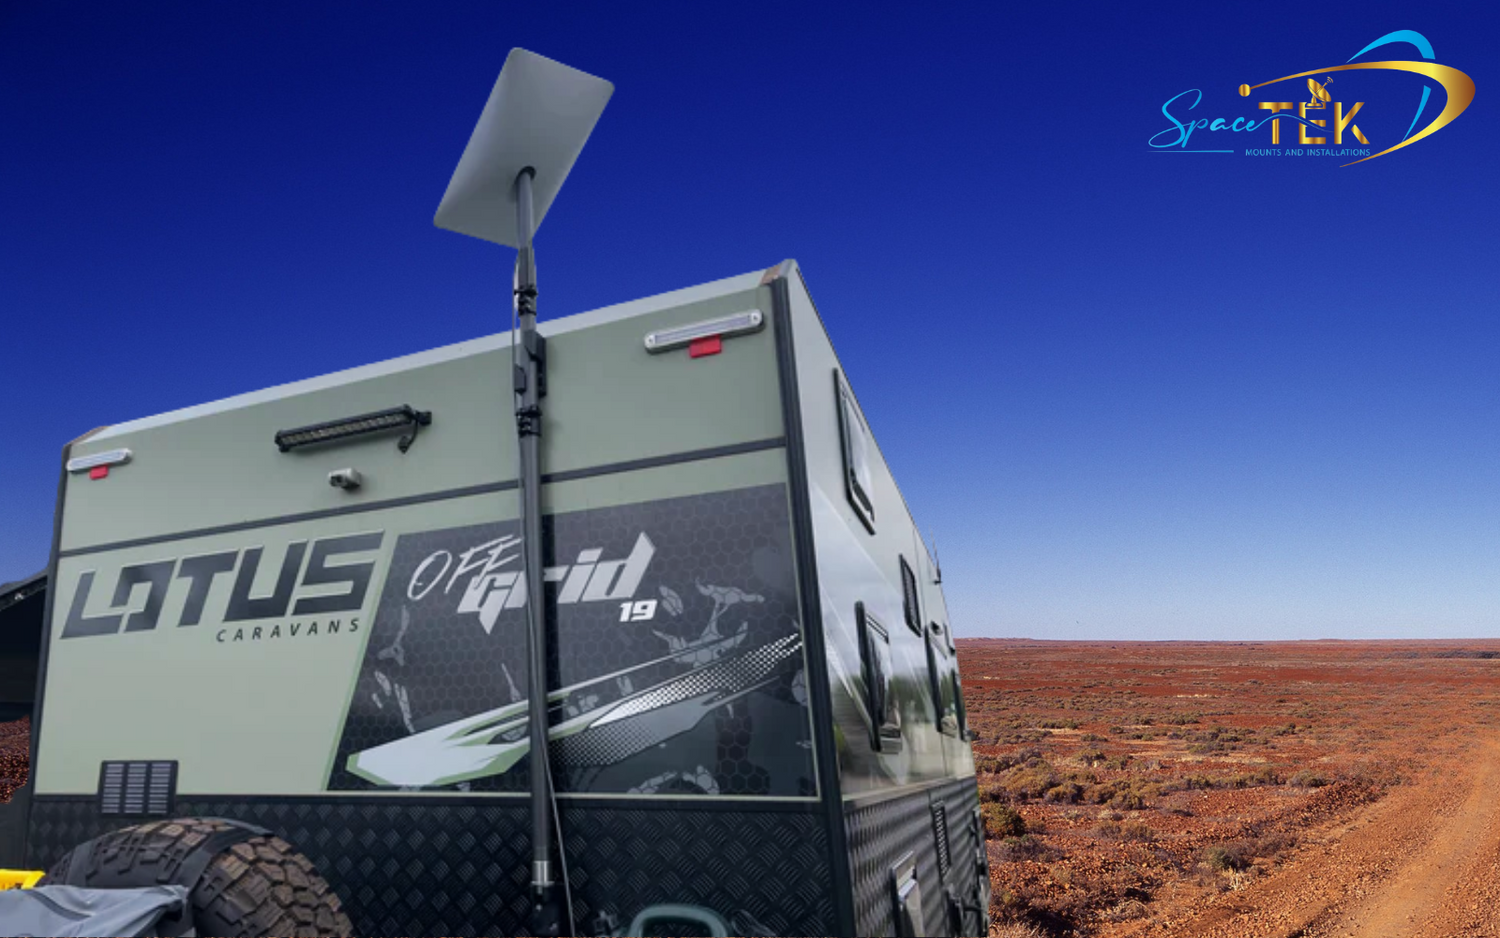
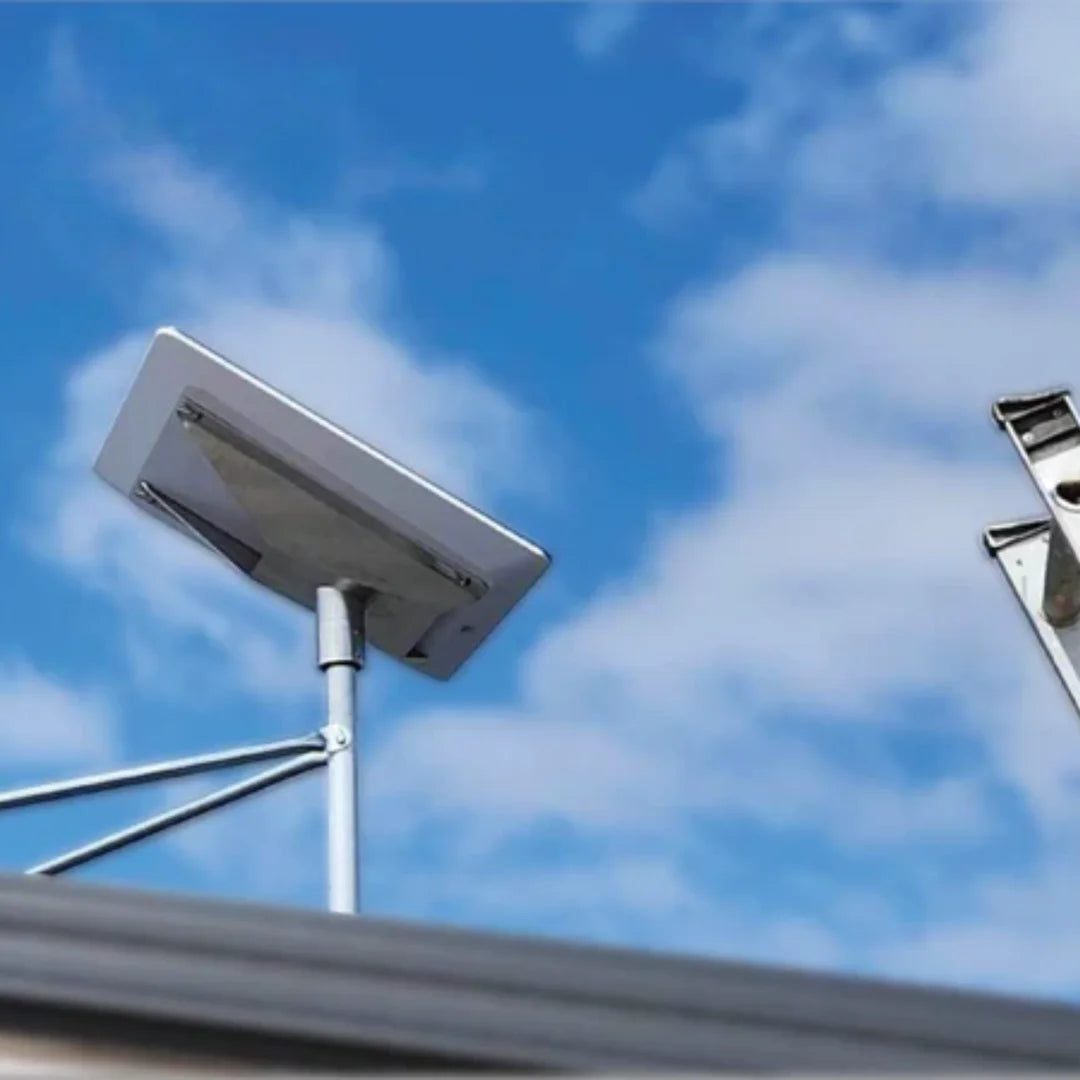
3. Telescopic Pole Mounts
Sometimes, the best mounting location isn't on the roof at all. If you often find yourself camping under the "Green Room" (dense tree canopies), a telescopic pole mount is your best friend. These allow you to elevate the dish above your RV and nearby obstacles to find a clear line of sight to the satellites.

Our carbon fibre telescopic RV mount kit is the gold standard for this application. It extends from a compact 1m to a full 3m in height. Carbon fibre is the material of choice here because it offers extreme rigidity with very little weight, making it easy to handle and store.
Using a telescopic system involves:
- Attaching stabilisation brackets to the side of the RV or the draw bar.
- Extending the pole to the required height.
- Securing the Starlink dish using a specific pipe adapter.
This setup is highly effective for clearing the roofline of taller motorhomes or avoiding signal drops caused by nearby campers. You can find more details on pole positioning in our Starlink RV mounting guide.
Shop Telescopic Pole Mount Kit for Starlink - RVs, Caravans & Recreational Vehicles
Can You Use Starlink While Driving in an RV?
A common question we hear is whether "in-motion mounts" actually allow for "in-motion use." It is important to distinguish between the two. An in-motion mount is engineered to withstand the physical forces of driving—wind load, vibration, and debris. However, the ability to actually browse the web while moving depends on your Starlink service plan and the hardware's capabilities.
Recent tests have shown that the Starlink Mini can maintain speeds exceeding 150 Mbps while in motion. However, users must ensure they are using a service plan that supports mobile use. From a safety perspective, the mount must be rated for the wind speeds encountered at 110km/h plus the potential for headwind gusts.
We recommend that any in-motion setup be installed behind a wind deflector, such as an air conditioning unit or a front fairing on a roof rack, to dampen turbulence. For those interested in the technical side of satellite handovers during travel, research on satellite connectivity in motion highlights how the constellation handles moving terminals.
Why Material Quality Matters for RV Starlink Mounts
In Starlink mounts for RV use, you truly get what you pay for. The Australian environment is notoriously "hardware-hungry." Standard steel will rust within months near the coast, and cheap plastics will become brittle and crack under the intense UV radiation of the outback.
We prioritise materials like 5052-grade aluminium and 316-grade stainless steel. Aluminium is naturally corrosion-resistant and lightweight, while stainless steel provides the sheer strength needed for bolt-on applications.
We strongly advise against using 3D-printed structural components for RV mounts. While 3D printing is great for prototypes, most consumer-grade filaments cannot handle the combined stress of high heat (which can reach 70°C on a van roof) and constant road vibration. This leads to structural failure, which could result in your dish flying off on the highway.
Our focus on Australian-made quality ensures that every mount can handle:
- Corrosive Salt Air: Essential for coastal camping.
- Extreme UV: Prevents the mount from becoming brittle.
- Vibration: Our mounts are tested against the "corrugation effect" of dirt roads.
For a deeper look at why local engineering matters, check out our article on Starlink RV Australia. You can also learn about the science behind these choices in scientific research on material degradation in UV environments.
Installation Overview and Roof Rack Compatibility
Installing Starlink mounts for RV use doesn't have to be a headache. Most of our systems are designed to be "bolt-on" ready for popular roof rack systems.

Installation Steps for Common Mounts:
- Magnetic Mounts: Simply clean the ferrous surface of your roof, place the mount, and click the dish into the adapter.
- Roof Rack Mounts: Align the mount with the T-slots or bolt patterns of your rack. Use stainless steel hardware to secure the base, then route the cable through a weatherproof gland.
- Telescopic Mounts: Install the mounting brackets to a vertical surface (like a ladder or the RV wall) using mechanical fasteners or high-strength adhesive.
When mounting on a roof rack, consider the wind load. A dish acting like a sail at 100km/h puts significant stress on the rack's crossbars. Always ensure your rack is rated for the additional load and that the mount is positioned to minimize lift. For a step-by-step walkthrough, refer to our Starlink mount for caravan van or RV complete installation guide 2026.
SpaceTek Starlink Mount Range (Australia)
We provide a comprehensive range of solutions tailored specifically for the Australian market. We don't just resell generic accessories; we engineer products that solve the specific problems RVers face.
Our range includes:
- Magnetic Roof Mounts: Specifically for the Starlink Mini, featuring 87mm magnets and a carry handle.
- In-Motion Aluminium Mounts: Available for both Mini and Gen 3 dishes, finished in a durable black powder coat.
- Carbon Fibre Telescopic Systems: Lightweight, rigid poles that extend up to 3 metres.
- Adapter Kits: Precision-machined components to ensure your Gen 3 or Mini dish fits perfectly into existing pole systems.
By choosing a locally engineered solution, you are ensuring that your internet hardware is protected by materials designed to survive the trek across the Nullarbor or a season in the Top End.
Frequently Asked Questions About Starlink mounts for RV
What is the best Starlink mount for an RV?
The "best" mount depends entirely on your travel style. If you move every day, an in-motion roof mount is the most convenient. If you prefer to park in the shade, a telescopic pole or a portable magnetic mount allows you to move the dish to a sunny, clear spot. For most, the Starlink RV mounting kit essentials will include a mix of a permanent roof mount and a backup portable option.
Can Starlink be mounted on a caravan roof rack?
Yes, and this is often the most secure method. Using the T-slots found on many Australian roof racks, you can bolt an aluminium flat mount directly to the frame. This provides excellent stability and keeps the dish clear of the caravan's fibreglass or aluminium skin.
Are magnetic Starlink mounts safe at highway speeds?
Our magnetic mounts are designed with high-pull-force earth magnets and have been tested for stability. However, we always recommend double-checking the connection before a long trip. For maximum peace of mind during high-speed travel, a bolt-on in-motion mount is the superior choice.
What is the difference between Mini and Gen 3 mounts?
The Starlink Mini is much smaller and has a built-in router, making its mounts more compact. The Gen 3 Standard is larger and requires a mount that can support its wider footprint. We offer dedicated designs for both to ensure a perfect fit.
Do telescopic mounts improve Starlink signal?
Absolutely. By raising the dish just two or three metres, you can often clear the roofline of neighbouring caravans or the lower branches of trees, which are the primary causes of signal obstructions and "drop-outs."
Final Thoughts: Choosing the Right Starlink RV Mount
Selecting the right Starlink mounts for RV use is the difference between a frustrating trip with constant drop-outs and a seamless "work from anywhere" experience.
If you are a weekend warrior, a magnetic mount offers the flexibility you need. If you are a grey nomad or a full-time digital nomad, investing in a permanent, Australian-engineered in-motion mount will save you time and protect your equipment over the long haul.
Remember to prioritise material quality—aluminium, stainless steel, and carbon fibre are your friends in the harsh Australian climate. Avoid the temptation of cheap, unproven plastics that can't handle the heat.
Ready to secure your connection? Explore our vehicle mounting solutions to find the perfect fit for your rig, or read more about RV life connected and setting up Starlink on the go to plan your next adventure.
Leave a comment
This site is protected by hCaptcha and the hCaptcha Privacy Policy and Terms of Service apply.