
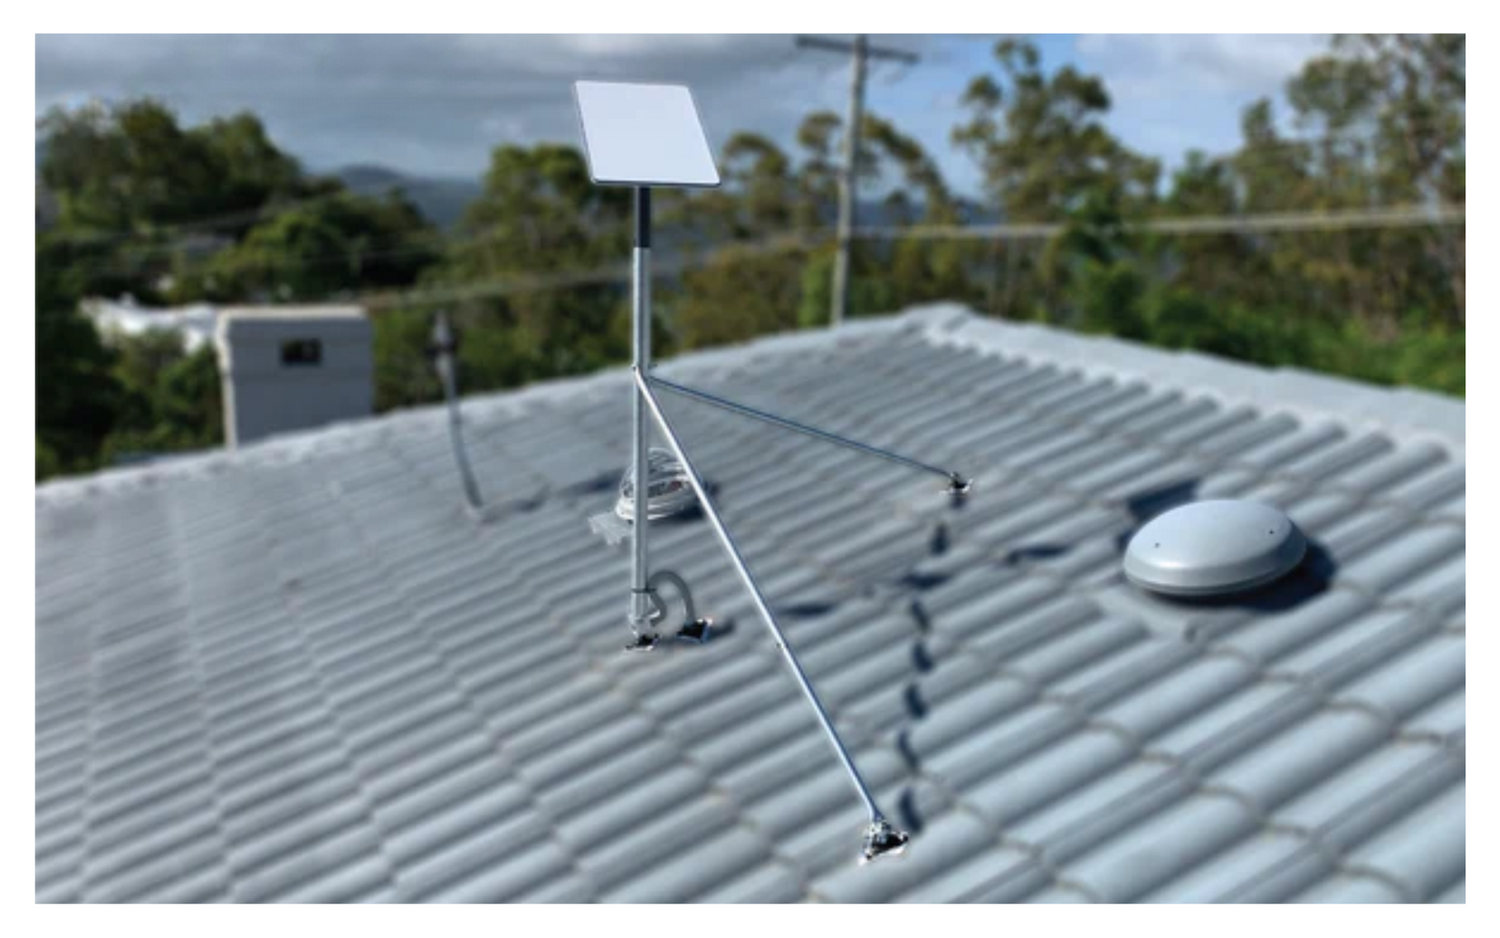
A Starlink dish elevation kit helps lift your dish above trees, rooflines, sheds, and other obstructions so it can get a clearer view of the Australian sky. If dropouts are driving you spare, the right Starlink mount setup can make your connection far more stable.
Key Takeaways
- A Starlink dish elevation kit raises or offsets your dish so nearby obstructions are less likely to interrupt the signal.
- Australian installs usually need a clear southern sky view, especially around trees, roof ridges, chimneys, solar panels, and shed walls.
- Actuated Gen 2 dishes need a plumb mount so the internal motors can move freely, while non-actuated Gen 3, V4, and Mini dishes rely on manual positioning.
- The best Starlink mount depends on your roof pitch, surrounding vegetation, wind exposure, and whether you are installing at home, on a shed, or on a vehicle.
- A neat, weatherproof installation protects the supplied Starlink lead and helps the dish perform reliably in harsh Australian conditions.
What Is a Starlink Elevation Kit and How Does It Work?
A Starlink dish elevation kit raises or offsets your terminal above physical barriers, giving it a clearer view of low Earth orbit satellites. Starlink satellites sit much closer to Earth than older geostationary satellites, so your dish needs a wide, open view of the sky rather than a narrow line to one fixed point.
Because these satellites move across the sky, your terminal cannot simply lock onto one position and stay there. It needs to track multiple satellites as they pass overhead. If a roof ridge, chimney, tree canopy, solar array, or nearby wall blocks part of that view, your connection can drop as satellites pass behind the obstruction.
An elevation kit gives the dish the extra height or offset it needs to clear those sightline issues. By lifting the terminal, you improve its field of view, support smoother satellite handoffs, and give your connection a better chance of staying stable.
How Do You Choose the Right Starlink Dish Elevation Kit for Your Location?
The best setup depends on your property layout, roofline, and the natural features around the installation point. In Australia, Starlink dishes generally need a clear view towards the southern sky, so the mount should help the dish avoid trees, roof peaks, walls, and other structures in that direction.
When picking a Starlink mount, consider these key location factors:
- Roof pitch and orientation: If the roofline blocks the dish from getting a clear southern view, an elevated pole or extended mast may be needed to raise the terminal above the peak.
- Surrounding vegetation: Eucalyptus trees and native gum trees can be serious signal blockers, so lifting the dish above the main canopy line can reduce dropouts.
- Nearby structures: High shed walls, neighbouring roofs, chimneys, and solar arrays need enough clearance so the dish still has a wide, open view.
For a deeper look at dish positioning, read our guide to Starlink dish angles for Australian users.
How Do Actuated and Non-Actuated Dishes Work with a Starlink Dish Elevation Kit?
How your elevation hardware works with your dish depends on whether you own an actuated or non-actuated Starlink terminal:
- Actuated Gen 2 motorised dishes: These use internal motors during start-up to help find the initial signal. Once aligned, the dish uses phased-array technology, which means it can electronically steer the signal without physically chasing every satellite. Elevation kits for these models should keep the mounting pole close to plumb so the internal motors can move without strain.
- Non-actuated Gen 3, V4, and Starlink Mini dishes: These models do not use internal motors. They rely on manual positioning during setup, then use electronic signal steering once installed. Elevation kits for these dishes may use fixed-angle adapters, adjustable pivot points, or elevated poles to achieve the right height and angle.
Understanding your dish model helps you choose Starlink mount hardware that supports proper orientation without placing unnecessary stress on the terminal.
Which Starlink Mount Works Best for Roofs, Walls, and Poles?
Every property brings its own mounting challenges. You might need to clear a roof ridge, get above a shed wall, work around gum trees, or avoid fixing into an unsuitable surface. Matching the installation site to the right Starlink mount layout is what makes the setup reliable.
Should You Choose a Low-Profile or Elevated Starlink Mount?
Different Starlink mount setups solve different clearance problems:
- Low-profile Starlink mount setups: Best when the chosen surface already has a clear sky view and the dish does not need extra height to see past roof edges, trees, or nearby structures.
- Elevated dish mount setups: Better when a roof ridge, wall, shed, tree canopy, or solar panel array cuts into the dish's view. Extra height helps restore the open sky cone needed for stable satellite handoffs.
- Non-penetrating installation needs: Useful when roof penetration is not suitable, but the setup still needs careful checking for roof structure, wind exposure, dish height, and safe load distribution.
How Can You Clear Australian Roof, Wall, and Pole Obstructions?
Australian properties often deal with dense gum trees, high corrugated iron sheds, exposed rooflines, and hilly terrain. Those features can all get in the way of the dish's line of sight.
When mounting near obstructions, raising the dish vertically is often more effective than shifting it sideways. A suitable elevated Starlink mount on a roof, wall, fascia, or pole can lift the dish above the obstruction line and give it a much cleaner view. To work out how much height your site may need, read our guide on choosing the right Starlink dish mount height.
How Do You Install Your Starlink Dish Elevation Kit?
A good installation is about more than bolting on hardware. You want a clear sky view, tidy cable routing, weatherproof fixing points, and a mount that can stand up to Australian heat, wind, and rain.
How Do You Check for Sky Obstructions with the Starlink App?
Before drilling any holes or assembling hardware, do a proper site check with the official Starlink app. Starlink also provides general setup information through its Starlink support centre:
- Connect your phone to mobile data and open the Starlink app.
- Select the Check for Obstructions tool.
- Walk to the roof, wall, pole, or vehicle location where you plan to install the dish.
- Point your camera overhead and follow the on-screen prompts to scan the sky.
- Review the visibility map and make sure the dish has a clear view without tree branches, overhangs, rooflines, or chimneys blocking the path.
What Safety Steps Matter When Mounting Starlink Hardware?
Once you have confirmed a suitable position, take your time with the hardware. These small details can make a big difference to long-term performance:
- Keep the mast plumb: Use a spirit level to confirm the vertical dish mount mast is close to plumb. For motorised models, a badly angled pole can force the internal motors outside their normal movement range.
- Avoid over-tightening: When securing precision-machined or folded aluminium/reinforced composite Starlink mounts, tighten hardware until snug, then stop before threads strip or roofing metal compresses.
- Prevent water ingress: For roof or wall penetrations, seal pilot holes and base plates carefully with exterior-grade sealant before driving fasteners home.
- Protect the supplied Starlink lead: Avoid crimping, sharply bending, pulling, or pinching the lead through tight roof tiles, doors, or metal edges.
For more mechanical setup detail, see our Starlink mounting instructions.
How Do You Fix Alignment Alerts and Weatherproof Your Setup?
A proper Starlink installation needs to cope with real Australian conditions, from scorching summer roof heat to strong coastal gusts and stormy weather.
How Can You Resolve App Alerts and Improve Weather Stability?
If your dish angle or orientation is off, the app may flag performance issues. Here is how to handle common warnings and protect the setup:
- Resolving 'Motors Stuck' alerts: This alert can occur on motorised units when the terminal is installed too far out of plumb or the dish cannot move freely. Check that the main dish mount mast is upright and that no nearby hardware is restricting movement.
- Managing roof surface heat: Corrugated iron roofs can radiate serious heat in summer. Raising the dish off the metal sheet with an elevated Starlink mount improves airflow beneath the terminal and can help reduce heat-related performance issues.
- Improving high-wind stability: In exposed locations, assess the Starlink mount position, mast height, fixing points, and building surface before installation. Avoid temporary fixing methods, and use a qualified installer if structural suitability or wind exposure is uncertain.
What Do People Ask About Starlink Elevation Kits?
Can an elevation kit help resolve 'Motors Stuck' errors on Starlink dishes?
Yes. 'Motors Stuck' alerts often happen when a motorised dish is mounted out of plumb or positioned in a way that limits its range of movement. A plumb elevated pole or suitable adapter can restore free movement and help clear motor lockup warnings.
What elevation angle is needed for Starlink performance in Australia?
Australian installations generally need a clear view towards the southern sky. The exact angle depends on your location, dish model, and surrounding obstructions, so use the Starlink app to confirm the best position before fixing the mount permanently.
How does dish elevation help with heat on tin roofs?
Dark tin and metal roofs can absorb a lot of summer heat. Elevating the dish on a pole mast lifts it away from the hottest surface layer and allows more airflow beneath the terminal, which can help it perform more reliably in hot weather.
Getting a More Reliable Starlink Setup in Australia
Elevating your Starlink dish is one of the most practical ways to reduce dropouts, clear gum trees, and improve satellite connectivity across Australia. With the right Starlink mount, you can give the dish the open sky view it needs while keeping the installation neat, secure, and weather-ready.
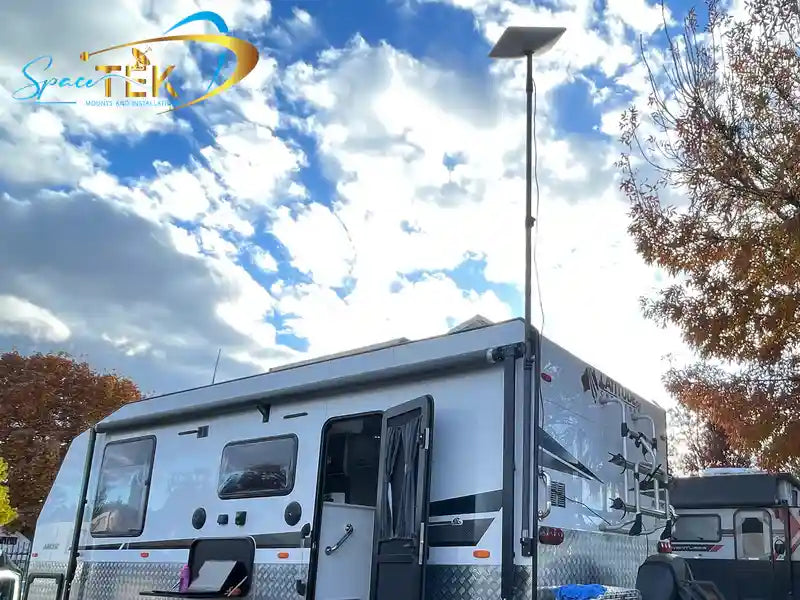
At SpaceTek Australia, we manufacture high-grade Australian-designed satellite hardware made from heavy-duty, rust-resistant materials. Our range includes precision-machined or folded aluminium/reinforced composite Starlink mounts for homes, sheds, caravans, and remote setups.
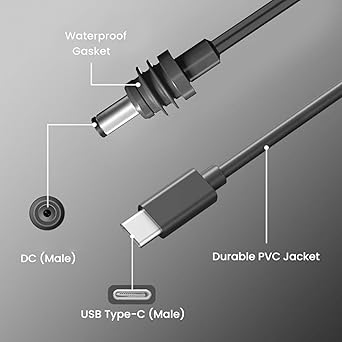
If you are setting up an off-grid caravan or remote station, StarPower V2 and V3 DC power supplies can be a better option than standard AC inverters. Direct DC-to-DC power is more efficient, lowers battery draw, and allows custom setups that bypass the standard Starlink router.
Ready to sort your setup? Explore our house Starlink mounts and accessories or browse our RV and caravan Starlink mounts.

Leave a comment
This site is protected by hCaptcha and the hCaptcha Privacy Policy and Terms of Service apply.