Why Starlink Mesh Networks Matter for Australian Homes
A Mesh network Starlink system extends your satellite internet by adding wireless nodes that work with your main router to blanket your home in Wi-Fi. Here's the quick overview:
- What it is: Extra routers (mesh nodes) that connect to your main Starlink router to kill Wi-Fi dead zones.
- Compatibility: Works with Gen 2, Gen 3, and Mini routers. Gen 1 does not support mesh.
- Setup: Plug in nodes 1-2 rooms apart and pair them using the Starlink app in under two minutes each.
- Limitations: A maximum of three nodes is recommended for homes up to 557 sq metres (~6,000 sq ft).
- Cost: Dedicated mesh nodes can be purchased, or you can repurpose an older Gen 2 router.
A single router rarely covers an entire Australian home, especially with thick brick walls and multiple stories creating Wi-Fi dead zones. A mesh system solves this by creating a single, seamless network with consistent, high-speed internet. For rural Australians who rely on satellite internet, getting that signal to every corner of the property is crucial.
I'm Aaron Wroblewski, founder of SpaceTek Australia. With over 25 years of experience optimising satellite systems, I know that proper mesh setup is just as important as a quality mount. Let me show you how to get the most from your Starlink mesh network.
How to Set Up and Optimise Your Mesh Network Starlink
Properly setting up your Mesh network Starlink is key to open uping its full potential. This guide covers compatibility, setup, placement, and troubleshooting.
Starlink Router Compatibility for a Mesh network Starlink
First, check which router generation you have, as not all are compatible.
- Gen 1 Router: The original circular Dishy's router does not support mesh. You will need to upgrade or use a third-party mesh system.
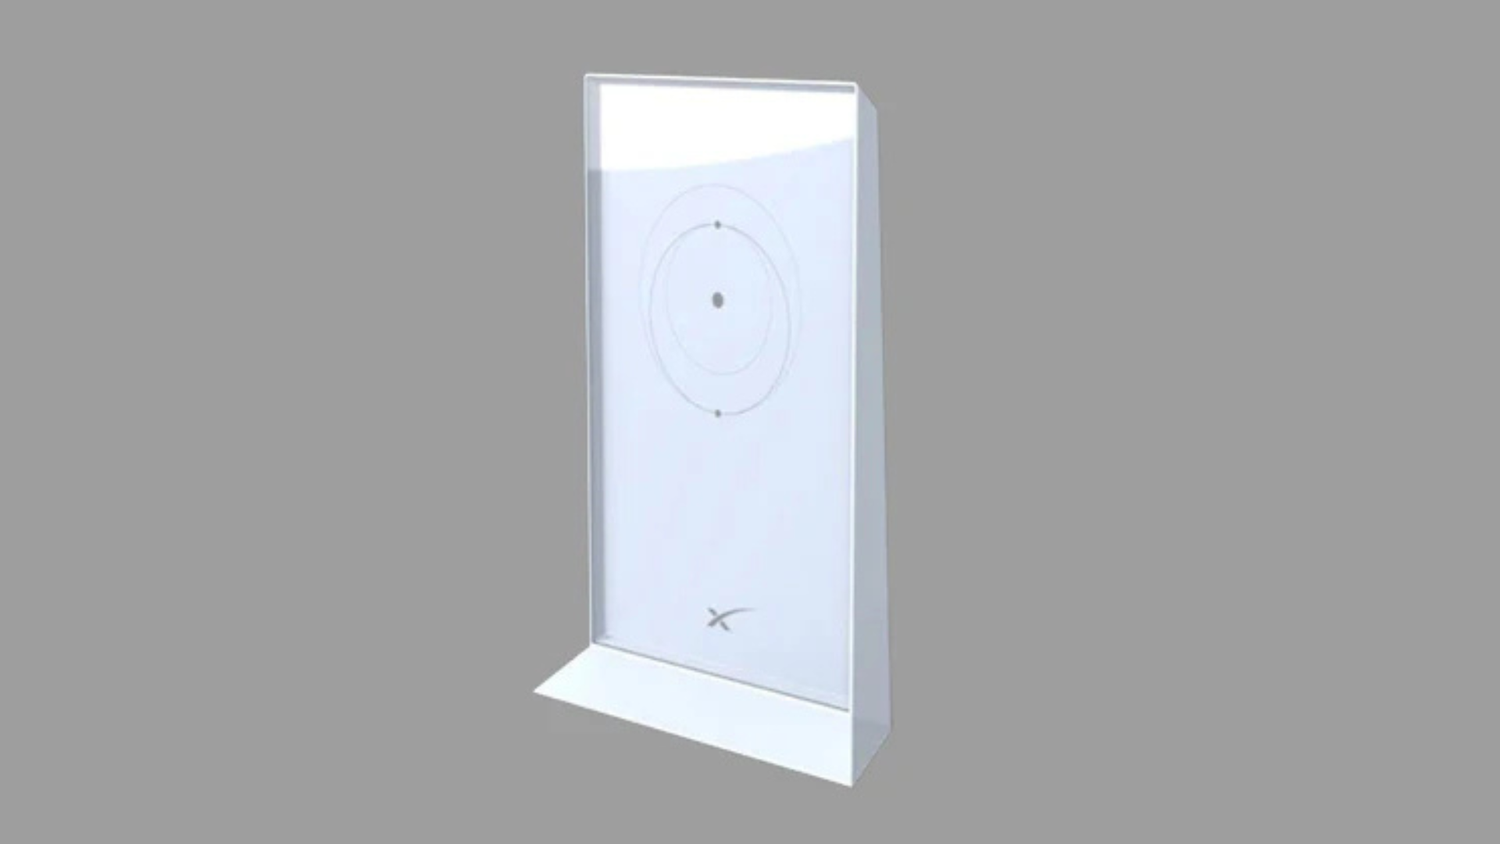
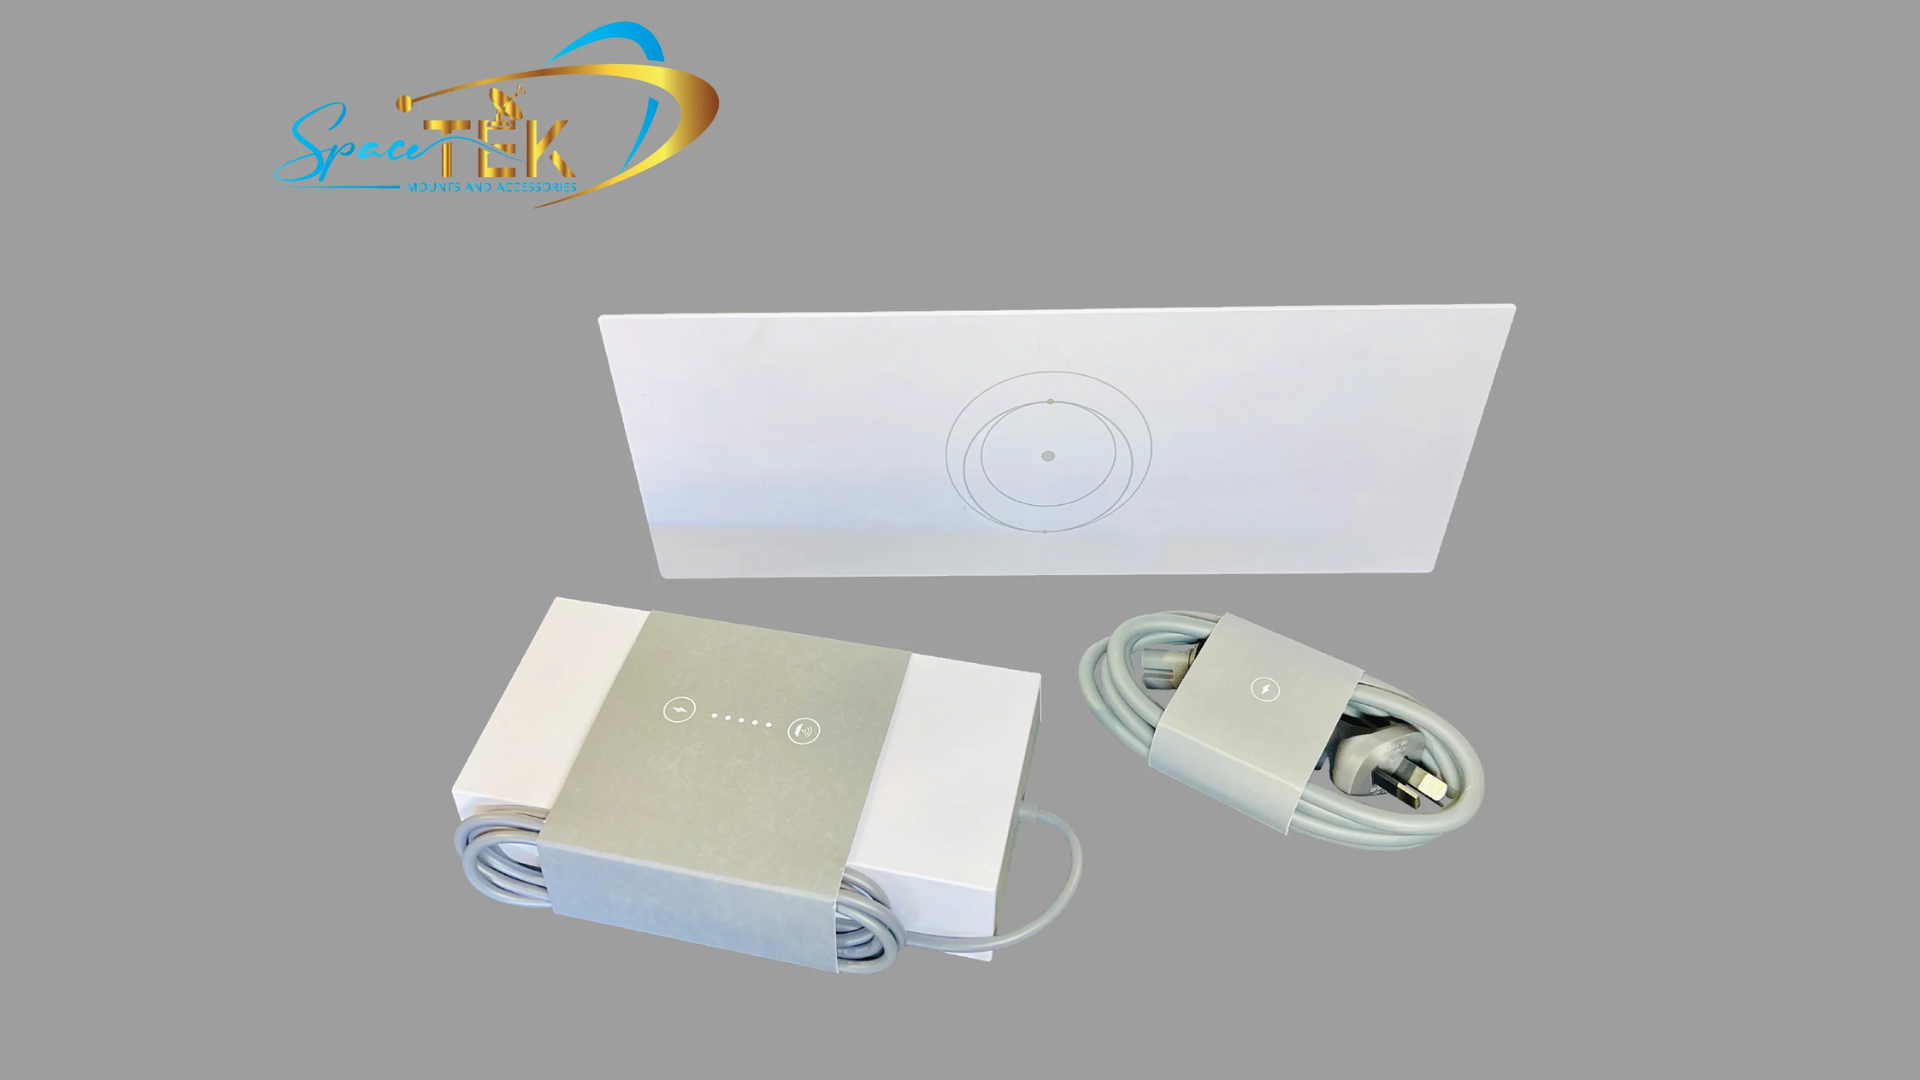
- Gen 2 Router: Fully compatible. The router from the rectangular Dishy (Standard Actuated) can act as the main router or a mesh node.
- Gen 3 Router: The latest router features Wi-Fi 6 and integrates seamlessly. It can be a main router or a node and is compatible with Gen 2 routers.
- Starlink Mini: The compact router supports mesh, making it easy to extend Wi-Fi coverage on the go.
Dedicated Nodes vs. Repurposing Routers
Dedicated mesh nodes are available for purchase. Alternatively, if you've upgraded from a Gen 2 system, you can factory reset and repurpose the old router as a mesh node, saving you money.
For more information on the latest hardware, check out our Gen 3 / V4 mounts and accessories.
Step-by-Step: Setting Up Your Starlink Mesh Network
Setting up your Mesh network Starlink is simple with the Starlink app.
- Check Primary System: Ensure your main Starlink system is online and connected to the internet.
- Position Your Node: Unbox your new mesh node. If repurposing an old Gen 2 router, factory reset it first by unplugging and replugging the power six times quickly. Place the node one to two rooms away from your main router.
- Power Up: Plug the mesh node into a power outlet.
- Connect to Wi-Fi: Make sure your phone is connected to your existing Starlink Wi-Fi network.
- Open the Starlink App: The app should automatically detect the new node within a minute.
- Pair the Node: A notification will appear to 'PAIR NEW MESH NODE'. Tap 'Pair' to begin. The process takes 1-2 minutes.
- Confirm Setup: The new node will appear on the 'Network' screen in the app, confirming it is active and extending your network.
Repeat for any additional nodes. For more details, see the official Mesh Set Up Guide (PDF) for detailed instructions or our article on setting up a Starlink WiFi extender.

Best Placement Strategies for Optimal Performance
Where you place your nodes is critical for a high-performing Mesh network Starlink.
- One to Two Rooms Apart: This is the golden rule. Placing nodes further apart results in a weak connection.
- Central Router Location: Position your main Starlink router in a central part of your home to provide a strong starting point.
- Direct Pairing is Best: For optimal performance, ensure each mesh node connects directly to the main router rather than 'daisy-chaining' through another node.
- Use the Wi-Fi Scanner Tool: The Starlink app has a scanner to help you find weak signal areas and pinpoint the best spots for your nodes.
- Avoid Obstructions: Place nodes upright and in the open. Avoid thick brick walls, large metal appliances, mirrors, and even fish tanks, which can degrade Wi-Fi signals.
- Don't Overdo It: Starlink recommends a maximum of three mesh nodes. More can create interference and reduce performance.
- Coverage Limitations: The system is effective for homes up to 557 sq metres (~6,000 sq ft). For larger properties, a third-party system may be required.
For a deeper dive, read our article: Starlink Mesh: Range - How far is too far?. Also, see Starlink's guide on improving WiFi connectivity.
Troubleshooting Common Mesh network Starlink Issues
If you run into issues with your Mesh network Starlink setup, these quick fixes usually solve the problem.
-
Pairing Failure:
- Move Closer: Bring the node closer to the main router to pair it, then move it back to your desired spot.
- Check Connection: Ensure your phone is connected to your primary Starlink Wi-Fi network.
- Restart App: Close and reopen the Starlink app, and check that it's updated.
- Factory Reset: If a node is unresponsive, reset it by unplugging and replugging the power six times in quick succession.
-
Weak Connection or Node Offline:
- Check Placement: The node may be too far from the main router or blocked by an obstruction.
- Power Cycle: Unplug the node for 30 seconds, then plug it back in.
- Check Main Router: Make sure your primary Starlink router is online.
-
Slow Speeds on Mesh Nodes:
- Check for Chaining: Ensure nodes are connected directly to the main router, not through each other.
- Reduce Interference: Move the node away from other electronics.
- Limit Nodes: If you have more than three nodes, try removing one to see if performance improves.
For more tips, read our guide on Boosting Starlink Wi-Fi: Simple steps for better connectivity.
Using a Third-Party Mesh System with Starlink
For very large properties (over 557 sq metres) or for advanced networking features, a third-party mesh system can be a great option.
Here’s how to set it up:
- Get an Ethernet Adapter: For the Gen 2 router, you'll need an Ethernet adapter to connect to external hardware. The Gen 3 router has two built-in Ethernet ports, so no adapter is needed.
- Connect Hardware: Use an Ethernet cable to connect the adapter (or a Gen 3 port) to the WAN/Internet port of your third-party mesh router.
-
Enable Bypass Mode: This is the crucial step. In the Starlink app, go to
Settings>ADVANCEDand toggle onBypass Starlink WiFi router. This turns off the Starlink router's Wi-Fi and routing functions, letting your new system take over completely. - Set Up Your New System: Follow the manufacturer's instructions to configure your third-party mesh network.
Important Note: You cannot mix and match. Starlink mesh nodes only work with a Starlink router, and third-party nodes only work with their own system.
To help you decide which is best for you, read our comparison: Starlink Mesh vs Third Party: Which reigns supreme?.
Conclusion: Achieving Whole-Home Coverage with Starlink
A Mesh network Starlink system is the solution for eliminating Wi-Fi dead zones and achieving seamless, high-speed internet across your entire Australian property. By following the setup and placement advice in this guide, you can ensure consistent connectivity for every device.
However, a great network starts with a stable dish. At SpaceTek Australia, we provide high-quality, rust-resistant mounts designed for Australian conditions. A secure, optimally positioned dish provides the best possible signal to your router, which is the foundation of a powerful mesh network.
For expert advice on the best mounting solutions to complement your network, get in touch with our team. We're here to help you get the most out of your Starlink experience.
Leave a comment
This site is protected by hCaptcha and the hCaptcha Privacy Policy and Terms of Service apply.