
Why Optimising Starlink is Essential for Reliable Off-Grid Connectivity
For Australians living off-grid, reliable internet is essential. While Starlink delivers high-speed connectivity to remote areas, your setup is the key to open uping its full potential. Poor dish placement or a badly positioned router can significantly reduce speed and stability.
To optimise Starlink performance, focus on five core areas:
- Dish placement – Find a clear 100-degree view of the sky, free from obstructions.
- Router positioning – Place your router in a central, liftd location.
- Quality mounting – Use secure, weather-resistant hardware designed for Australian conditions.
- Network configuration – Keep firmware updated and split Wi-Fi bands.
- Regular maintenance – Clean your dish, check cables, and reboot equipment as needed.
Simple adjustments can often boost speed by 20–30%. As the founder of SpaceTek Australia, I've spent over 25 years helping customers in rural and remote Australia get the most from their satellite systems. This guide shares our field-tested techniques to help you optimise Starlink.
Optimise Starlink terms made easy:
Mastering Your Physical Setup for Peak Starlink Performance
Getting the best from your Starlink system starts with the physical setup. The placement of your dish and router dictates how effectively your system communicates with satellites and distributes the internet connection throughout your property.
Finding the Best Spot for Your Starlink Dish
Your dish needs a clear, unobstructed 100-degree view of the sky to track Starlink's moving low-Earth orbit (LEO) satellites. Even small obstructions like tree branches or chimneys can degrade your signal.
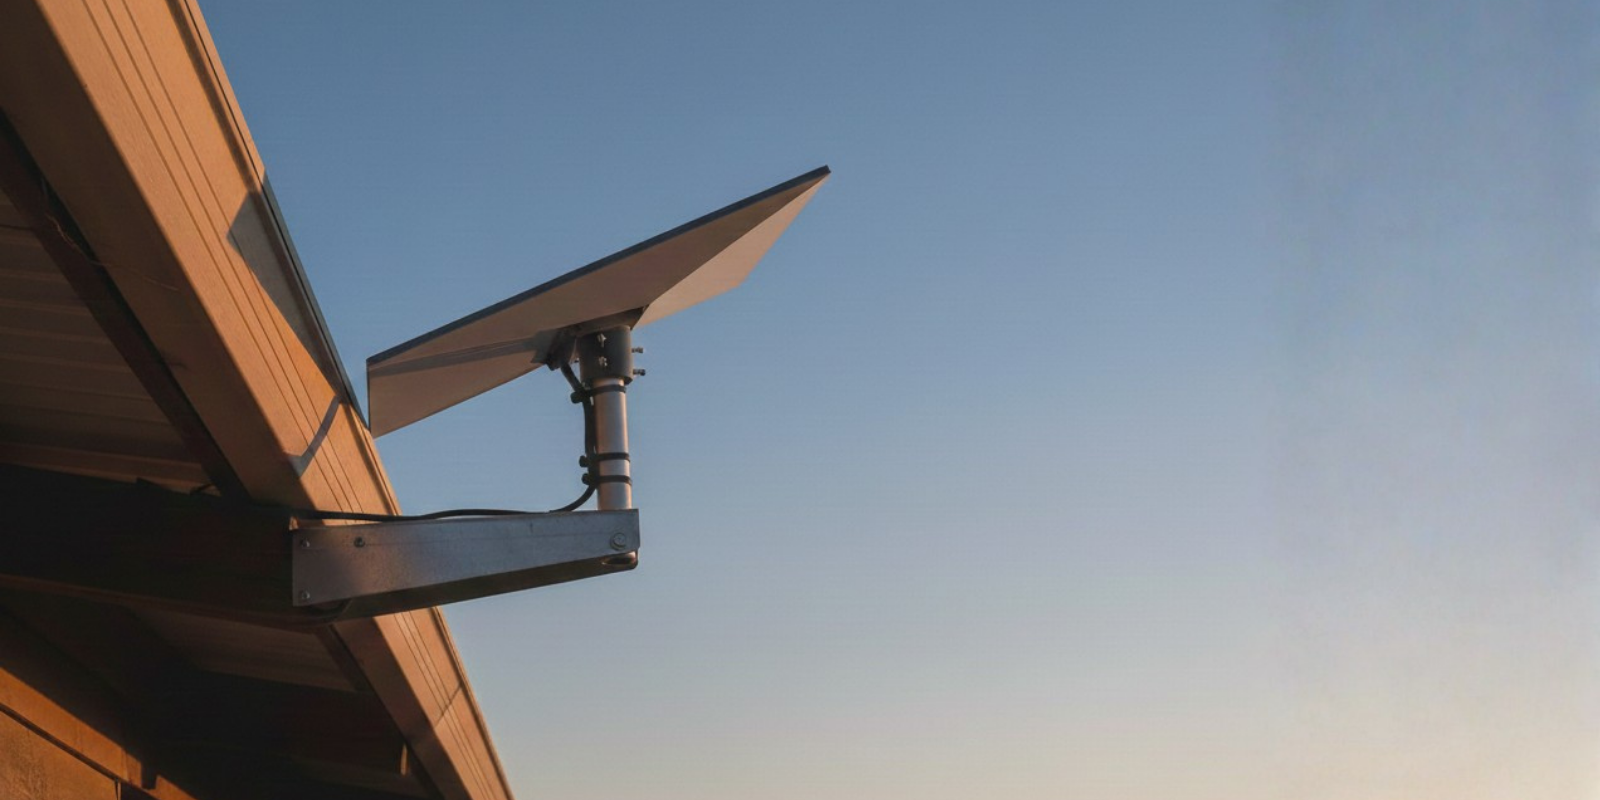
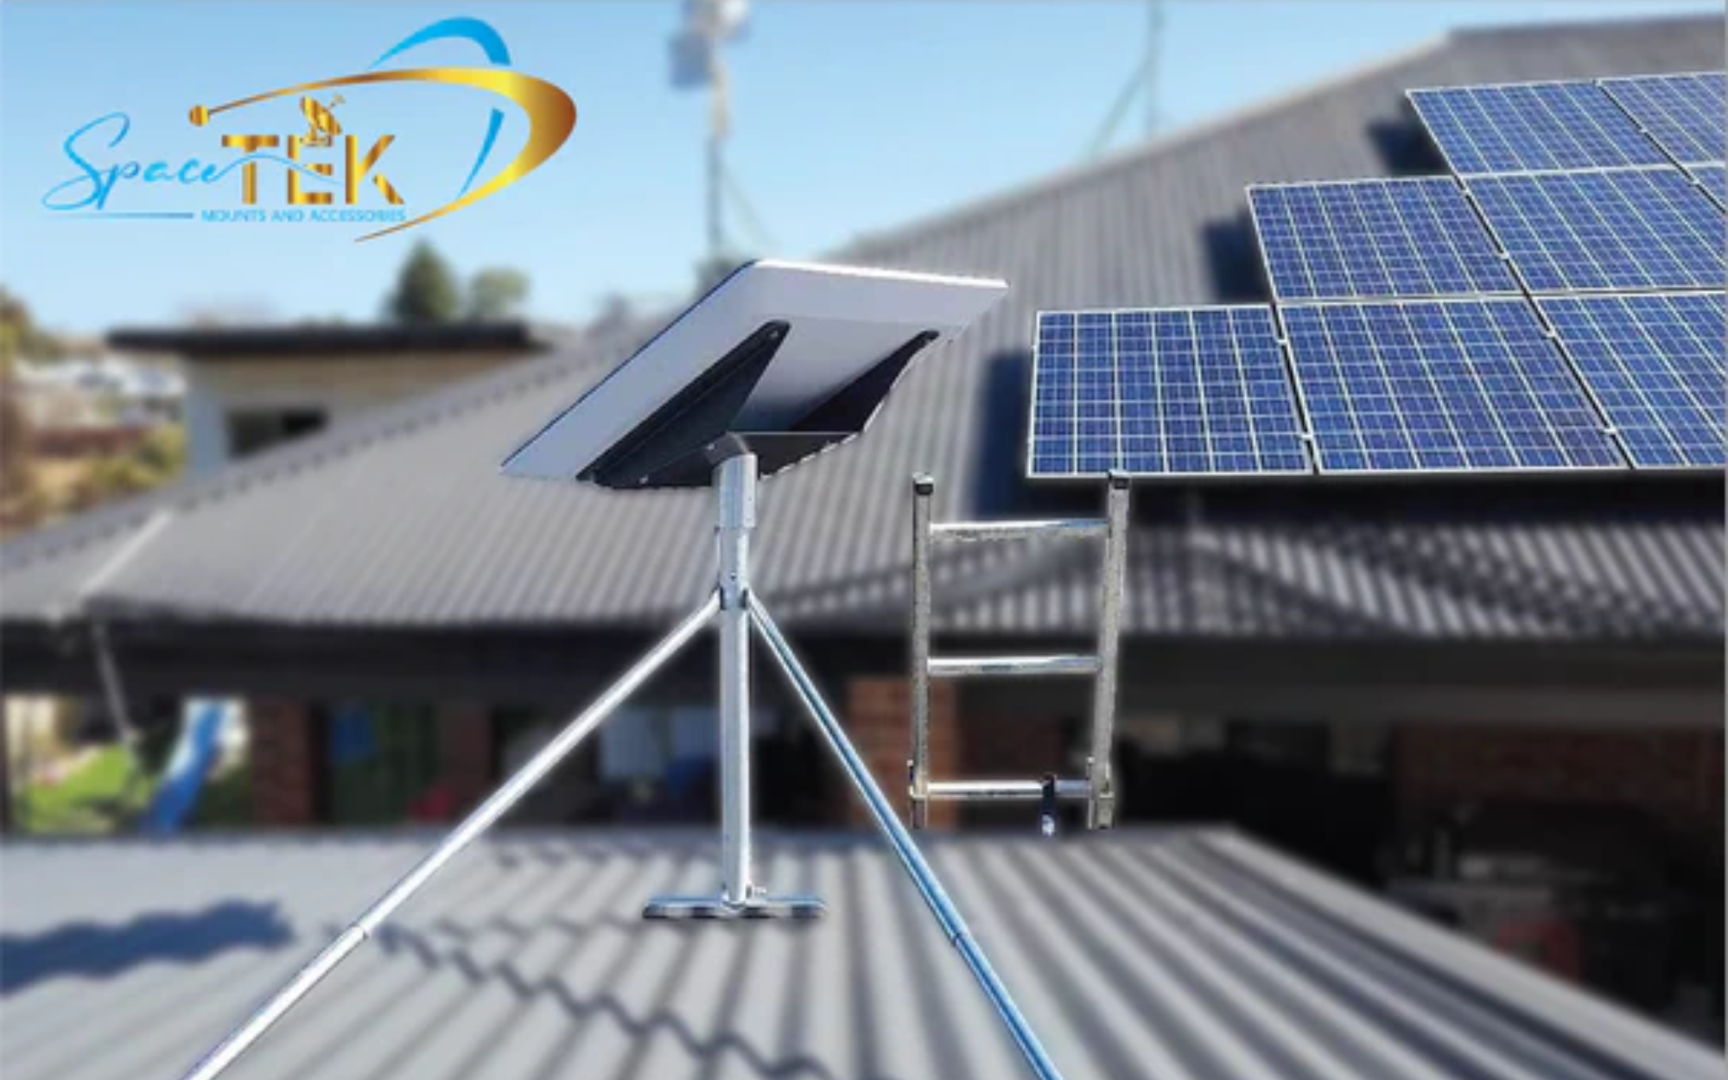
Use the "Obstruction Viewer" in the Starlink app to find the ideal spot. Elevating the dish on a roof or a sturdy pole mount is best, as ground-level installations are more prone to blockages. A stable mount is crucial; even minor shifts from wind can cause slowdowns. Our custom Starlink mounting kits use high-quality, rust-resistant materials like marine-grade aluminium to withstand harsh Australian conditions and keep your dish secure.
For more details, see our guides on Starlink mounting hardware: Everything you need to know and Tips to navigate around dish obstructions.

Positioning Your Router and Extending Your Wi-Fi Signal
Once the dish is set, optimise your router's placement for strong Wi-Fi coverage. Place it in a central, liftd location on a hard surface, away from the floor, cabinets, and major appliances that can cause interference. Lifting your router can often improve speed and stability by 20–30%.
For larger homes or properties with thick walls, a mesh Wi-Fi system can extend coverage. You can use a third-party system for more advanced features, which may require an Ethernet adapter to connect external equipment. Learn more in our guide on Everything you need to know about Starlink Mesh Wi-Fi.
Protecting Your Gear from Weather and Wear
While Starlink equipment is robust, proactive protection is vital for longevity in Australia's climate. The system is resilient to heavy rain, and the dish has a snow melt feature.
- Clean the Dish: Regularly wipe the dish with a soft cloth to remove dirt and debris. See the official How do I clean my Starlink? guide for tips.
- Manage Cables: Secure cables to prevent damage from wind or wildlife. Use UV-stable conduits for outdoor runs.
- Ensure Airflow: Good airflow prevents the dish from overheating in hot weather.
Our SpaceTek mounts are engineered for Australian conditions, offering superior wind and corrosion resistance. For more on protecting your investment, see How Starlink accessories can weatherproof your setup.
Fine-Tuning Your Network and Understanding Performance
Beyond the physical setup, you can optimise Starlink by understanding its network dynamics and making smart configuration choices.
Troubleshooting and How to Optimise Starlink When Speeds are Slow
If you experience slow speeds, try these simple troubleshooting steps before contacting support.
- Reboot Your Equipment: The classic "turn it off and on again" works wonders. Unplug your router for 30 seconds. For a deeper reset, power down the entire system for 20 minutes to clear memory and fix minor glitches.
- Check the Starlink App: The app is your primary diagnostic tool. It will alert you to outages, obstructions, or hardware issues. Use its speed test to pinpoint if the bottleneck is your Wi-Fi or the satellite connection.
- Be Aware of Peak Hours: Like any internet service, speeds can vary during peak usage times (typically 6 PM to 11 PM). Limiting bandwidth-heavy activities like 4K streaming or large downloads during these hours can help.
- Inspect Hardware: Periodically check that your cables are free from damage and that the dish has adequate airflow to prevent overheating.
For a more detailed guide, visit Troubleshoot your Starlink internet problems easily.
Advanced Tweaks to Optimise Starlink Connections
For those wanting to maximise performance, consider these advanced tweaks.
- Use an Ethernet Connection: A wired connection via an Ethernet cable bypasses Wi-Fi interference, offering the most stable speeds and lowest latency for devices like PCs, smart TVs, or gaming consoles. An Ethernet Adapter is required for the standard rectangular dish.
- Split Your Wi-Fi Bands: Separate your Wi-Fi network into 2.4 GHz and 5 GHz bands in your router settings. Use the long-range 2.4 GHz band for smart home devices and the faster 5 GHz band for high-demand activities like streaming and gaming. This prevents slower devices from congesting your network.
- Consider a Third-Party Router: Upgrading to a high-performance third-party router or mesh system can significantly improve Wi-Fi coverage and provide advanced features like Quality of Service (QoS) for prioritising traffic.
Understanding Starlink's Technology and Service Tiers
Understanding the technology helps you optimise Starlink. Its low Earth orbit (LEO) satellites orbit at around 550 km, delivering significantly lower latency (around 25 ms) compared to traditional geostationary (GEO) satellites (600+ ms). This low latency is a game-changer for real-time applications like video calls and online gaming. You can learn more from Starlink's low latency explained.
Starlink is also constantly evolving. SpaceX regularly launches new-generation satellites with more capacity and pushes automatic firmware updates to improve performance. Higher-tier service plans ("Business" or "Mobile Priority") also offer prioritised data and faster speeds, which may be worthwhile for power users.
Conclusion: Secure, Reliable Starlink Setups for Off-Grid Australia
To truly optimise Starlink for your off-grid Australian lifestyle, focus on a smart physical setup, proactive maintenance, and intelligent network configuration. From ensuring your dish has an unobstructed sky view to choosing the right accessories, every step contributes to a faster, more reliable connection.
At SpaceTek Australia, we understand the challenges of connecting the Outback. We specialise in high-quality, rust-resistant mounts and accessories built tough for Australian conditions. Our products integrate seamlessly with your Starlink kit, ensuring secure and optimal performance wherever you are.
Don't let a poor setup limit your Starlink's potential. For expert advice or to explore our range of user-friendly mounts and accessories, please contact us today.
Leave a comment
This site is protected by hCaptcha and the hCaptcha Privacy Policy and Terms of Service apply.